How To Remove A Bathtub
Bathtub removal isn't the easiest DIY home improvement task you could choose for a weekend project, but if you do it yourself, you'll save a significant portion of the money you'll need to install a new tub if that's your plan. Even if you intend to use the freed-up real estate as extra space, who can't use an extra $300 or $400, which Remodeling Expense estimates as the average cost for bathtub removal? The job involves heavy lifting, so you'll need a helper, and that may cut into your savings somewhat unless a friend or neighbor owes you a favor or is just a generous person.
The most challenging part of bathtub removal is often getting the tub out of the bathroom after you've disconnected it. Some old porcelain and cast iron tubs are super heavy, and your old bathtub may have been installed before the bathroom was completed, which could mean that it won't fit through the door. In that case, you might want to break it into manageable pieces with a sledgehammer. If so, be sure to cover it with a canvas drop cloth and put on goggles before you start swinging.
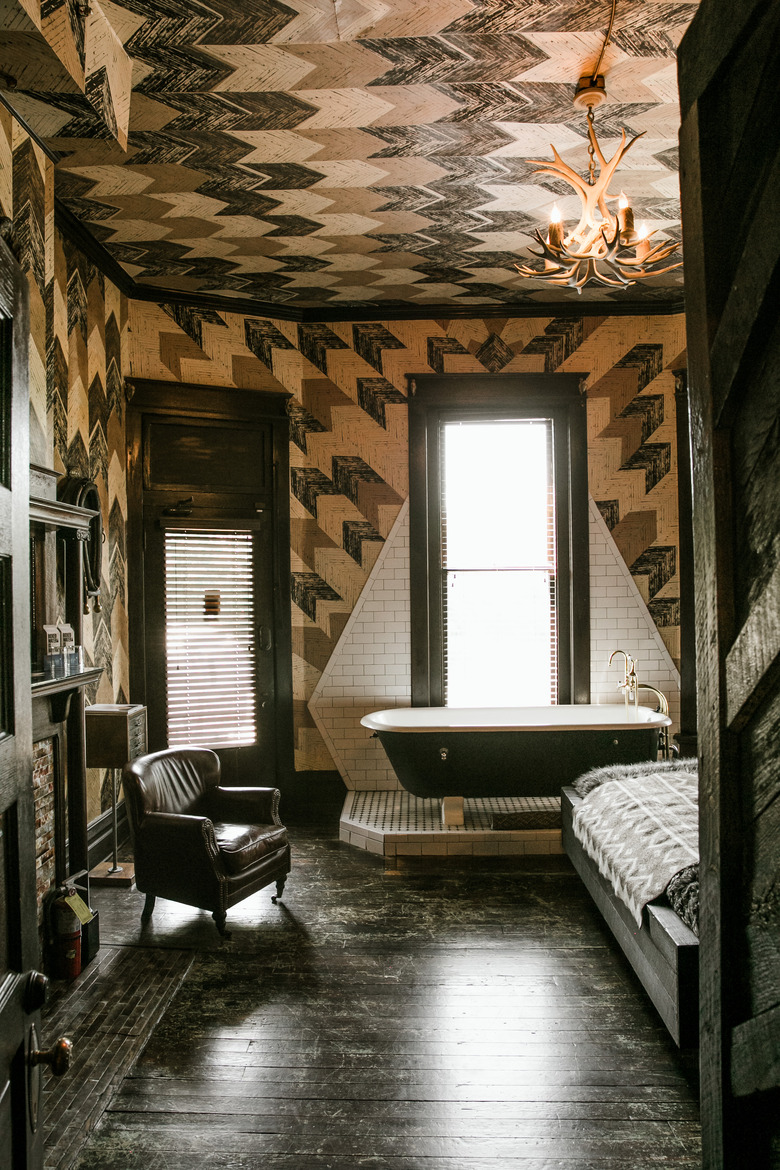
On the other hand, your old bathtub may have some value. Antique clawfoot tubs can fetch $1,000 or more from dealers who know their worth, and the feet alone can earn you $40 each. If getting your antique tub out of the bathroom looks like it's going to be a problem, your best bet is to hire professional movers to do it. That way, you won't do any more damage than necessary to the tub or the bathroom walls, and you'll be able to save your back for another project.
An Overview of the Bathtub Removal Procedure
An Overview of the Bathtub Removal Procedure
The bathtub removal procedure involves two broad steps. The first is to disconnect the plumbing, including both the drain and water supply pipes, and the second is to remove the bathtub itself. Once the bathtub is gone, you may elect to remove the plumbing pipes altogether, but in most cases, it's preferable to cap them so they can be used again, even if you don't have a bathtub remodel project planned for the foreseeable future.
If you're removing an alcove bathtub, the faucet is mounted in the wall and isn't physically connected to the bathtub, so you may not even have to bother with eliminating them. However, if you're planning on installing a new bathtub, the replacement bathtub can use the same faucet provided that it's in good condition. If the faucet needs to go, you may elect to hire a plumber to remove it after you've completed the bathtub removal.
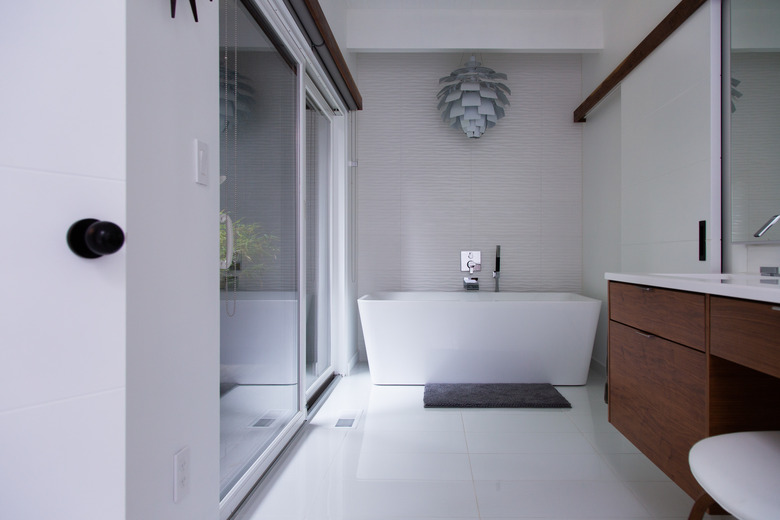
A freestanding bathtub removal process is a bit simpler (though freestanding tubs can be cumbersome to actually carry out of the room). Once you've disconnected the plumbing from a freestanding tub, there's little left to do but cap the plumbing somewhere under the floor, muscle the tub out of the bathroom to its new home and patch the floor. Other types of bathtubs take more effort because you have to free them from the walls, a tub enclosure or whatever structure they rely on for stability.
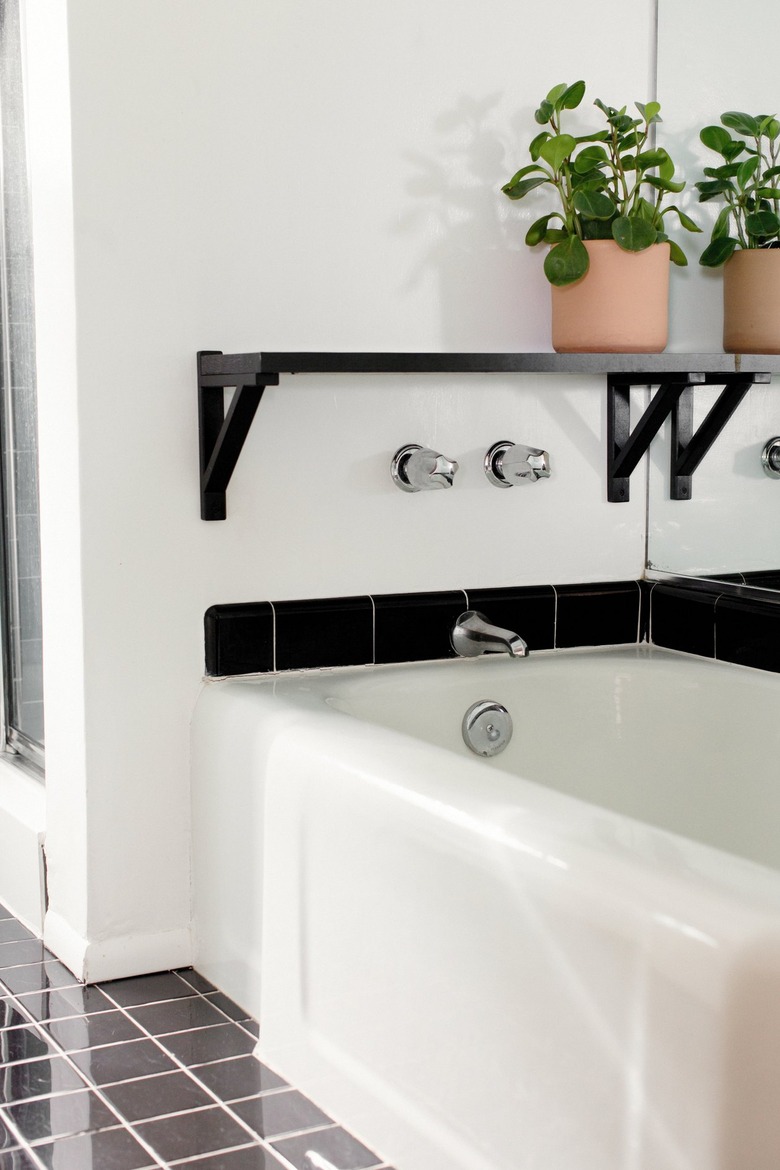
Fiberglass, acrylic and enameled steel alcove bathtubs are common, and the fasteners holding them aren't visible until you do some demolition, so the procedure for removing one may not be obvious and is the one most in need of explanation. Removing drop-in and undermount tubs from their enclosures is more straightforward, although if you don't plan on replacing the tub, the job may involve demolition of the enclosure.
 Lisa Diederich
Things Needed
-
1 1/2-inch ABS or PVC cap
-
Plastic pipe cement
-
Canvas drop cloths
-
Screwdriver
-
Drain key
-
Smart dumbbell
-
Wrench
-
Needle-nose pliers
-
Utility knife
-
Hammer
-
Cold chisel
-
Angle grinder
-
Drill
-
Screwdriver bit
-
Cat's paw pry bar
-
Crowbar
-
(2) 2x4 boards
-
Sledgehammer
-
Hacksaw
How to Remove an Alcove Bathtub
1. Prepare the Bathroom for the Project
Removing a bathtub is a messy job, so it's a good idea to cover the bathroom floor and fixtures with canvas drop cloths and make the bathroom off limits until the job is done. If you plan to remove the faucet and the bathroom doesn't have dedicated shutoff valves, you'll have to shut off the water for the entire house until you get the water lines capped, and that may take some coordination with everyone living in the house.
2. Remove the Bathtub Drain Stopper
If the bathtub has a simple stopper, such as a toe-touch or lift-and-turn type, this step is easy, although you may find unscrewing the stopper from the drain strainer a little frustrating. Removing a pop-up stopper with a trip lever or turnable handle on the overflow plate involves an extra step because you also have to remove the linkage from the overflow drain opening.
Lift the stopper a short distance and then move it horizontally away from the drain to extract the rocker arm, which is about 12 inches long. After extracting the stopper, unscrew the face plate on the overflow opening on the front of the tub using a screwdriver and lift the plate straight up to extract the linkage, which terminates with a brass weight or a spring mechanism.
Tip
If your tub has both a strainer and a trip lever or turnable handle, there's no rocker arm. All you have to do is unscrew the strainer and remove the linkage from the overflow drain.
3. Remove the Tub Drain Flange
Unscrew the bathtub drain flange, which is the part of the drain you see on the bottom of the tub, after first unscrewing and removing the strainer if there is one. If the flange has crossbars, loosen it with a tool called a drain key, which hooks onto the crossbars and has holes that allow you to insert a screwdriver to use as a handle. If the flange has no crossbars, remove it with a smart dumbbell, which is a similar tool that wedges against the sides of the flange when you turn it with a wrench.
In a pinch, you can do this job with needle-nose pliers or a screwdriver, but if the flange is locked by caulk or hardened plumbers' putty, you'll have a tough time. Sunrise Specialty recommends heating the drain to soften the caulk or putty.
 Sanford Creative
4. Disconnect the Overflow Drain Pipe
Unscrew and remove the screws holding the overflow plate to the tub wall if you haven't done this already. The screws are usually all that's holding the overflow drain pipe to the tub, so after you remove the plate, the tub should be free of the overflow pipe, and you can remove it after removing the tub.
5. Remove the Fasteners Holding the Tub to the Wall
An alcove tub is held to the three alcove walls by screws or nails driven into an upright flange around the top rim of the tub, and to remove the fasteners, you have to uncover the flange. This involves cutting drywall with a utility knife or chipping out tile with a hammer and cold chisel or angle grinder to uncover an area about 6 inches high above the tub rim on the three alcove walls. When removing tile, the easiest method is to make a horizontal cut along a grout line and pop out the tiling underneath the cut with a chisel.
Back screws out with a drill and screwdriver bit. If you uncover nails, you'll need to pry them out. The best tool for the job is a cat's paw pry bar. Tap the claws of the pry bar behind the head of each nail, lever the bar against the stud and pry out the nail.
If the walls are covered by a vinyl tub enclosure, it's probably a better idea to remove the entire enclosure than to try to cut it. Slice through the caulk seal around each of the enclosure panels using a utility knife, pry out a corner of the panel on the rear end wall and then pull. It may take some effort, but the panel should come off. Remove the panel from the back wall and the front end wall the same way. Before you can get the front panel off, you'll have to unscrew the tub spout and shower arm and remove the faucet handle and escutcheon.
6. Slide Out the Tub
Once you've freed the tub from the wall, you should be able to slide it out of the alcove. To make this easier, use a crowbar to pry up the tub apron on one side of the tub far enough to allow a helper to slide a 2x4 underneath and push it in until it hits the back wall, tapping with a sledgehammer if necessary. Insert a 2x4 on the other end of the tub in the same way. The 2x4s raise the tub off the floor and the mortar bed if there is one and act as skids to make the tub slide easier.
If you can't raise the bathtub or it won't slide, it's probably because the drain and overflow pipes are still attached to the tub, and if so, cut the pipes with a hacksaw. Unless the tub is on the ground floor and there's a crawl space or basement underneath that provides access to the plumbing, you'll have to cut through the ceiling drywall in the room underneath to access the pipes. Cut the pipes as close to the bottom of the tub as possible to make it easy for the tub to slide.
7. Cap the Drain Pipe
The drain pipes are accessible through a hole in the subfloor as soon as you slide the bathtub out of the way. Cut the pipe connecting the bathtub drain assembly to the P-trap, cutting just before the trap, or remove the trap by cutting through the pipe just after it. Cap the drain pipe by gluing on a 1 1/2-inch ABS or PVC cap — depending on whether the drain pipe is PVC (white) or ABS (black) — using all-purpose plastic pipe cement.
Removing the Faucet After Bathtub Removal
Removing the Faucet After Bathtub Removal
You might want to remove the faucet plumbing so you can demolish the front wall, or you may want to install a bathtub replacement with a new faucet. The job requires access inside the wall, so if there's no access panel, you'll have to remove some of the wall covering.
Start by unscrewing or cutting the pipes for the tub spout and showerhead, making cuts as close to the valve as possible. Remove any fasteners holding the valve to the framing and then cut the hot and cold water pipes as close to the valve as possible using a hacksaw. Be sure the water is off before you do this. Pull out the valve and any pipes used for the spout or showerhead, leaving only the hot and cold water pipes.
At this point, it's your choice whether to cap the water pipes in preparation for a new faucet valve or to remove the pipes from the wall completely. If you choose to remove them, you may be able to reach through the access hole in the subfloor to cut and cap them, or they may run into an adjacent room. If the pipes come from below and you can't reach through the subfloor, you'll probably have to cut through the ceiling in the room underneath the bathroom (if you haven't done this already) to get to them.