Toilet Wax Ring Replacement: A DIY Homeowner's Guide
Wax is practically indestructible, and not many circumstances call for toilet wax ring replacement. The most common reason to replace the wax ring is having to remove your toilet for repair or replacement. Because an old wax ring has been compressed by the toilet and is contaminated, you can't reuse it, and you have to install a new wax ring every time you remove the toilet. Barring issues with the toilet, there are three other reasons you should replace your toilet wax ring.
Three Symptoms That Call for Toilet Wax Ring Replacement
Three Symptoms That Call for Toilet Wax Ring Replacement
Although it doesn't happen often, the wax seal between the bottom of the toilet and the flange can break all on its own, and when that happens, you'll notice one or more of these symptoms, according to Burton Plumbing:
- Sewer odors: The wax ring works together with the water in the toilet P-trap to confine sewer gases to the pipes, and even a small rupture in the wax seal can allow these gases to escape. This isn't just unpleasant; it's potentially dangerous because sewer gases are flammable.
- Water on the floor: A flush generates a considerable amount of water pressure, and a rupture in the wax ring can allow some of the water to seep onto the floor. You might notice a small puddle around the toilet base or, if the leak is subtle and long-lasting, sponginess in the floorboards.
- Rocking toilet: If the toilet rocks, you should tighten its mounting bolts, but if that has little or no effect, a leak in the wax ring is probably responsible. The problem could be that water has seeped into the subfloor and softened it or that the toilet, wax ring or toilet flange weren't installed properly. Besides replacing the wax ring, you'll probably have to do some repair work to the flange or subfloor.
 Sanford Creative
Choosing the Best Wax Ring
Choosing the Best Wax Ring
When you go to the hardware store for a toilet wax ring replacement, you'll come across more than one option, and some of the best aren't even made of wax. Waxless rings are made of rubber or foam and hearken back to the days before wax was the standard toilet-seal material. Among the choices are:
- Standard wax ring: The simplest and least expensive option, a standard wax ring is just a ring of wax with a hole diameter of 3 or 4 inches. Standard thicknesses are 3/4 and 1 inch, and either works just as well as the other for most situations.
- Wax ring with built-in flange: A slightly more expensive version of the standard wax ring, costing about a dollar or two extra, a wax ring with a built-in plastic flange, sometimes called a horn, helps direct waste into the pipes. It works in any situation for which you would use a standard wax ring.
- Extra-thick wax ring: If the toilet flange is recessed below the finished floor, an extra-thick wax ring will span the distance to the toilet base and make a seal where a standard one won't. It contains about 40 percent more wax than a standard one and is about an inch thicker. You shouldn't use one if the flange is at or above floor level, or the toilet could rock.
- Wax-free ring: Made of rubber, foam or a combination, a waxless ring compresses to form a seal that is as watertight as a wax seal. Waxless rings aren't messy. They are reusable, and the only reason they haven't completely replaced wax rings is that they are a little more expensive.
Things Needed
-
Spray lubricant
-
Paper towels or old newspaper
-
Two closet bolts
-
Wax or wax-free ring
-
Toilet bolt caps
-
Sponge
-
Turkey baster (optional)
-
Screwdriver
-
Adjustable wrench
-
Hacksaw
-
Rubber gloves
-
Putty knife
-
Wrench
-
Adjustable joint pliers
How To Replace a Toilet Wax Ring
How To Replace a Toilet Wax Ring
The procedure for wax ring replacement is basically the same as for replacement of the toilet, except you don't actually have to install a new toilet. You just set the existing one aside and reinstall it when the wax ring replacement is complete.
Warning
Have a helper assist you in lifting the toilet and re-installing it—the average toilet weighs at least 60 pounds and is typically made of ceramic, which can crack or break when dropped.
1. Prepare the Toilet for Removal
Shut off the water supply and flush the toilet. Use a sponge to remove the rest of the water from the tank and bowl. Unscrew the water supply line from the bottom of the tank and keep your sponge handy in case water spills out. Some plumbers like to empty the bowl with a turkey baster dedicated for toilet repair to avoid spills, but if you're just moving the toilet a few feet away, you can probably skip this.
2. Unbolt the Toilet and Remove It
Pop the caps off the two bolts at the bottom of the toilet (called closet bolts) using a screwdriver and use an adjustable wrench to loosen and remove the bolts. If they're old and corroded and you can't loosen them with spray lubricant, you may have to cut them off with a hacksaw. Once the toilet is free, enlist the aid of a helper and, working together, lift the toilet off the flange and set it aside.
You can find new toilet bolts at any hardware store, and they often come with the wax ring. It's a good idea to replace the old ones even if you don't have to cut them off.
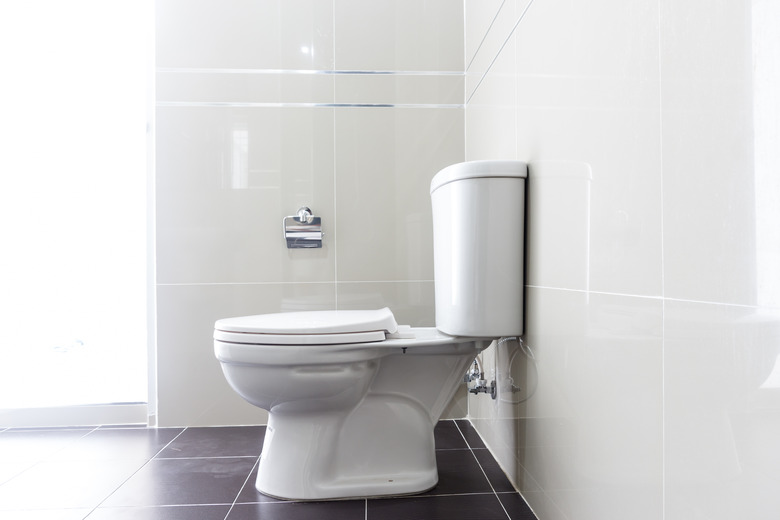 Kasipat Phonlamai / EyeEm/EyeEm/GettyImages
3. Clean Off the Old Wax Ring
Put on a pair of rubber gloves and use a putty knife to remove all the old, contaminated wax from the toilet flange and the underside of the toilet. You won't be able to remove all of it, but get as much off as you can. Deposit it in paper towels or old newspaper for disposal.
4. Replace the Bolts and Wax Ring
Remove the old toilet bolts, which may involve loosening nuts with a wrench (some closet bolts have nuts that hold them to the flange). Slip new bolts into the slots of the flange and align them directly across from each other and equidistant from the back wall. Screw on the nuts that come with them (if provided) and tighten the nuts to hold the bolts in place. Place a new wax or wax-free ring on the flange with its opening centered on the toilet drain pipe.
5. Reset the Toilet
With the aid of a helper, lift the toilet over the flange and gently lower it, making sure both closet bolts come through the holes in the toilet base. Then, set it down. Compress the wax or waxless ring by sitting on the toilet bowl facing the back wall and gently rocking back and forth until the toilet base rests firmly on the floor.
6. Tighten the Toilet Bolts
Slip the base of one of the plastic caps and a metal washer over each closet bolt and then screw on one of the nuts that came with the bolt set. Tighten the nuts alternately with a wrench until the toilet is secure and doesn't move. Cut each bolt with a hacksaw to a length of about 3/4 inches and then snap a cap onto each one. Be careful not to overtighten the nuts, which can crack the porcelain toilet base.
7. Hook Up the Water and Test the Toilet
Screw the water hose connector onto the fill valve and tighten the connector by hand. Turn on the water valve and check for leaks, tightening more if necessary using adjustable pliers. Flush the toilet while watching around the base of the toilet for leaks. If you see leaks, you probably need to install a thicker wax ring.
References
- Justia: William H. Harvey, Paul E. Thies, and the William H. Harvey Company, Plaintiffs-appellees, v. Roy Levine, Henry Feniger, Beacon Manufacturing Company, and Wax Products Manufacturing Company, Defendants-appellants, 322 F.2d 481 (6th Cir. 1963)
- Benjamin Franklin: When and How to Replace Your Toilet's Wax Ring
- Sunrise Specialty: 9 Easy Steps To Replace A Toilet Seal