Outdoor Murphy Bar DIY That Literally ANYONE Can Do

We may receive a commission on purchases made from links.
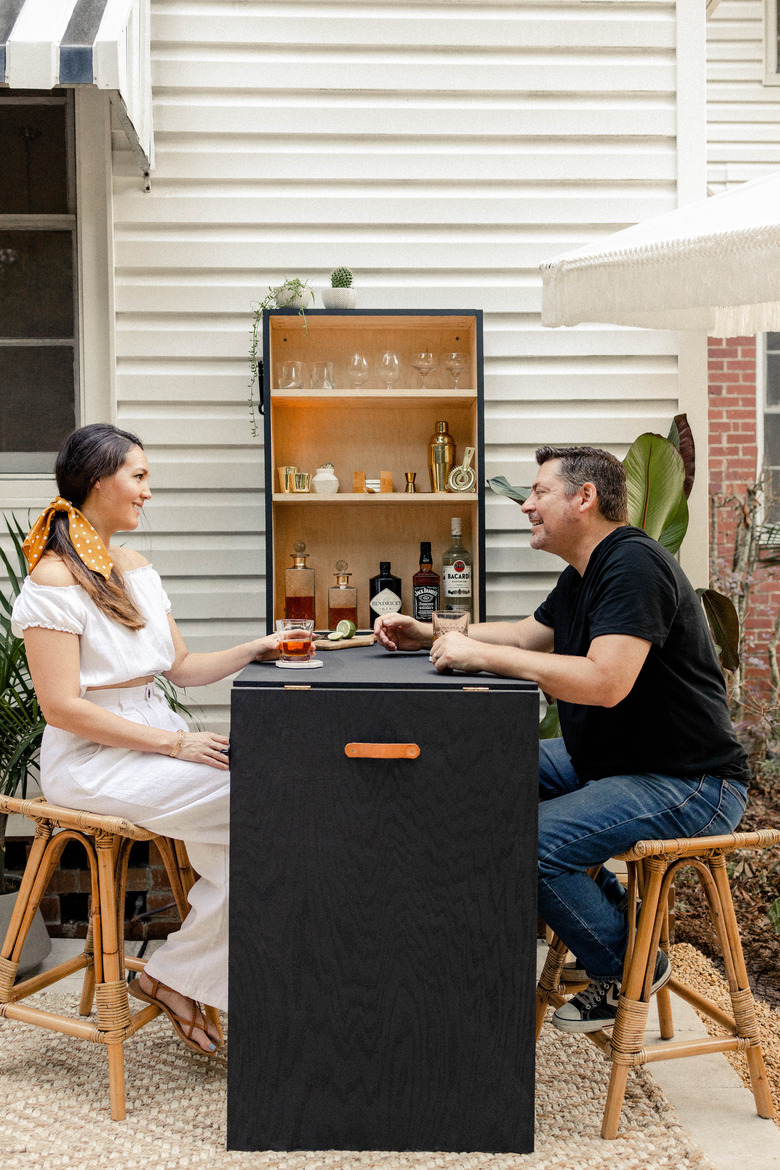
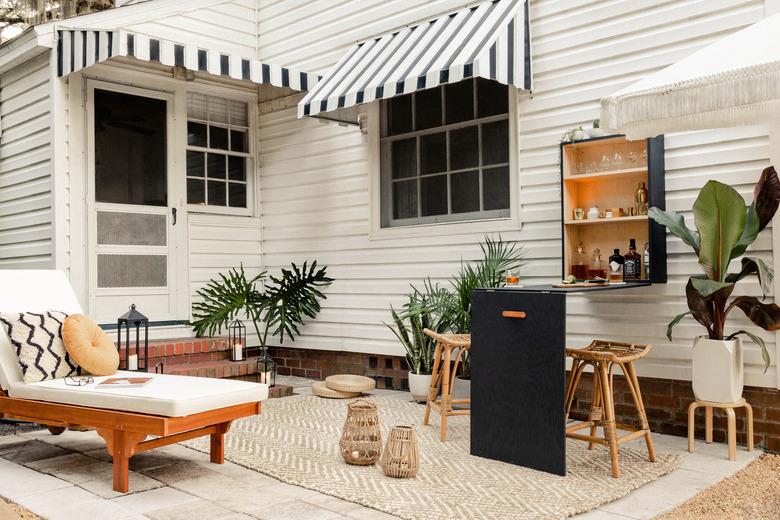
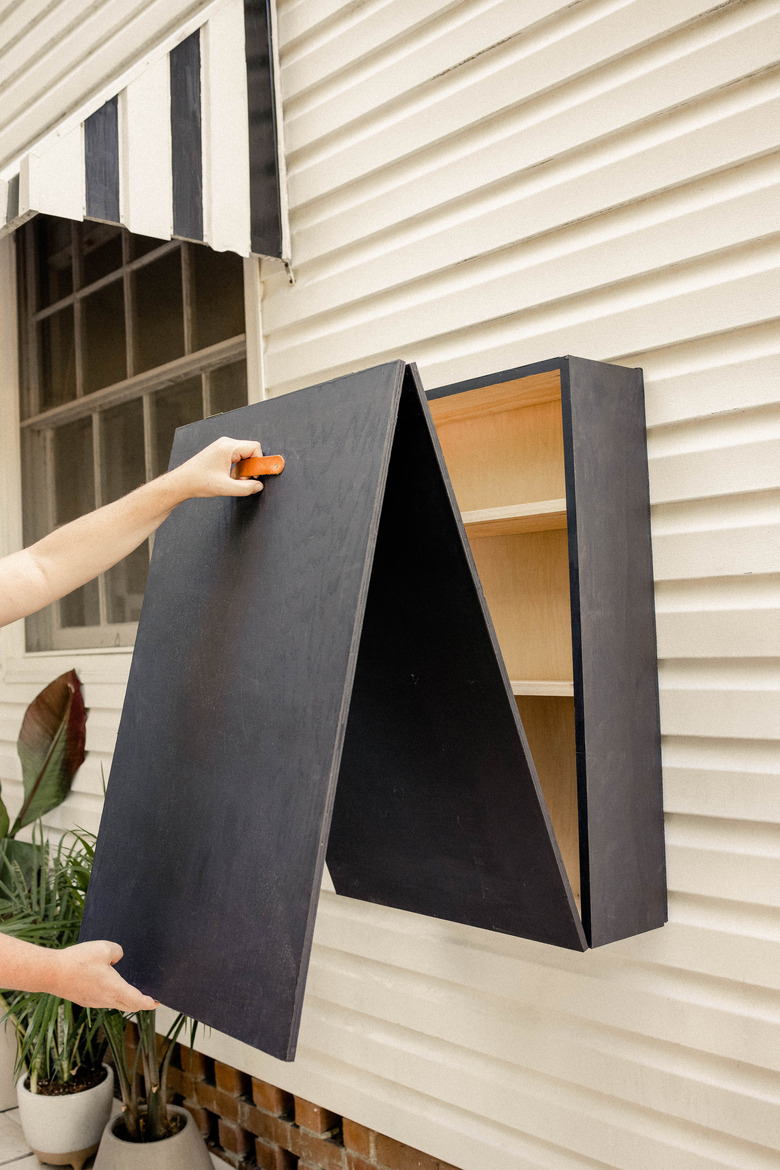
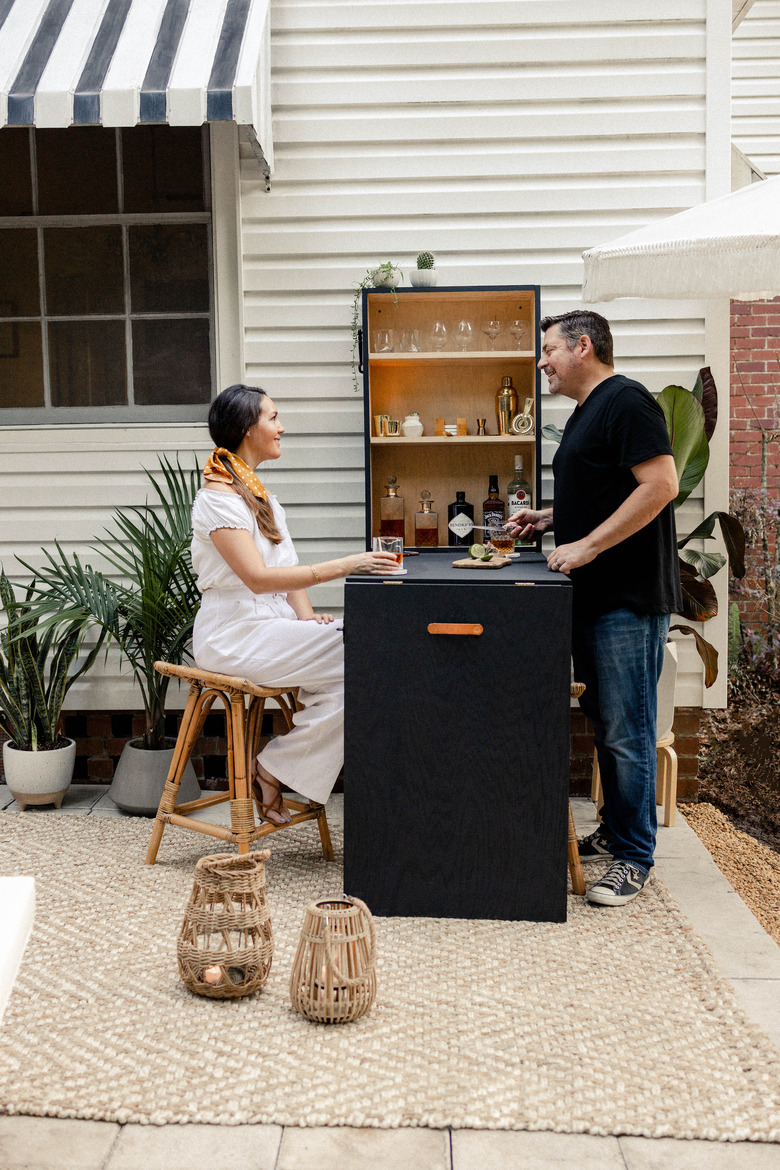
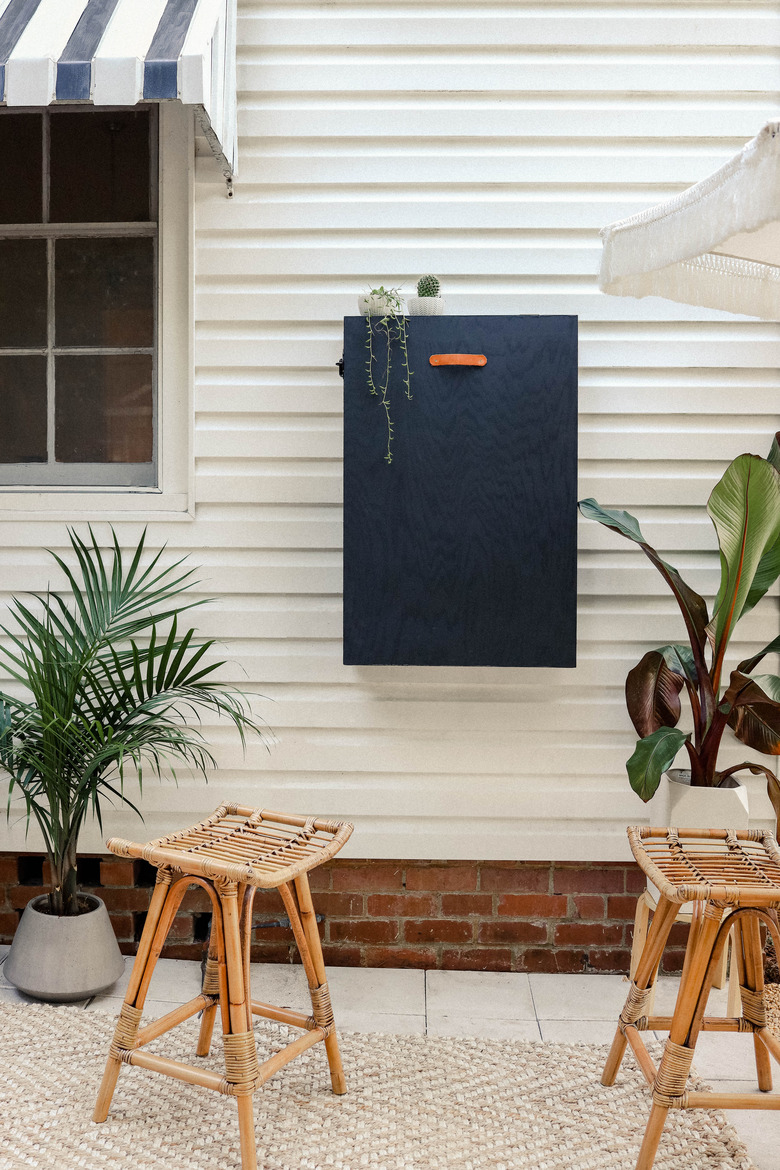
Save space while also adding style and function to your patio with an outdoor Murphy bar. Mounted on an exterior wall, it folds down easily to serve as a table surface for enjoying al fresco dinners or cocktail hours. And when it's time to go back inside, it conveniently folds right back up against the wall. This project is a breeze to build, especially when you have the right tools for the job. Make it in a weekend, and enjoy it all summer long — and every warm weather season thereafter.
 Trisha Sprouse
 Trisha Sprouse
Things Needed
-
Oscillating multi-tool or 80-grit sandpaper
-
1-inch-by-8-inch wood boards, 8-foot length, (2)
-
3/4-inch plywood, 2-feet-by-4-feet panels, (3)
-
1 1/4-inch pocket hole screws, (24)
-
1 1/4-inch wood screws, (14)
-
1/2-inch wood screws, (2)
-
3-inch exterior wood screws or 2 1/4-inch concrete anchors, (6)
-
2 1/2-inch-by-1 9/16-inch hinges, (4)
-
6-inch gate hook and eye latch
-
1-inch wide leather strip
-
Paintbrush or roller
-
Utility knife
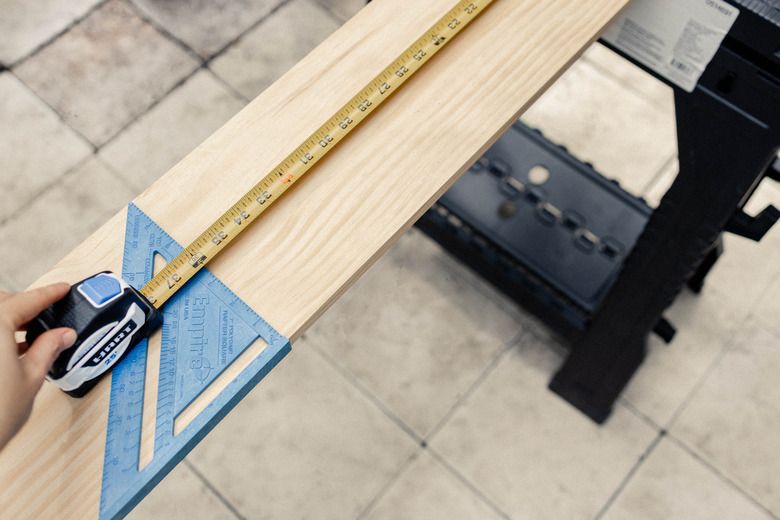
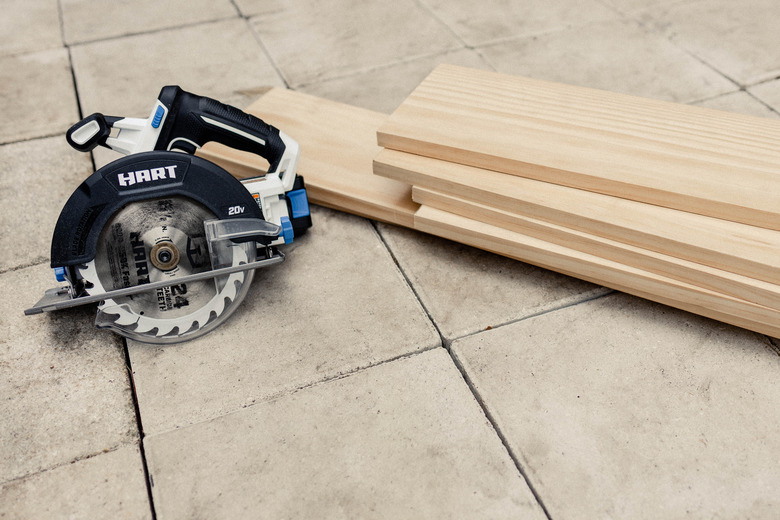
1. Cut the Wood to Size
Use a tape measure to measure and mark your 1-by-8-inch wood boards and 3/4-inch plywood sheets to the following dimensions:
- 2 pieces from the 1 x 8 board at 36 inches
- 4 pieces from the 1 x 8 board at 22 1/2 inches
- 3 pieces from the plywood sheets at 2-feet wide by 3-feet long
 Trisha Sprouse
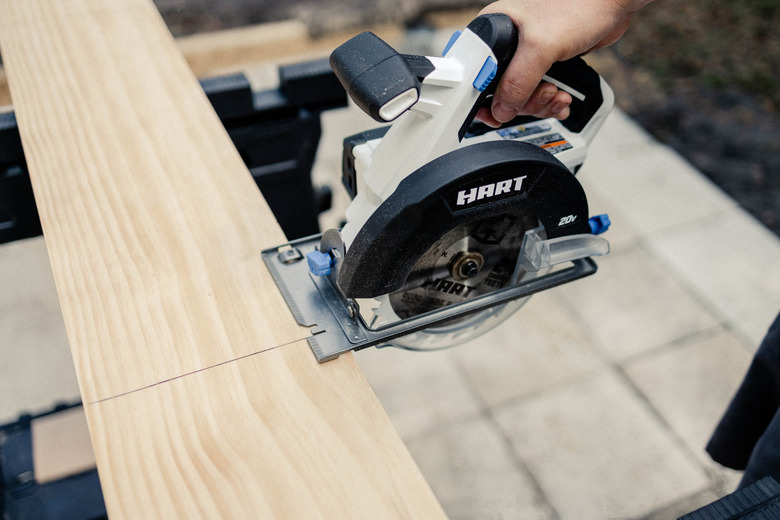
Then use a circular saw to cut them all to size.
 Trisha Sprouse
 Trisha Sprouse
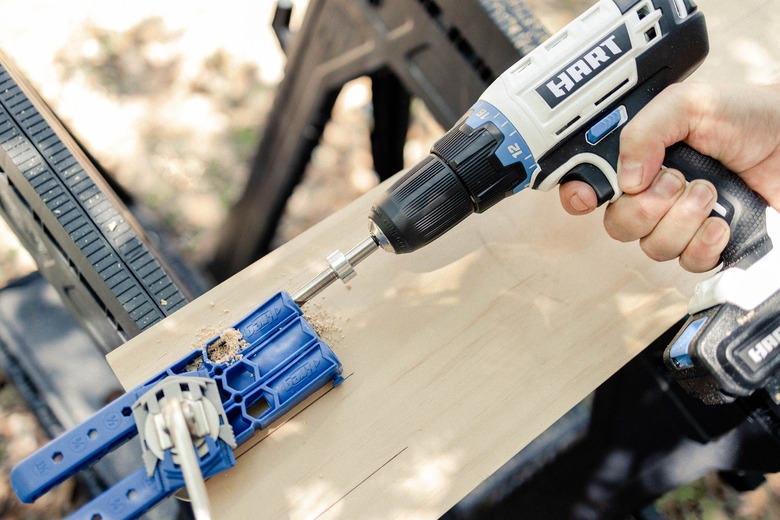
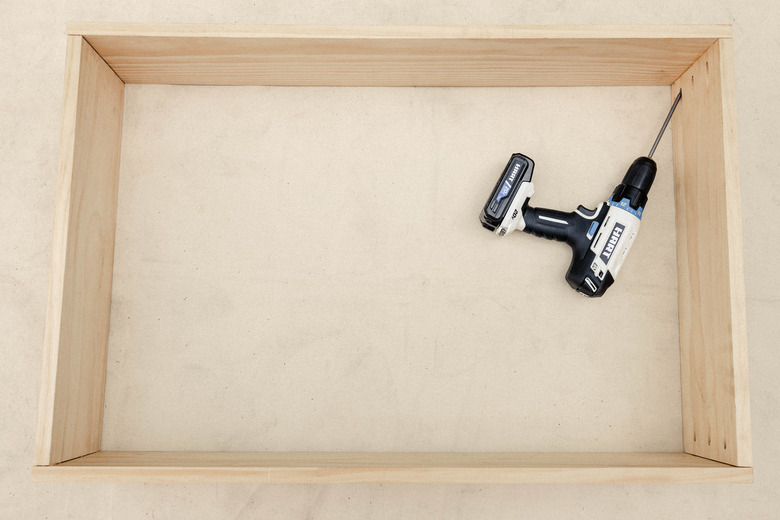
2. Build the Cabinet Frame
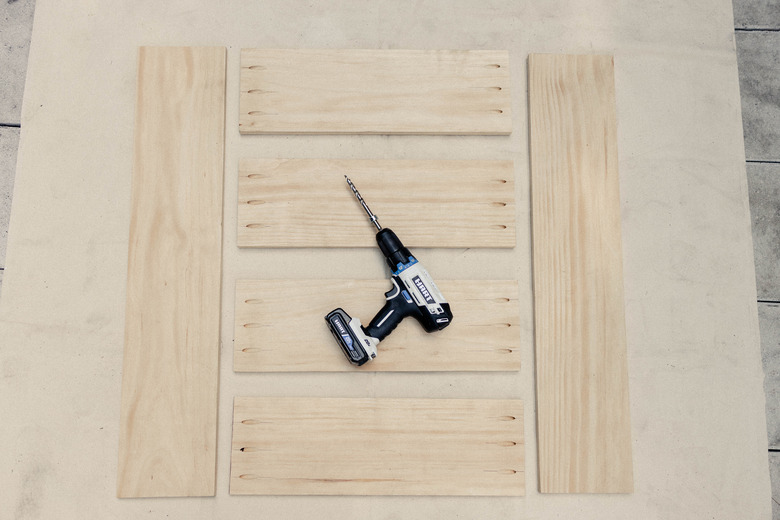
Set the pocket hole jig and drill guide to 3/4-inch, and drill three evenly spaced pocket holes on each end of the four 22 1/2-inch boards.
 Trisha Sprouse
 Trisha Sprouse
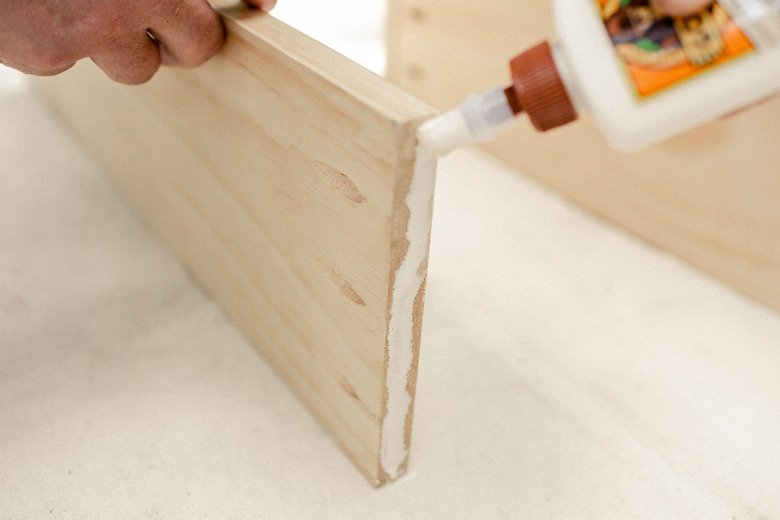
Position the two 36-inch boards to form the sides of the cabinet and place two of the 22 1/2-inch boards inside them to form the top and bottom. Make sure the pocket holes on the top and bottom pieces are facing the underside. Pipe wood glue on the sides of the top and bottom pieces, make sure the four pieces are flush, and then drill a pocket hole screw into each of the pre-drilled holes to secure the boards together.
 Trisha Sprouse
 Trisha Sprouse
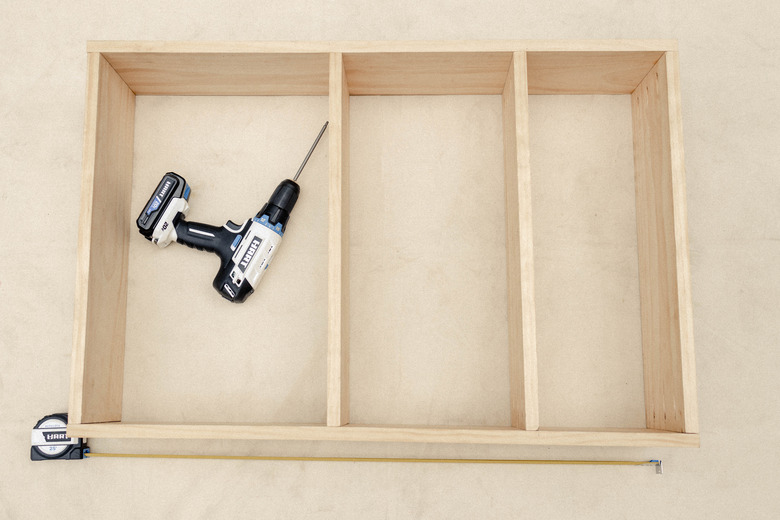
3. Attach Shelves to the Cabinet
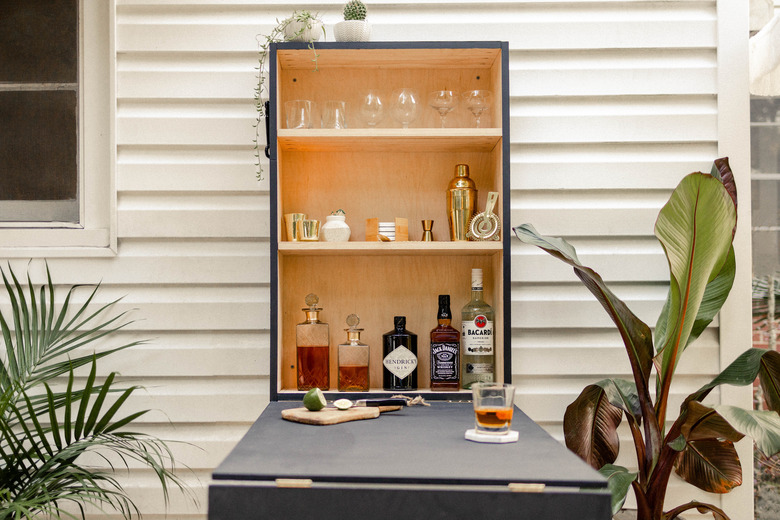
Place the bottom shelf 15 inches from the bottom of the cabinet, and the middle shelf 11 1/2 inches from the bottom of the bottom shelf. (You could place them at different heights if you wish, but we found these heights to accommodate most liquor and wine bottles, and bar-height glassware.) Again, be sure that the pre-drilled pocket holes are facing the underside of the shelves. Place wood glue on each end of the shelves, and secure them in place by drilling pocket hole screws into the pre-drilled holes.
 Trisha Sprouse
4. Attach a Back to the Cabinet
Line up one of the 2-feet-by-3-feet plywood pieces on the back of the cabinet, and attach it in place by drilling 1 1/4-inch wood screws through the plywood and into the cabinet. Be sure to pre-drill pilot holes for the screws first. We used 12 screws total, four down each long side, and two along each of the short sides.
 Trisha Sprouse
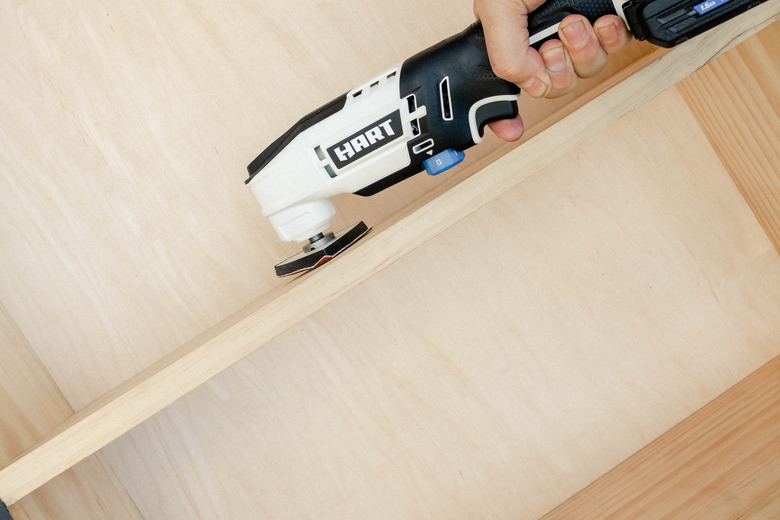
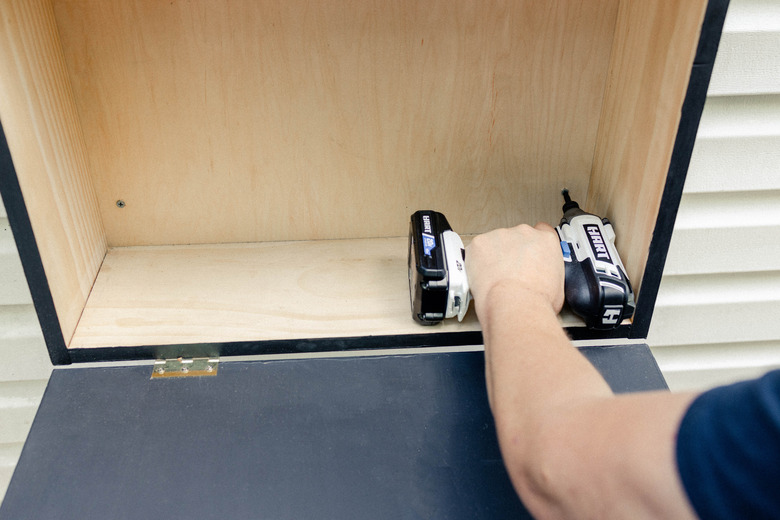
5. Sand and Paint
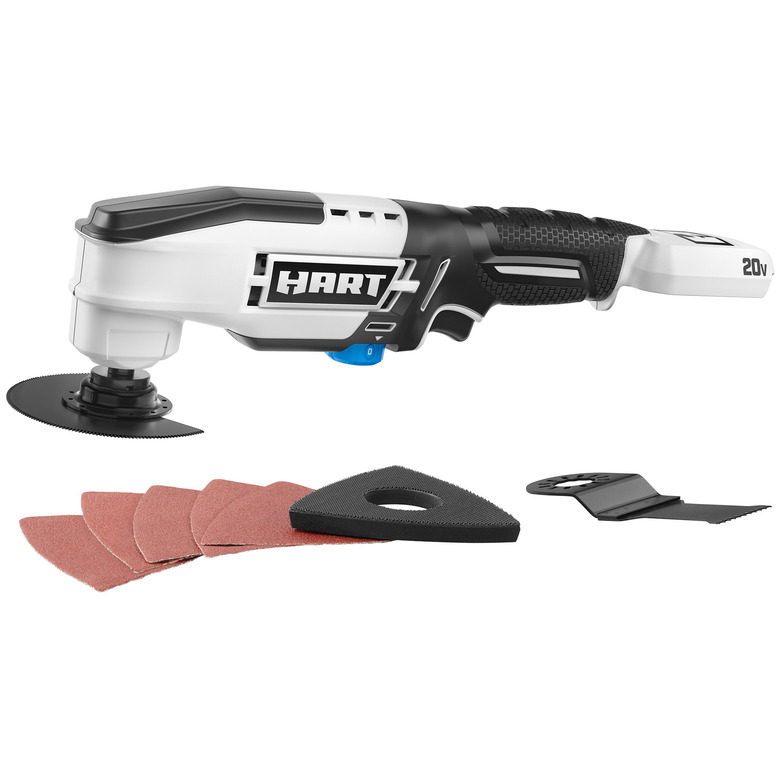
Use a coarse or medium-grit sandpaper to sand the cabinet as well as the remaining two plywood pieces until they are smooth, and wipe away the sanding dust. We loved using an oscillating multi-tool for this job, because it made it much easier and faster, and it was able to get into the small, tight corners.
 Trisha Sprouse
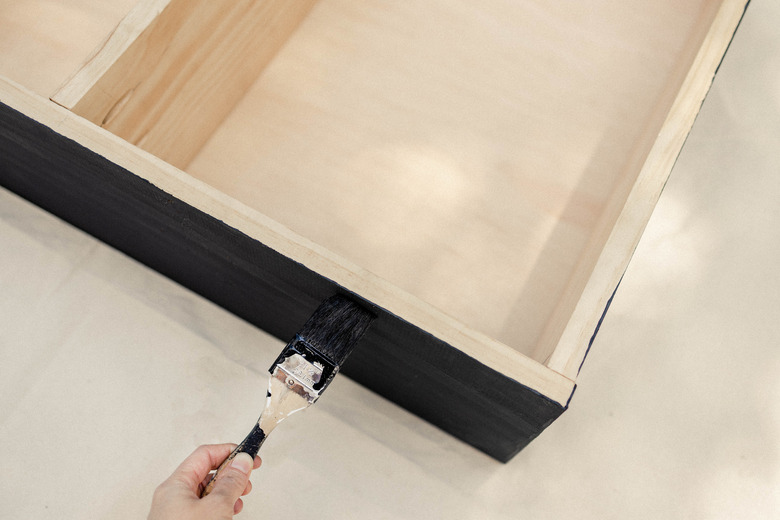
Then use exterior black paint to paint the cabinet back and sides (we left the inside of the cabinet and shelves unpainted for a modern two-tone effect). Also paint the front and back sides of the two plywood pieces. As long as you use a quality exterior paint, you shouldn't have to topcoat the paint with a clear sealant, as the paint already has weather-proofing capabilities built into it.
 Trisha Sprouse
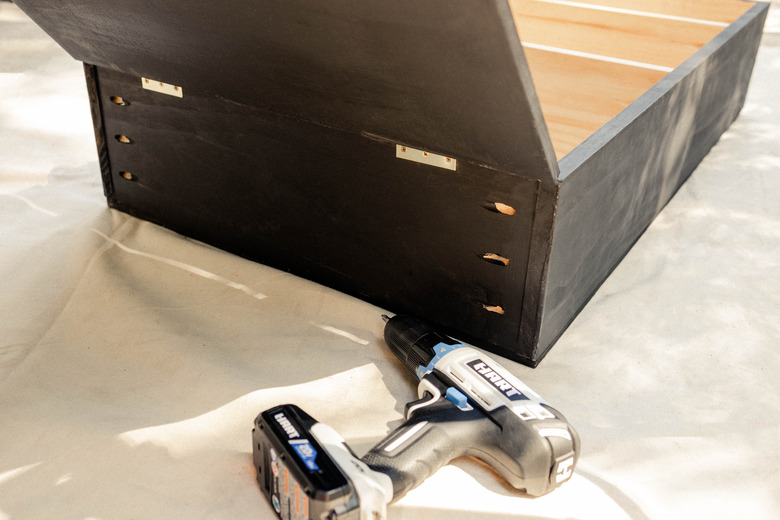
6. Attach the Tabletop
Lay the cabinet flat in a face-up position, and place two hinges on the bottom underside of the cabinet, each hinge positioned four inches in from the side. Drill them in place with the screws provided, making sure to pre-drill pilot holes first.
 Trisha Sprouse
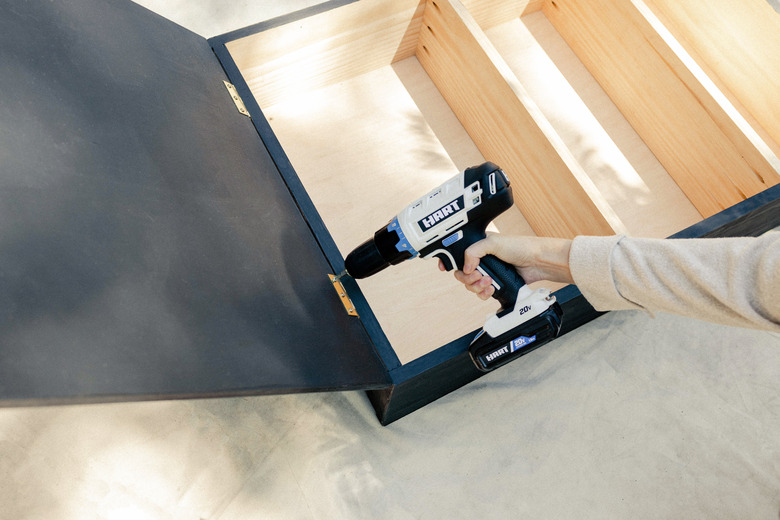
Now line up one of the painted plywood pieces with the bottom of the cabinet, and attach the other side of the two hinges to the topside of the plywood.
 Trisha Sprouse
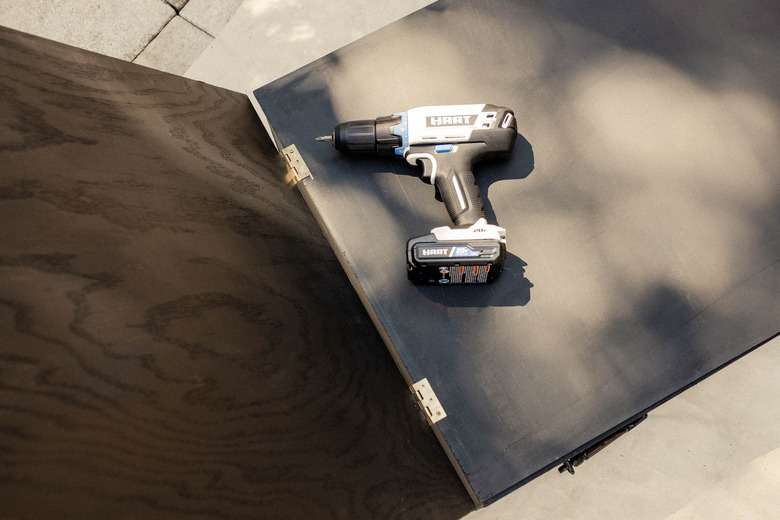
7. Attach the Table Leg
Position the tabletop you just attached so that it's in the closed position on top of the cabinet, and attach two hinges on the topside of the tabletop, each hinge spaced four inches in from the side.
 Trisha Sprouse
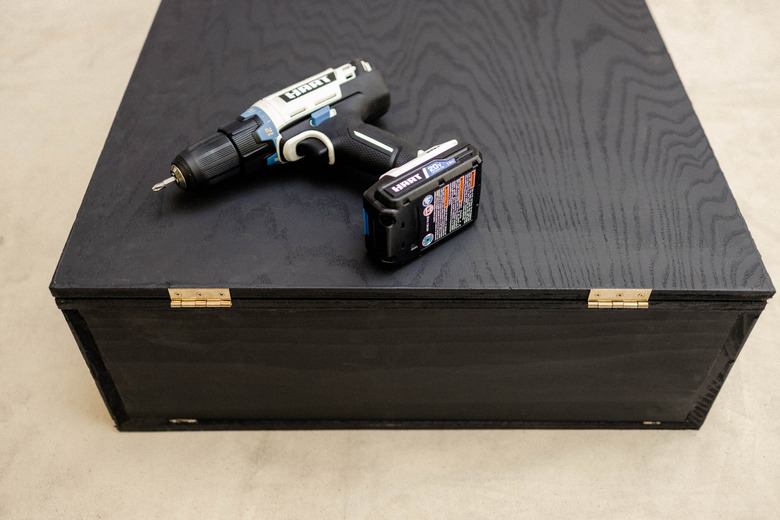
Place the remaining painted plywood piece directly on top of the tabletop, making sure to line up all edges, and attach the other side of the hinges to the edge of the plywood piece. When you lift up the leg and tabletop from the cabinet, they should fold out in an accordion style.
 Trisha Sprouse
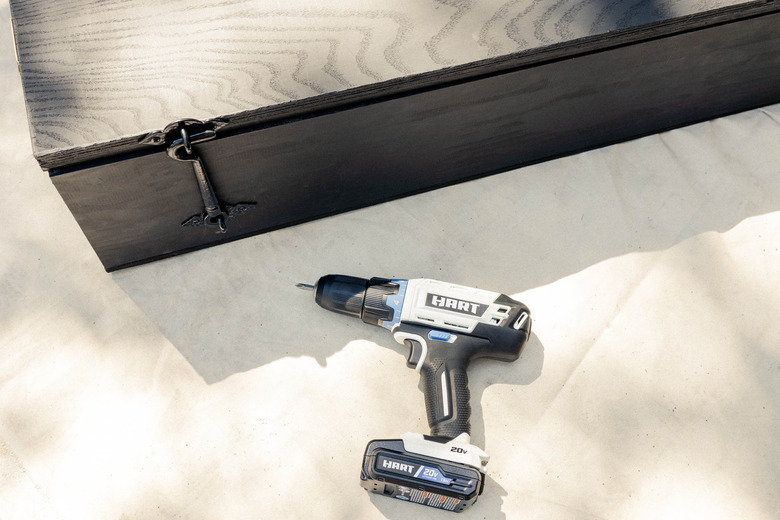
8. Attach a Side Latch
With the Murphy bar in the closed position, position the "hook" part of a hook-and-eye gate latch on one side of the cabinet, spaced about four inches down from the top, and drill it in place using the screws provided. Now attach the "eye" part of the latch to the side edge of the top piece of plywood (the table leg). Once the Murphy bar is mounted on a wall, the gate latch will keep the leg and tabletop in a closed position.
 Trisha Sprouse
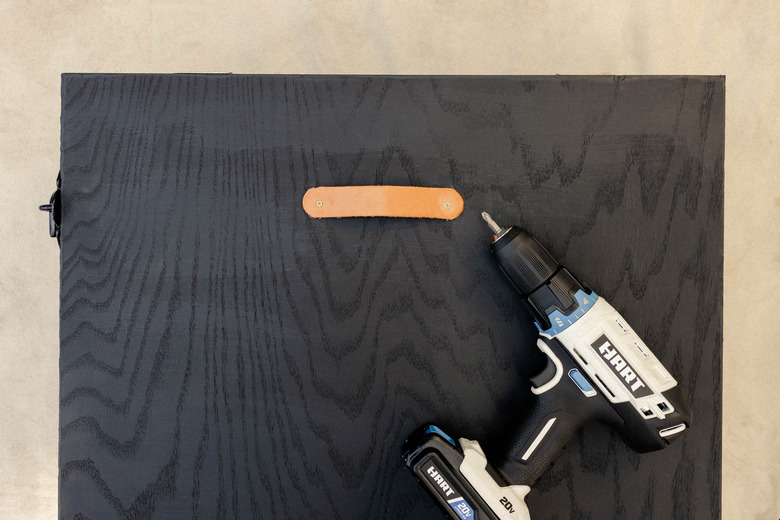
9. Attach a Leather Pull
Cut a leather strip to four inches in length using a utility knife (we also freehanded a rounded edge on each end). Center it on the front side of the table leg, about four inches down from the top, and attach it in place with two 1/2-inch screws. Again, pre-drill holes through the leather and wood first. This will serve as a handle to pull the Murphy down from the wall.
 Trisha Sprouse
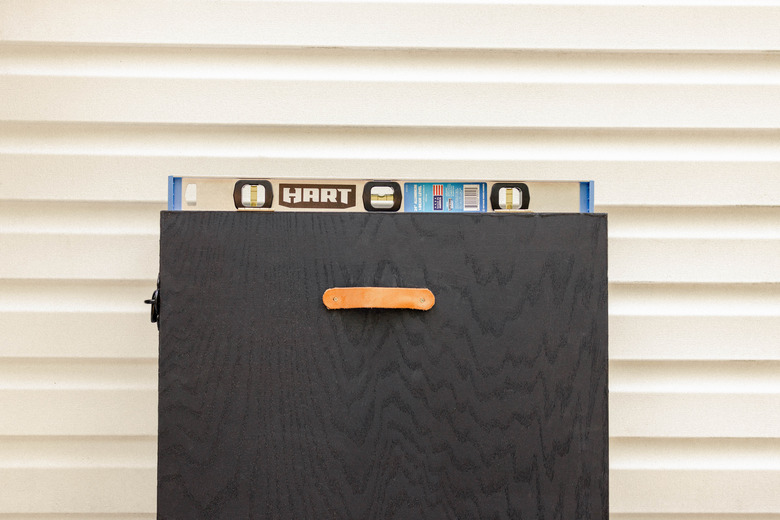
10. Mount the Bar on an Exterior Wall
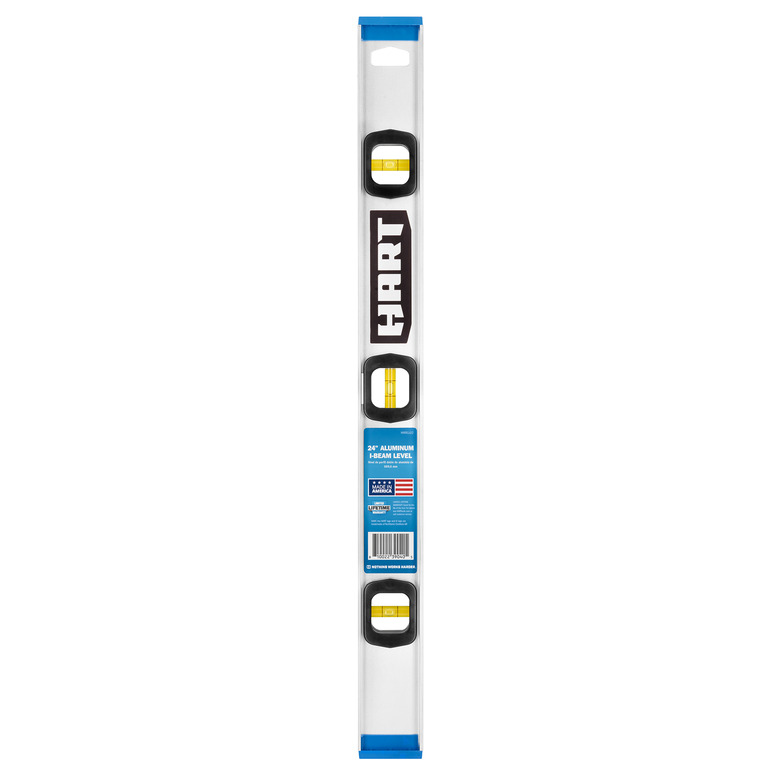
Have a helper hold the cabinet in position against the wall so that the bottom of the cabinet is 36 inches from the ground. Use a level to check that the top of the cabinet is in a level position.
 Trisha Sprouse
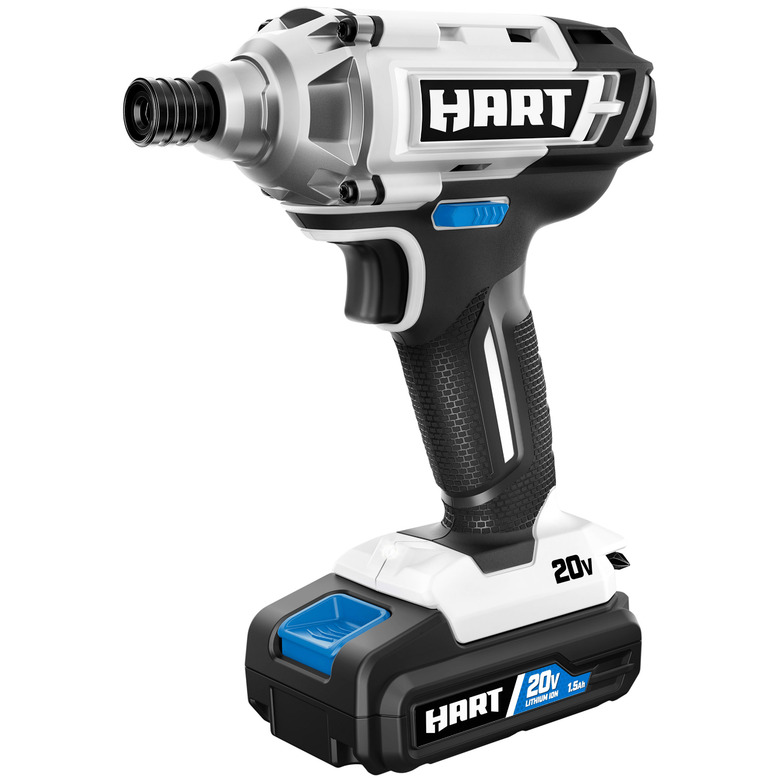
Pre-drill the holes first, and then use an impact driver or drill to attach the Murphy bar to the wall with 3-inch exterior wood screws if you have wood or vinyl siding, or 2 1/4-inch concrete anchors for brick walls. We used two screws at the top and two screws at the bottom to ensure the cabinet stayed flush to the wall and securely attached.
 Trisha Sprouse
The bar should fold down from the wall in an accordion style, with the table at 90 degrees from the cabinet, and the leg resting firmly on the ground.
 Trisha Sprouse
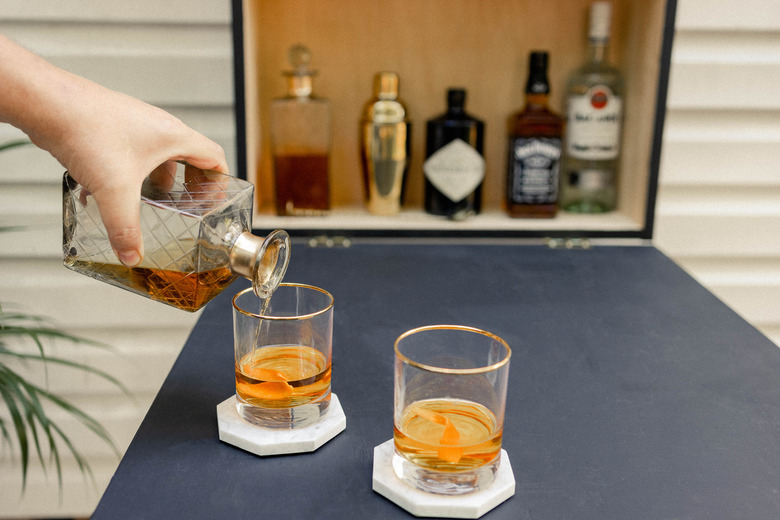
And that's a wrap on building your bar! All that's left to do is simply to stock your cabinet with all your favorite barware and spirits (or grilling supplies), and enjoy the fruits of your labor. We think you earned yourself a refreshing cocktail or mocktail, don't you?
 Trisha Sprouse
 Trisha Sprouse
 Trisha Sprouse
When happy hour is over, simply fold the table back up, and secure the table and leg in place with the side latch. Just don't wait too long to enjoy your Murphy bar again next time, wink wink.
 Trisha Sprouse
Get the Look With the Right Tools!
Get the Look With the Right Tools!
Dare we say we "heart" these Hart tools? Oh yes, we do.
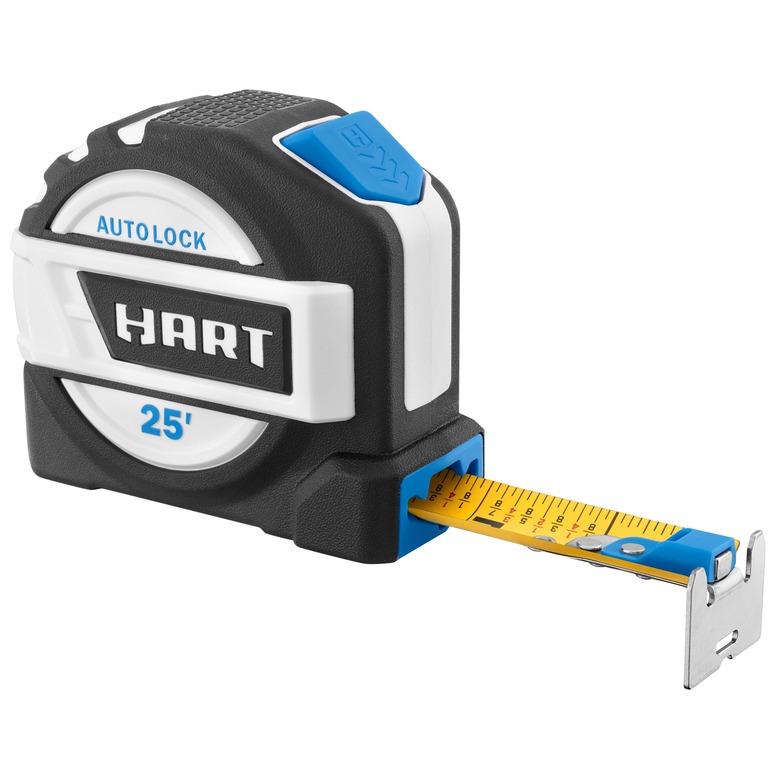
HART 25-Foot Magnetic Autolock Tape Measure, Fraction Markings, $10.88
 Walmart
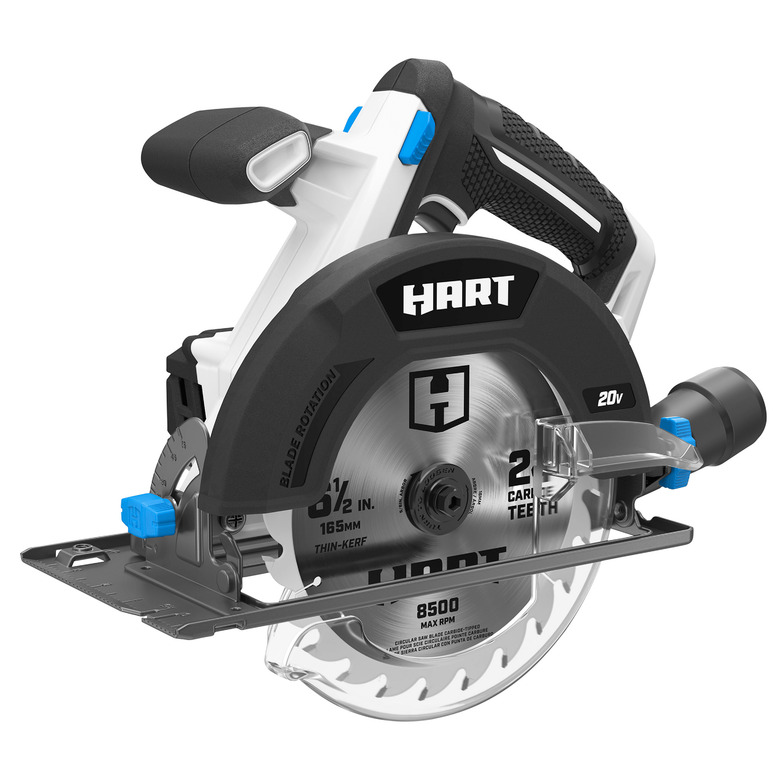
HART 20-Volt Cordless 6 1/2-inch Circular Saw, $69
 Walmart
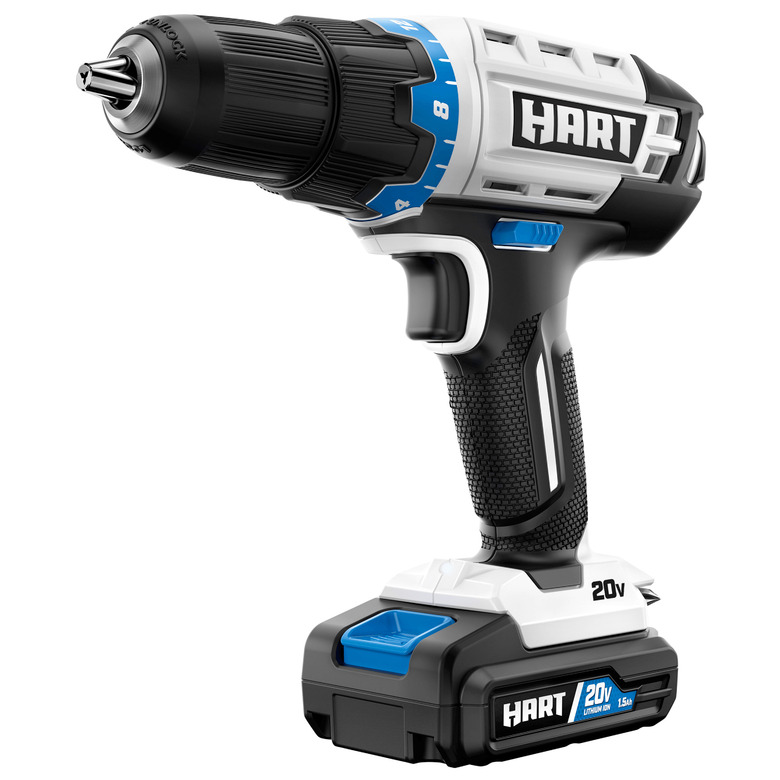
HART 20-Volt Cordless 1/2-inch Drill/Driver Kit, $69
 Walmart
HART 20-Volt Cordless Oscillating Multi-Tool with Accessories, $54
 Walmart
HART 20-Volt Cordless Impact Driver Kit, $69
 Walmart
HART 24-inch Aluminum I-Beam Level with Top-Read Window, $12.94
 Walmart