How To Install A Bathroom Sink
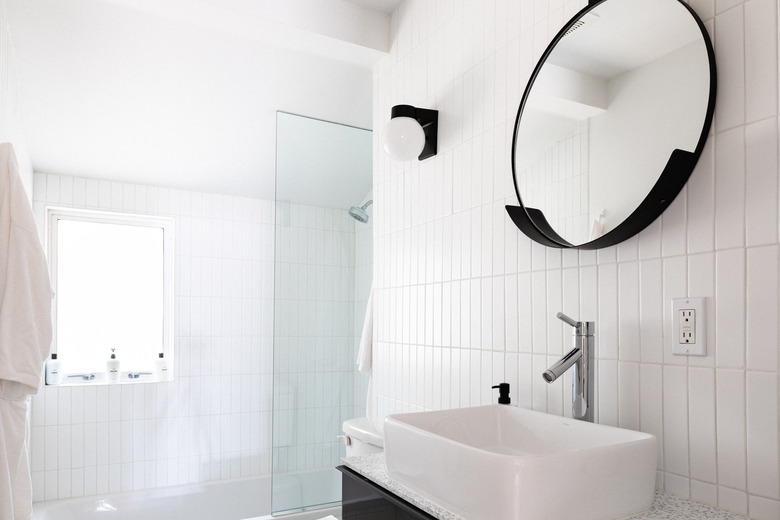
You can choose one of many different styles of sink for your bathroom, including a pedestal sink, a wall-mount lavatory, a vessel sink or an undermount sink. When it comes to bathroom sink installation, however, the essential procedure for any of them isn't much different from that of the most common type — a top-mount, or drop-in, sink installed in a precut hole in a vanity top. Besides securing the sink to the vanity (or a wall or pedestal), the most important thing you have to do is connect the drain.
In most situations, the drain pipe, which is the pipe sticking out of the wall underneath the planned location of the sink, is already in place, and the drywall is finished. The hot and cold water pipes for the faucet should also be there, and each should have its own shutoff valve. If the water supplies do not have shutoff valves, you or a plumber need to install them before you install the sink.
The Sink P-Trap Explained
The Sink P-Trap Explained
The P-trap is required by code to keep sewer gases in the pipes. P-trap assemblies come in kits that include everything you need for a typical bathroom sink installation, although sometimes you need extra pieces because of the orientation of your sink relative to the drain opening in the wall. The parts in a kit include:
- The P-trap itself, which is a plastic or chrome P-shaped pipe with a diameter of 1 1/4 or, more commonly, 1 1/2 inches.
- The trap arm, a straight length of 1 1/2-inch pipe with a slight bend on one end, which allows it to be connected to the downstream end of the trap.
- Slip nuts for connecting one end of the trap to the sink tailpiece (the vertical pipe coming down from the sink) and the other end to the waste inlet in the wall.
- A tapered plastic gasket for each slip nut. This fits inside the joint to make the seal.
The tailpiece comes with the sink drain assembly, which is usually supplied with the faucet and often includes a pop-up stopper assembly. Besides the P-trap assembly and the faucet/drain assembly, you need to purchase a trap adapter that converts the 2-inch drain opening in the wall to a 1 1/2-inch opening for the trap arm. PlumbingSupply.com sells a number of flexible rubber trap adapters you can use, but plumbers more commonly use a 2 x 1 1/2 inch plastic fitting that you glue onto the waste pipe. With the adapter in place, the trap arm connects to the waste pipe with a removable slip-nut connection.
Things Needed
-
Sink drain assembly
-
Plumbers' putty
-
Silicone caulk
-
Tailpiece extension
-
Pop-up stopper assembly
-
2 x 1 1/2 inch trap adapter
-
Plastic pipe cement
-
Trap arm extension and fittings
-
Faucet supply hoses
-
Tongue-and-groove pliers
-
Putty knife
-
Screwdriver
-
Tape measure
-
Hacksaw
-
Adjustable wrench
 Stephen Paul for Hunker
Warning
Before you begin your bathroom sink installation, shut off the water supply to avoid leaks and spills.
How To Install a Bathroom Sink
1. Install the Sink Drain
Unpack the sink drain assembly, which usually comes bundled with your new faucet. The assembly should include a sink strainer, a tailpiece and a pop-up stopper assembly.
Unscrew the retaining nut from the strainer and remove the rubber gasket. Pack the underside of the strainer flange with plumbers' putty, set the strainer in the sink opening, slip on the rubber gasket from underneath the sink and screw on the retaining nut. Tighten this nut with tongue-and-groove pliers until putty begins oozing out from underneath the strainer and then give it one or two more turns for good measure. Remove excess putty with a putty knife or your fingers.
2. Install the Faucet
Insert the faucet posts through the holes in the sink and tighten on the retaining nuts that came with it using pliers. You usually don't need a sealant other than the base plate that came with the faucet. If you're installing the faucet directly in the countertop, this is still the best time to do it because you'll have to tighten the nuts from inside the cabinet, and you have more room to work. If you installed the countertop as a DIY project, you'll have to drill holes for the faucet.
3. Drop In the Sink
Apply a bead of silicone caulk around the edge of the sink opening in the vanity top and then drop the sink into the opening and push down on the edges to make sure the sink rim is fully seated in the caulk. Secure the sink from underneath using the clips that came with it, following the manufacturer's instructions. The only tool you need for this procedure is a screwdriver.
4. Screw on the Tailpiece
Tighten the threaded end of the tailpiece onto the sink strainer, making sure the opening for the stopper lever is toward the back, and check its length relative to the drain opening in the wall using a tape measure. It should be roughly the same distance from the bottom of the cabinet as the center of the drain pipe.
If it's more than an inch too long, the P-trap waste arm won't have the necessary downward slope to the drain, so cut the tailpiece with a hacksaw. If it's too short, install a tailpiece extension, which is a length of straight pipe with the same slip nuts that all P-trap components have. You can purchase the tailpiece extension wherever you purchased the P-trap assembly.
5. Hook Up the Stopper Mechanism
Drop the stopper into the drain opening and insert the stopper lever (a straight rod with a threaded cap glued midway between the ends) into the opening in the tailpiece and hook it onto the hole in the stopper flange. Screw the cap onto the opening and tighten it finger-tight. Verify that the stopper moves when you push the lever up and down.
Drop the lift rod into the hole in the back of the faucet. Connect the clevis (the metal strip with holes) to the lift rod and secure it with its screw or nut. Hook the stopper lever onto the clevis and secure it with the squeeze clamp that comes in the package.
 Jeran McConnel
6. Install the P-Trap
Fit the drain pipe with a 2 x 1/2-inch trap adapter, either by gluing it with plastic pipe cement or, if it's rubber, tightening the clamp supplied with it.
Unscrew the slip nut from the mouth of the trap and remove the plastic gasket. Slide the nut up along the tailpiece, threads facing down, and slide the gasket onto the pipe with its tapered side facing down. Insert the tailpiece about 1 inch into the mouth of the trap, slide the gasket into the gap and tighten the slip nut hand-tight.
Measure the distance from the other side of the trap to the drain opening, add 2 inches for overlap and cut the trap arm to the proper length with a hacksaw. Connect one end of the trap arm to the trap outlet on the P-trap and connect the other end to the trap adapter; tighten the slip nuts by hand. If the trap arm isn't long enough or the drain opening is offset to the right or left of the tailpiece, you can buy fittings to lengthen the trap arm or change its direction.
7. Connect the Faucet Supply Hoses
Purchase flexible rubber or braided metal faucet hoses with connectors that fit both the faucet supply posts, which are usually 1/2 inch, and the shutoff valve ports, which are usually 3/8 or 1/2 inch. The hoses have to be long enough to reach, but if they're too long, they can get in the way. You can coil extra-long hoses if needed.
Screw the hose connectors onto the faucet posts and shutoff valves and tighten them with an adjustable wrench. Plumbers' tape isn't required because these are compression fittings that include a rubber gasket to prevent leaks.
8. Turn on the Water and Check for Leaks
Complete your bathroom sink installation by removing the spout aerator, opening the faucet, turning on the shutoff valves and letting the water run for a minute to clear debris out of the water lines and faucet. Turn off the water, replace the aerator and check for leaks in the water lines.
After verifying the water lines are leak-free, close the sink stopper, fill the sink and then open the stopper and check the P-trap assembly for leaks. Tighten nuts as necessary by hand or using pliers.