Bathroom Vent Fan Installation: A How-To Guide
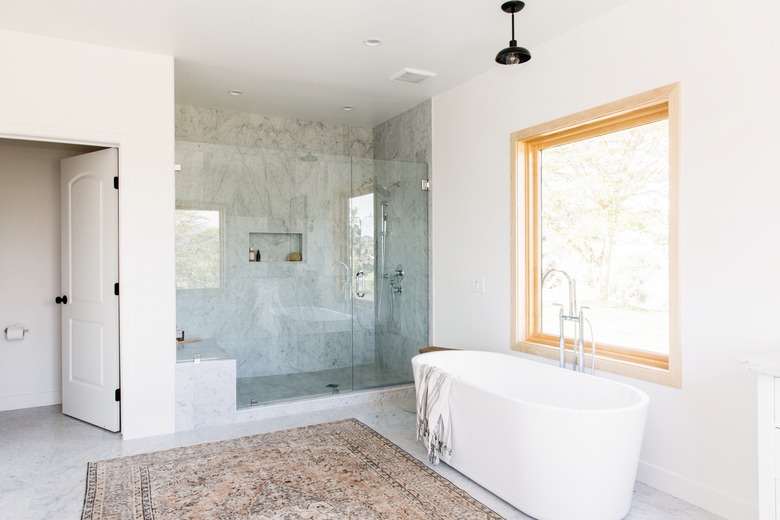
A bathroom needs ventilation as much as it needs lights, so a bathroom vent fan installation will probably be part of your new bathroom or your bathroom remodel. In some places, a ventilation fan is only required by code if the bathroom doesn't have an openable window, but it's a good idea to install one anyway. It protects the walls, cabinets and framing from mildew and rot, and it improves the air quality.
You may want a bathroom exhaust fan with extra features, such as a light or a heater, in which case you'll probably need to install a dedicated electrical circuit for it. If it's just a fan, though, you can probably add it to the light circuit. Check with your local building department to be sure.
Choosing a Bathroom Fan
Choosing a Bathroom Fan
Extra features aside, when shopping for a ventilation fan, you'll want to make sure you choose one that has enough capacity for your bathroom and won't sound like a marching band when it's on.
Exhaust fan capacity is measured by the number of cubic feet per minute (cfm) it can exchange, and the minimum air flow required by code is 50 cfm. If your bathroom floor area is less than 100 square feet, the Home Ventilating Institute says the fan capacity in cfm should be the same as the area in square feet, but it's better to get a larger one. In a bathroom that exceeds 100 square feet in area, add the requirements for each bathroom fixture, which are 50 cfm each for the toilet, shower and bathtub and 100 cfm for a jetted tub.
The noise level of the fan is measured in sones, and it's displayed on the container next to the capacity. A quiet fan has a noise level of less than 1.0 sone, and a noisy one can be as much as 4.0 sones, the sound level in a busy office. The larger the fan, the noisier it is, so if you need a large fan, you'll probably have to settle for a noisy one.
 Sanford Creative
The Basics of Bathroom Vent Fan Installation
The Basics of Bathroom Vent Fan Installation
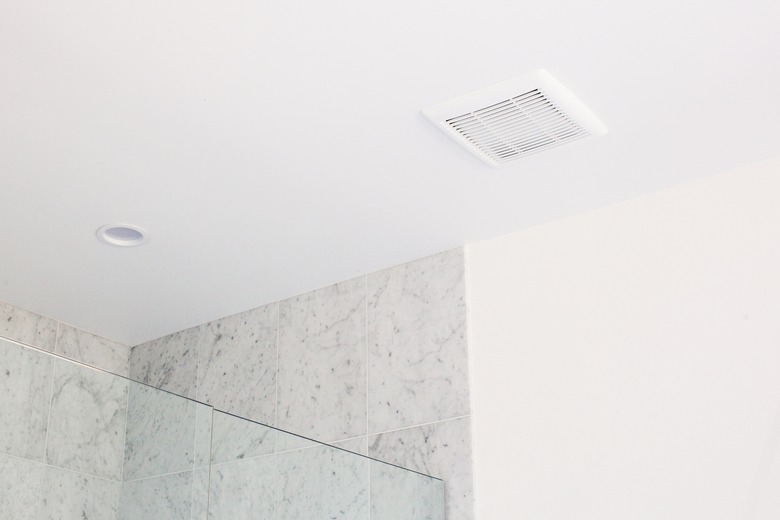
The entire vent fan assembly consists of a housing to which the fan is attached and a duct system that directs air to the outside of the building. The housing has brackets that get fastened to a pair of ceiling joists. The positions of the joists determine the ceiling position of the fan, so you might not be able to put it exactly where you want it, although you'll probably want it as close to the center of the bathroom as possible.
The duct system runs from the fan and exits through a side wall, a soffit or through the roof. It can be challenging to install this if you don't have access to the attic, and you may have to remove some of the ceiling drywall. You want to plot the shortest course, and although code allows bends in the duct pipe, there should be as few as possible. Some local codes require rigid duct, but if yours doesn't, you can use flexible aluminum duct, which is easier to handle.
Preparing for Bathroom Vent Fan Installation
Preparing for Bathroom Vent Fan Installation
You'll need to have electrical wires in place for the ventilation fan. If you're replacing an old fan with a new fan, they'll already be there, but if you're upgrading the fan to one with extra features, you may have to run new circuit wires to a dedicated circuit breaker. If you aren't confident in your DIY electrical skills, you should have the electrical work done by an electrician before you begin your bathroom vent fan installation.
Planning the ductwork requires measurement of the distances involved so you can buy the pipes and fittings you need. You'll also need a vent cap for the outside of the building, and the style depends on whether you're exiting through a wall, a soffit or the roof. Vent fans tend to have a 3-inch outlet, so if you're using 4-inch duct, you'll need a reducing fitting.
The vent exit must be at least 3 feet from any opening, such as a window, that allows outside air into the building. When no attic access is available, it's best to run the duct along a joist and vent it through a wall or bend it downward so it can exit through a soffit.
 Stephen Paul for Hunker
How to Install a Bathroom Vent Fan
1. Install the Vent Cap
To make a hole in siding or a soffit, trace the outline of the vent pipe and cut a hole using a hole saw. If the cap is on the roof, drill a pilot hole through the roof. Then, go on the roof, trace the duct opening, cut the roofing with a knife and use a reciprocating or hole saw to do the rest.
Attach the vent cap with screws and then seal around it with weatherproof caulk. A roof vent cap has flashing that has to go under the roofing shingles in an approved manner before you nail it to the roof decking.
2. Install the Ducting
Secure the ducting to the vent using metal duct tape or clamps as required by local code. Run it to the fan location using fittings to change direction as needed and securing it with clamps and hangers. Check the manufacturer's recommendations for maximum length and maximum number of bends.
3. Cut the Opening for the Fan Housing
Measure the housing dimensions or look them up in the instructions that come with the fan. Draw the outline and cut it out using a drywall saw. If you're replacing an existing fan, use the saw to make the hole bigger if needed. Cut around the outline with a drywall saw.
4. Install the Fan Housing
Place the housing over the hole and secure it to the joists on either side by driving the screws through the brackets attached to the housing. If you're working from underneath and don't have access to the attic, push the housing through the hole and secure it by driving screws through the housing itself into the joists.
5. Secure the Ductwork to the Housing
Use metal-backed duct tape or clamps to secure the duct to the housing outlet. If needed, use a 3 x 4-inch reducing fitting and tape or clamp it on both ends. If you don't have attic access, you have to connect the duct to the housing before you secure the housing to the joists.
6. Connect the Electrical Wiring
Screw a cable clamp onto the electrical knockout on the fan housing, feed the electrical wires through the clamp and tighten it to hold them. Again, if you're working from underneath, you have to do this before securing the housing. Splice the circuit wires to the fan receptacle wires — black to black, white to white and ground to ground. Cap the wires with wire caps and install the protective cover that comes with the unit.
7. Install the Fan
Push the plate on which the fan is mounted into the housing and secure it with the spring-loaded clips in the housing. Plug the fan into the receptacle. If the fan has other features, follow the manufacturer's instructions for installing them.
8. Snap on the Grille
The fan cover, or grille, has tension wires on either side splayed out at an angle. Squeeze these together and insert them in the slots on the fan housing. Then, push the grille into place. The tension wires will hold it.