DIY Wood And Glass Propagation Station (And Tips For Growing)
We may receive a commission on purchases made from links.
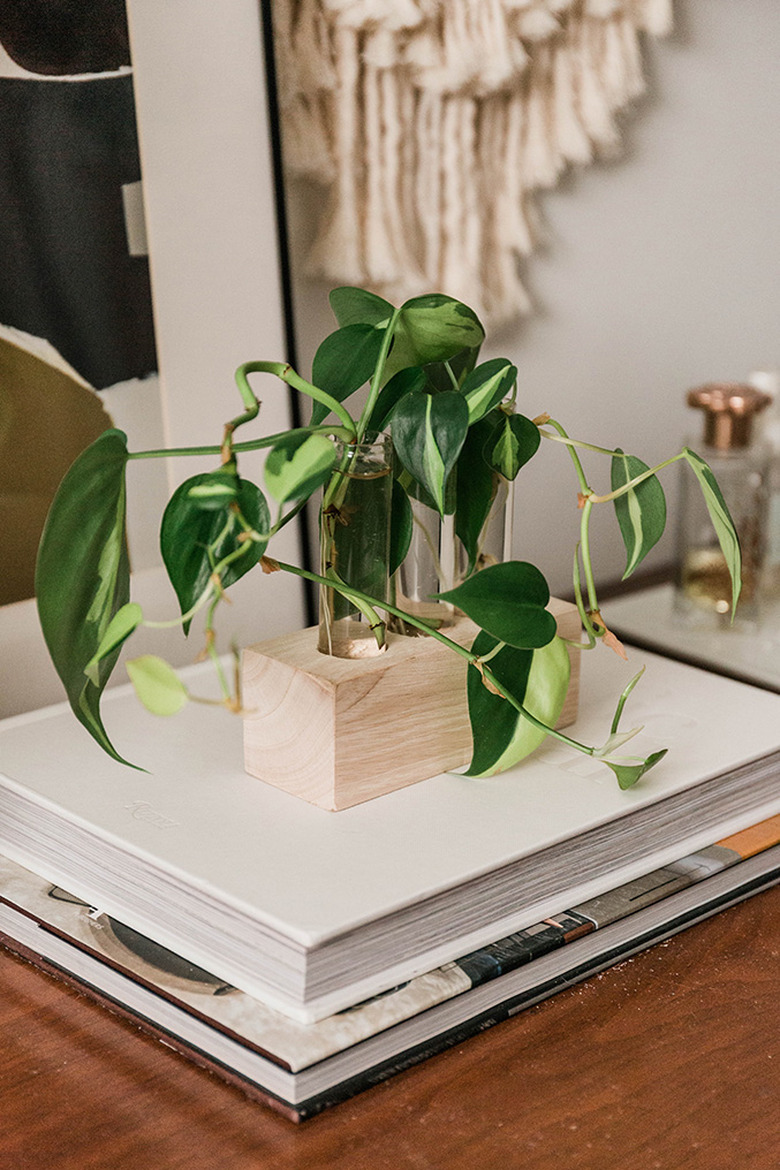
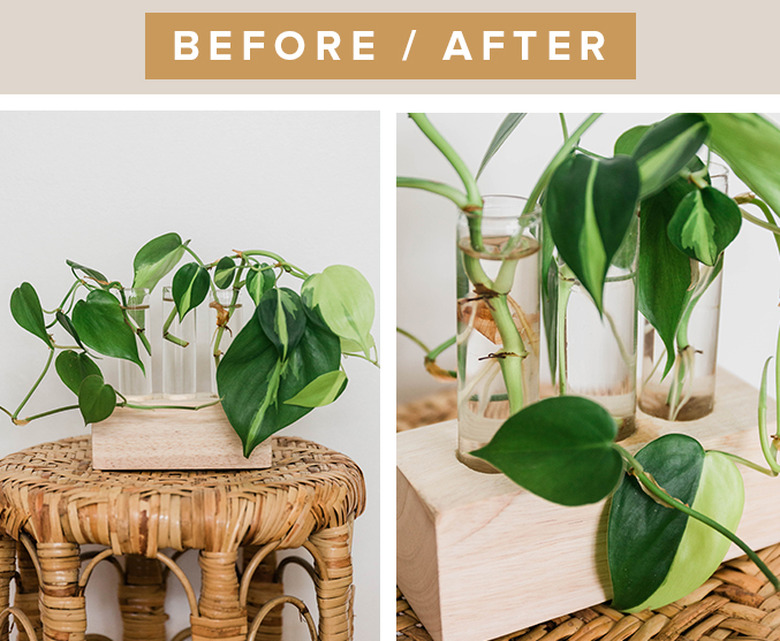
Hunker and houseplants go hand-in-hand — we love them and their many benefits, and are always up for adding greenery to our homes. So, did you know that you can successfully propagate new plants from existing houseplants? Below, we share an easy way to DIY a wood and glass propagation station — and then, check out our growing tips and advice to help get you started.
 Carrie Waller
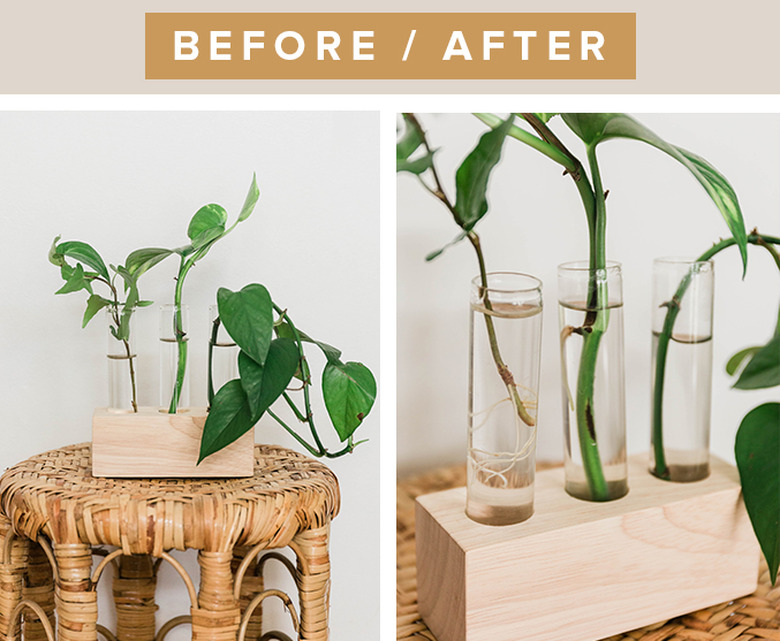
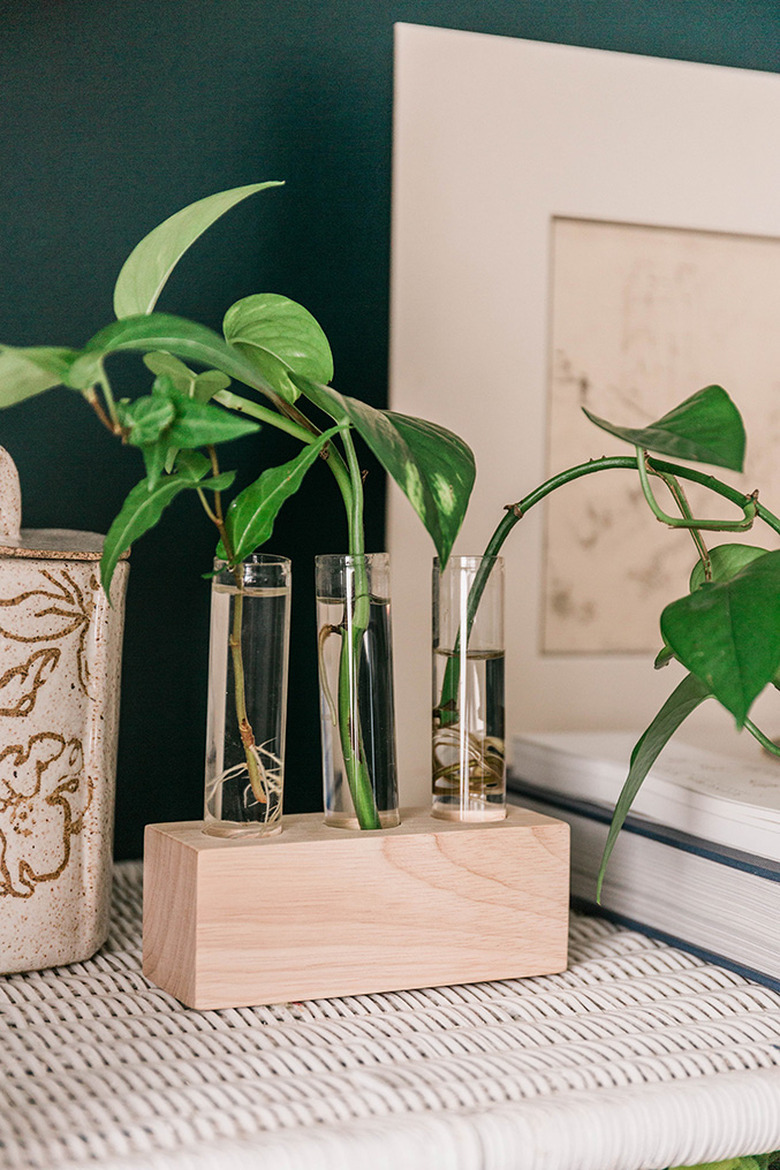
In this picture below, you can see how the stem cuttings started forming roots in water within three weeks.
 Carrie Waller
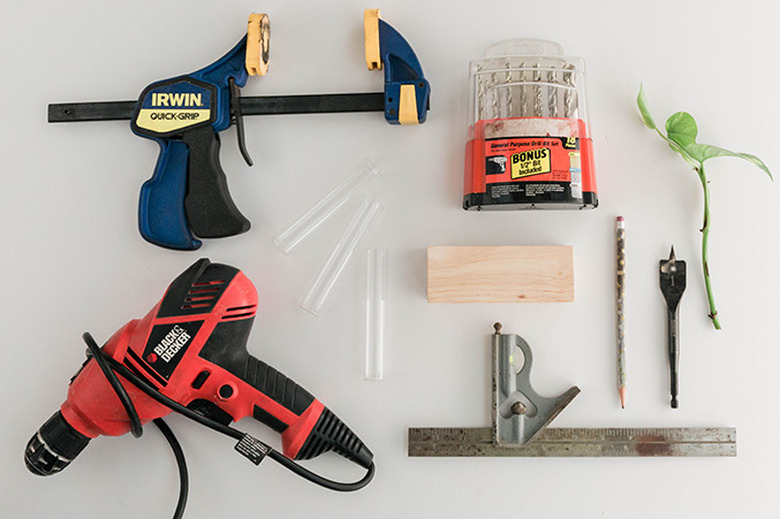
Things Needed
-
Polycrylic protective finish, optional
-
Plan cuttings to propagate (we used golden pothos, succulents, fiddle-leaf fig, Brazil philodendron, English ivy, and ... green onion)
-
Pencil
 Carrie Waller
Step 1
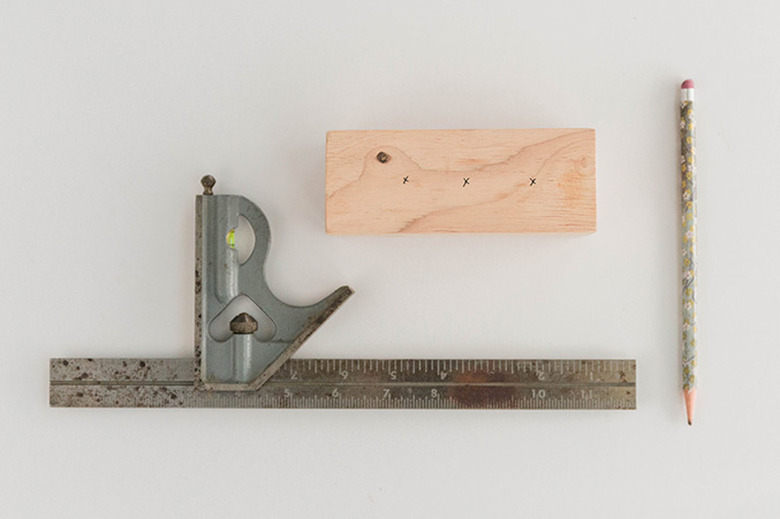
Use a square straight edge or ruler and a pencil to measure and mark three holes an equal distance apart from one another centered on the top of your wood block. This is where your test tubes will sit upright in the finished stand. For this tutorial, the holes are roughly 1 1/4 inches apart from end-to-end of the block.
 Carrie Waller
Step 2
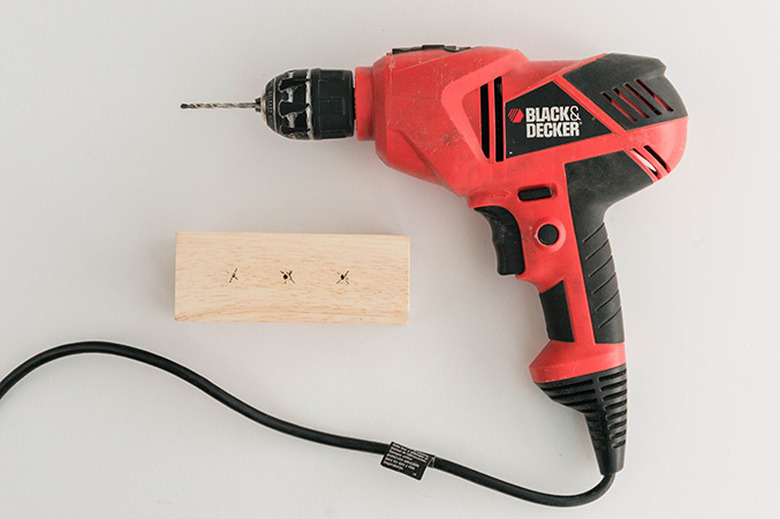
Clamp the wood block to a work surface securely so that it can't budge. Outfit your power drill with a 5/64 drill bit, and use that to drill pilot holes over the marks you measured out on the wood block in the previous step.
 Carrie Waller
Step 3
Step 3
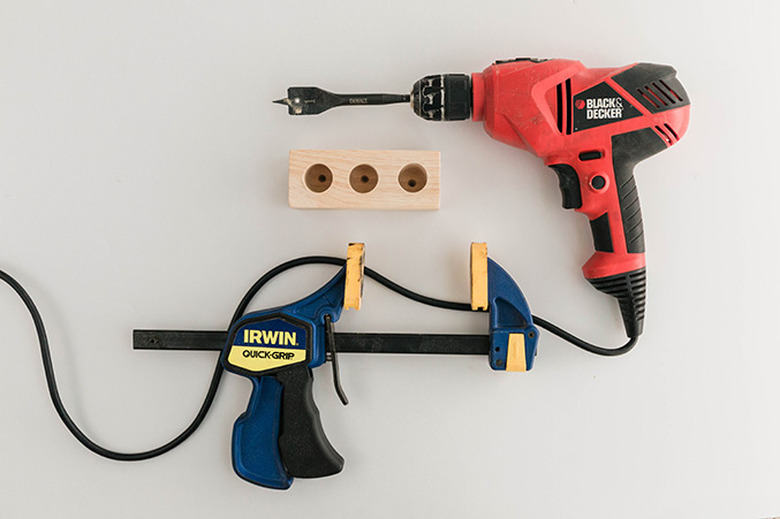
With the wood block still securely clamped to your work surface, now outfit your power drill with a 1-inch spade bit, and drill down over the pilot holes into the wood block. Go into the block by about an inch and a half.
 Carrie Waller
Step 4
Step 4
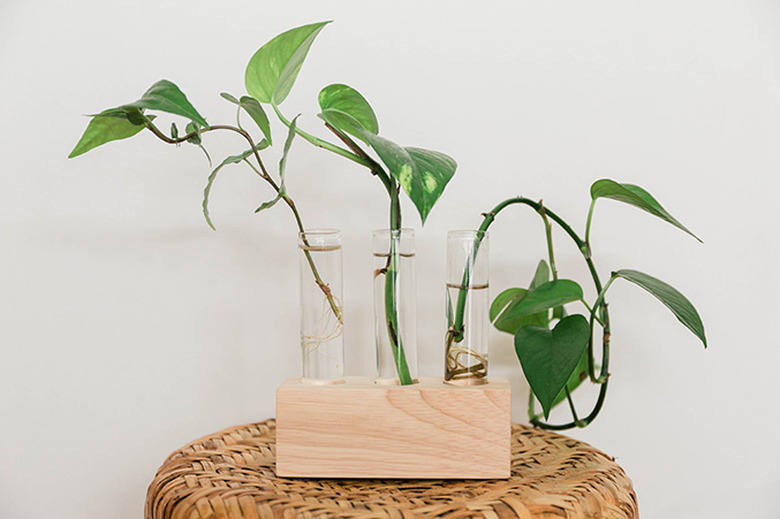
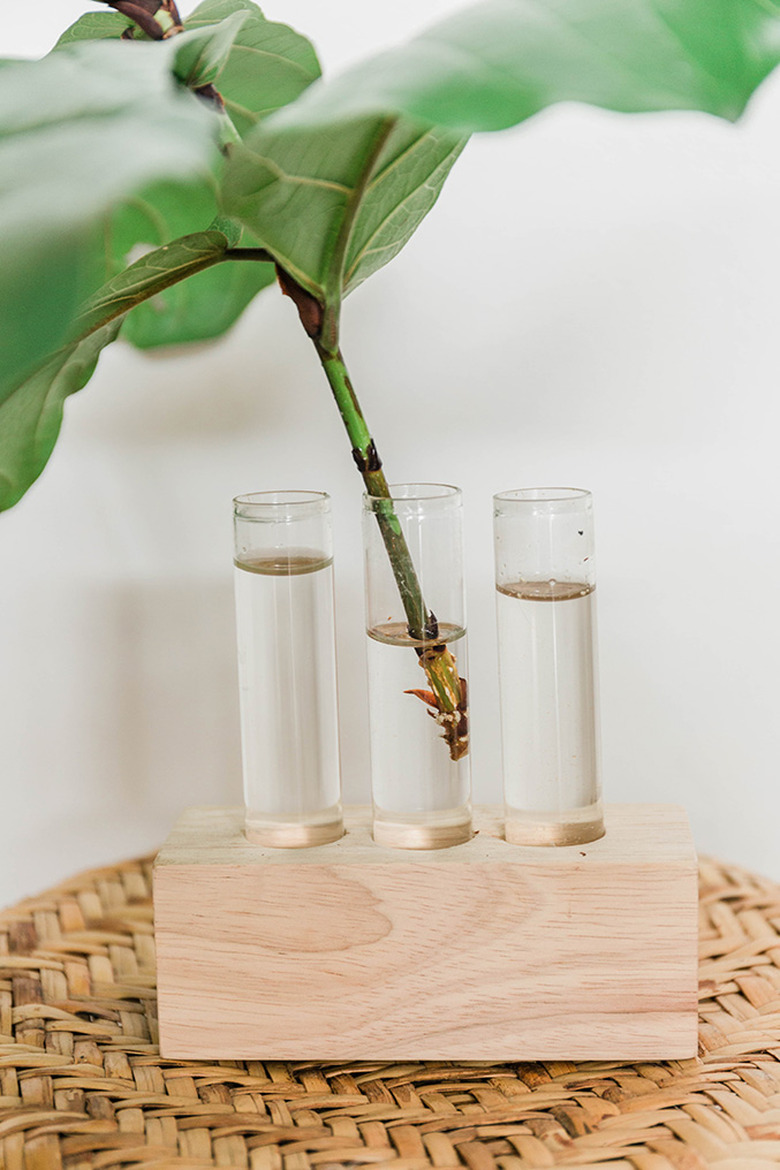
Use a sanding block to clean up any rough edges around the 1-inch holes you drilled, and feel free to paint a coat of polycrylic protective finish over the wood block to make it more waterproof, if desired. Wiggle glass test tubes down into the 1-inch holes to finish the propagation stand.
 Carrie Waller
Plant Propagation Tips
Plant Propagation Tips
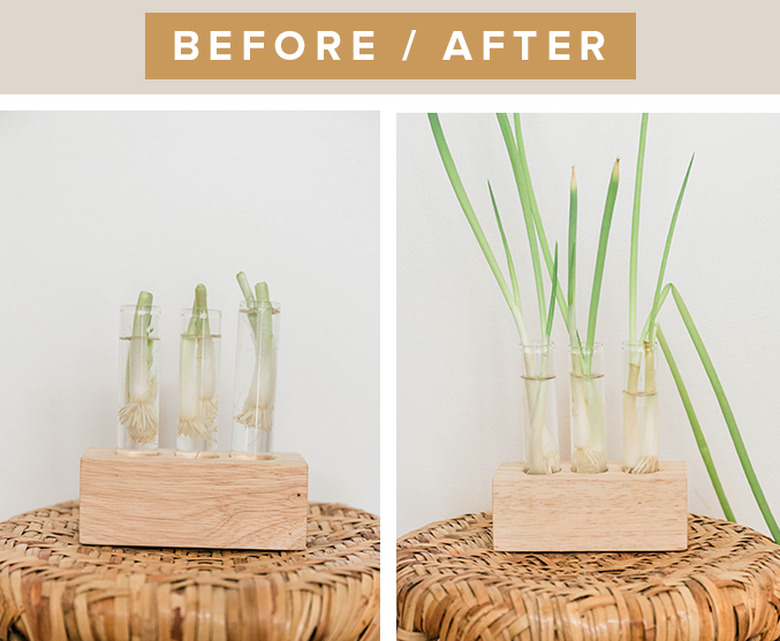
Some of the most successful plants to propagate in our experience include golden pothos, succulents, fiddle-leaf fig, Brazil philodendron, and English ivy. You can also regenerate the root ball ends of green onions in your kitchen window, as you'll see pictured below!
Choose your "parent" plant wisely. It's best to take cuttings off lush, full plants that have plenty of growth to give. Furthermore, avoid the dark woody areas of the parent plant. Look instead for newer stems or branches that are green in color.
 Carrie Waller
 Carrie Waller
Always take your stem cutting off the original parent plant so that you include a node. This is a small bump or break in the stem where the new roots will form later in water.
Your cutting should contain only a few leaves in addition to the node. Don't take a large branch or stem that has lots of leaves as this will take longer to propagate, if at all. The fewer the leaves, the less time and water it will need to thrive in your propagation stands. A 4-to-6-inch cutting is ideal.
 Carrie Waller
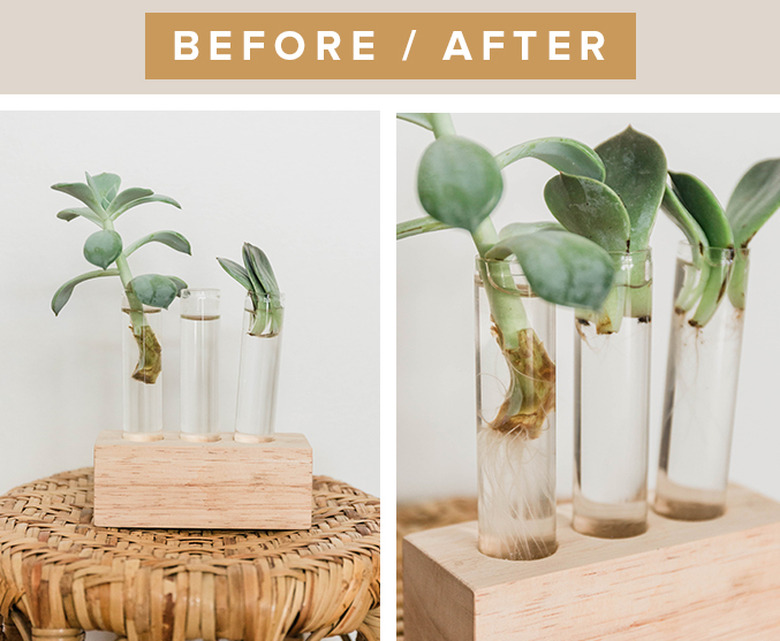
Notice the roots growing in the after picture below ...
Carrie Waller
Use a sharp sterilized razor blade or pair of scissors to take your cutting from the parent plant.
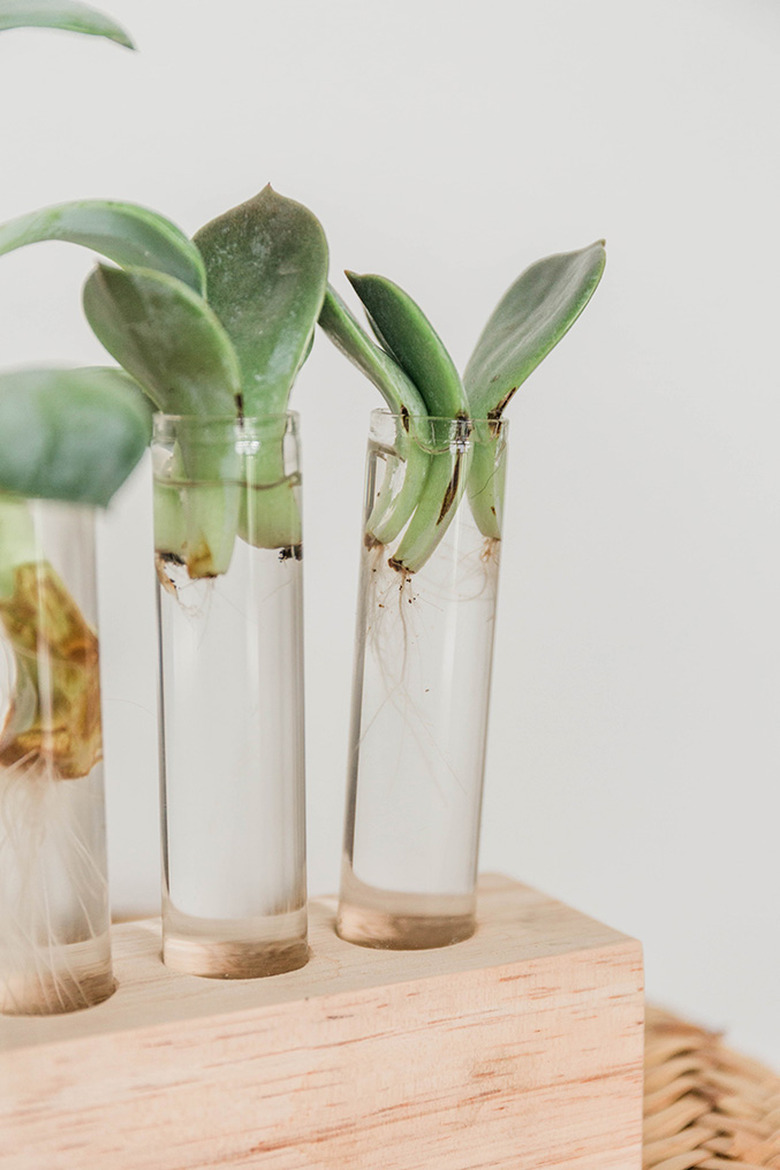
If cutting a succulent for propagation, allow the cut end of the stem to callus over in plain air for one hour before putting in water. You can also pop off individual succulent leaves to propagate in water, as you see pictured here below. Remember, what you're looking for are the new roots ...
 Carrie Waller
 Carrie Waller
Growing roots takes anywhere from four to eight weeks, so be patient. Root growth happens best when you place your propagation station in bright to medium indirect light, and make sure you keep a close eye on the water level. Replenish and refresh whenever needed if the water line dips below the nodes or starts to look cloudy.
Once you have a healthy root system going, plant the finished propagated cuttings in fresh gardening soil, and water according to plant care directions found online for your particular plant species. Check the Hunker archives for plant care and growing tips — we've got tons of articles to peruse!
Carrie Waller
 Carrie Waller
 Carrie Waller