See What We Used To Create This Copycat Ribbed Side Table
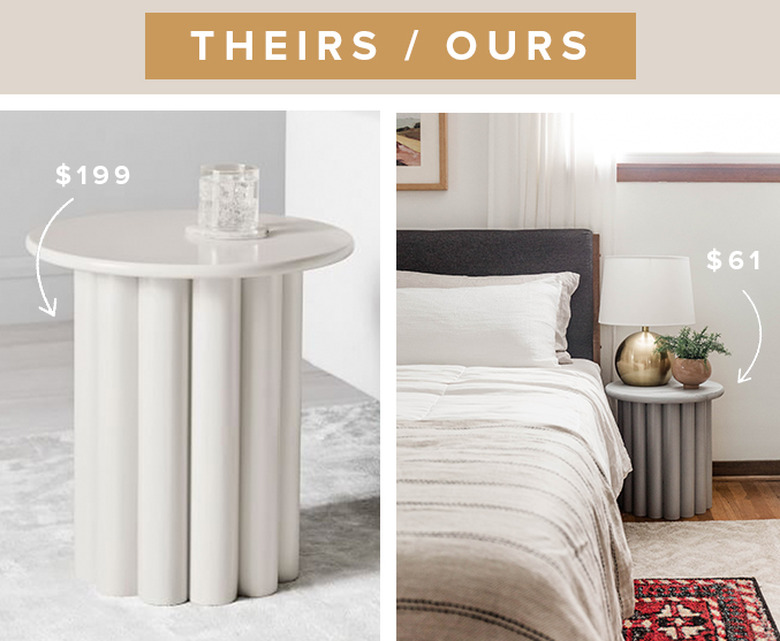
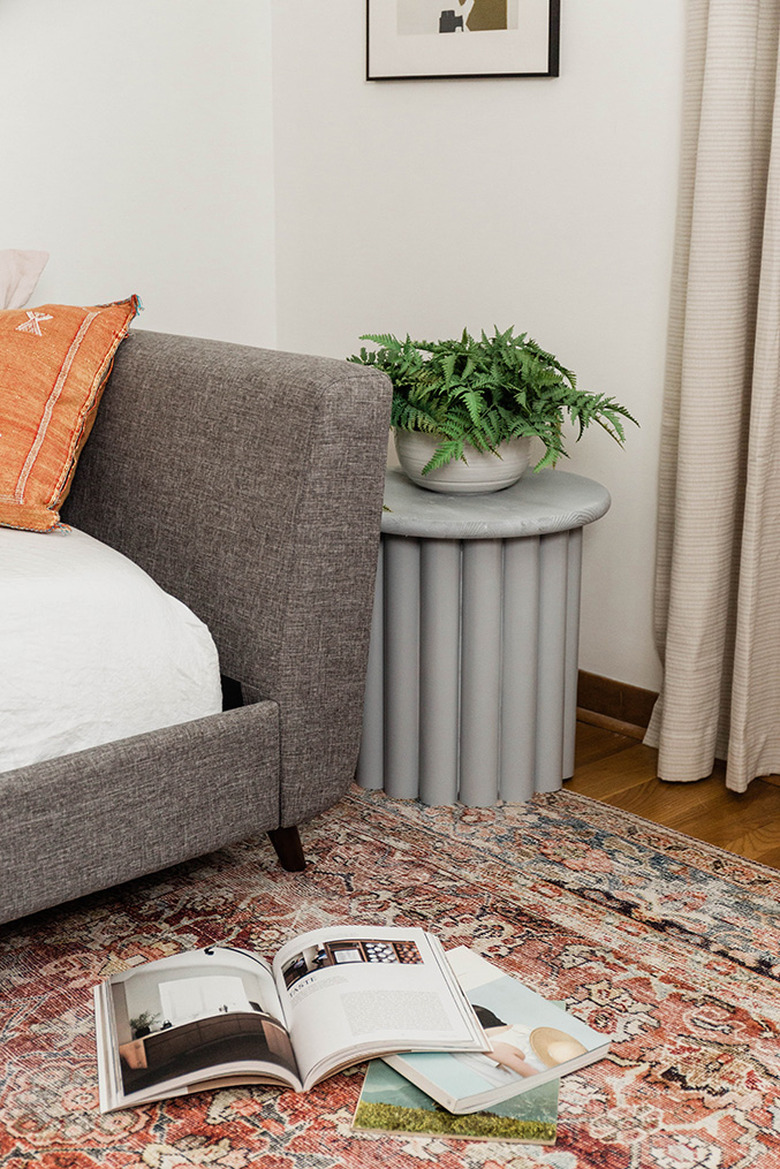
Did you know that you could get the look of West Elm's $199 Hera Side Table for just $61? We promise that this statement is not too good to be true, and we're proving it with today's simple step-by-step DIY tutorial. We'll show you how to get the look of this contemporary ribbed side table using inexpensive PVC pipes and an off-the-shelf wood tabletop. No nails required!
 Carrie Waller
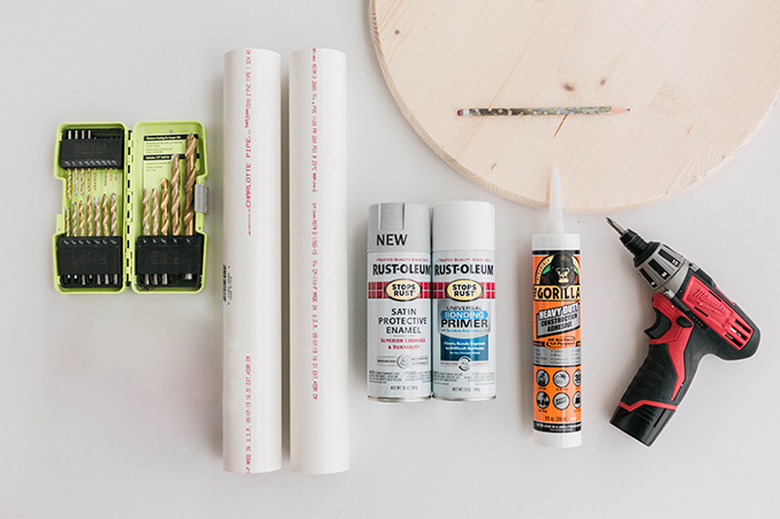
Things Needed
 Carrie Waller
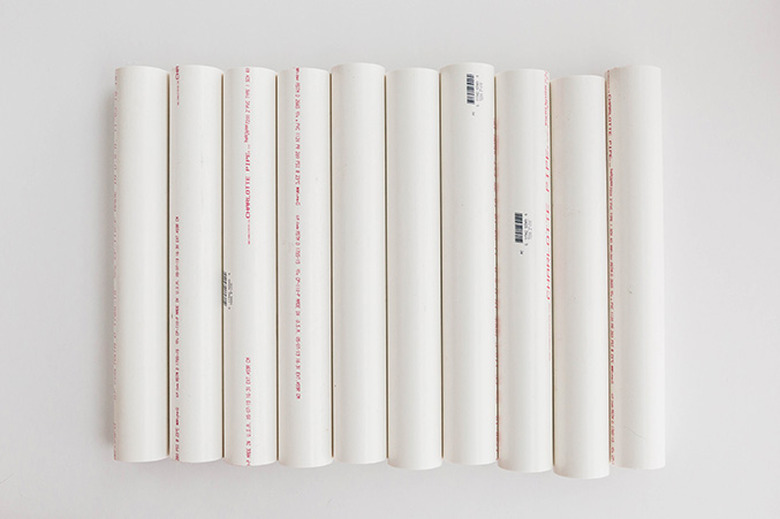
Step 1
Mark the long 10-foot PVC pipes every 17 inches. Cut out the individual 17-inch pipes using a saw. You'll need at least 16 cut pipes.
 Carrie Waller
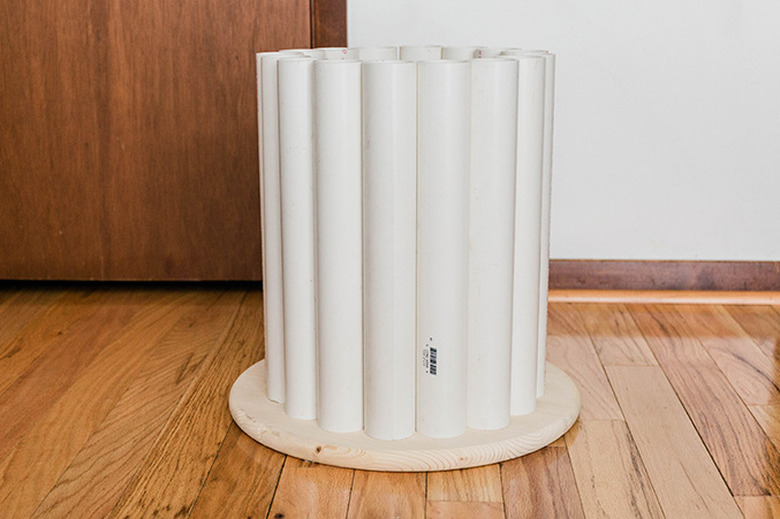
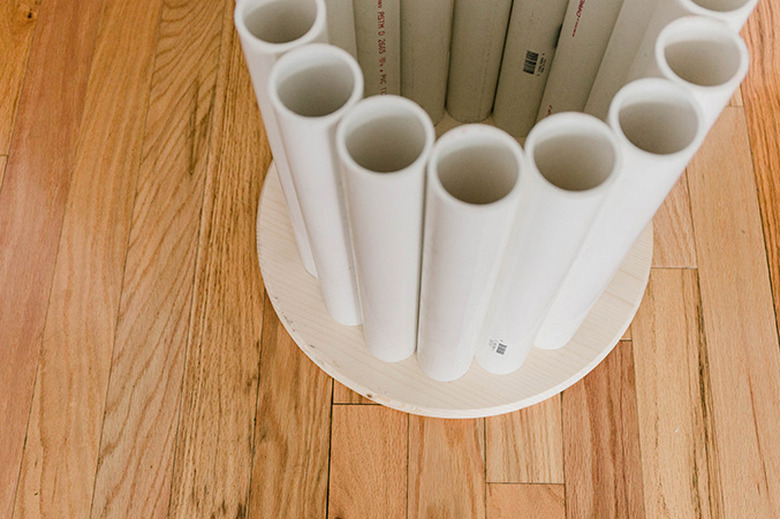
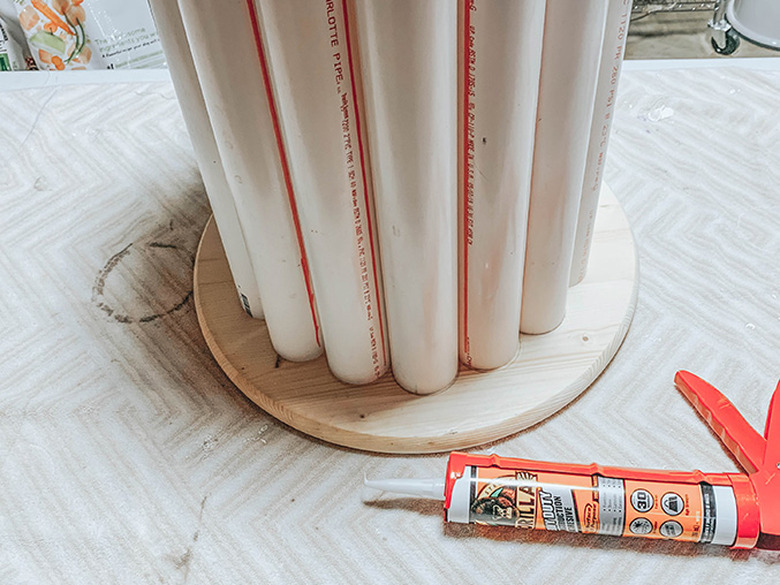
Step 2
Lay the cut pipes upright in a circle around the underside of a wood tabletop so that there's rough equal distance between the edge of the pipes and the edge of the tabletop. We just eyeballed it! In the end, we used 16 pipes to create a completely enclosed table base. Depending on the base width you choose for your table, you may be able to use fewer pipes. Note that the more pipes you use, the heavier the table will be, so we suggest using no more than 16 pipes.
 Carrie Waller
 Carrie Waller
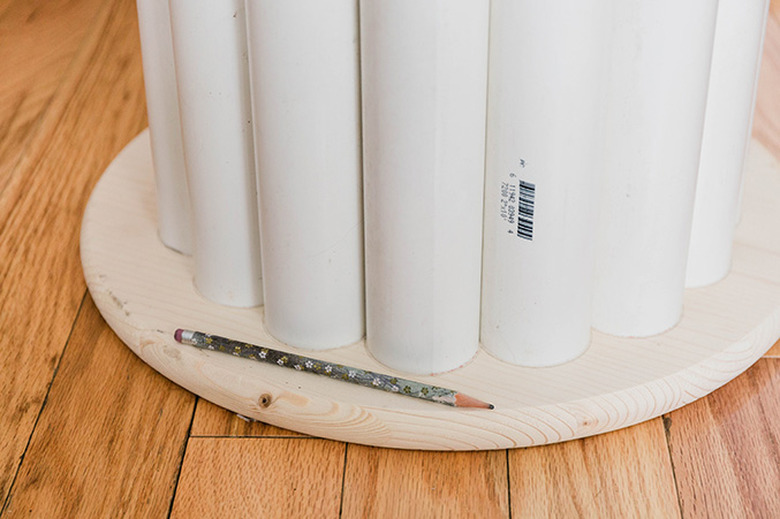
Step 3
Use a pencil to lightly trace the scalloped shape of the concentric pipes onto the underside of the wood tabletop, that way you can set the pipes easily in place in a later step.
 Carrie Waller
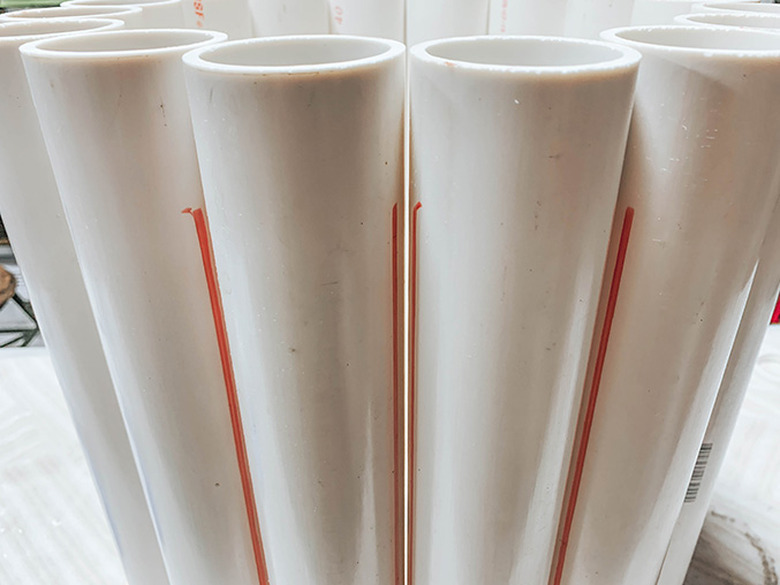
Step 4
Use a thick felt tip marker to add guide lines in between the pipes so you can line them up easier in the next step. You can do this by placing the marker tip between the pipes so it touches both at the same time, and then gently draw the marker downward so it marks both pipes at once. Repeat across all pipes.
 Carrie Waller
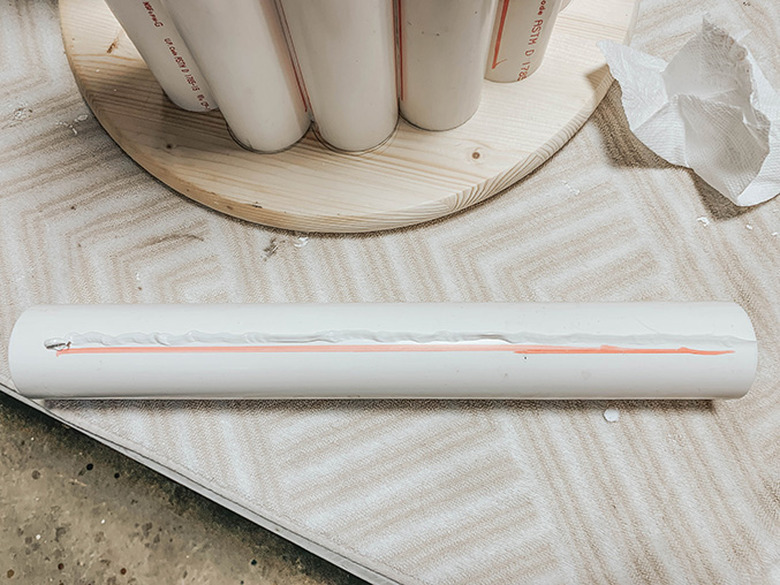
Step 5
Gently remove each pipe without disturbing the others, and add a line of construction adhesive using a rod caulk gun along the inner edge of the marker line you made in Step 4. Also put a line of adhesive on the round top portion of the pipe so it can securely attach to the underside of the wood tabletop.
 Carrie Waller
Step 6
Set the pipe with still-wet adhesive lines carefully back in place using both your pencil and marker lines to get the spacing just right. Wipe away any access adhesive with a wet paper towel. Repeat the process across all of the pipes, and allow the finished table to dry for at least 24 hours for maximum hold. As long as you're gentle when moving the finished table around, you won't need any nails or screws to build it — so easy and cost-effective!
 Carrie Waller
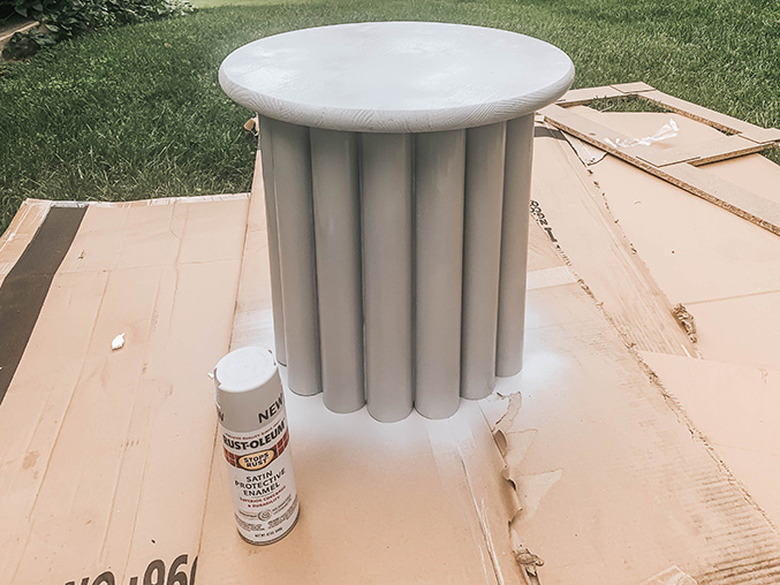
Step 7
Sand down any rough edges (if needed), wipe clean, and then spray paint the constructed table a uniform gray color. Note that it's best to do multiple thin and even coats of paint, allowing one hour of dry time between coats. Let the final coat cure for 24 hours before handling. Do this over scrap cardboard in a well-ventilated area outside.
 Carrie Waller
Step 8
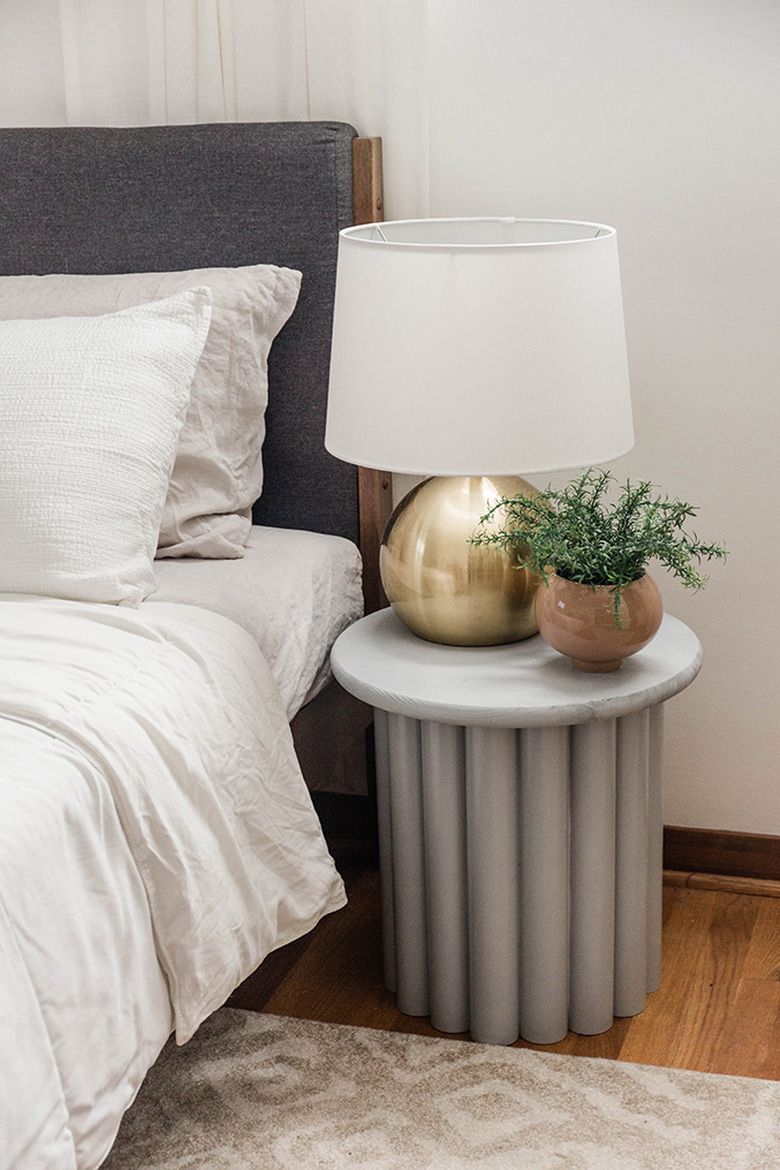
Place your finished side table next to your bed or sofa, and enjoy the fact that you saved over $130 to get the look of a designer inspiration piece using this DIY method!
 Carrie Waller
 Carrie Waller