How To Design An Accessible Shower
The need for an accessible shower, which is one that conforms to the standards established by the Americans with Disabilities Act (ADA), can dawn gradually or suddenly. It may become increasingly clear that your elderly parent needs more care and has to move in, or an accident or illness might occur suddenly that leaves long-term disabilities in its wake.
If you have time, you can design an attractive accessible shower that's a pleasure to use, but if you're in a hurry, you may need to install a more utilitarian prefab model. Either way, you'll probably have to resign yourself to a bathroom remodel because an accessible shower requires more room than a standard one.
Space Requirements for an ADA Shower
Space Requirements for an ADA Shower
The ADA guidelines published at ADA.gov specify two design options for an accessible shower. A transfer shower, which is one intended for wheelchair approach but not entry, must have a minimum interior floor space of 36 by 36 inches. A roll-in shower intended for wheelchair entry has a minimum floor space of 30 by 60 inches. You should be able to scribe a circle with a diameter of 30 inches on the shower floor.
The shower needs clearance in front of it, and the amount of space depends on the type of shower. If you're designing the bathroom for a transfer shower, you need to provide a 48-inch-long space as measured from the shower control wall, which extends at least 36 inches out from the shower entrance. For a roll-in shower, this clearance must be 60 inches long and extend out a distance of 30 inches.
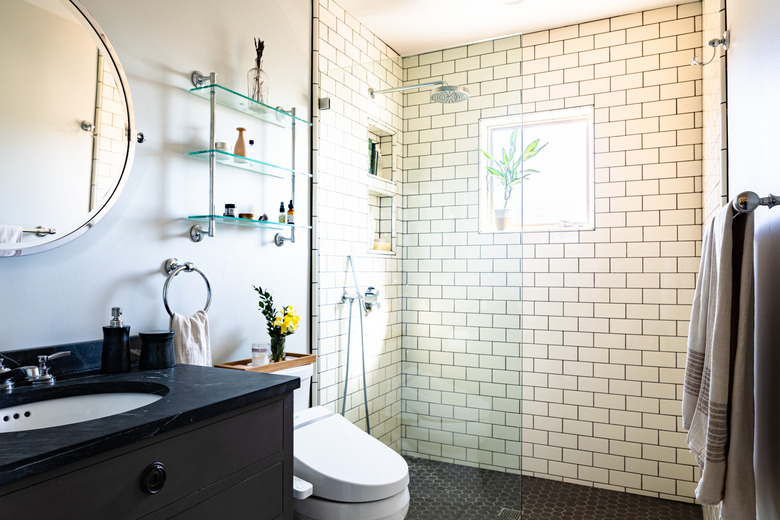
 Sanford Creative
Shower Floor Options
Shower Floor Options
If you install a prefab shower, the low-profile shower base will be constructed according to the ADA specifications, and you won't have to think more about it, but custom accessible showers require more consideration because not only does the floor have to be slip-resistant and easy to clean but it has to have a low threshold as well. The maximum allowable threshold for a roll-in, wheelchair-accessible shower is only 1/2 inch. It's the same for a transfer shower, but the guidelines allow you to make a 2-inch curb if providing a smoother transition would upset the floor reinforcement.
You can install a low-profile fiberglass shower base even if you make the walls from another material, but you can also choose a solid-surface shower pan, which is more stain-resistant, or you can tile the shower floor. When doing a complete bathroom remodel, the most efficient option is to use the same nonslip floor covering for the entire bathroom, including the shower, and eliminate the threshold altogether. If a 1/2-inch threshold is unavoidable, plan on including extension ramps to make a smooth transition for wheelchairs.
Designing the Shower Interior
Designing the Shower Interior
You can include a seat in the shower, and if you do, you don't have to settle for molded plastic because it's easy to find designer seats made from teak, metal and other materials that are more attractive plastic. The shower seat must be either rectangular or L-shaped, must be the folding type in roll-in showers and must conform to the dimensions and location requirements in the ADA guidelines, which generally call for it to be placed on the side wall adjacent to the controls.
The grab bars required in ADA showers must conform to specifications in the ADA guidelines, but they don't have to remind you of a hospital. You can find decorative bronze, brushed nickel or matte black grab bars that conform to all the ADA specifications without looking generic. You need one grab bar on the back wall and one on each side wall that doesn't have a seat.
In a roll-in or walk-in shower without a seat, you can place the shower head and faucet anywhere, but the controls must be on the wall adjacent to the seat in a transfer shower or a roll-in shower with a seat. It's often advantageous to place them close to the shower entrance to make it easy to turn on the shower from outside without getting wet, but they must be within 27 inches of the seat wall. A hand-held shower head is usually preferable to a fixed one, especially if it's on an adjustable-height glide bar, but for maximum comfort and ease of use, Innovate Building Solutions recommends an overhead rain shower head.
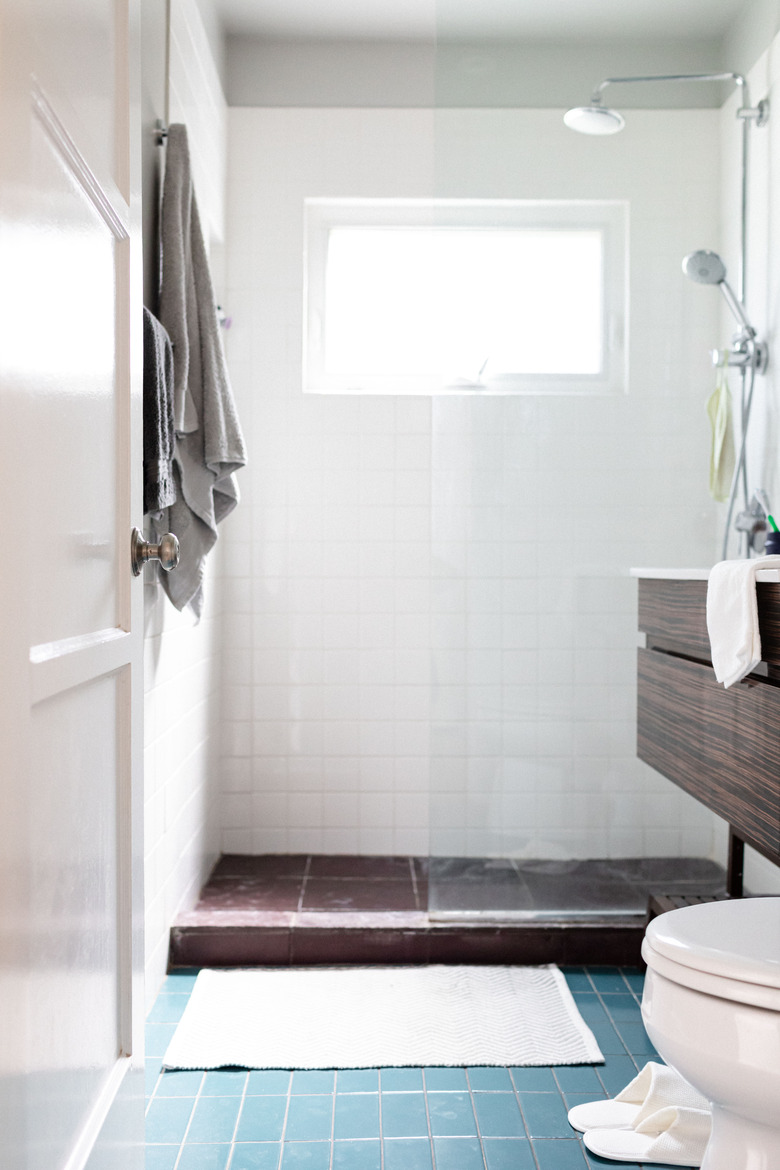
 Peter Schweitzer
ADA-Compliant Shower Doors
ADA-Compliant Shower Doors
The size of the shower doorway depends on the type of stall. A transfer stall requires a 36-inch doorway, which is the same size required for a four-sided roll-in shower. If the shower has only three walls, the doorway must be 60 inches wide.
You can cover the door opening with a shower curtain, or you can install a door, but a curtain is the safer choice and the least likely to get in the way. If you install a door, it must open outward and have no hinges or hardware that reduce the doorway clearance. Framed and frameless glass doors are the most common choices, but frameless doors with 3/8-inch glass and beveled edges are sturdy, easy to clean and a better option.
Common Mistakes to Avoid
Common Mistakes to Avoid
Considering all the requirements for an accessible shower, it's easy to overlook one or more. Some of the more common design mistakes include:
- Installing a permanent shower head that doesn't direct water toward the seat.
- Forgetting to install the controls within easy reach of someone sitting on the seat.
- Neglecting to include shelves and storage space for soap and shampoo within easy reach of someone sitting on the seat. Ideally, these should be inset in the wall and should be incorporated into the design before building starts.
- Failing to leave enough space in front of the shower for a wheelchair to turn around.
- Choosing faucet controls that are difficult to operate. A single-handle, lever-style faucet control is best, and its operation should require no more than five pounds of force.
Other common mistakes are choosing a floor covering that is too slippery, failing to provide overhead lighting to assist elderly people with poor eyesight and not taking into account the specific needs of the primary user of the shower.
The Prefab Option
The Prefab Option
If you need to construct the shower in a hurry, you're on a budget or you simply don't want to go to the trouble of constructing a walk-in shower from scratch, then a prefabricated shower stall is your best bet. ADA showers are available from a number of sources and can be shipped anywhere in the country. A prefab shower doesn't eliminate the need for new construction because you have to create a space for it, and you may have to modify your bathroom to provide the necessary clearance.
You can purchase a one-piece prefab accessible shower unit, but it's usually hard to fit it through the bathroom door, which is why people often opt for a multiple-piece unit, which usually includes three walls and the shower base. The shelves are molded into the walls, and a fold-up seat, grab bars and a door are often included. All you have to do is assemble it in place and hook up the plumbing.
Although installation requires less work, it does require you to strip the walls and flooring from the area in which you're going to install the shower, and you may have to change the position of the drain and the water supply lines. In most cases, installation of prefab ADA showers involves the following procedure.
How to Install a Prefab Shower Kit
1. Unpack the Shower Kit and Read the Instructions
Check each piece for damage and contact the manufacturer if you find any. If everything checks out, read the instruction booklet, which will tell you the exact dimensions of the alcove and the materials you'll need for assembly and will walk you through the installation procedure.
2. Reinforce and Level the Subfloor
The shower pan must sit on a solid and level surface to prevent cracking. Add extra floor joists or plywood as necessary to remedy any flexing, spread a layer of latex-modified thinset mortar and level it with a trowel. The bubble on your level should remain in the center no matter where you place it on any part of the subfloor that will be under the shower pan. Let the thinset cure as directed.
 Stephen Paul for Hunker
3. Construct and Plumb the Walls
Construct the walls of the shower alcove according to the dimensions specified in the instructions. Use a plumb bob or 6-foot level to make sure the studs are straight. If any one of them is out by as little as 1/8 inch from top to bottom, it will interfere with assembly of the shower walls. Correct any out-of-plumb studs in existing walls by resetting them or shimming at the bottom or notching at the top.
4. Install the Drain
Set the shower pan in place temporarily, mark the location of the drain opening on the subfloor, remove the shower pan and cut a hole in the floor for the drain pipe. Install the rough-in drain piping and stub out the drain about 2 or 3 inches above the floor. Screw the drain assembly provided with the kit into the hole in the drain pan prior to bonding the drain pan to the floor.
5. Install the Shower Pan
Spread a fresh layer of latex-modified thinset on the subfloor and set the drain pan in place. Check the level on all sides and use leveling strips if necessary to shore up the pan at low points. When the pan is level, secure it to every available stud using stainless steel screws and place two or three 5-gallon buckets full of water on top to press it into the mortar until the mortar hardens, which takes about four hours.
6. Complete the Drain Assembly
Follow the instructions for your kit to install the drain strainer. You have to cut the stubout to the length specified in the instructions, which requires an inside pipe cutting tool. Then, you install a rubber gasket and pop in the strainer.
7. Assemble the Walls
Each shower wall may come in one or two pieces. Before installing any piece, you must caulk the inside joints of the pieces underneath and to the sides of it with silicone caulk to form a water seal. Each piece gets screwed to the wall studs with stainless steel screws of the length specified in the instructions.
The plumbing for the faucet and shower head must be completed before you install the control wall, which usually goes up first. Mark the locations of the holes for the shower controls and the shower head and drill an appropriately sized hole for each. Lay masking tape before you cut to prevent chipping from the hole saw or spade bit.
8. Install the Seat and Grab Bars
Use the mounting hardware supplied with the seat and grab bars to attach them in the required places. Don't forget that they all must be secured to the studs behind the enclosure, not just to the enclosure walls. Finish by installing the door or shower curtain.
References
- ADA.gov: 2010 ADA Standards for Accessible Design
- Innovate Building Solutions: 5 ½ Little Known Secrets to Design a Handicap Accessible Shower Which Doesn't Look Ugly!
- Homeability: Accessible Showers: Beginner's Guide to Designing Accessible Showers
- Freedom Showers: 62 7/16" x 32 1/4" Freedom ADA Roll In Shower, Left Drain: Installation
- Bradley: ADA Design Guide