How To Install A Three-Prong Range Cord

Consider a common scenario involving a three-prong range cord: You've decided to replace your old electric range with a new model. The new range may or may not have come with a cord, but if it did, it is most certainly a four-prong cord. The only problem is that your house has an older-style, three-slot outlet, and the new cord won't fit it. In a similar scenario, you may have moved homes, and the electric range that moved with you has a cord that doesn't fit the range outlet in the new house (which, based on the range cord problem, is most likely older than your previous house).
If either of these stories describes your sad situation, don't despair. All you have to do is remove the four-prong cord (if there is one) and put on a new three-prong cord that fits your three-slot outlet. From an electrician's perspective, three-prong wiring isn't an ideal solution, but it's perfectly legal, and it was the safety standard until about 20 years ago (and a lot of electrical installations in many 20th-century houses are even less up to date).
Three-Prong vs. Four-Prong Wiring
Three-Prong vs. Four-Prong Wiring
Electric ranges, like electric clothes dryers, run on 240-volt circuits (also called 220, 230 or 250 volts — it means the same thing). These circuits have two "hot" wires, each carrying 120 volts. Each circuit also includes a neutral wire, and it allows the appliance to split the voltage and draw only 120 volts (to run the clock, timer, lights and other standard-voltage features) or to draw from both hot wires to power the heating elements with 240 volts. This is why electricians technically call these circuits 120/240 — they provide electricity at both voltages.
If you've done any home wiring, you might be wondering about the ground wire, and that defines the difference between three-prong and four-prong — or, when you're talking about circuits, three-wire and four-wire. A three-wire circuit has only three wires: two hots and a neutral. It does not have a separate ground wire.
However, metal appliances like ranges and dryers need to be grounded to minimize the risk of electrical shock. With three-wire circuits, the appliance is grounded through the neutral wire. This is done by attaching the metal body, or "case," of the appliance to the neutral terminal to which the neutral cord wire connects.
While grounding through the neutral does work and was the standard for most of the history of electric ranges to date, it's not quite as universally safe as having a separate ground wire. Enter the 1996 National Electrical Code (NEC) rule that declared that all new installations of electric range and dryer circuits must be four-wire — the fourth wire being, of course, a separate ground wire. This wire, or circuit path, connects directly to the appliance case via a ground screw; it does not connect to the neutral.
As a result of the NEC change, houses built or remodeled after 1996 (in reality, more like the year 2000) have four-slot outlets for ranges and dryers. Four-slot outlets must be used with four-prong cords, just as three-slot outlets are designed only for three-prong cords. Three-prong/three-slot and four-prong/four-slot are, without exception, not interchangeable. However, your range can be converted to work with either type of circuit, and this requires just a quick modification that you make to the ground connection (as needed) while you're installing the appliance cord.
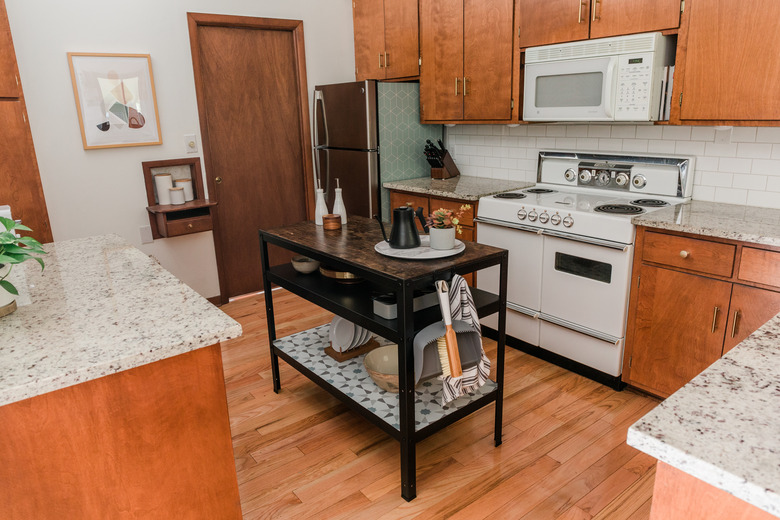 Carrie Waller for Hunker
Tools and Supplies for the Job
Tools and Supplies for the Job
For most cord installations, the only tool you really need is a Phillips screwdriver, but it's usually preferable to also have a nut driver (typically a 1/4-inch nut driver) and sometimes an open-end wrench. The nut driver is handy for terminal screws that can be turned with a screwdriver or a nut driver; the latter grips better with less chance of stripping the screw. An open-end wrench may be needed if the wiring connections are made with nuts instead of screws.
Another handy tool to have is a pair of tongue-and-groove pliers or other large pliers. These make it easy to install the cord bracket — called a strain relief fitting — to secure the new cord.
For supplies, you only need two: the cord and the strain relief. Choosing the right cord is critical but also pretty foolproof. Be sure to get a three-prong range cord that has an appropriate rating for the wattage or amperage of your range. Make sure the cord has a stamp or label of UL certification, indicating that it was tested for safety.
Three-prong cords are flat and have their wires arranged side by side. This helps ensure that you don't mix up the wiring when installing the cord. The center wire is always the neutral, and it always connects to the center terminal on the terminal block in the back of the range.
The two outside wires are the "hot" wires and are interchangeable. You connect one hot wire to the left hot terminal and one to the right hot terminal. As long as you have one wire on each, you can't go wrong.
How to Install a Three-Prong (Three-Wire) Range Cord
1. Shut Off the Power
Turn off the power to the range circuit by switching off the appropriate double-pole breaker in your home's service panel (breaker box). Of course, your range won't get any power until it is plugged in. Shutting off the breaker is just an extra safety precaution to make sure there's no electricity at the outlet until the new cord is fully installed, the range is plugged in and you're ready to turn it on.
2. Remove the Wiring Box Cover
Use a screwdriver or nut driver to remove all screws securing the metal cover of the wiring splice box on the back of the range. Pull off the cover and set it and the screws in a safe place.
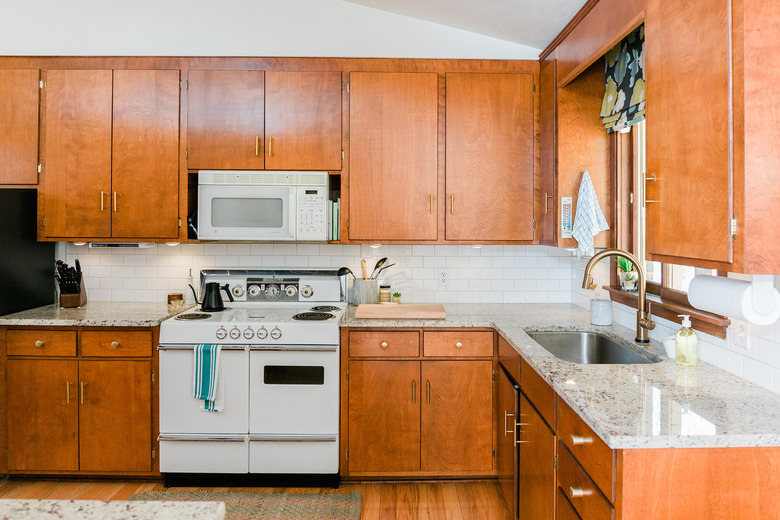 Carrie Waller
3. Remove the Old Cord (as Needed)
Disconnect and remove the old cord if there is one to get ready for the new cord. This will also give you some practice for making the new connections. First, make sure the cord is unplugged and has no connection to any type of electrical source (yes, it's probably a four-prong cord that couldn't possibly be plugged into your old outlet, but you never know).
Loosen each of the three screws or nuts securing the cord wires to the terminal block in the wiring splice box using a screwdriver or nut driver. Set the screws or nuts aside and pull each wire end from its terminal. Remove the ground screw and cord wire and then reinstall the ground screw. The ground screw will likely be driven into the range panel beside or below the terminal block.
Remove the screws on the strain relief fitting and separate and remove the two halves of the fitting. Pull the cord out through the hole in the range's back panel (the hole may be in a bracket). If the cord is a new four-prong model, it's a good idea to keep it in case you ever move or update your kitchen wiring.
4. Ensure a Ground-Neutral Connection
Prepare for the three-prong cord by confirming or making a ground-neutral connection. Look at the ground screw or terminal next to the terminal block; it will likely have a green-colored screw or nut.
- If there is a metal strap connecting the ground to the
neutral (center) cord terminal on the terminal block, the range is ready for
the three-prong cord. - If there is a strap but it is not connected between the ground
and the neutral, reposition the strap so it will connect to both the ground and
the neutral terminal. - There may also be a small wire (usually with white insulation)
coming out of the back of the range; this is an internal ground wire.
For a three-prong cord, this ground wire must
connect to the ground terminal. Secure the wire under the ground terminal screw. - If there is no strap or internal ground wire on your range,
contact the range manufacturer to get the correct part for making the ground-neutral
connection and install the part as directed by the manufacturer.
In all cases, make sure the ground screw is tightened securely.
5. Connect the Three-Prong Cord
Insert the wiring end (not the plug end) through the hole in the back of the range. Position the cord flat so that the three wire ends match up with the three terminals on the block without any of the wires crossing.
Fit the center wire onto the neutral (center) terminal on the terminal block and secure the wire with the terminal screw or nut. Fit the left wire onto the left terminal and secure it with the screw or nut. Do the same with the right wire on the right terminal. Double check to make sure that all of the connections are very tight.
6. Install the Strain Relief and Box Cover
Insert the upper and lower halves of the strain relief fitting into the hole where the cord goes in and adjust them so they rest on the top and bottom of the cord, respectively. Squeeze the two halves together with tongue-and-grove pliers and install the two strain relief screws.
Alternatively, tighten the screws a little bit at a time so the strain relief clamps onto the cord evenly. Tighten the screws until the cord is held securely but not so tight as to deform or cut into the cord, which can damage the cord sheathing or wire insulation. Reposition the cover over the splice box and secure it with its screws.
Plugging In and Testing the Range
Plugging In and Testing the Range
With the cord installed, you can move the range into position in front of the cabinet opening or wherever it's going. If the cord is long enough, you can plug it in first and then slide the range right into its slot.
If the cord is not long enough, you can plug it in after the range is in place. For now, just flop the cord over the top of the range or have a helper hold it up. Pull out and remove the drawer below the range's oven compartment. The drawer space should go all the way through so you can access the back wall to plug in the cord from the front of the unit. Slide the range into position, reach through the drawer space and plug in the cord.
Make sure all range controls are turned off. Turn on the circuit breaker to restore power to the range circuit. Test all functions and features of the range to make sure everything is working properly.