Easy Tutorial On How To Paint Wicker
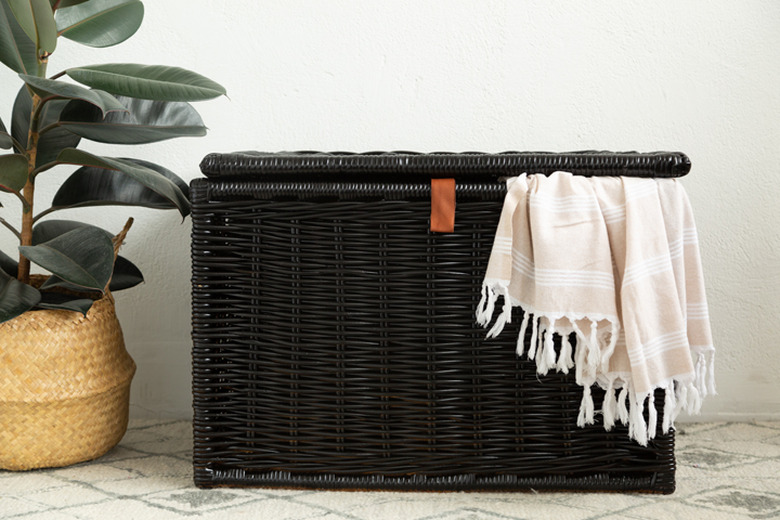
When it comes to wicker, whether it's a thrift store find, a hand-me-down, or a brand new purchase, painting it to match a desired color is really quite easy. Spray paint comes in handy for these projects, and quite frankly, it's one of our favorite ways to update old and new furniture. (Need proof? Check out this IKEA shelf makeover and this rattan chair upgrade.) However, wicker can seem more difficult in trying to get an even finish when using spray paint, due to the ins and outs of the basket weave. So, we recommend you follow these simple steps to create the wicker piece of your dreams.
 Sara Albers
Things Needed
-
Wicker furniture (for this DIY, we are using a wicker trunk)
-
Vacuum
-
Water and rag
-
Scrap leather (optional, depending on your furniture)
-
Strong glue (like E6000)
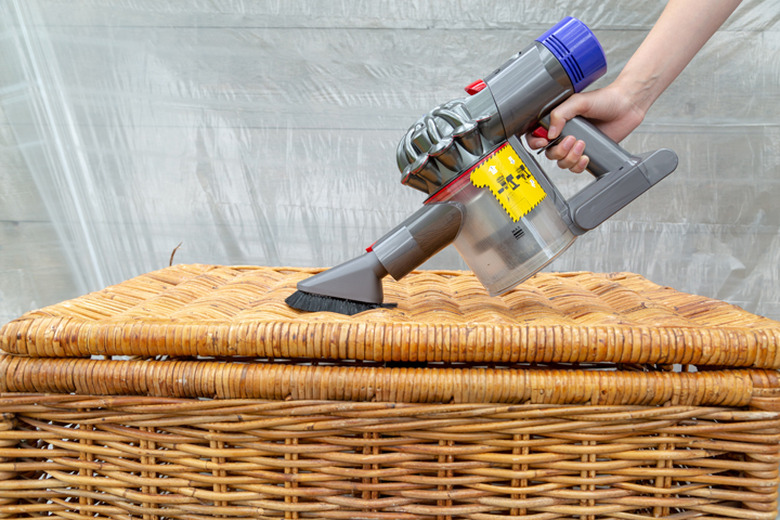
Step 1
First you'll need to clean the wicker. Use a handheld vacuum to remove old dirt, dust, and debris. Be sure to clean the entire piece of furniture: outside, inside, and all around.
 Sara Albers
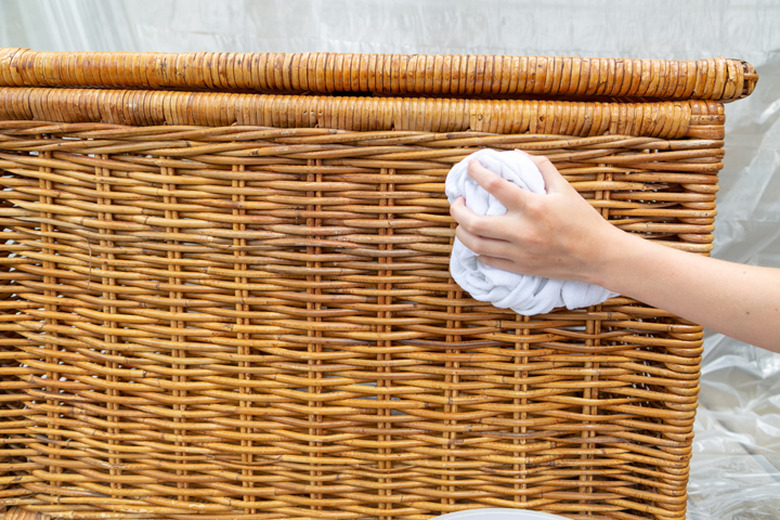
Step 2
Use a sponge or rag to wipe down the furniture with water. You can add a drop or two of dish soap as well. Allow to dry.
 Sara Albers
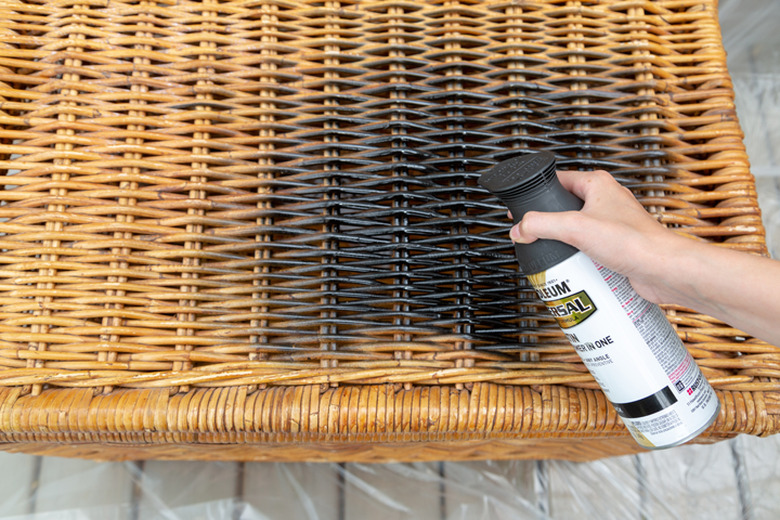
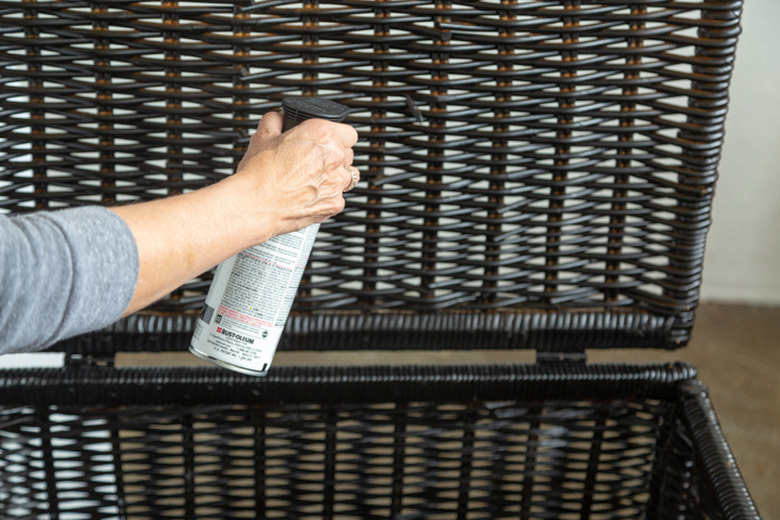
Step 3
Time to spray the first coat of paint. The trick to painting wicker to spray multiple coats in light layers. You'll need to spray in multiple directions so you can get within all of the grooves of the woven material. You'll want to paint side to side, and up and down. For this tutorial, we sprayed two to three coats on most parts of the trunk. For the last coat, we made sure to angle the paint in order to be sure that all the grooves were covered by the paint.
 Sara Albers
Step 4
If your furniture has an interior, like the trunk featured here, don't forget about the inside. Once the outside is dry, flip open the top to spray the interior. You will want to follow the same guidelines as above, using multiple thin coats of spray paint in multiple directions.
 Sara Albers
Step 5
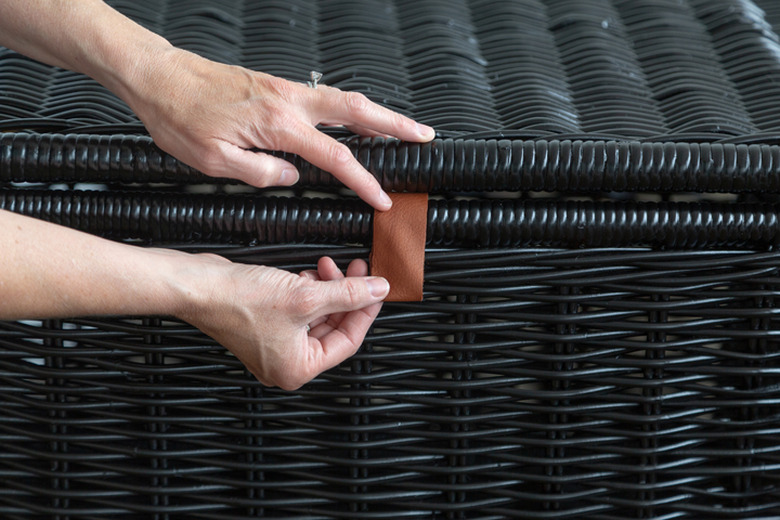
Depending on your wicker piece, consider adding a decorative addition to your item, as seen in this DIY. For a nice pop of earthy tone and texture, we used scrap leather to add a pull to the top of the trunk. (You can even use an old belt or strap from a purse.) To create a pull as seen in this image below, simply cut a piece of leather eight inches long and glue the two ends together. Then glue to the bottom of the top center. Allow to dry.
 Sara Albers
 Sara Albers