Need A Summer Activity? Sun Prints Tutorial To The Rescue!
We may receive a commission on purchases made from links.
Have fun in the sun and make gorgeous artwork while you're at it. Sun prints, also known as cyanotypes, are made using light-sensitive paper that creates beautiful blue images when exposed to the sun. You don't have to be an experienced photographer to make them — it's such a simple process that even kids can join in the fun, and we highly recommend that they do! Honestly, we can't think of a better way to spend a sunny day than foraging for bits of nature and experimenting with your found objects to make some pretty prints.
 Trisha Sprouse
Things Needed
-
Light-sensitive paper (also called cyanotype paper)
-
Acrylic or glass sheet (such as from a picture frame)
-
Tray or baking sheet
-
String and clothespins (optional)
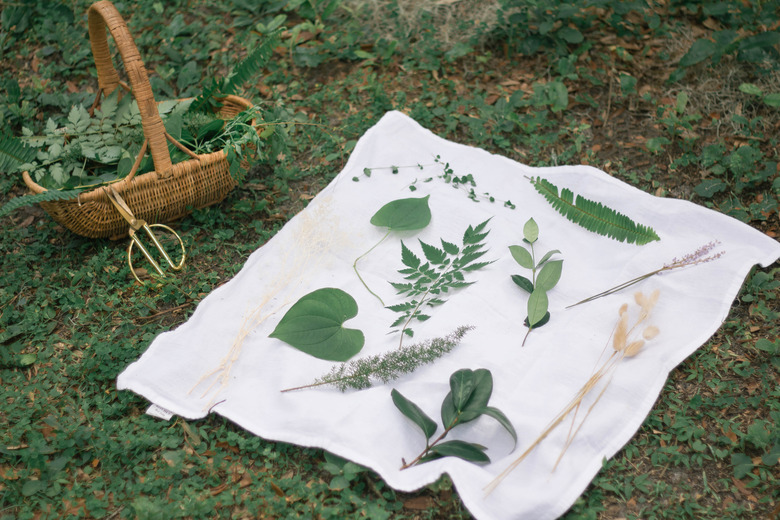
1. Gather
Gather a variety of items to use as the subjects for your sun prints. Leaves, flowers, and other bits of nature lend botanical beauty to your art, but you could use anything with an interesting shape or silhouette, from seashells and feathers, to matchsticks, coins, or keys. Experimenting is part of the fun!
 Trisha Sprouse
TIP: If you're working with leaves and flowers and prefer sharper prints, you can press your plants under heavy books (overnight) to flatten them first. This will give produce crisper lines around your subject. For more ethereal images with a soft focus, skip the pressing.
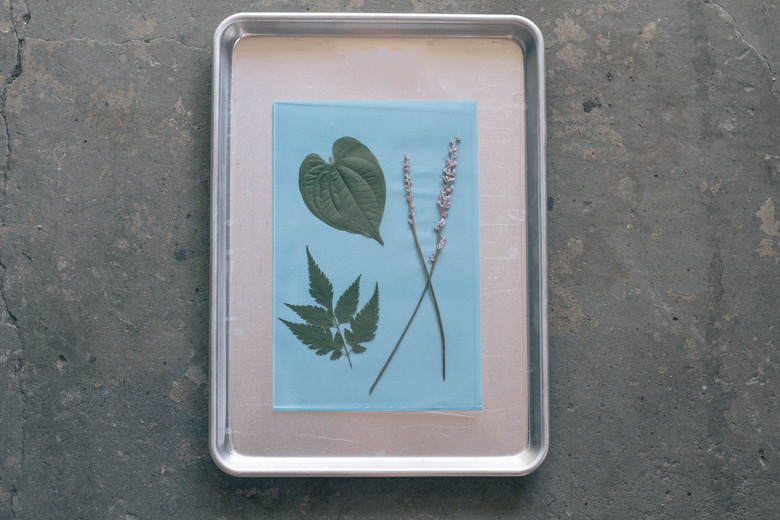
2. Arrange
Working in a room with little to no light (such as a windowless bathroom or closet), place your sun print paper on a tray with the blue emulsion side facing up. Arrange your subjects on top of the paper, and then place the acrylic or glass sheet on top to keep the subjects in place.
 Trisha Sprouse
3. Expose
Carefully but quickly carry your tray to a sunny spot, either outdoors or near a very bright window, and let the sunlight expose the paper from one to five minutes, until the paper turns mostly white. The longer you leave the paper exposed to light, the darker blue your print will be (just don't overexpose). If you're working indoors where there's no wind, you can even remove the clear sheet during the exposure to produce the deepest indigo blue.
 Trisha Sprouse
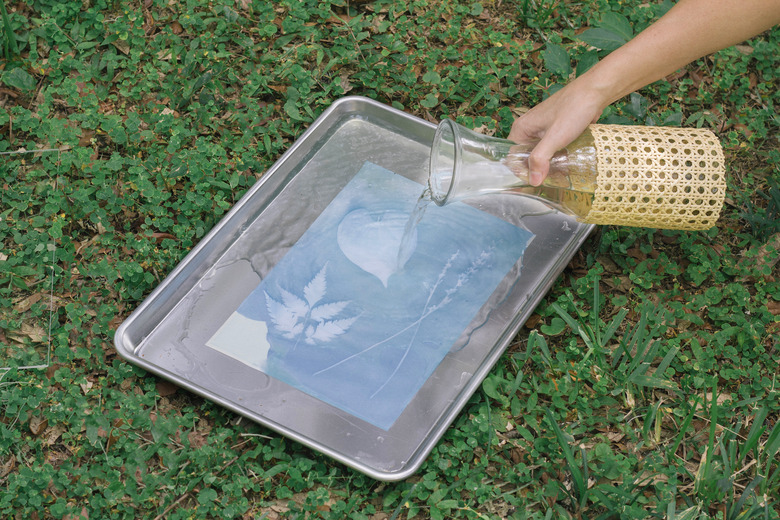
4. Rinse
Remove the acrylic or glass sheet, along with your items, and either pour water directly over your sun print or submerge it in a sink full of water. Rinse for approximately one minute or so. This is what is known in the film photography world as "fixing," which stops the chemicals in the paper from reacting to sunlight.
 Trisha Sprouse
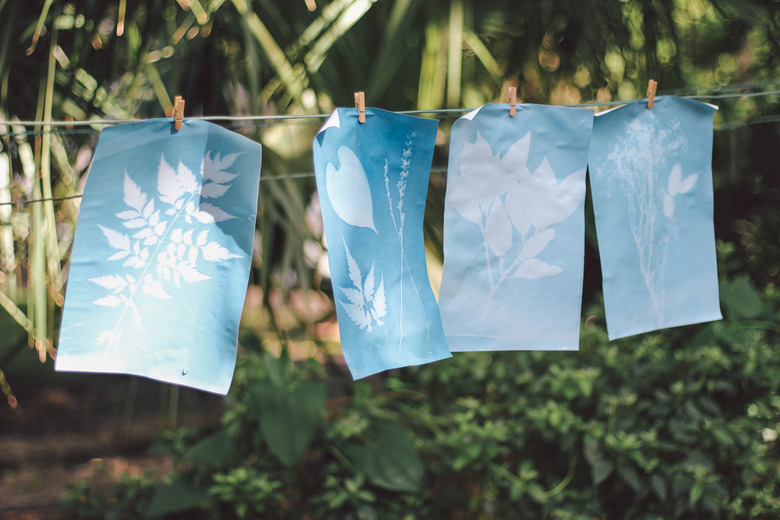
5. Dry
Either lay your sun print flat on a paper towel to dry, or hang it up with a clothespin.
 Trisha Sprouse
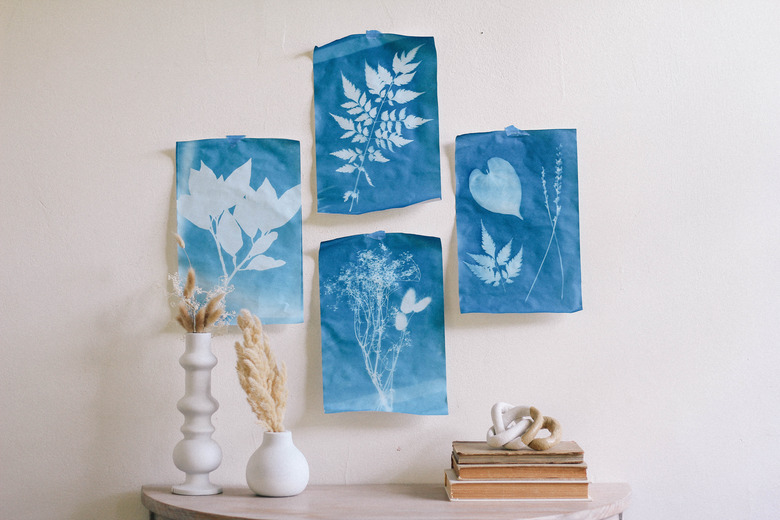
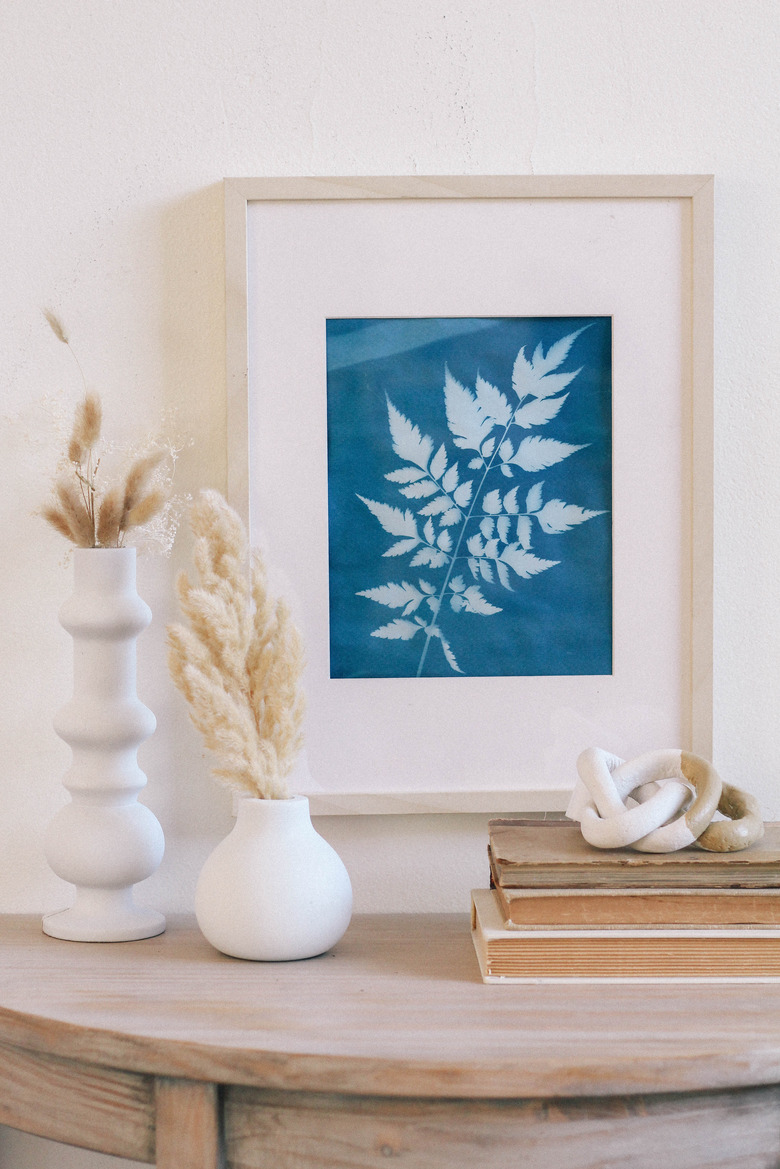
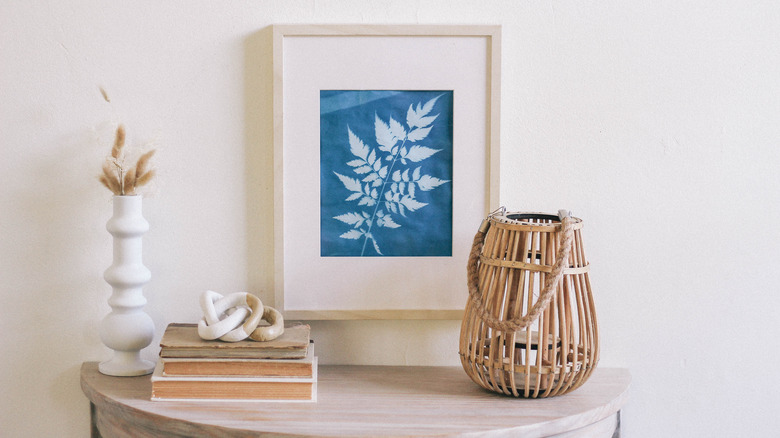
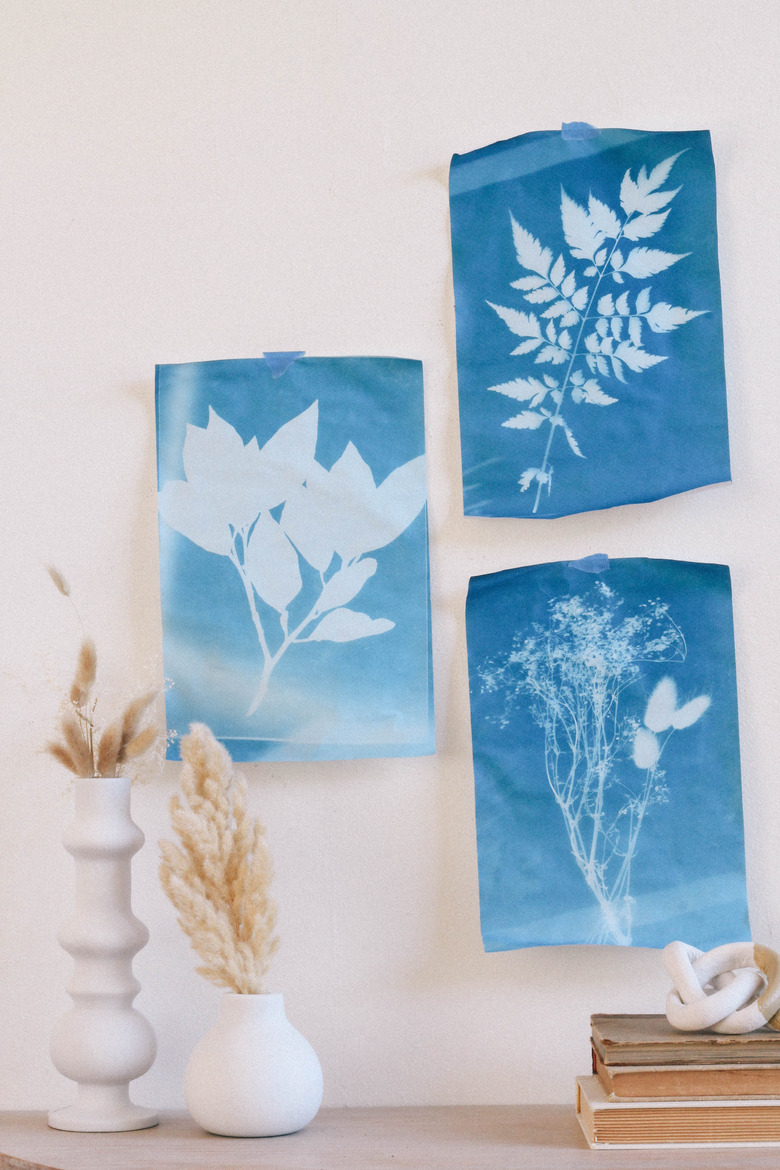
Once your prints are dry, you're all set to display them as you wish. Try an "artist's studio" look by hanging them with washi tape, frame them for a more refined look, or even glue them to cardstock to make pretty stationery!
 Trisha Sprouse
 Trisha Sprouse