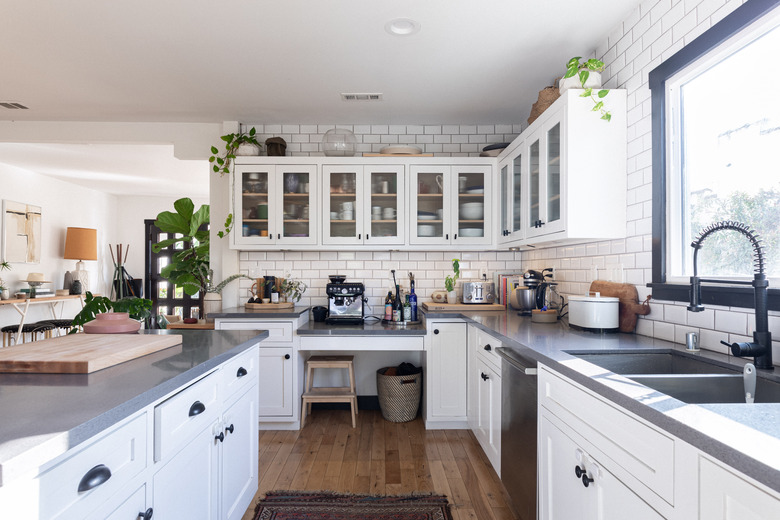
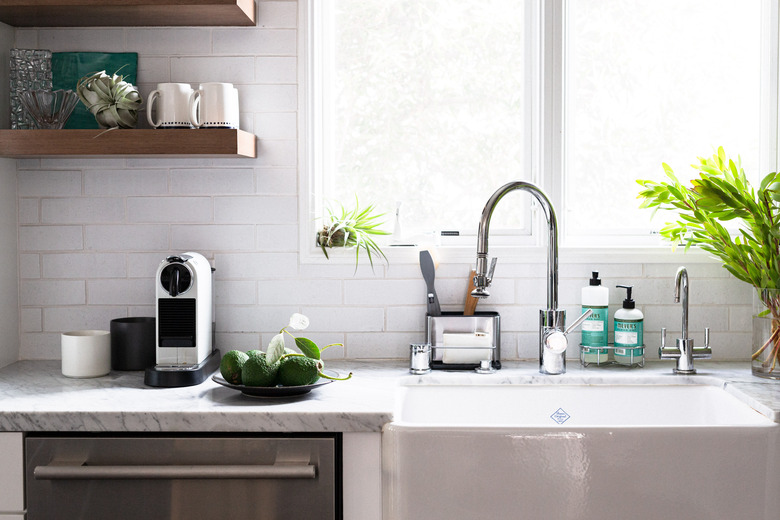
How To DIY Solid Surface Countertops
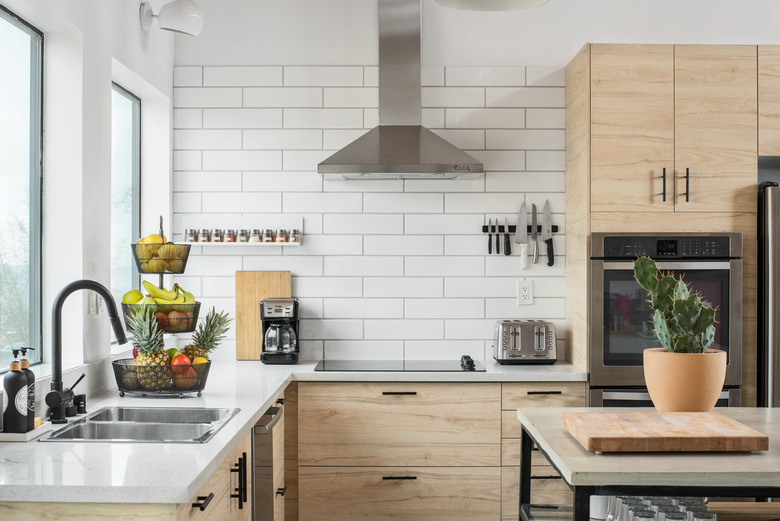
Solid surface countertop materials from companies such as DuPont, which manufactures Corian, LG, which markets Hi-Macs, and Covossi, to name a few, are DIY-friendly alternatives to natural stone with a color depth that makes them more appealing than laminate. They feel as hard as marble or granite, but it's possible to cut and shape them with woodworking tools, so a DIY installer can fashion a countertop on-site. Stone countertops, by contrast, usually need to be custom made.
Although some solid surface countertop materials, such as Staron, are 100-percent acrylic, the more realistic ones are about 1/3 resin and 2/3 minerals. Corian, for example, is composed of 34 to 45 percent polymethyl methacrylate, a polyester resin, and 55 to 66 percent aluminum trihydroxide, a natural mineral also known as gibbsite. In either case, the result is a nonporous surface for bathroom and kitchen countertops that, unlike stone, never needs sealing.
Despite the high mineral content, a countertop made from a solid surface material is easier to scratch than a granite one, but that disadvantage can easily be outweighed by its lower cost and workability. You can purchase a sheet of solid surface countertop material and form it into an L shape or curve, you can shape the edges to fit with any design motif and, perhaps best of all, you can custom-fit the sink of your choice after the countertop has been installed. You can even do all of this using hand tools, as demonstrated by Wood by Wright on YouTube, but you'll probably want to save time by using power tools.
Solid Surface vs. Quartz Countertops
Solid Surface vs. Quartz Countertops
Some synthetic countertop materials are engineered stone, and cutting and shaping them calls for the same techniques used for granite, marble and other types of natural stone. Quartz countertops such as the brand Silestone are composed of 95 percent ground quartz mixed with binding resins. Like natural stone, they are usually custom cut and shaped by the countertop supplier.
Natural stone and quartz countertops aside, most other solid surface countertop materials are workable with conventional woodworking tools. Corian is perhaps the best-known brand, but there are many others. Formica is well known for its wide selection of laminate materials, and it also makes a solid surface countertop material. Other popular brands include Avonite, Wilsonart, Gibraltar and Mystera.
 Stephen Paul
Solid surface materials typically come in 1/4- and 1/2-inch thicknesses, although you can find 3/4-inch thicknesses in some select colors. Sheets can range from about 30 to 36 inches wide and 8 to 12 feet long. Manufacturers achieve coloration by dyeing the minerals, which gives solid surface countertop materials a somewhat artificial appearance when compared to quartz or real stone but also creates many more color possibilities.
Don't Get Burned
Don't Get Burned
Because of the high mineral content, solid surface materials dull saw blades and router bits quickly, and when blades get dull, they tend to leave burn marks. It's important to change blades when you you experience a noticeable slowdown in progress while you're cutting or routing, but you may opt to keep going if you're near the end of a process. If so, watch for smoke and stop immediately if you see any because it's a sign that the blade is generating enough heat to leave burn marks that you'll find difficult to remove.
How to Do it Yourself: Solid Surface Countertop
How to Do it Yourself: Solid Surface Countertop
It's typical for an installer to mount solid surface countertop materials on a substrate such as medium-density fiberboard (MDF), particleboard or plywood to give the countertop a thickness between 1 1/4 and 1 1/2 inches. A thicker countertop is desirable when creating a deep overhang, such as for a breakfast bar. If there are no deep overhangs, you can save materials by gluing strips of moisture-resistant MDF to the underside of the countertop instead of a full sheet.
Things Needed
-
Blocks of wood
-
Hot-melt glue
-
Two-part epoxy glue
-
MDF or plywood
-
Contact cement
-
Sandpaper
-
Scotch-Brite polishing pads
-
Corrosion-resistant screws
-
Silicone caulk
-
Tape measure
-
Circular saw
-
80-tooth carbide-tipped blade
-
C clamps
-
Work bench or sawhorses
-
Saw guide
-
Plunge router
-
Straight cutting bit
-
Spring clamps
-
Jigsaw
-
Roller
-
Router
-
Flush-trim router bit
-
Shaping router bits
-
Orbital sander
1. Make Your Measurements
Use a tape measure to measure the length and width of the cabinets and then add the distances you'll need for overhangs. The standard overhang for the front and sides is 1 1/2 inches from the cabinet face, not the doors. If you're constructing an island cabinet, the standard overhang that allows people to sit around the countertop is 12 inches.
2. Cut out the Backsplash, Lip Strips and Countertop
It's common to make the backsplash out of the same material as the countertop, although it isn't necessary since you can use wood, tile or some other material. If you want to make the backsplash from the solid surface material, you need to rip it from the sheet. Solid surface materials are heavy and difficult to maneuver through a table saw, so it's best to make the cuts with a circular saw using an 80-tooth carbide blade.
 Stephen Paul for Hunker
Clamp the sheet to a work surface or a pair of sawhorses and rip the backsplash, which is typically 3 1/2-inches wide, using a saw guide to ensure a straight cut. After the backsplash is done, cut out two 1 1/2-inch-wide strips to form the lips around the exposed perimeter of the countertop. After cutting out these strips, cut out the main countertop sections using the measurements from Step 1.
3. Cut out the Sink Hole
While you can cut out the hole for the sink and install the sink after you've installed the countertop, it's easier to do it before. Make a template of the sink opening by drawing the opening on a spare sheet of plywood and cutting it out with a plunge router and a straight cutting bit. Place the sink in the template to make sure it fits and then clamp the template in position on the countertop or secure it with hot-melt glue. Cut out the opening in the countertop by running the router with the straight cutting bit around the outline defined by the template.
If you're installing a drop-in sink, you can also do the cutout with a jigsaw. It makes a rougher cut, but the rim of the sink will hide the edges, so it doesn't matter.
4. Construct the Lips
Turn the countertop upside down on the workbench, stack two lip strips on each of the exposed edges, clamp them in position, affix blocks of wood behind them with hot-melt glue to mark their positions and remove the strips. Spread color-matched, two-part epoxy glue on the underside of the countertop. Place one strip, spread adhesive on that strip and place the other on top of it. Clamp the strips firmly and evenly using enough clamps to space them about 6 inches apart, wait for the glue to set and remove the clamps and the wood blocks.
5. Install the Backing Substrate
Cut out a sheet of MDF or plywood material to fit on the underside of the countertop inside the lips and glue it on with contact cement. Spread the cement on both the backing material and the countertop using a roller and clamp the sheets together. Alternatively, you can glue strips of backing material in strategic places instead of using a full sheet.
6. Shape the Edges
Turn the countertop right side up and clean up the edges using a router and a flush-trim bit, which will trim the lips flush with the surface of the countertop. If you want to round the corners, which is recommended, the best way is to use a straight router bit and the same technique you used to make the sink cutout, which is to make a template from plywood to guide the bit and glue it to the countertop with hot-melt glue. Once the edges are straight and the corners rounded, you can shape the edges using the router and a chamfer, ogee or cove bit. The choice of router bits for this part of the procedure is up to you.
7. Sand the Edges
The router will leave small ridges on the edges called chatter marks, and you erase these by sanding. Start with a coarse grit, such as 80, doing the sanding by hand or with an orbital sander. Progress to finer grits until you reach 200 and then finish by polishing with a Scotch-Brite pad. Don't forget to sand and polish the sink opening if you're installing an undermount.
8. Install the Countertop
Position the countertop on the cabinet and affix it by driving screws into the MDF or plywood substrate from underneath the cabinet. Use corrosion-resistant screws long enough to penetrate the cabinet support members and penetrate at least 1/2 inch into the countertop substrate.
9. Install the Sink
Follow the manufacturer's instructions for installing the sink. If it's an undermount, you'll probably have to glue support posts to the underside of the cabinet using two-part epoxy adhesive. Whether you install an undermount or top mount, it's important to apply a bead of silicone caulk around the rim to seal it before clamping the sink in place with the clips provided.
Seaming: How to Do It
Seaming: How to Do It
If your countertop is longer than a sheet of solid surface material or if the counter forms an L shape, you'll need to butt together two pieces of countertop material to form a seam. To make the seam disappear, you need to make the edges straight and smooth, and you need to join them with epoxy glue. There are several ways to make a straight cut that is smooth enough for making a flawless seam:
- Use a circular saw to make a straight cut, leaving a small amount of material (about 1/8 inch) that you can remove with a router and a flush-trim bit.
- Cut with a circular saw and clean the edges with a hand plane.
- Make the cut with a router and a straight cutting bit. This is the fastest method because it produces a straight edge suitable for jointing with just one pass of the router. Be sure to clamp a guide to the surface to prevent the router from wandering.
After gluing and clamping one of the sheets that forms the seam to the substrate, prepare the second sheet by spreading contact cement on the underside of the sheet and on the substrate to which you're going to affix it. While the glue is drying, spread epoxy glue to the edge of the sheet that already affixed to the substrate.
When the contact cement is ready, butt the two sheets together and lower the second sheet onto the substrate, being careful to keep the seam as tight as possible. Once the sheet is in place, clamp it down until the glue sets. When you take off the clamps, use 120-grit sandpaper to remove the excess epoxy, sanding by hand or with an orbital sander, and then progress to finer grits up to 280 and finish by polishing the surface with Scotch-Brite pads.
References
- Corian Solid Surface Technical Bulletin: Corian Solid Surface Material Composition
- YouTube: Wood by Wright: How to Make a Solid Surface Countertop With Just Hand Tools – Corian
- PR Newswire: New DIY Countertop Source – A Great Option for DIY Warriors
- SolidSurface.com: How To Cut And Route Solid Surface
- SolidSurface.com: How To Glue (Seam) Solid Surface