How To Install Ready-To-Assemble (RTA) Cabinets
Installing kitchen cabinets used to be a labor-intensive and daunting job. In recent years, though, many manufacturers have started selling ready-to-assemble cabinets, also known as RTA cabinets. As the name implies, they're sent straight to the buyer ready to be assembled, helping homeowners cut back on labor and shipping costs.
Though the process is an accessible DIY project, it can still be intimidating for beginners. Learning more about installing RTA cabinets can help you take the necessary steps to guarantee that your new cabinets last a lifetime.
Before You Buy RTA Cabinets
Before You Buy RTA Cabinets
Since so many retailers now offer RTA cabinets, quality among brands can vary greatly. There are a few variables for which you can look to make sure you're getting durable, well-made kitchen cabinets.
- Structure: The structures, or boxes, of most RTA cabinets are made of either plywood, particleboard or medium-density fiberboard (MDF). Plywood is typically a little stronger and better at holding up against moisture. It's also lighter, making it easier to install as hanging wall cabinets. You can find plywood cabinets at retailers like the RTA Store. Retailers like IKEA and Home Depot tend to have cabinets made of particleboard. They are often more affordable but should be avoided in humid areas like bathrooms since they are more prone to water damage.
- Screws: One way to increase durability of particleboard and MDF is to use confirmat screws during the installation process. These stronger screws help keep the cabinets sturdy without breaking down the wood. If you go with particleboard or MDF, check to see if the manufacturer supplies the confirmat screws. Otherwise, they can be found at your local hardware store.
- Solid Wood Frames: While the exposed frames of cabinets still have to be somewhat strong, appearance is also important. Many people look for frames made of attractive solid woods like cherry or oak.
- Full-Extension Drawer Guides: Get the most out of your cabinets by making sure your drawers have glides that allow for a full extension, helping you to easily access everything inside of them.
- Green Cabinets: Sometimes, the process of making cabinets and the materials used in assembly can produce what the Environmental Protection Agency calls volatile organic compounds (VOCs). Over time, VOCs negatively impact indoor air quality and can lead to adverse health effects. If you want cleaner, environmentally conscious cabinets, look for manufacturers that avoid particleboard or MDF with urea-formaldehyde binders, use safe finishes, offer recycled or reclaimed wood options and offer cabinet boxes made of marine-grade plywood.
- Solid Wood Drawers with Dovetail Joinery: Since you'll be assembling the cabinets yourself, joinery methods on drawers are important for maintaining a similar quality to cabinets put together by professionals. Old House Journal calls this interlocking joinery the most strong and traditional of options for kitchen cabinets.
Though online retailers offer far more options for materials and styles of RTA cabinets than brick-and-mortar stores do, it can be difficult to picture exactly what a cabinet might look like in your home based on an online photo alone. If you're having trouble imagining, most retailers will allow you to order sample RTA cabinet doors so you can get an idea of what it would look like in your space.
Measuring for New Cabinets
Measuring for New Cabinets
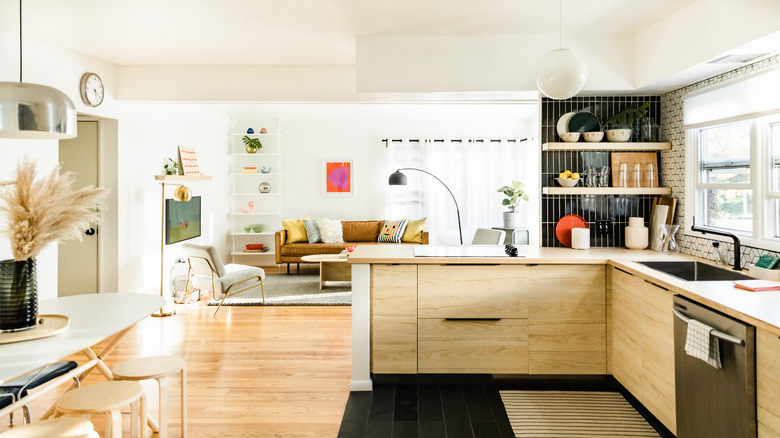
Once you've decided on the right RTA cabinets for your space, you'll need to figure out what size cabinets you want and where you'll put them and then make the measurements so you know which cabinets to order. If you're replacing old cabinets, you may simply want to recreate the same kitchen-design configuration as your previous set. However, if you're building a new place or doing a kitchen remodel, these measurements might take more creativity and planning.
 Nicole Mason
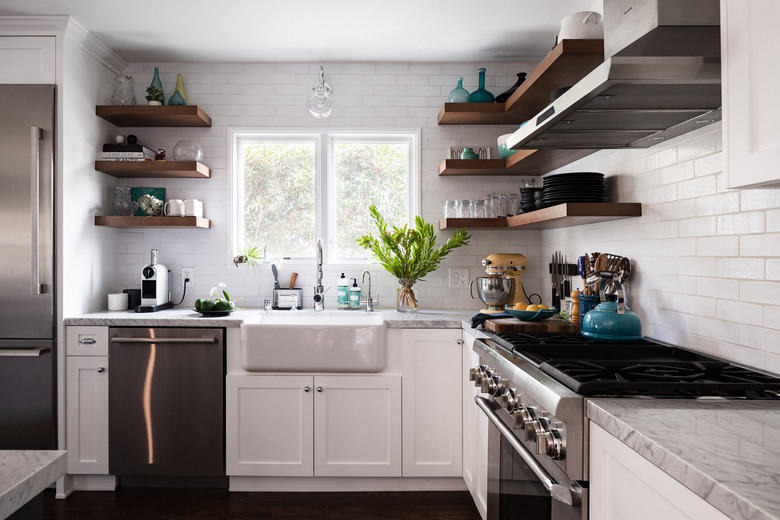
There are many factors to consider as you're deciding on the height and width of your cabinets. One of the most important considerations is whether you want a toe-kick space — the recessed space between the floor and the bottom of the base of the cabinets. That space allows room for your toes to move and lets you stand directly adjacent to the countertop, making it easier to use the counter as a workspace.
If you want a toe-kick space, you'll need a base for the cabinet boxes. Most bases allow the base cabinets to sit about 4 inches above the ground and allow for a recess that's about 3-inches deep, though you can customize yours if you want more or less space. Some RTA cabinet retailers offer toe-kick base options in different finishes, edges and shapes as well as toe-kick particleboards for the outward-facing part of the base. You can also build your own customizable bases using 2x4 pieces of plywood, though this typically requires some DIY experience.
Additionally, keep in mind that you won't want to cover any electrical wires or outlets, and you won't want to have cabinet doors swing open in inconvenient ways. If you're installing both base and wall cabinets, think about how much room you want in between them. Typically, most people leave about 18 to 20 inches, though you might want more room if you have large countertop appliances.
Some RTA cabinet retailers allow you to plug in the dimensions of your room and then give you suggested cabinet placements and measurements based on those dimensions. This can be an option if you're feeling lost or indecisive during the measuring process.
How to Install RTA Cabinets
1. Prepare for Installation
Once you've made your measurements and have ordered your cabinets, you can begin to prepare for the installation job. The first step is to clean the area where the cabinets will go, making sure to sweep or wipe any dirt and debris off the floor and making sure the area is completely dry.
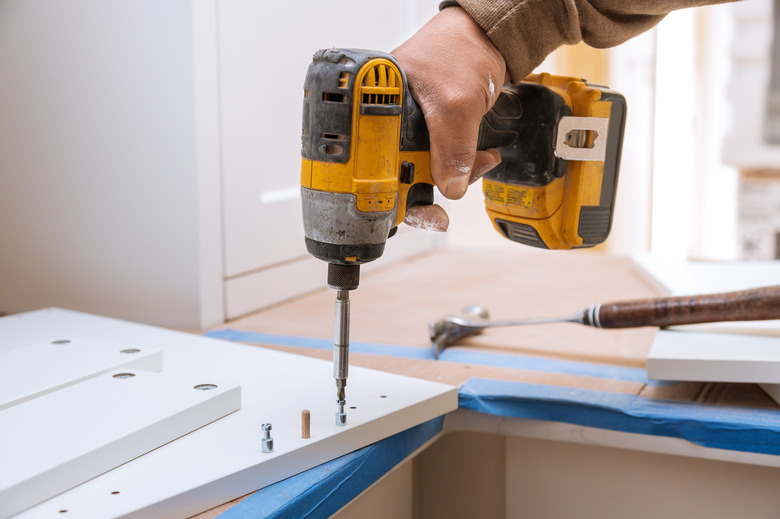
You'll also need to gather the tools you'll need for the job. One of the advantages of RTA cabinets is that you probably won't need too many uncommon tools. The cabinets will likely come with all the screws, wood dowels or glue that they need for assembly.
 Valentyn Semenov / EyeEm/EyeEm/GettyImages
Other than that, you'll likely need a drill and a screwdriver. Depending on the type of RTA cabinets you buy and where they are being placed, you may also need a nail gun to speed up and streamline the process as well as possibly a table saw to cut the fillers and moldings on the cabinets. Tools like a level, rubber clamps and a stud finder may also come in handy.
2. Assemble the Cabinets
Start by putting a protective layer over the floor to prevent scratches. Next, follow the instructions for assembly. They will likely include steps like applying wood glue, sliding cabinet sides into place and fastening and screwing parts together. This part can often be a one-person job, though depending on the size of your cabinets, you may want a partner to help slide larger sides into place or hold the cabinet box steady during parts where you need to carefully use a screwdriver.
RTA cabinets typically come with instruction booklets that include drawings to guide you through the step-by-step process. If you're still having trouble with the assembly, many brands also have online videos that can walk you through the process for your specific cabinet, which you can find by doing a web search for the brand and model of your cabinet.
3. Install the Cabinets
Once you have assembled all your cabinets, you can begin to put them into place. This should not be done alone, as someone will need to hold the cabinet in place while another person carefully screws or nails the cabinets into the wall.
Always start the installation process with the cabinets that are highest from the ground, which would mean hanging wall cabinets if you're installing them. Begin with an upper corner cabinet. After calculating where your wall studs are and using a pencil to mark on the wall where the cabinets should be drilled, carefully drill the cabinet into the wall — but not all the way. You may need to use shims to adjust cabinet placement if your walls, ceilings or floors aren't level, so don't fully screw in the cabinets until all are in place.
Next, loosely screw the adjacent cabinet next to the corner one and clamp the two together. Continue in this manner until all the hanging cabinets are in place. Then, use a level and your best judgement to make sure the cabinets are evenly spaced and placed. Once they are, fully screw them into the wall.
Install the base cabinets in a similar manner by starting with the corner cabinet and not fully screwing the cabinets into the wall until all are put in place.
4. Install Finishes and Trims
Now that your cabinets are in place, it's time to add the finishing touches. These will differ depending on your brand and style of RTA cabinet, but it includes pieces such as the doors, drawers, moldings, toe-kick boards and trimmings.
You may also need to install fillers between cabinets or between the floor and the toe-kick space. The materials for fillers will come with your cabinets, but you'll likely need to use a table saw or other tool to cut these to size. Then, you'll need to open the cabinet and screw the fillers into place from the inside.
References
- Mid Continent Cabinetry: Toe Kick and Base Options
- Best Online Cabinets: A Few Things You Need to Know Before Purchasing RTA Kitchen Cabinets
- Toulmin Cabinetry: Kitchen Cabinet Construction: Particle Board, MDF, or Plywood?
- Wholesale Cabinets: Easy Kitchen Cabinets: Everything You Need to Know Before Buying RTA Cabinets
- Lily Ann Cabinets: How to Install RTA Cabinets
- Environmental Protection Agency: Volatile Organic Compounds' Impact on Indoor Air Quality
- Old House Journal: Kitchen Cabinet Design for Period Houses