How To Replace Underlayment

Flooring underlayment comes in a variety of different forms, ranging from 1/4-inch plywood to cement board to carpet padding or foam material. It is fastened to the subfloor and sits underneath the finished floor, providing a suitable base that is as smooth and flat as possible. Sometimes, this underlayment will need to be removed and replaced, such as when there has been some type of damage to the floor or when the finished flooring itself is being changed to update the material.
A Few Underlayment Basics
A Few Underlayment Basics
Underlayment serves an important purpose, and most types of floors will require some version of this material between the subflooring and the finished floor. Reasons for using underlayment range from providing a flat surface to dampening sound to adding a moisture barrier. It can also provide a little bit of insulation. In nearly all cases, underlayment is a desirable addition to the process of installing finished flooring material.
The kind of underlayment that is used varies based on the floor. For example, plywood expands and contracts, so it is not a good direct underlayment for tile flooring. Carpet padding goes beneath carpet, and foam is often the underlayment of choice for laminate flooring. Be sure to check the specific kind of finished flooring material you will be using, as some of them do come complete with an underlayment layer.
Smooth plywood is the best choice for the sheeting style of flooring, such as vinyl or linoleum. This is because it provides a flat surface that is free of dings, knots and other imperfections that would otherwise show through on these types of finished floor surfaces. Luan plywood or its equivalent is a good choice of underlayment for either of these flooring materials. Installation can be done by a professional, or it can be a DIY project.
How to Replace Plywood Underlayment
1. Remove the Flooring
It is possible for plywood underlayment to become damaged, especially from water. If you have had flooding or a severe spill, investigate to see if the underlayment has been affected. Watch for symptoms like soft or spongy spots in the floor, musty odors, obvious mold and/or loose flooring. There are also times that you may want to make a change from one flooring type to another, such as swapping carpeting for vinyl tiles. This also requires an underlayment change.
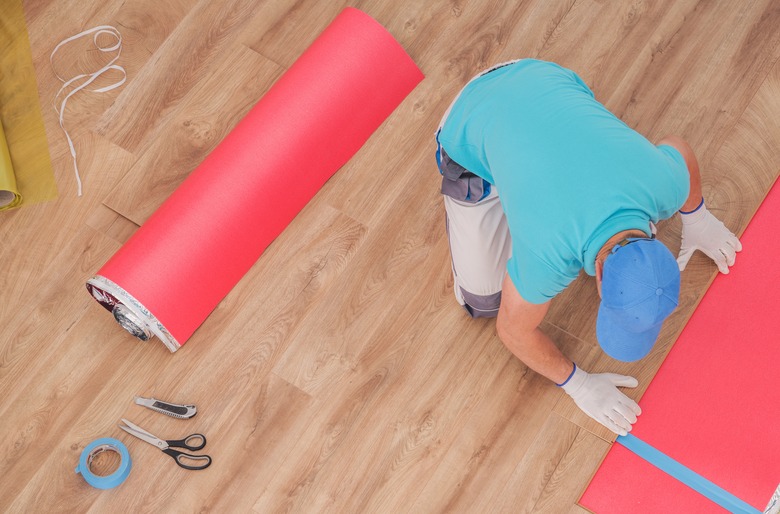 welcomia/iStock/GettyImages
Begin by taking out the finished floor. Tools needed include a circular saw, pry bar, hammer and reciprocating saw. If screws were used, a screw gun is also necessary. Work in sections with these tools, taking out the plywood underlayment and all the nails/screws that fasten the underlayment to the subfloor.
Once the underlayment material is out, assess the flooring joists to make sure everything is sturdy and structurally sound. The underlayment is not designed to provide a structural support layer; that's the job of the subfloor.
2. Acclimate the Plywood and Shore Up the Subflooring
APA – The Engineered Wood Association highlights the importance of letting material acclimatize prior to installation. Bring the plywood underlayment panels into the space where installation will take place and let them sit for several days. This allows the material to balance with the humidity levels in the house, which is important for a good installation. Be sure there is ample air movement in the room. Make sure panels have space between them so they are able to acclimate as easily as possible.
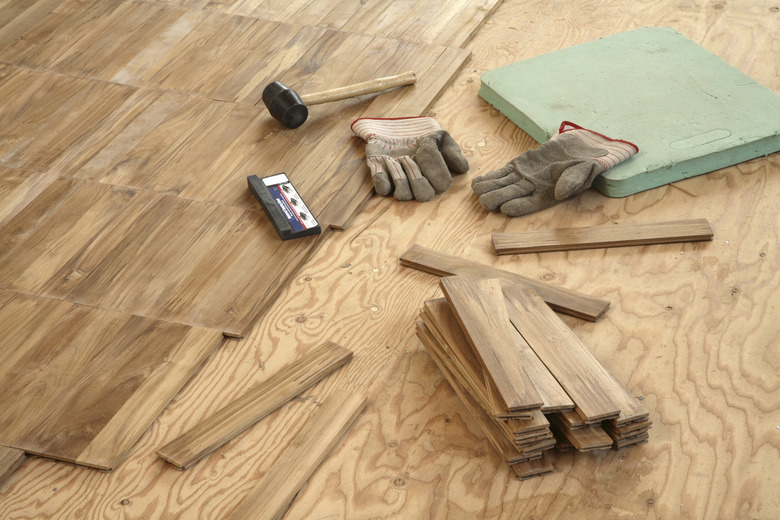 JaniceHazeldine/iStock/GettyImages
Take a look at the subflooring and shore up any spots that don't look solid. It should be strong and as flat as possible. If there are any uneven areas, loose spots or squeaky areas, secure them with screws before putting down the new plywood underlayment. Also, check for any high spots and sand them down if needed. It shouldn't take a lot of work to prep this area for the underlayment as long as the subfloor itself doesn't have any significant damage.
3. Secure the Plywood Underlayment to the Subflooring
The next step is installing the plywood underlayment material. Lay down the long sides of plywood underlayment sheets perpendicular to the joists for additional strength. Make sure the smooth side of the panel is facing the ceiling. This is especially important if the finished floor is going to be a vinyl or linoleum material, but it is a good practice to always lay the rough side down. The goal here is to install panels securely to the subfloor.
Fasten the panels with galvanized staples with a 1/4-inch or smaller crown. You can also use screws or ring-shank nails, but staples are much faster and easier to install. Drive the staples with an air stapler and be sure to set the depth properly. If the staples are too deep, they will blow through the underlayment, and if they are too shallow, they can show through the flooring. Be sure to use coated fasteners so they won't rust and bleed through the finished floor. There is no need to secure plywood underlayment to subflooring with adhesive.
The APA recommends offsetting the sheet ends from the subfloor ends by a minimum of one joist space for maximum stability. At the edges, the offset should be no less than 2 inches. Much like with a subfloor, you will want to leave a space for expansion, but for underlayment panels, this gap should be 1/32 inch. Build in this space at the very edges of the floor. Stagger the underlayment edges from the subfloor edges by 2 inches. Finish with a sanding if any high spots remain.
4. Fill Gaps in the Underlayment
Fill gaps between the plywood sheets before installing the finished floor covering. This gives everything a smooth, uninterrupted surface. Find filling or patching products at any home improvement store; these are made specifically for underlayment. Apply the fill product prior to the final flooring install and make sure it is fully dry before moving forward. Install the finished flooring material as soon as possible afterward to make sure the plywood underlayment material does not suffer any damage.
References
- APA – The Engineered Wood Association: Proper Handling and Installation of APA Plywood Underlayment
- Patriot Timber: Plywood Underlayment
- Norbord: Underlayment Installation Tips
- Fine Homebuilding: NWFA is Making Sweeping Changes to Their Wood-Flooring Installation Guidelines
- Patriot Timber Products: Choosing the Proper Fasteners for Installing Plywood Underlayment