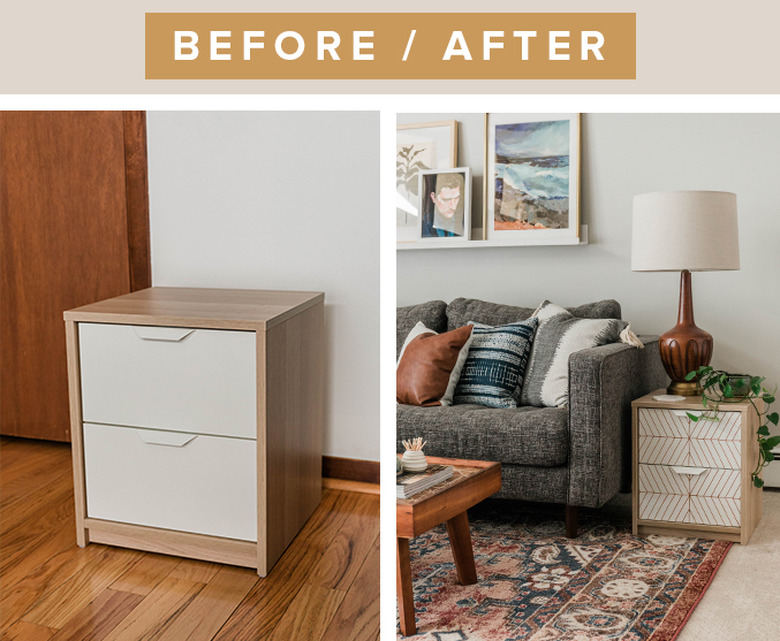
Easy IKEA Nightstand Upgrade Using Paint Marker
We may receive a commission on purchases made from links.
We've shared some pretty easy-to-create IKEA hacks here on Hunker, but this one might just take the cake for the easiest of all! If you've got a ruler, a pencil, and a paint marker, you have everything you need to completely transform a plain side table. Keep scrolling to see how we pulled it off, step-by-simple-step!
 Carrie Waller
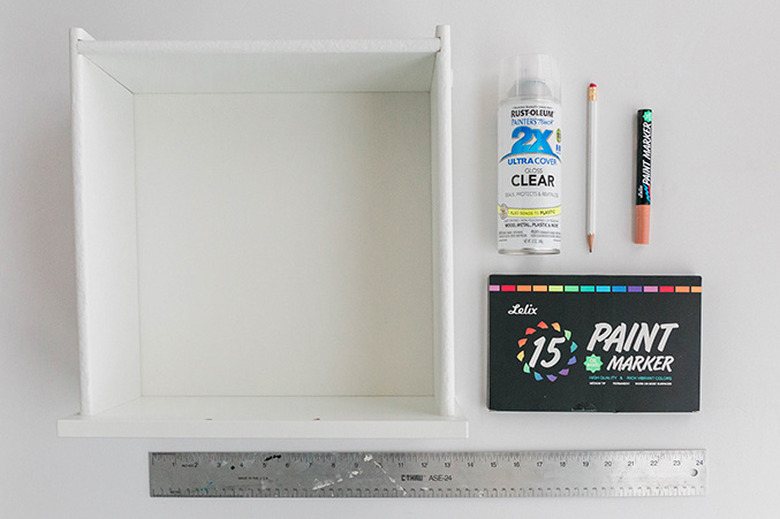
Things Needed
-
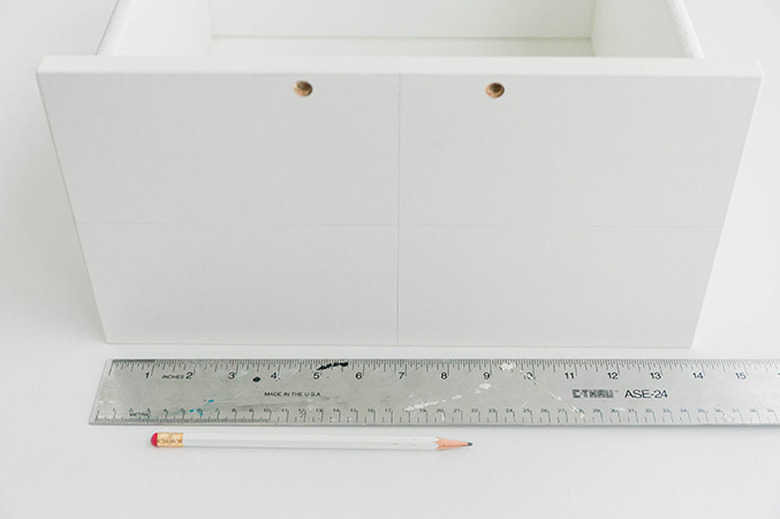
IKEA Askvoll 2-drawer chest, assembled except for the handles
-
Ruler
-
Pencil
 Carrie Waller
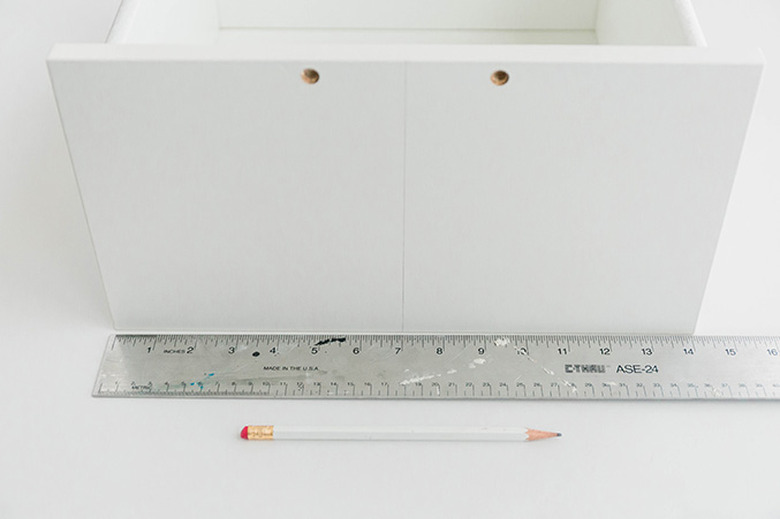
Step 1
Use a ruler to find the vertical center of your drawer front, and draw a light pencil line to mark it.
 Carrie Waller
Step 2
Use your ruler again, this time to find and mark the center horizontal line of your drawer front.
 Carrie Waller
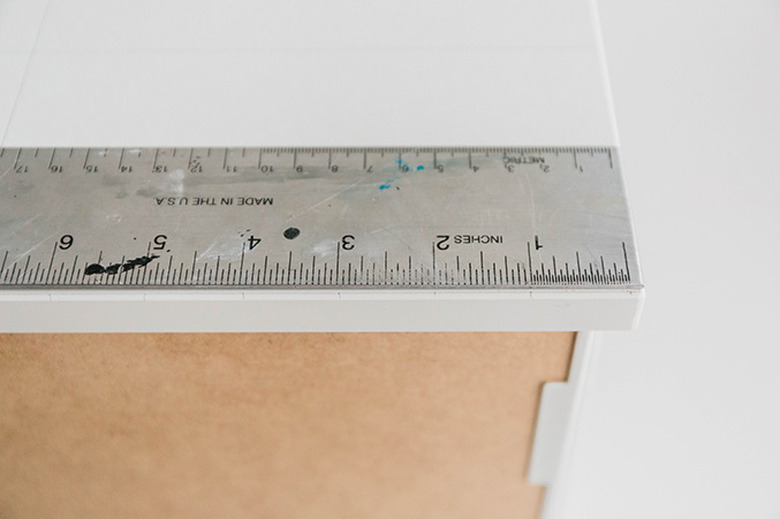
Step 3
Use the ruler to draw light pencil marks every 1 inch along the top-most edge and bottom edge of your drawer front.
 Carrie Waller
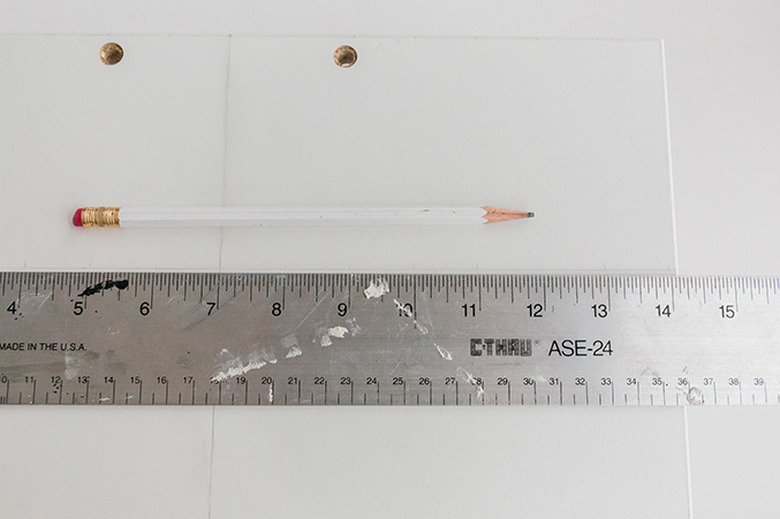
Step 4
Make more 1-inch pencil marks, this time along the center horizontal line you drew in Step 2.
 Carrie Waller
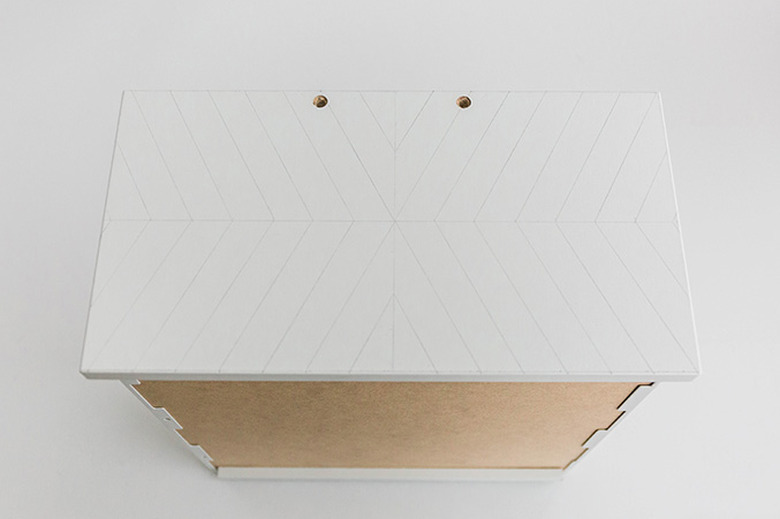
Step 5
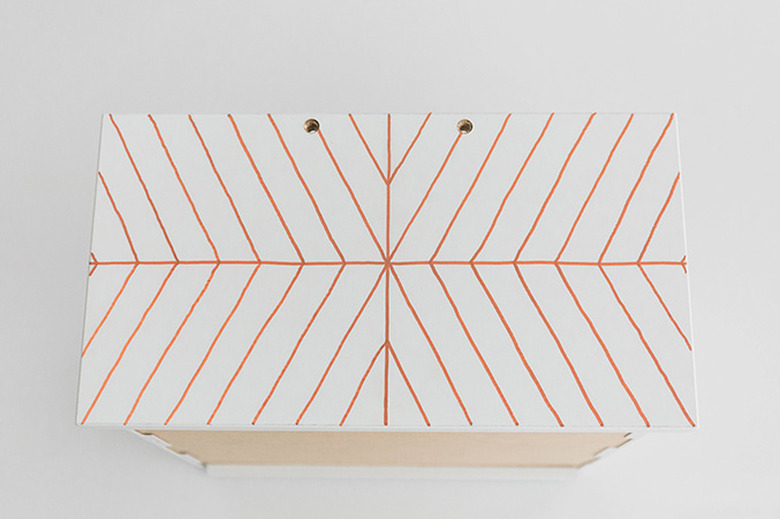
Connect the marks diagonally on the drawer front using a pencil exactly as you see them pictured here.
 Carrie Waller
Step 6
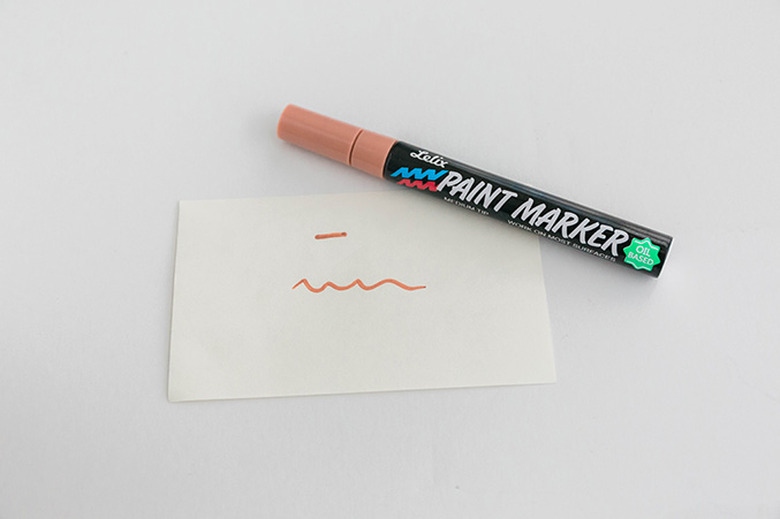
Read the instructions that come with your paint markers to activate the pigment, then practice making lines and marks on a piece of scrap paper until you feel confident.
 Carrie Waller
Step 7
Use your paint marker to draw carefully over the pencil lines you marked. You can freehand it, like we did, or use your ruler as a straightedge. Be careful not to rub your hand over any of the wet lines as you work! If you need to, work in sections, and then set it aside to allow the paint to dry a little in case you're worried about smearing the pigment.
 Carrie Waller
Step 8
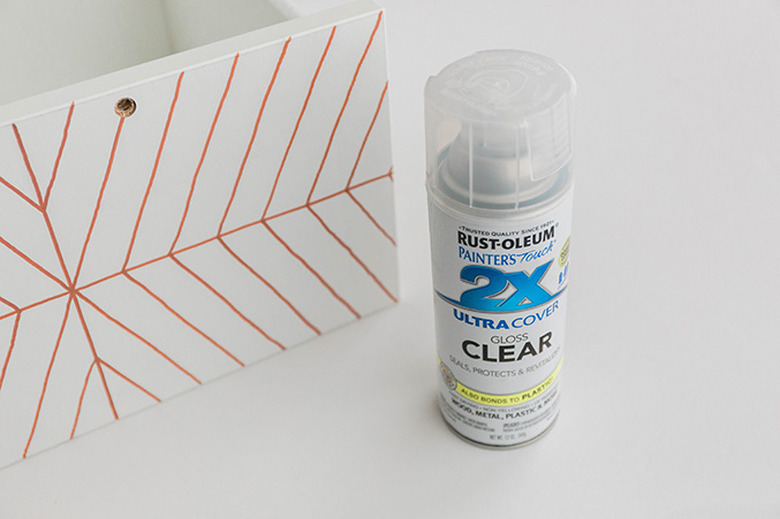
Repeat Steps 1 though 7 on the second drawer. Allow the paint lines to cure for 24 hours, then seal the drawer fronts using clear spray paint. Be aware that the lines may bleed a little bit during this step if the paint isn't fully cured. If you're concerned about this, feel free to skip the step entirely, or test the clear spray paint on a piece of scrap wood with paint lines drawn on it.
 Carrie Waller
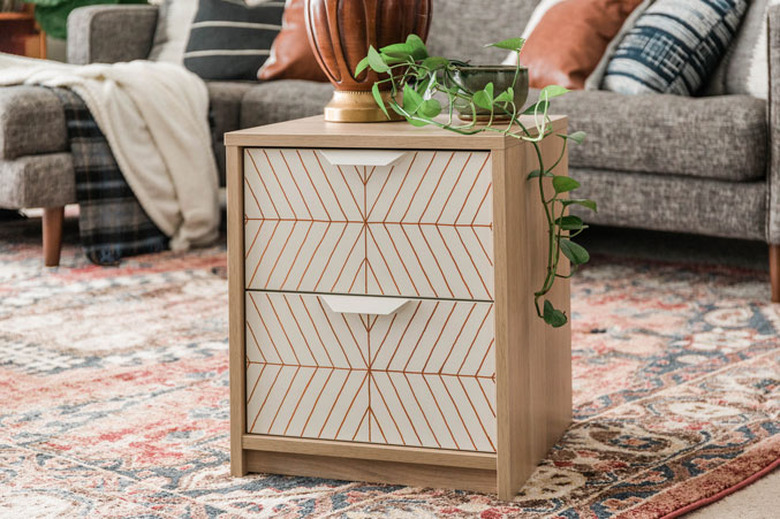
Step 9
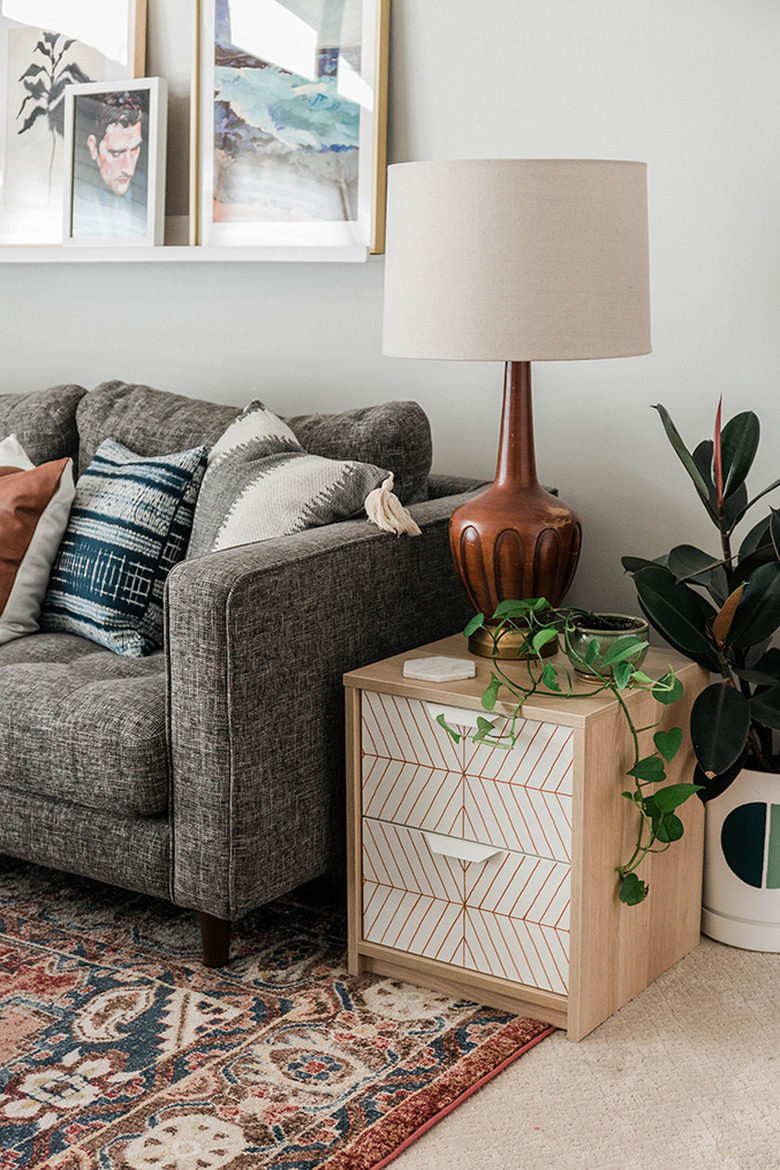
Attach the handles to your drawers, slip them inside the table surround, and your upgraded IKEA side table is done! Style it alongside over decorative accents that repeat the same paint marker color you chose to make the piece feel right at home amongst your other beloved decor.
 Carrie Waller