How To Replace Laminate Floor Planks
Laminate flooring looks and feels solid and durable when you're walking on it — and it is, but it has a fragile core, and the surface is definitely vulnerable to scratches and other damage. When it comes to the core, moisture is its public enemy number one; once laminate planks are moisture damaged, they are beyond repair. As for the surface, you can't repair scratches by sanding and refinishing, so deep ones on a laminate plank call for replacement.
Replacing a damaged plank is definitely easier and less expensive than replacing the entire floor, and there are two ways to approach this as a DIY project. Because laminate planks are joined together like puzzle pieces and aren't attached to the subfloor, you can take them apart, and that's usually the easiest strategy when the damaged plank is in the first row near the wall or close to it. To remove a damaged plank in the middle of the floor, it takes less effort to cut it out than it does to disassemble the whole floor, and there are definitely ways to do that.
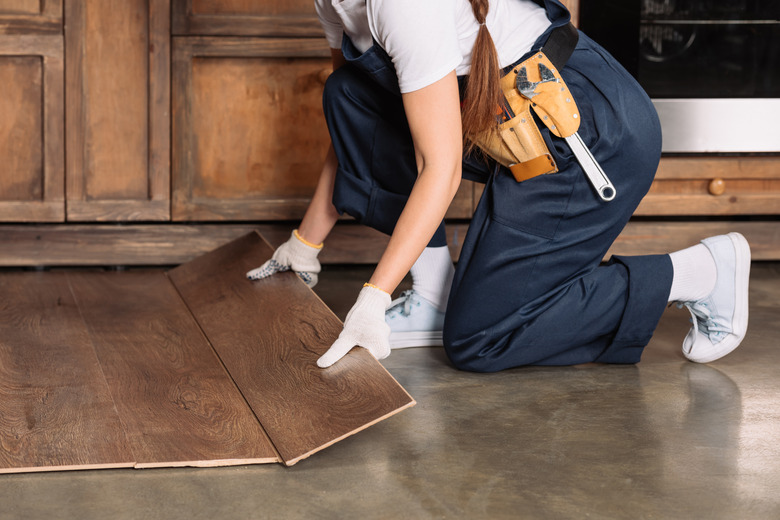 LightFieldStudios/iStock/GettyImages
When Replacement Is Necessary
When Replacement Is Necessary
Some damage to laminate flooring planks is correctable and doesn't require replacement. Most flooring dealers sell repair kits that contain all you need to mask shallow scratches, and if the finish is worn, you can often fix it by applying a coat of stain and clear finish. However, some types of damage can't be repaired, including:
- Curled or raised edges, which is the result of swelling caused by moisture. While this could be caused by the lack of an underlayment, it's more likely due to moisture getting into the joints between planks from above.
- Bowing or warping, which can be water damage or caused by problems with the subfloor. If it is the latter, you have to remove the plank to fix the subfloor. Either way, the plank is doomed — it will never return to its original shape.
- Deep scratches that penetrate the image layer and expose the core. Pets are often the source of these scratches.
- Extensive surface wear that exposes the core.
How to Disassemble the Floor
How to Disassemble the Floor
Just like the individual laminate planks, a laminate floor has two dissimilar sides, the tongue side and the groove side. When you disassemble a floor, you have to start on the groove side. The row on which you begin disassembly — the first row — is the last row that was installed, which means it's the groove side. To determine which side of the floor is which, remove the baseboard trim and look at the edges of the planks. The groove doesn't extend out as far as the tongue, and it has a slot above it for the tongue.
If the damaged plank is within two or three rows of the first row, disassembling the floor shouldn't take long, and you shouldn't have to move much furniture. The most difficult part of the procedure is removing the first plank, and the one that comes out with the least effort is the one in the corner. Use a grout float or some other tool that you can push down on the surface of the plank and force it first lengthwise to unlock the end joints and then sideways to disengage it from the plank next to it.
Use the same procedure to remove all the planks in the first row and then keep going until you reach the damaged one. Fit in the new laminate board and then reassemble the floor using a tapping block to join the laminate planks to each other. Replace the baseboards, and you're done.
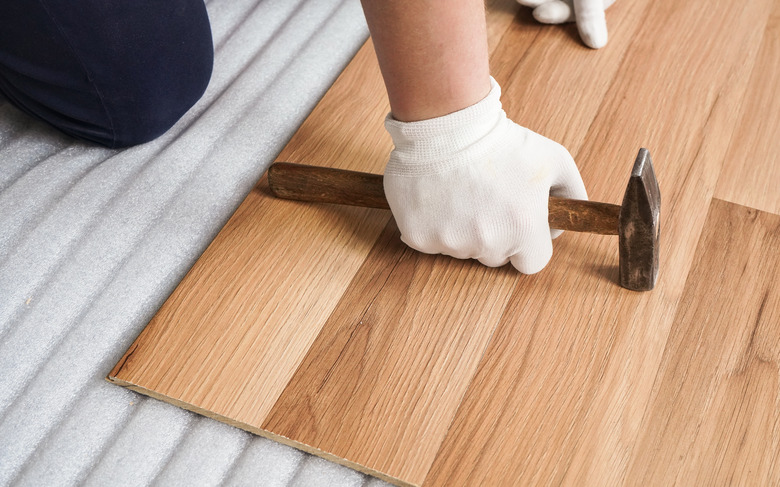 Lubo Ivanko/iStock/GettyImages
How to Cut Out a Plank
How to Cut Out a Plank
Cutting a laminate board out of a floor is an intermediate-level carpentry job that calls for plunge cutting with a circular saw. If you aren't confident in your cutting skills, you should get a pro to do the job because you can easily cause more damage, and you could hurt yourself.
There is more than one way to cut out floorboards, and laminate manufacturer Swiss Krono describes how to do it using a drill and Forstner bit. However, you can do the job with just a circular saw and a chisel.
Things Needed
-
Masking tape
-
Wood glue
-
Pencil
-
Straightedge
-
Circular saw
-
Safety glasses
-
Hammer
-
Chisel
-
Utility knife
-
Pliers
-
Weights
1. Draw Lines on the Plank
Use a pencil and a straightedge to scribe two straight lines about 2 inches apart lengthwise down the middle of the damaged plank from end to end. Draw a line from each corner that meets the nearest straight line at a 45-degree angle. After drawing the lines, apply masking tape along the edges of the boards adjacent to the one you're removing to prevent chipping.
2. Set the Cutting Depth of the Saw
Before plugging in the circular saw, set it to cut about 1/16 inch deeper than the thickness of a plank. For example, if the plank is 1/4 inch thick, set the blade to cut at 5/16 inch deep. Use a spare piece of flooring to set the depth if you aren't sure. At this depth, the saw will cut into the underlayment but not all the way through.
3. Cut Along the Lines
Align the saw blade with one of the long, straight lines, put on safety glasses, start the saw and plunge it into the plank. Cut to within 1/2 inch of one end and then turn the saw around and cut to the same distance on the other end. Do not cut all the way to the end, or you'll damage the adjacent plank. Cut along the other straight line in the same way and then cut along each of the diagonal lines, stopping 1/2 inch short of the corners.
4. Chisel Out the Pieces and Remove the Plank
Use a hammer and chisel to finish all the cuts and then remove the strip from the center of the plank and the four triangular pieces from the corners. Tap lightly to avoid chiseling into the adjacent planks. When you've removed all the pieces, you'll be able to slide the two remaining halves of the plank toward the center, although you might have to use a pry bar if they're stuck.
5. Prepare a New Laminate Plank
To fit the new laminate plank into the floor, you have to cut off the bottoms of the grooves on one end and one side, and you also have to cut off the tongue on the end opposite the grooved end. You can do this with a table saw, but it's just as easy to use a utility knife. Score once or twice with the knife and break off the material with pliers.
6. Glue the Plank and Install It
Spread a thin bead of wood glue on all four edges of the plank. Insert the intact tongue on the side into the groove of the adjacent plank and lower the plank to the floor. Place weights on the plank to hold it down while the glue dries overnight.