Installing Underlayment For Laminate Flooring
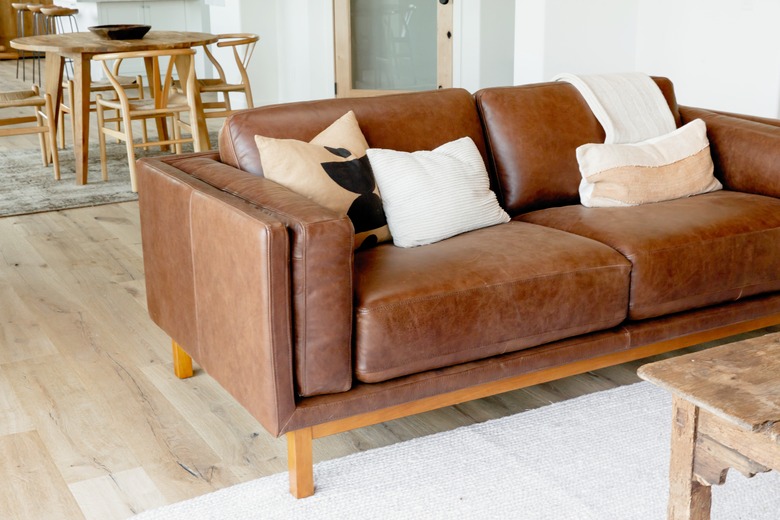
You don't always need an underlayment when you're installing laminate flooring, but most of the time, you do. Laminate flooring is hard and has little insulation value, and the cushioning and extra warmth provided by an underlayment can definitely make the floor more comfortable. This is true for all but the most high-end laminate flooring products that come with a resilient cork (or other material) backing that performs the function of an underlayment.
The procedure for installing underlayment is fairly easy to understand and accomplish. After preparing the subfloor, you basically roll out the underlayment and secure the seams, making sure it's flat and that it covers the entire floor with no gaps at the seams or edges of the floor. The procedure doesn't add much time to the overall job, and underlayment materials aren't very expensive, so there's really no reason to skip this step when doing a DIY laminate flooring installation.
 Pannonia/iStock/GettyImages
Choosing an Underlayment
Choosing an Underlayment
Underlayment performs four separate functions, and while some available products perform all four, some emphasize one or two over the others. The four functions are:
- Moisture barrier: Moisture is the number-one enemy of laminate flooring, and few manufacturers will honor the product warranty if you don't install a vapor barrier.
- Thermal insulation: By itself, laminate flooring is a poor insulator, and if you don't add an underlayment, the floor can feel uncomfortably cold.
- Sound insulation: The hard materials used to manufacture laminate flooring do little to muffle the sound of footsteps or dampen noise transmission between the room in which the flooring is installed and the one below it.
- Cushioning: Without an underlayment, laminate flooring feels as hard as the subfloor beneath it. A cushioning underlayment makes the floor feel more comfortable.
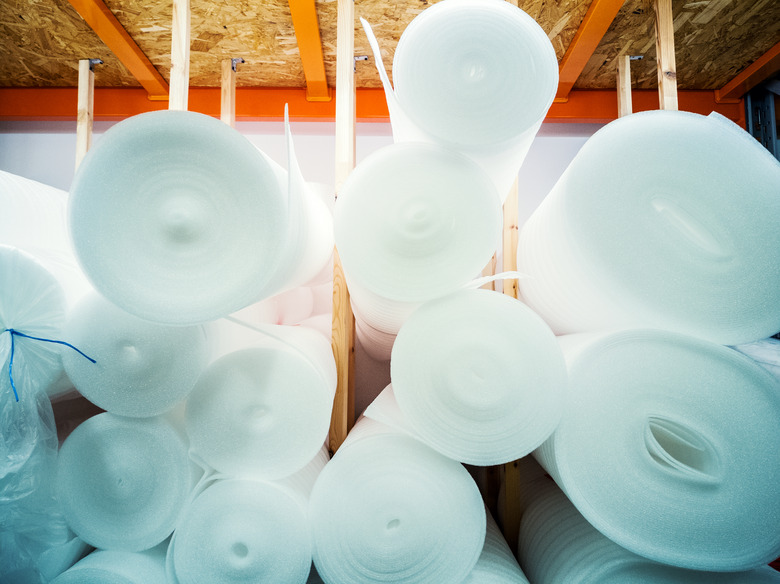
Although you can find laminate flooring underlayment made of materials ranging in sophistication from traditional tar paper to cross-linked polypropylene, products that feature foam, cork and felt are the ones that make the recommendation list of Floor Critics.
- Foam is the least-expensive option. It costs 22 cents to 30 cents per square foot and provides good cushioning and moisture protection. It also provides some sound insulation but very little thermal insulation.
- Cork is a good thermal and sound insulator and provides some moisture protection and cushioning. Mid range on the price scale, cork costs 50 cents to 75 cents per square foot and has the added benefits of being a sustainable forest product and mold- and mildew-resistant.
- Felt is the most sophisticated underlayment, and at 75 cents to $1.25 per square foot, it costs the most. It is a superior thermal and sound insulator, provides better cushioning than other materials and can be incorporated with other materials to offer great moisture protection as well.
 All rights belong to Dmitri Smoljannikov/iStock/GettyImages
Install a Vapor Barrier on Concrete Floors
Install a Vapor Barrier on Concrete Floors
Installing a vapor barrier on a concrete subfloor is highly recommended and may even be required to preserve the warranty of your flooring. Concrete is porous and transmits moisture from the ground, and even old concrete can retain residual moisture from when it was poured. The vapor barrier is protection against warping, gapping and other defects that occur because of moisture.
Many flooring underlayments include a moisture barrier in the form of a layer of plastic glued to one side of the material. These are usually identified as 2-in-1 or 3-in-1 underlayment. Alternatively, many flooring manufacturers recommend laying a sheet of plastic on the floor and laying a conventional underlayment on top.
Preparing the Subfloor
Preparing the Subfloor
Floor leveling isn't as critical for laminates as it is for other types of flooring, such as hardwood and tile, but the North American Laminate Flooring Association reminds DIY installers that manufacturers generally recommend the same leveling standard, which is 3/16 inch over a 10-foot radius. To achieve this, you generally sweep a 10-foot straightedge over the floor and look for hills and depressions greater than 3/16 inch and either sand or grind them down or fill them with leveling compound as needed.
Along with leveling, preparation of a wood subfloor should include addressing squeaks by driving extra fasteners into the plywood to hold it to the floor joists. If you're installing laminate flooring on concrete, be sure to patch any cracks, spalls and other defects with an appropriate patching compound. Some installers recommend applying a coat of water-sealing primer to concrete, which is a good idea especially if the installation is below grade, but primer shouldn't take the place of a vapor barrier.
When you install laminate flooring, preparation also includes removing existing baseboards (number them if you plan to reuse them) and undercutting the door jambs to accommodate the new flooring. Once all this work is complete, sweep and vacuum the floor, and you're ready to install the underlayment.
 drewhadley/iStock/GettyImages
How to Install Laminate Flooring Underlayment
How to Install Laminate Flooring Underlayment
Underlayment typically comes in 3-foot rolls, which means you have to spread sheets side by side to span the width of a typical floor, so you'll have seams. Some products have self-adhesive seams that make joining sheets effortless, some come with proprietary tape and some just have straight edges that you butt together and tape with plastic tape. Before you lay the underlayment, be sure to read the manufacturer's installation recommendations.
Things Needed
-
Tape measure
-
Utility knife
-
Tape
-
Baseboards
1. Measure the Floor
You probably already measured the floor to determine the amount of laminate flooring you need, but if not, do it now. Measure the length and width of each section of the floor, multiply these measurements to get the area and then add together all of the area totals. Purchase enough underlayment to cover 10 percent more area than you calculated.
2. Lay the First Sheet
Unroll the first sheet of underlayment along the wall against which you will install the first row of flooring. Let the underlayment creep up the wall an inch or two along the side and at both ends. You can trim off the excess after laying the flooring.
If you're using an underlayment with adhesive edges, the two edges are different, so follow the manufacturer's recommendations to be sure you're laying it in the proper orientation. You can cut most underlayment with a utility knife.
3. Lay All Subsequent Sheets
Butt the second sheet against the first, leaving no gaps, and then tape the seams. If you're using material with an adhesive strip, remove the backing from the strip and press it down on the second sheet. Otherwise, unroll tape on the seams, cut it flush with the ends of the sheets and press down to secure it.
4. Pull the Underlayment Flat
After installing the final sheet and taping the seams, lift the underlayment at one corner so you can stand on the floor underneath and then give the underlayment a little tug to make sure it's flat and won't interfere with the flooring boards as you lay them.
5. Trim the Underlayment
Lay the flooring, being sure to leave the recommended size of expansion gap around the perimeter and then trim the underlayment with a utility knife. Hold the knife at a 45-degree angle relative to the floor to be sure it cuts below the surface of the flooring. Install the baseboards after you complete this step.