How To Install Sheet Vinyl Flooring
If you're looking for ways to spruce up scuffed floors, you may be considering sheet vinyl flooring. Reasonably priced, durable and easy to maintain, it's especially great for highly trafficked areas. Even better, it can be relatively easy to install with the right preparation and tools, making it ideal for a first-time DIYer. Learning more about the process for laying sheet vinyl flooring can help you avoid rookie mistakes and enjoy your new flooring for years to come.
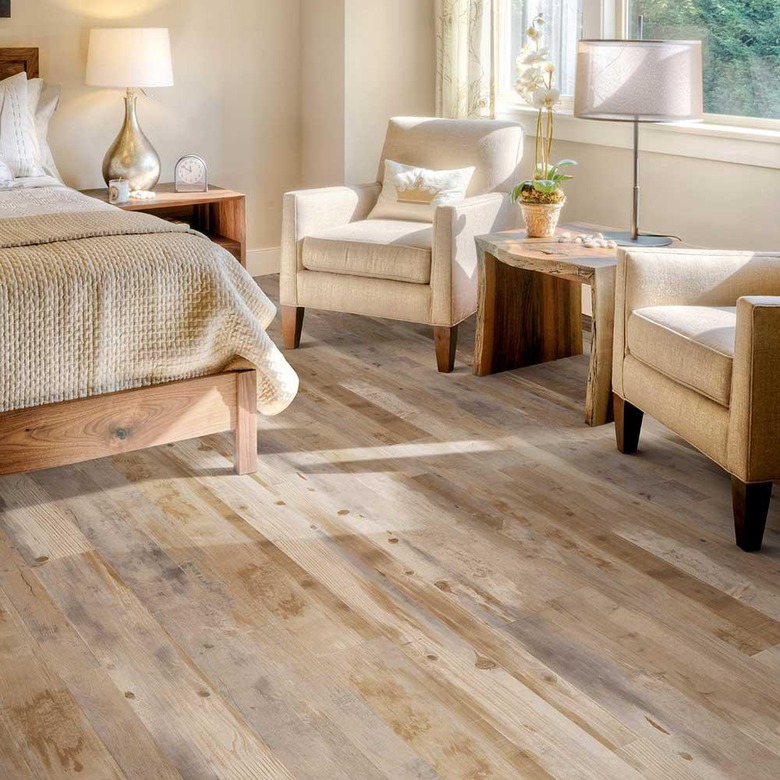
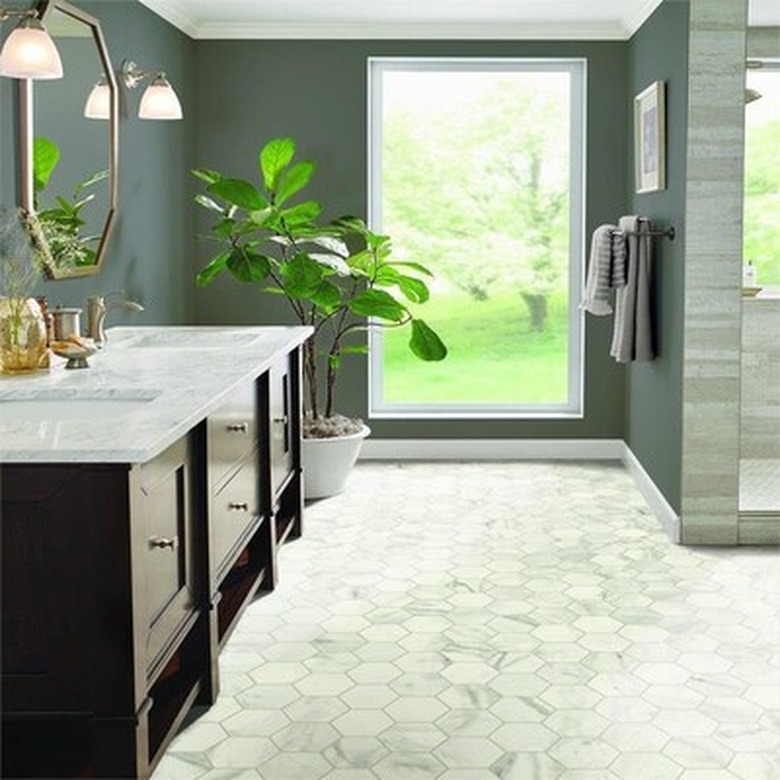
How to Pick Sheet Vinyl Flooring
How to Pick Sheet Vinyl Flooring
Sheet vinyl flooring comes in a wide variety of colors and styles. You can find types that remarkably resemble real hardwood floors or kitchen tiles, according to Old House Journal. Finding the right one for you depends largely on your own personal preference, but consider paying a little more upfront to avoid a low-quality option that will discolor quickly, especially if the flooring is going to be in direct sunlight.
Read more: Vinyl Flooring: What You Need to Know
Once you've chosen a style that fits your budget and design needs, you'll need to estimate how much product you need. Sheet vinyl typically comes in rolls of 6 feet or 12 feet wide. First, use a tape measure to measure your room and calculate the square footage of the area you'll be covering by multiplying the length times the width. To be safe, it's smart to add on to that number by about 10 to 20 percent to cover waste, mistakes and future replacement sheets. If you're still not sure, some stores also offer online calculators that can help give you a better idea of just how much to buy.
Understanding Your Underlayment
Understanding Your Underlayment
Vinyl sheets can be applied to several different types of existing floors, but in order to do so, you may also need to purchase a piece of plywood underlayment. A smooth and even floor is essential to avoid gaps and buckling and to keep your sheet vinyl looking new for years. In most cases, it's smart to buy sheets of 1/4-inch plywood to cover the area of sheet flooring you bought. Double check that it is knot-free and suitable for vinyl flooring.
This is especially important if your subfloors are a porous material like concrete, as those can absorb too much of the adhesive you'll use, which will lead to your flooring bubbling and quickly becoming undone.
 Lowe's
Things Needed
-
Sheet Vinyl
-
1/4 inch underlayment designed for vinyl flooring
-
Tape measure
-
Putty knife to remove baseboard (as needed)
-
Screwdriver and wrench to remove toilet (as needed)
-
Rosin paper (or other large, heavy paper)
-
Pencil
-
Straightedge
-
Utility knife
-
Duct tape
-
Underlayment stapler
-
Floor filler
-
Sandpaper
-
Sheet vinyl adhesive
-
Floor roller
How to Install Sheet Vinyl Flooring
1. Prep for Vinyl Flooring Installation
Taking the proper precautions ahead of sheet vinyl installation will help you avoid future headaches, including subfloor damage, mold or mildew and floors that buckle, bubble or ripple. Start by looking at the instructions on your brand, as some manufacturers recommend allowing the strips to acclimate to the room for up to 72 hours before installation.
Prepare the subfloor by making sure it is clean and dry. If moisture or bacteria gets trapped under the sheet vinyl, it can lead to bubbling and mold. Eliminate obstacles in the room to allow you to lay even flooring. You should also remove baseboards, moldings, and any leftover carpet strips. If you're redoing the bathroom floors, remove the toilet, as it's difficult to cut around most toilets.
Read more: How to Install Sheet Vinyl Flooring Over Ceramic Tile
2. Create a Paper Template
The next step in your DIY process is creating a paper template, which will help you determine where some of the flooring will need to be cut to maintain clean, straight lines. Tape together large pieces of rosin paper or other stiff, heavy paper across your floor. Use a straightedge tool to measure about 1/2 inch of old flooring between the wall and the edge of the template. If it helps, tape the paper down to keep it from moving around as you work. Use a pencil to mark landmarks like sinks or floor cabinets, and use scissors or a sharp utility knife to cut around those spots. Then, label each landmark on the paper template with a pencil.
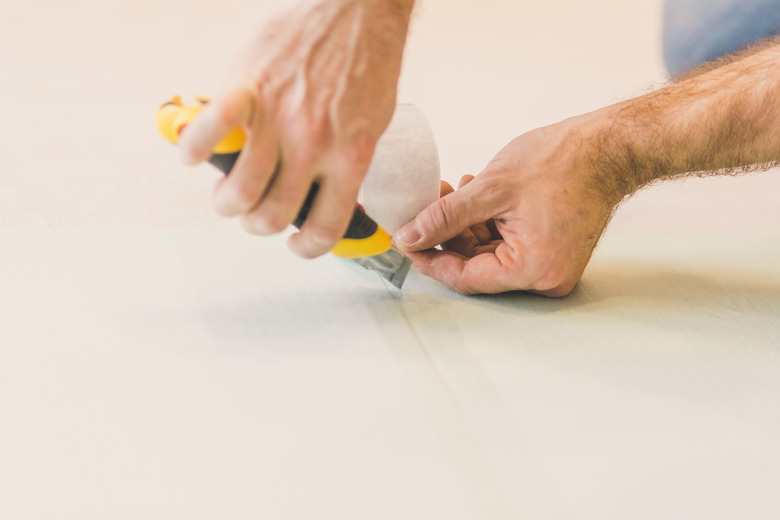 andreygonchar/iStock/GettyImages
3. Prepare the Underlayment
Preparing a smooth, even underlayment is essential for making sure that your sheet vinyl floors don't ripple or buckle. Transfer your paper template to the piece of plywood underlayment. You may need to use duct tape to tape together a few pieces of the plywood. Use the template to cut the plywood to your specifications. Staple the plywood to your existing flooring using an underlayment stapler. Use glue if the subfloor is concrete.
4. Cut the Sheet Vinyl
Instructions for this step can vary slightly depending on the type of sheet vinyl you have, so be sure to check if your manufacturer has suggestions for the best way to cut or assemble the materials.
Use the hook knife attachment of a utility knife to carefully cut pieces of vinyl to match any holes or edges. Carefully unroll and arrange the sheets on your paper template. If you're working with a patterned or symmetrical style, be sure to arrange the flooring in a manner that matches your design tastes. Try to slide the flooring slightly underneath doorjambs or obstacles you were unable to move.
5. Glue Your Flooring
Your sheet vinyl flooring may be backed by fiberglass and thus not require an adhesive, but most do. Fold back a strip of flooring to apply adhesive and then firmly press it into the underlayment or existing flooring. Be sure not to allow the strip to move or form bubbles. When one half of the strip is done, carefully fold back the other half and repeat the adhesive application on that side.
When all the strips are glued, use a floor roller across your entire floor. This helps to smooth out ripples and guarantee a stronger bond. You don't need a floor covering, but keep foot traffic off the area for at least 24 hours following the gluing. Wait 72 hours to begin filling the room with any heavy furniture you removed during the job.