Hack This IKEA Shelf Unit Into A Farmhouse Kitchen Workstation

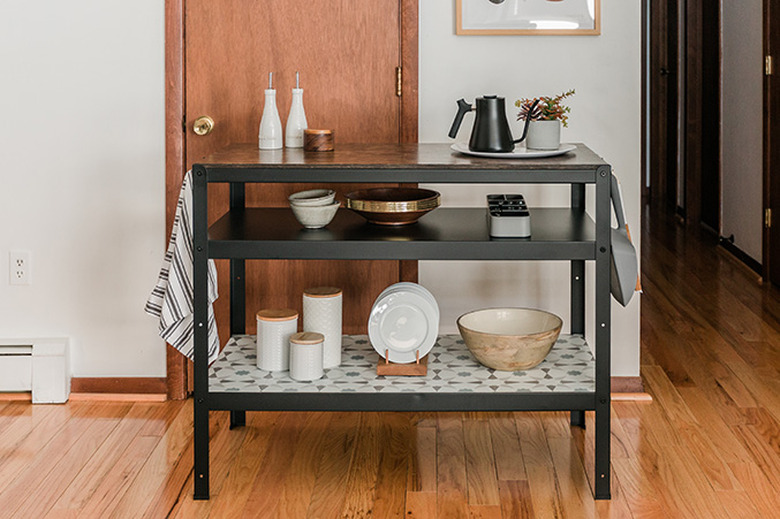
Add an extra 24 square feet of organizing possibilities to your kitchen for less than $200 with this totally doable hack that anyone can create over the weekend. Curious to find out how? Keep scrolling to watch us turn a standard $149 IKEA work bench into a personality-packed mobile kitchen workstation.
 Carrie Waller
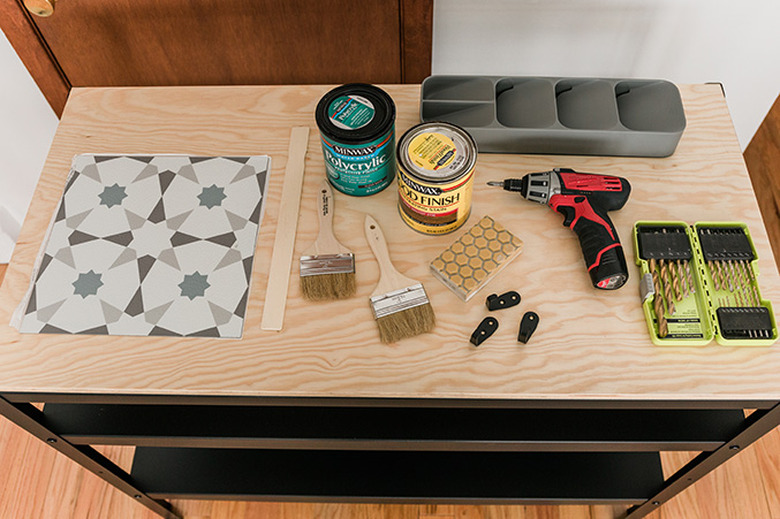
Things Needed
 Carrie Waller
Step 1
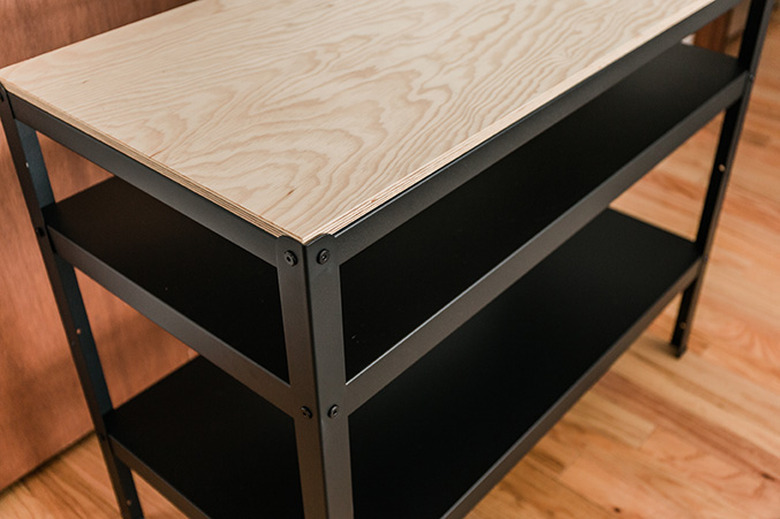
Assemble the BROR work bench according to package instructions. You'll see we installed the middle shelf on the highest setting so that the lower open shelf could fit things larger things like a stand mixer down the line, depending on future kitchen storage needs.
 Carrie Waller
Step 2
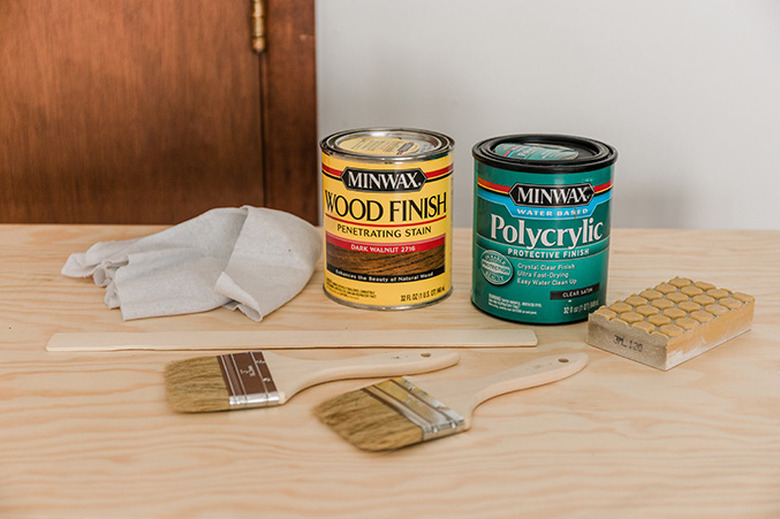
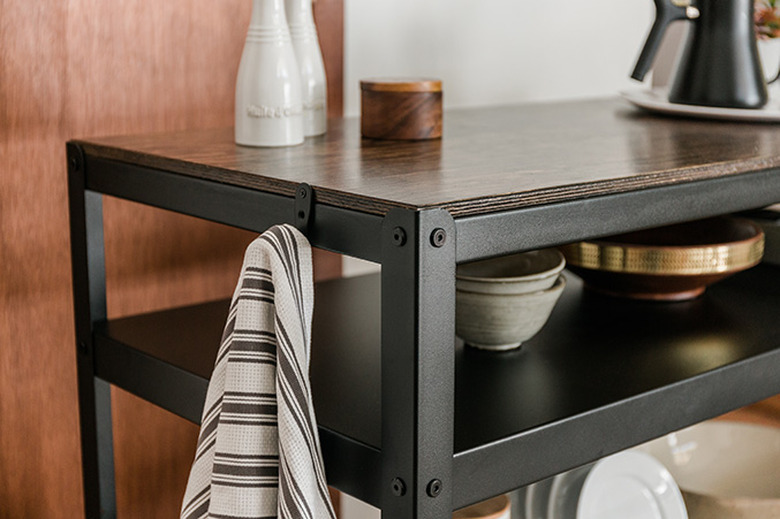
Brush the tabletop with a coat of Minwax wood stain in Dark Walnut. Once fully coated, use a rag to wipe off any excess stain, then allow to dry for two to three hours. Lightly sand the top with a sanding block, then brush on a coat of Minwax water-based Polycrylic. Allow to dry for one to two hours, lightly sand the finish again, and brush on a second coat of Polycrylic. Allow the final coat to dry overnight to fully cure.
 Carrie Waller
Step 3
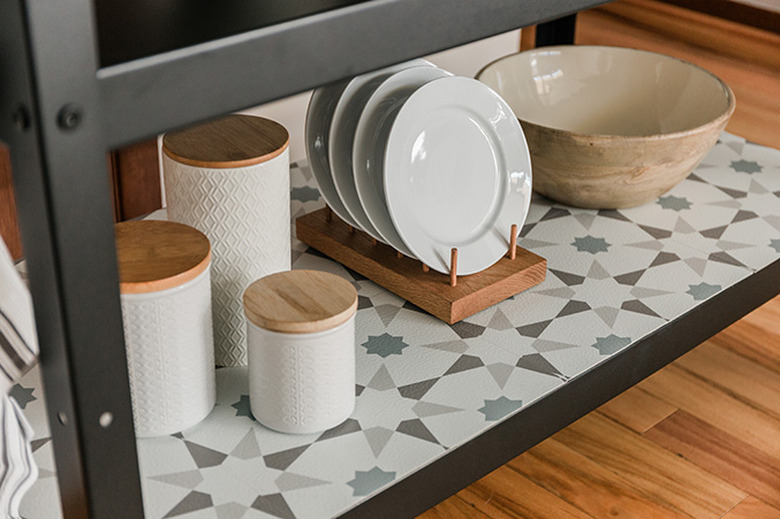
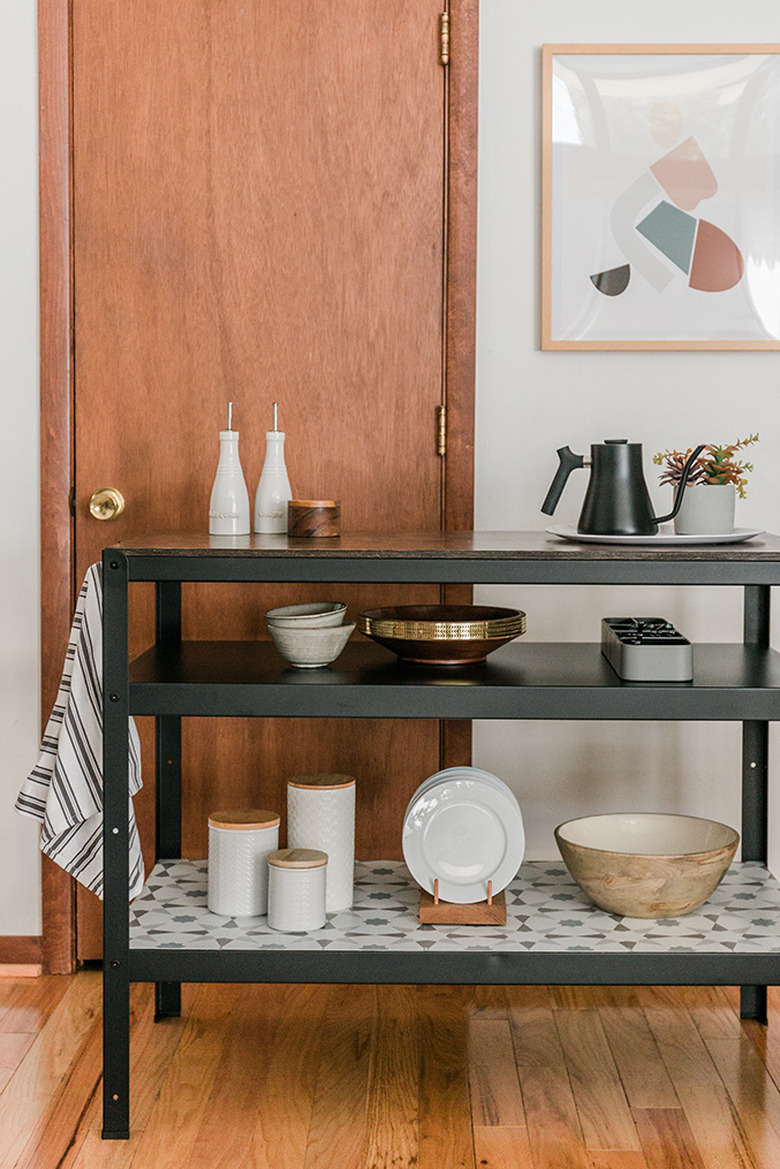
To add a pop of color to the work bench, lay peel-and-stick tiles over the entire surface of the bottom shelf. You can use shears to easily cut the tiles to size. Just lightly mark the tiles with a pencil where you need to cut them, and cut along the lines. Peel the paper backing off the tiles, and stick them in place so the pattern lines up. Press them firmly to the shelf, sticky side down, to finish your tile installation.
 Carrie Waller
Step 4
Add hooks to the sides of the bench to hang things like a dust pan, kitchen towel, or market tote. The specific hooks we used came with two screw holes, but we just needed to install the top screw with a screwdriver and drill bit for a tight fit on the edge of the wood worktop.
 Carrie Waller
Step 5
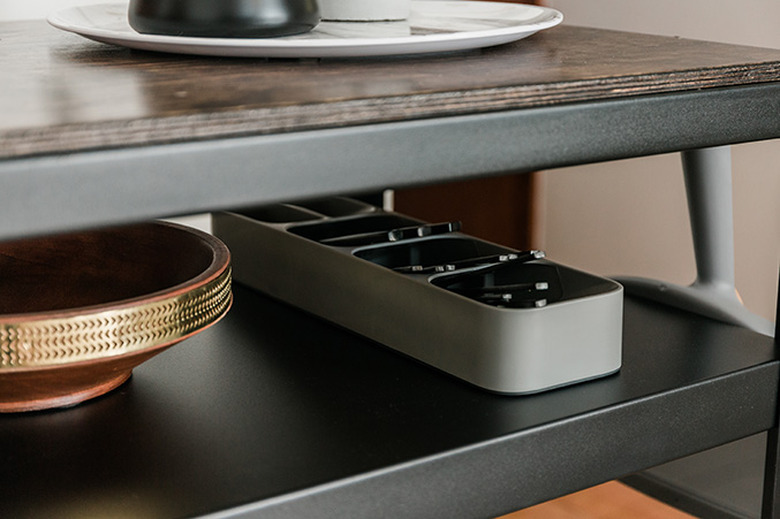
Since this work bench doesn't come with drawers, you'll need to get a little clever when storing things like everyday cutlery and cooking utensils. To compensate, we used a handy silverware organizer tray, and placed it on the upper shelf to keep items within easy reach.
 Carrie Waller
Step 6
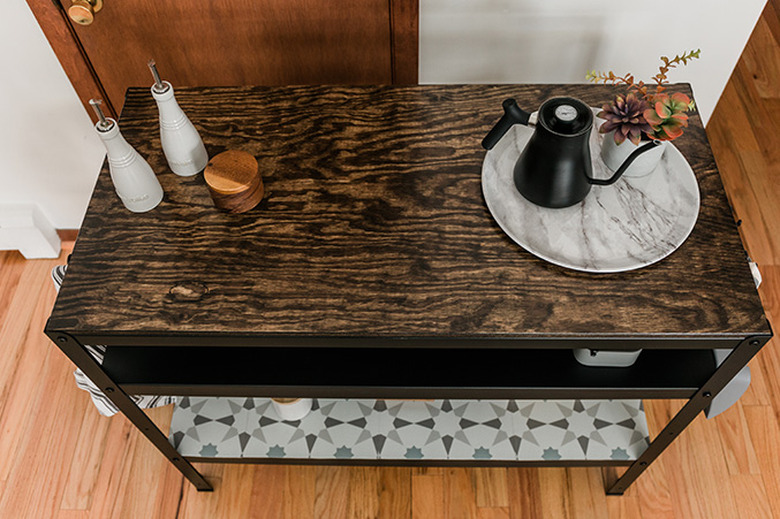
Style the rest of your workstation with all your favorite kitchen essentials — things like oil and vinegar dispensers, a salt cellar, kettle, and a washable tray that will help keep your newly refinished work bench looking great for years to come.
 Carrie Waller
 Carrie Waller
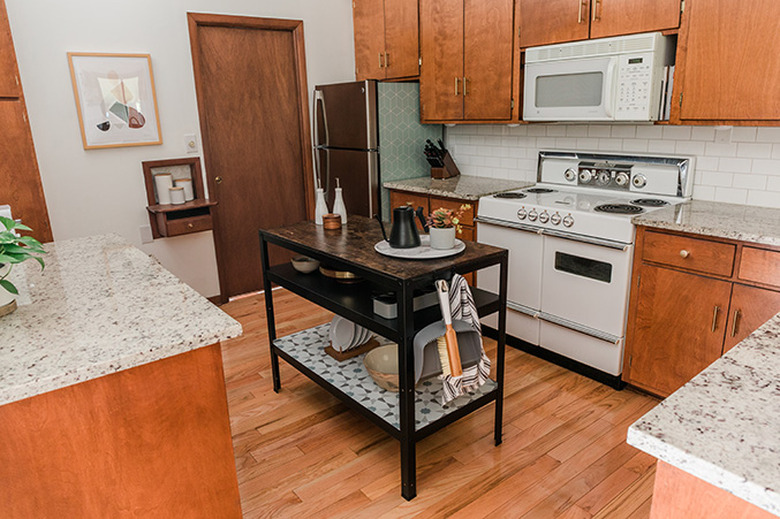
Hey, it can even be a makeshift kitchen island!
 Carrie Waller