You'll Be Surprised How Easy This Modern Wall Organizer Is To Make
We may receive a commission on purchases made from links.
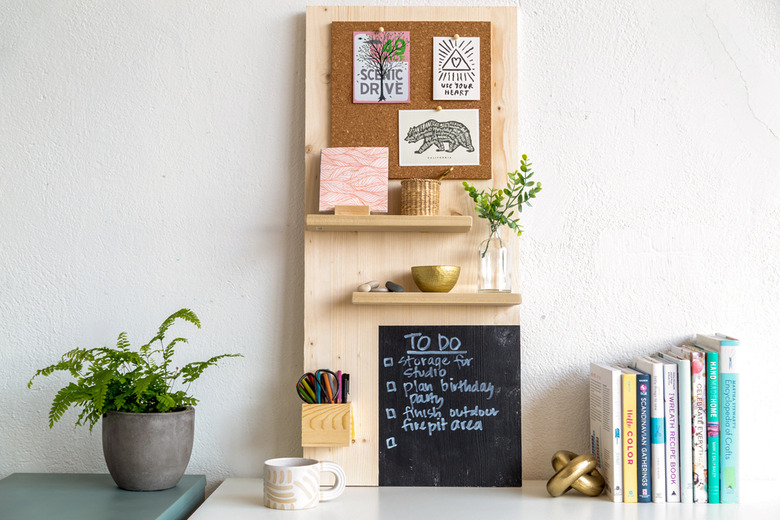
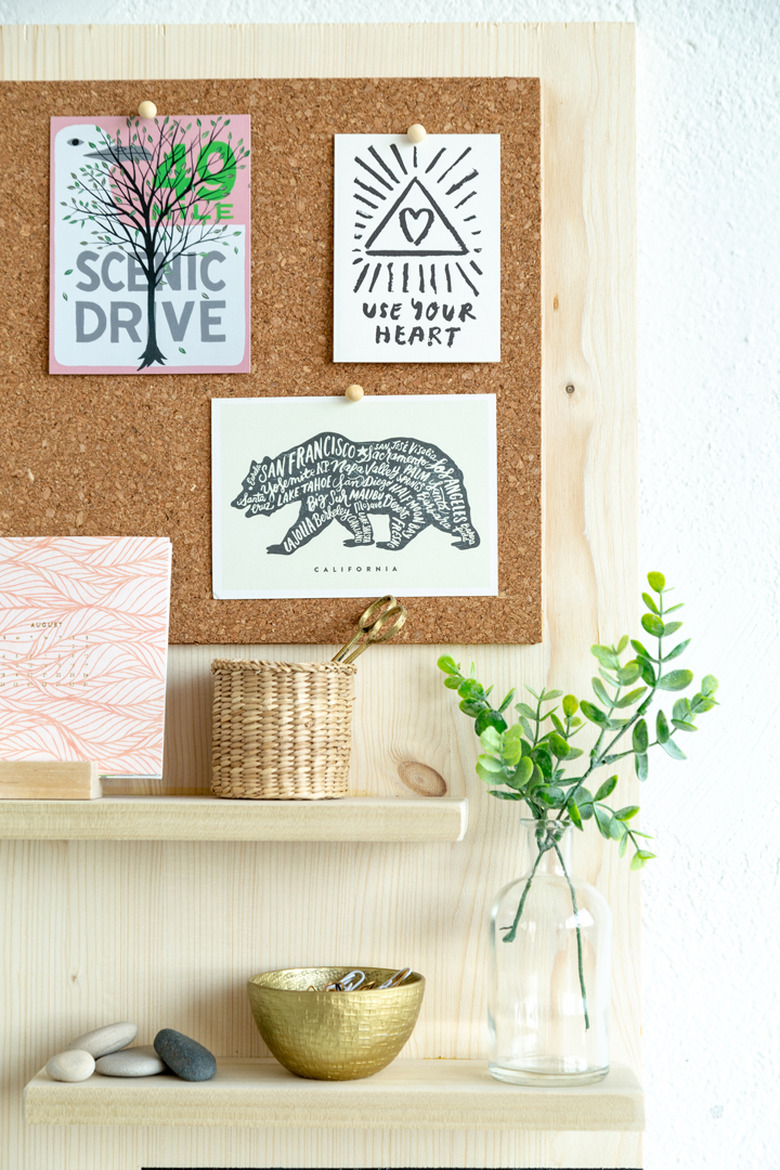
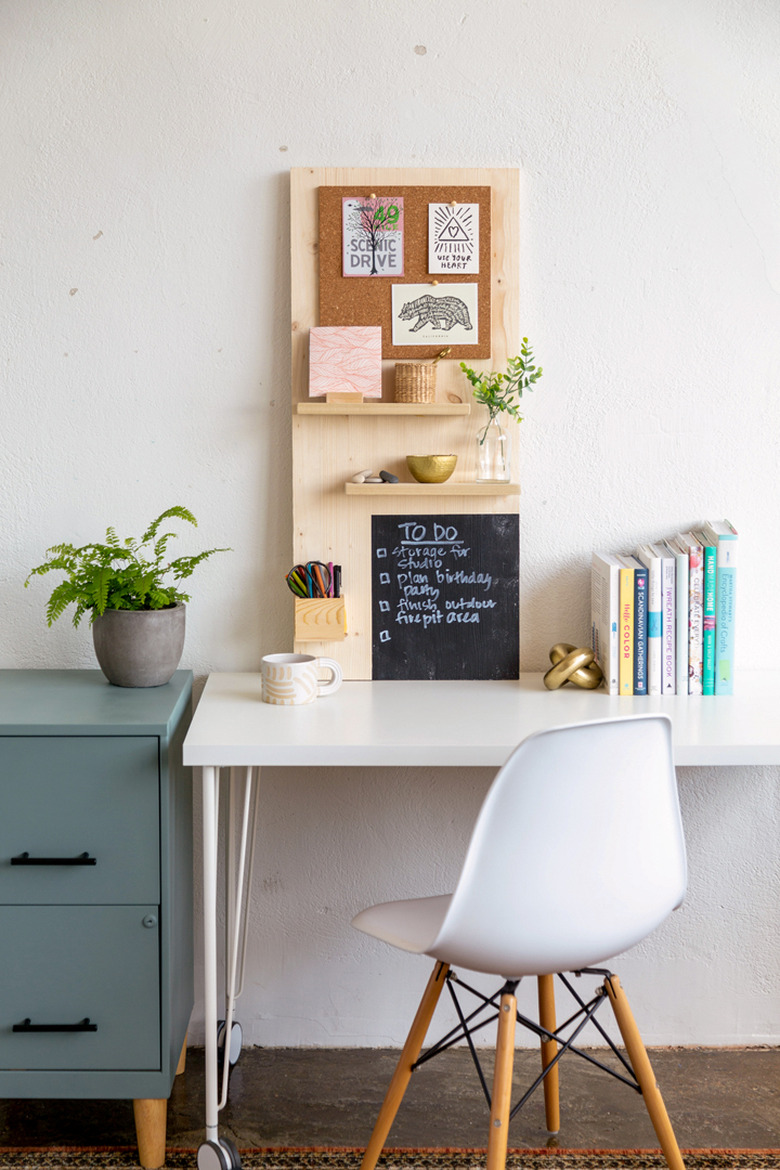
To create this modern wall organizer, we used simple pieces of unfinished wood we found at the hardware store, such as plywood (a Hunker fave). By adding a cork board, two shelves, and a chalkboard, there is ample room for displaying personal touches such as favorite postcards, foraged items, and favorite pens. This is a project that's perfect for any work space, studio, or home.
 Sara Albers
Things Needed
-
Plywood, 16 inches by 36 inches by 3/4 inch
-
Wood for shelves, 24 inches by 3 1/2 inches by 3/4 inch (Ask the hardware store cut the wood shelf in half for you, and sand the edges)
-
Cork square, 12 inches by 12 inches
-
Sponge brush
-
Wood box (similar), 3 1/2 inches by 3 1/2 inches
-
Level
-
Tape measure
-
Tape
-
Wall hooks
Step 1
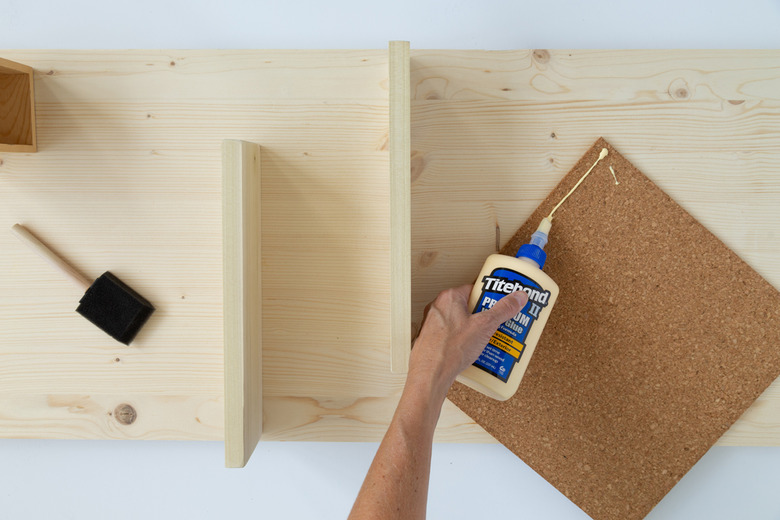
First, arrange the shelves to where you will be gluing them onto the board. We decided to sit ours within the center of the board.
Before you glue on the shelves, use the wood glue to adhere the cork square to the board.
 Sara Albers
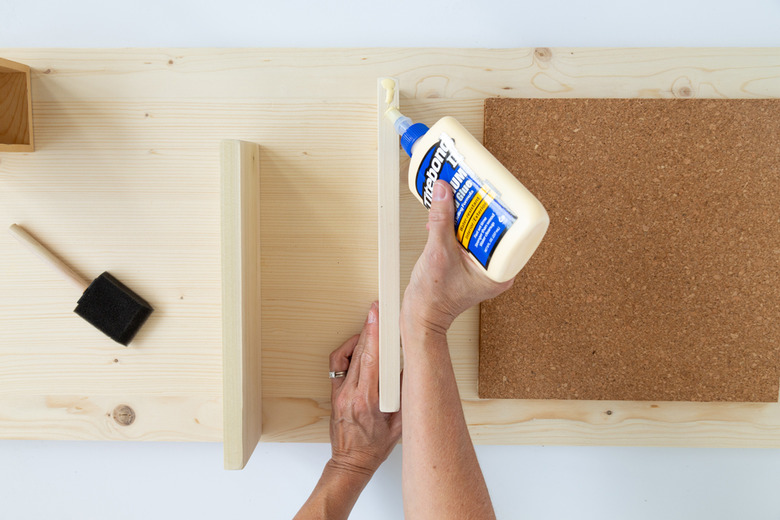
Step 2
Adhere the two shelves to the board using the wood glue. Allow to dry overnight. Once dry, you can reinforce the shelves by using a nail gun or hammer and small nails.
 Sara Albers
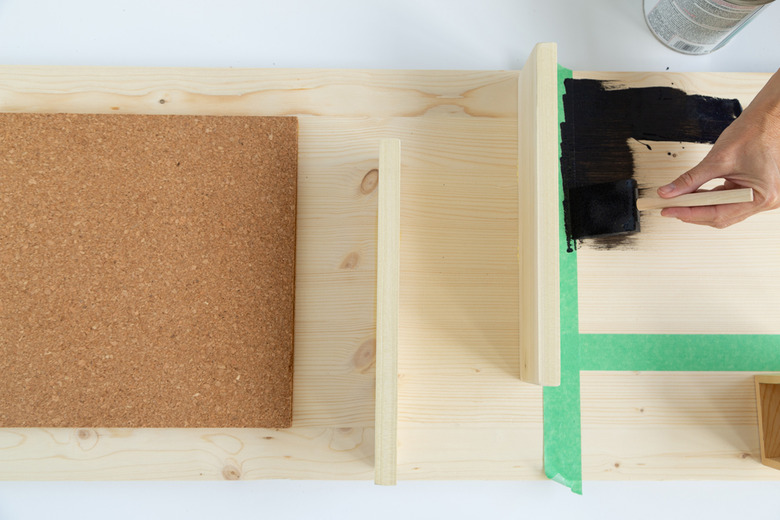
Step 3
Tape off a bottom section of the board. For this DIY, we created a 10-inch-by-12-inch section. Using chalkboard paint, paint the board within that area.
 Sara Albers
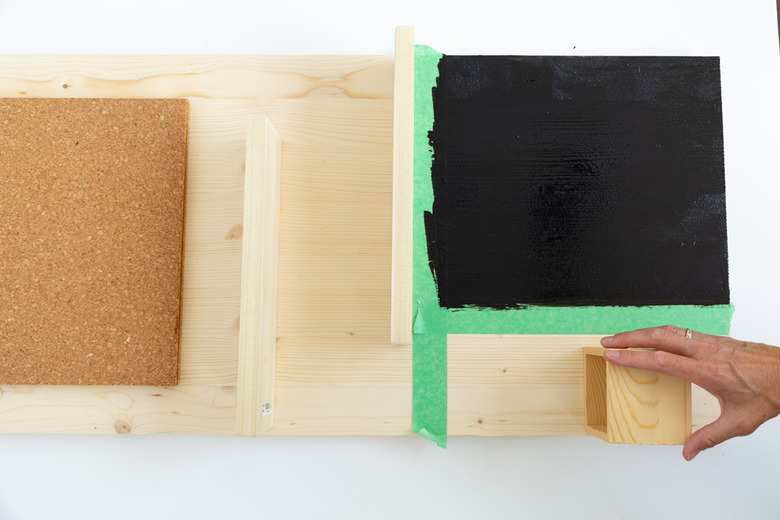
Step 4
Then, using the wood glue, attach a small wood box to the board. This is perfect for holding pens, pencils, or chalk.
 Sara Albers
Step 5
After painting two coats, peel the tape back. If you are hanging the message board from the wall, you will want to attach a hook on the back of the board. We decided to lean ours against a wall, upon a desk, as seen in the photos.
 Sara Albers
 Sara Albers