Create A Cute Christmas Table For Kids With These Sweet Ideas
We may receive a commission on purchases made from links.
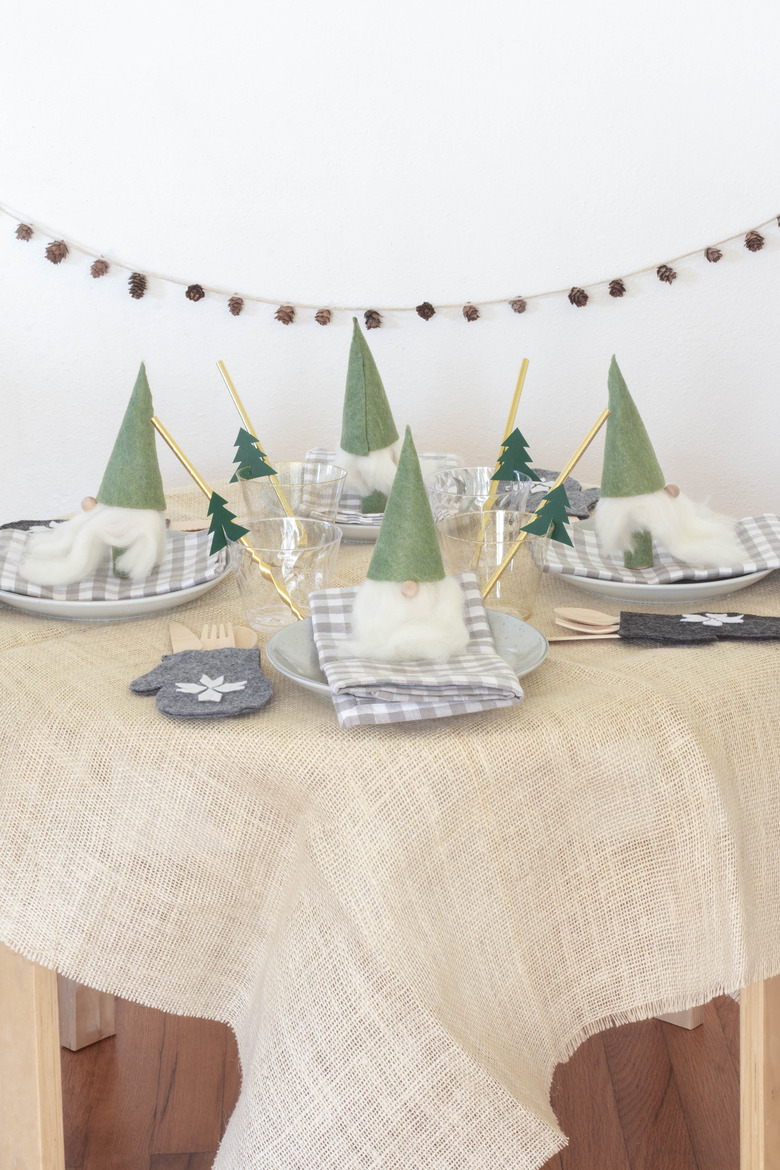
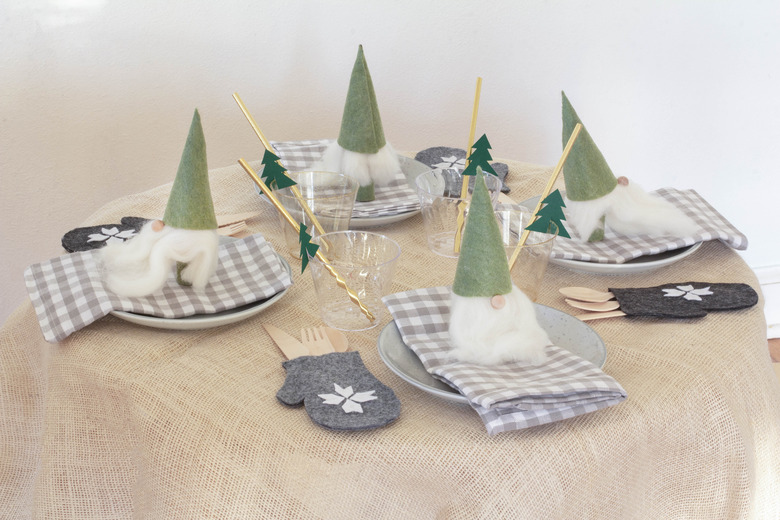
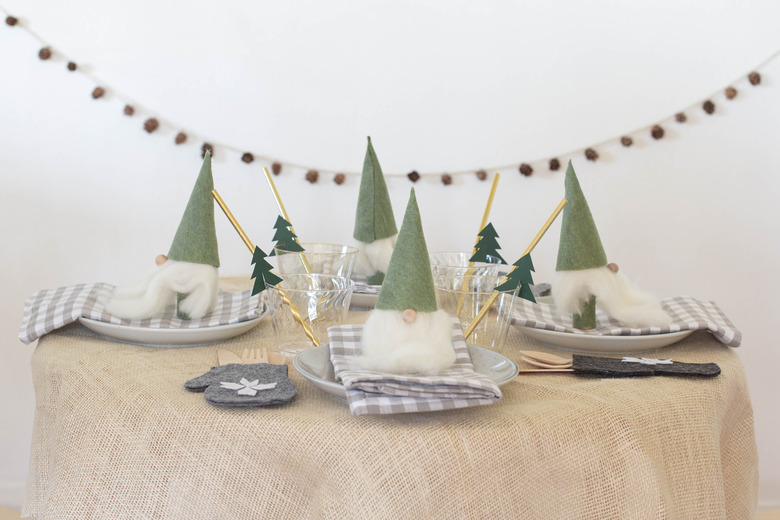
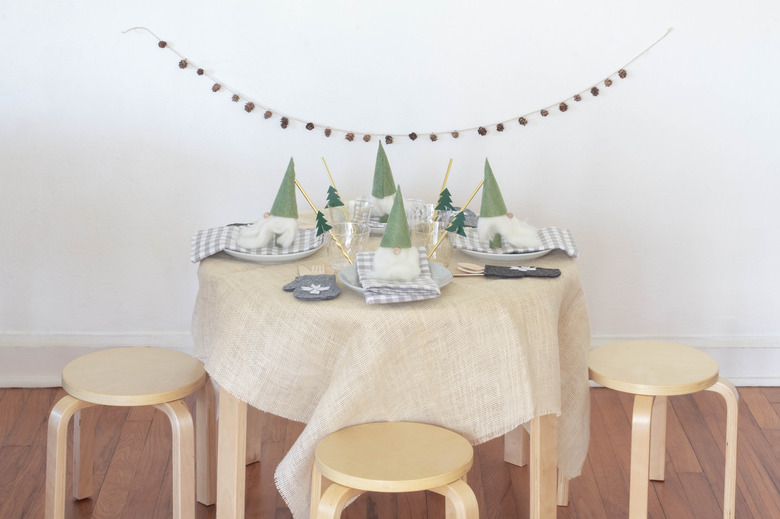
They say the holidays are most magical when seen through the eyes of a child, so this year we wanted to create a special Christmas table just for the little ones. After all, setting a lovely holiday table is kind of our jam. Our sweet little tablescape veers firmly in the direction of Scandi style — natural, neutral, and minimal — with a simple burlap base in place of a table cloth. But we turned up the charm full blast with adorable Santa gnomes to enchant each guest's plate, fuzzy sweater mittens to keep the utensils cozy, and Christmas tree drink charms to garnish each cup. With a little ribbon, all of these can easily be turned into keepsake ornaments, too. Trust us, this will be a Christmas your kiddos will always remember.
 Trisha Sprouse
Things Needed
-
Free template
-
Felt (green, gray & white)
-
Scissors
-
Hot glue gun
-
Green cardstock
Santa Gnomes
Santa Gnomes
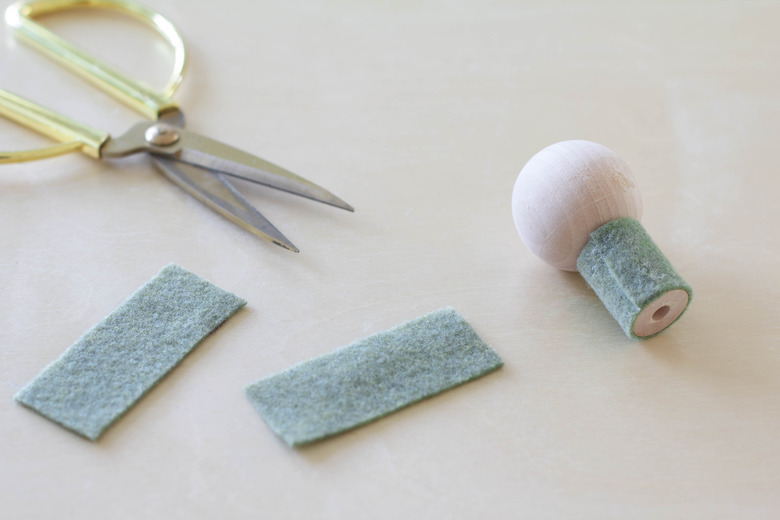
Step 1
Hot glue a 1 1/2-inch wood bead on top of a wooden spool.
 Trisha Sprouse
Step 2
Cut out a 1-inch-by-2 1/2-inch strip of green felt (see template) and hot glue it around the wooden spool.
 Trisha Sprouse
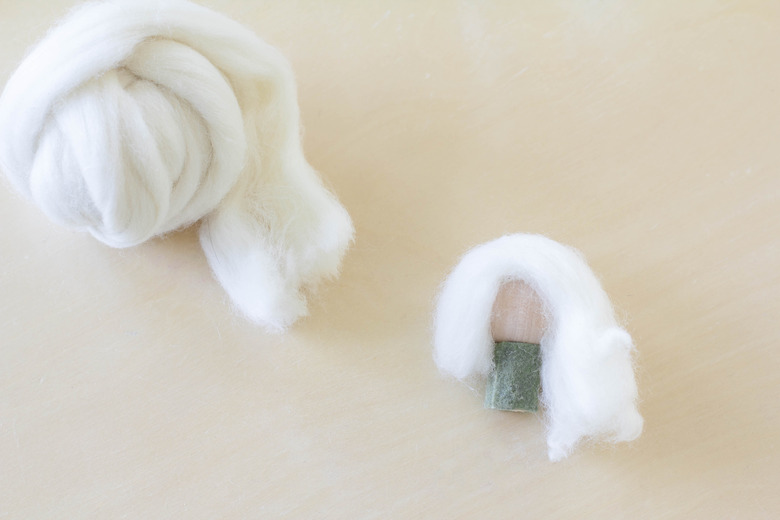
Step 3
Cut a 4-inch long piece of wool roving (found in the yarn section of most craft stores). Fold it over the top of the wooden bead so that it's longer in the front, creating the gnome's hair and beard. Hot glue it in place.
 Trisha Sprouse
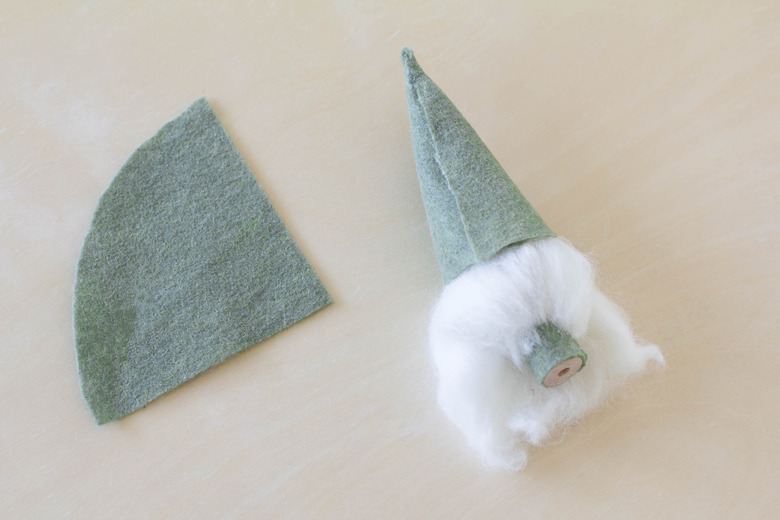
Step 4
Use the template to cut the gnome's hat out of green felt. Then wrap it in a cone shape around the gnome's head and hot glue it in place.
 Trisha Sprouse
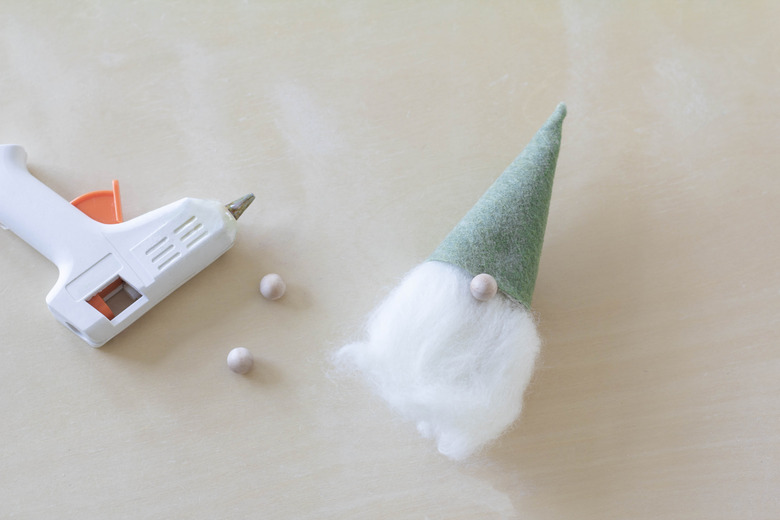
Step 5
Fluff and scrunch the wool roving to create a nice, full beard. Then glue a 1/2-inch bead in the center just under the hat to create the nose.
 Trisha Sprouse
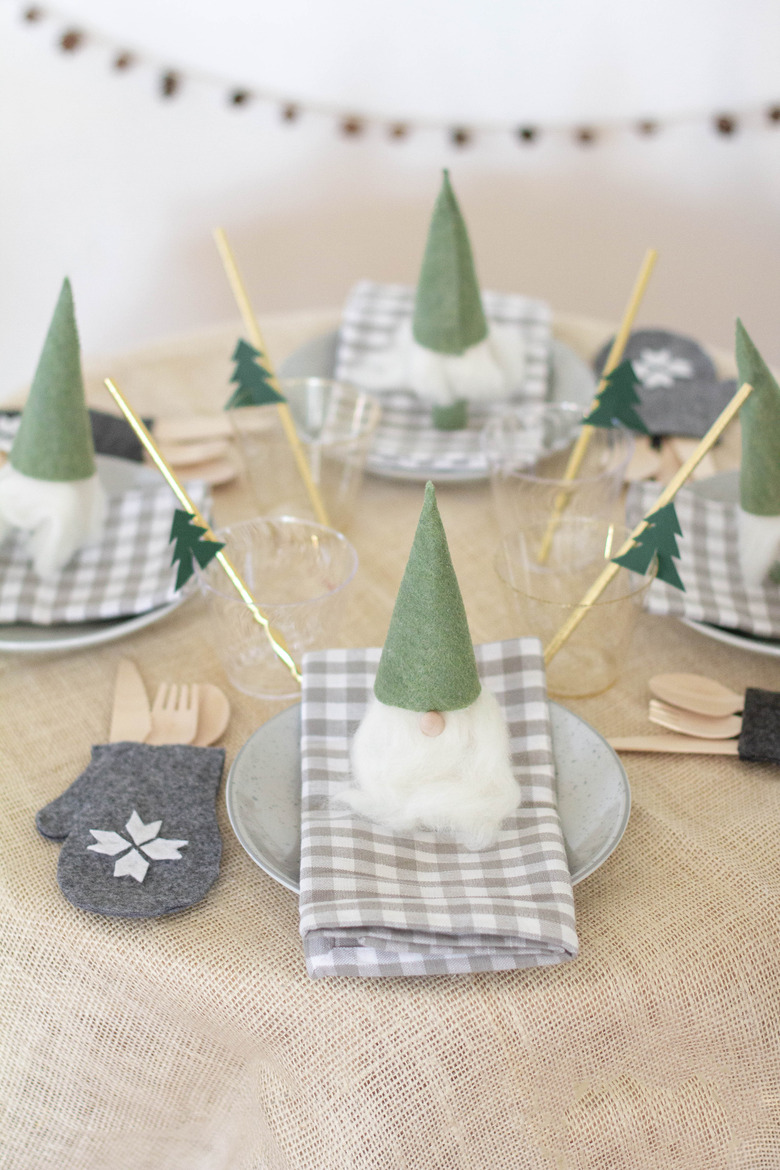
Sweater Mitten Flatware Pouches
Sweater Mitten Flatware Pouches
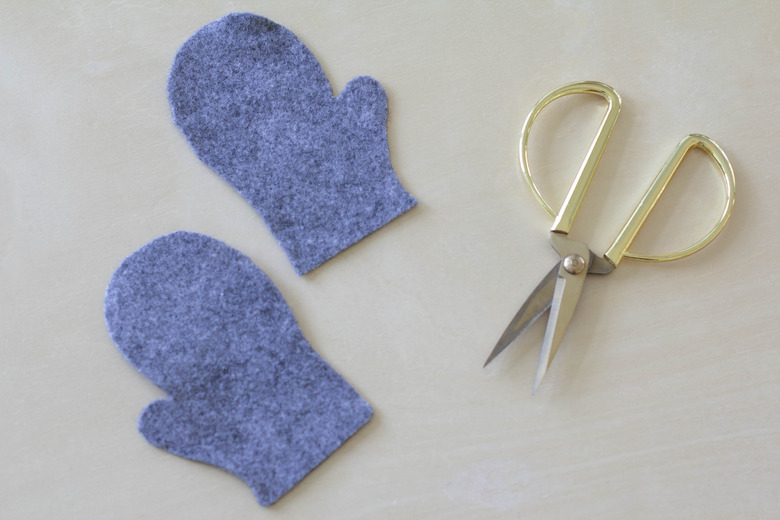
Step 1
Use the template to cut two mitten pieces out of gray felt.
 Trisha Sprouse
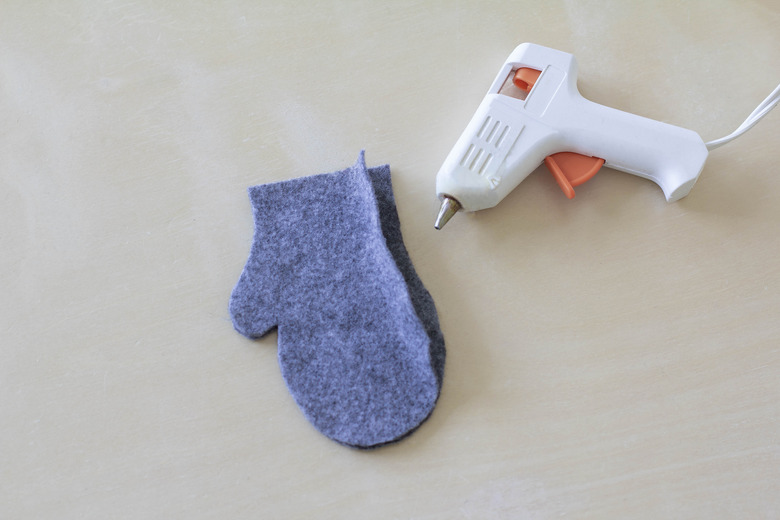
Step 2
Place the two mitten pieces together and pipe a thin line of hot glue around the sides and bottom to glue them together. Don't glue the top closed, though — that's where the utensils will go.
 Trisha Sprouse
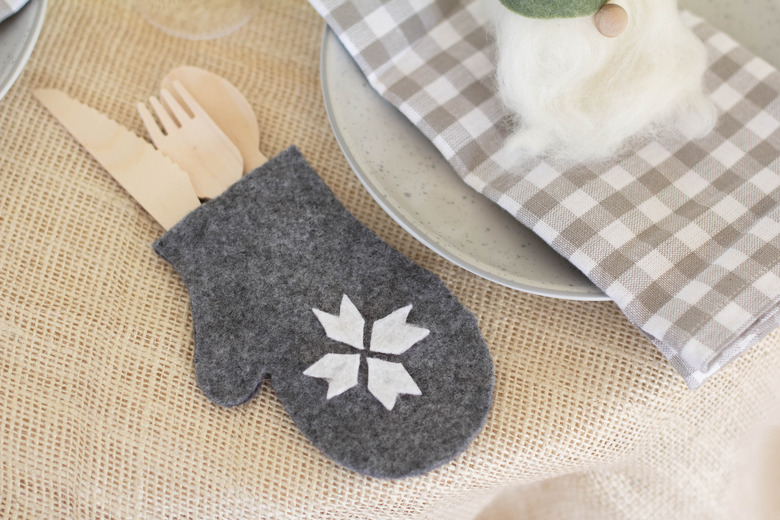
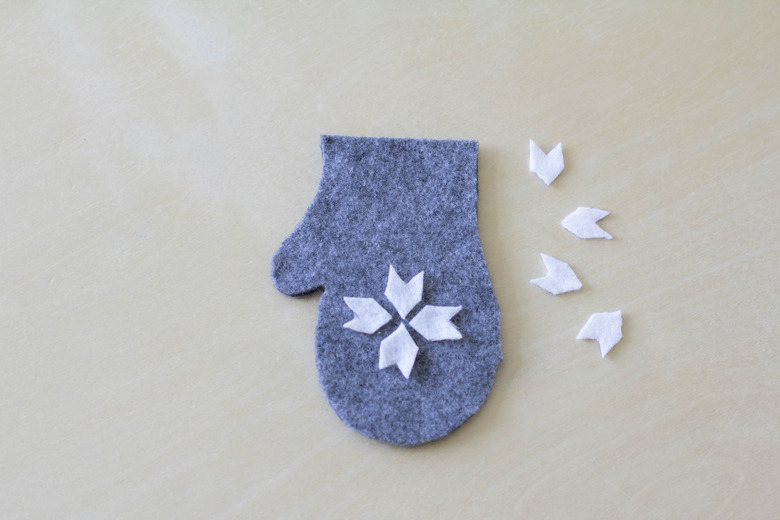
Step 3
Using the template, cut out four snowflake segments from white felt. Glue them in a snowflake pattern as shown on top of the mitten.
 Trisha Sprouse
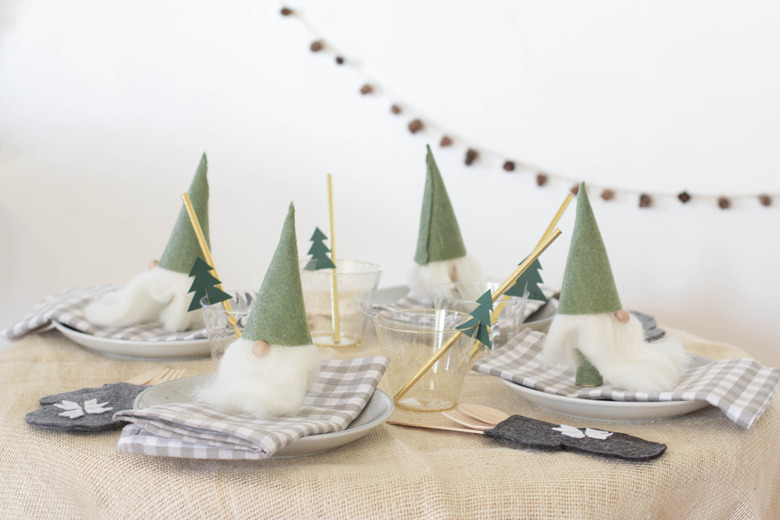
Christmas Tree Drink Charms

Christmas Tree Drink Charms
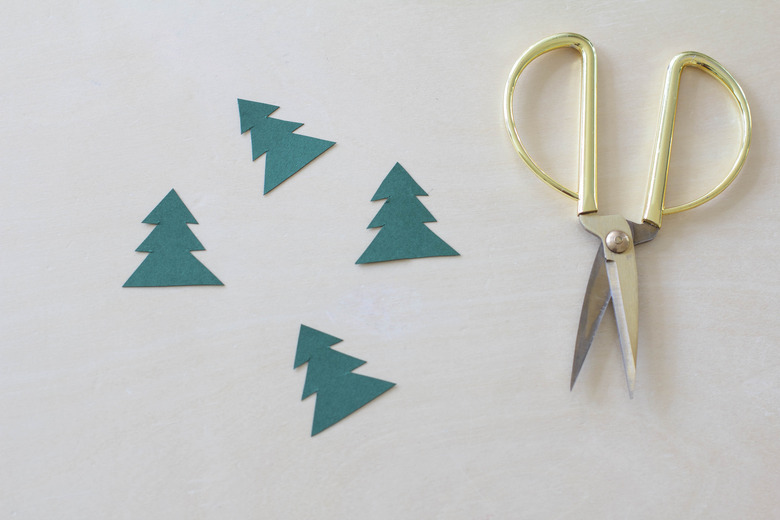
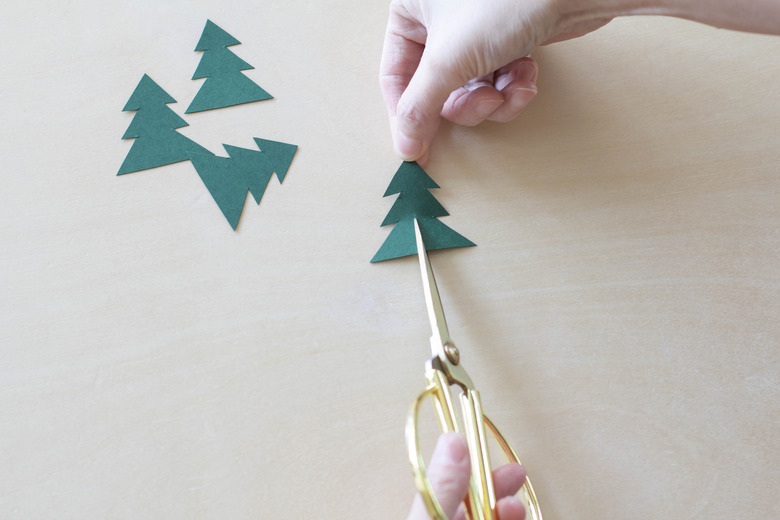
Step 1
Cut out the Christmas tree shapes included in the template from green cardstock.
 Trisha Sprouse
Step 2
Cut a 1-inch vertical slit in the center of the Christmas trees. This will allow them to rest over the edge of the cups.
 Trisha Sprouse
Now put all the elements together to set the scene for a truly magical holiday gathering!
 Trisha Sprouse
GET THE LOOK
GET THE LOOK
Ivory burlap fabric | Gray plaid napkins | Gray speckled plates | Wooden utensils | Gold paper straws
 Trisha Sprouse
 Trisha Sprouse