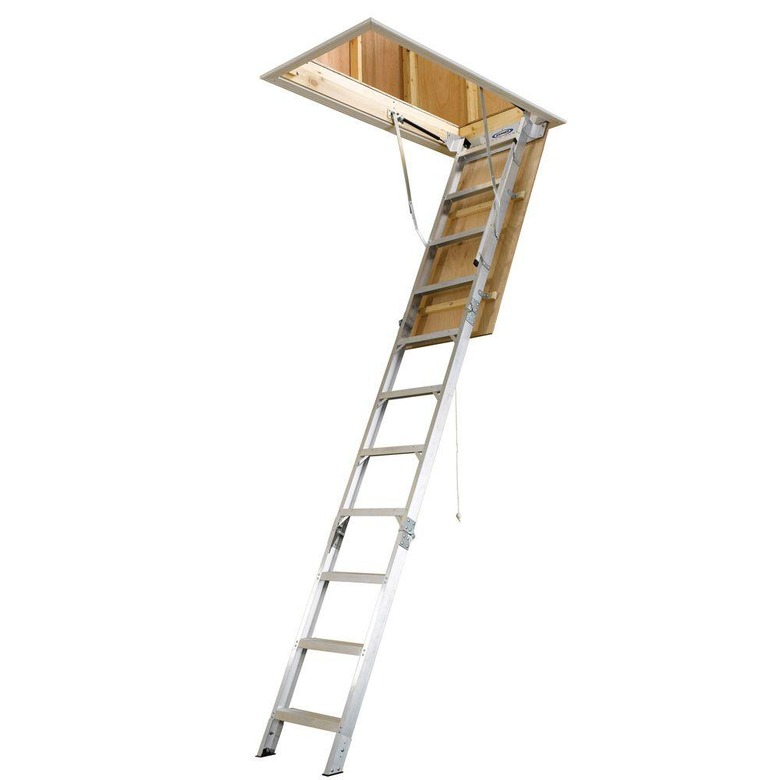
How To Install An Attic Ladder
Installing an attic ladder is similar to putting in a window—you set it, shim it and screw it in place. The ladder units are self-contained and include everything you need for the job, except for a few pieces of lumber, some fasteners and a bit of trim for the attic opening. In most cases, the ladder goes into an existing attic access hole, but often the hole needs to be lengthened to fit the ladder unit. This is a moderately challenging project but is doable for anyone with some construction experience, and perhaps a helper. Otherwise, it's a good job to hire out to a carpenter or professional handyperson.
 sasapanchenko/iStock/GettyImages
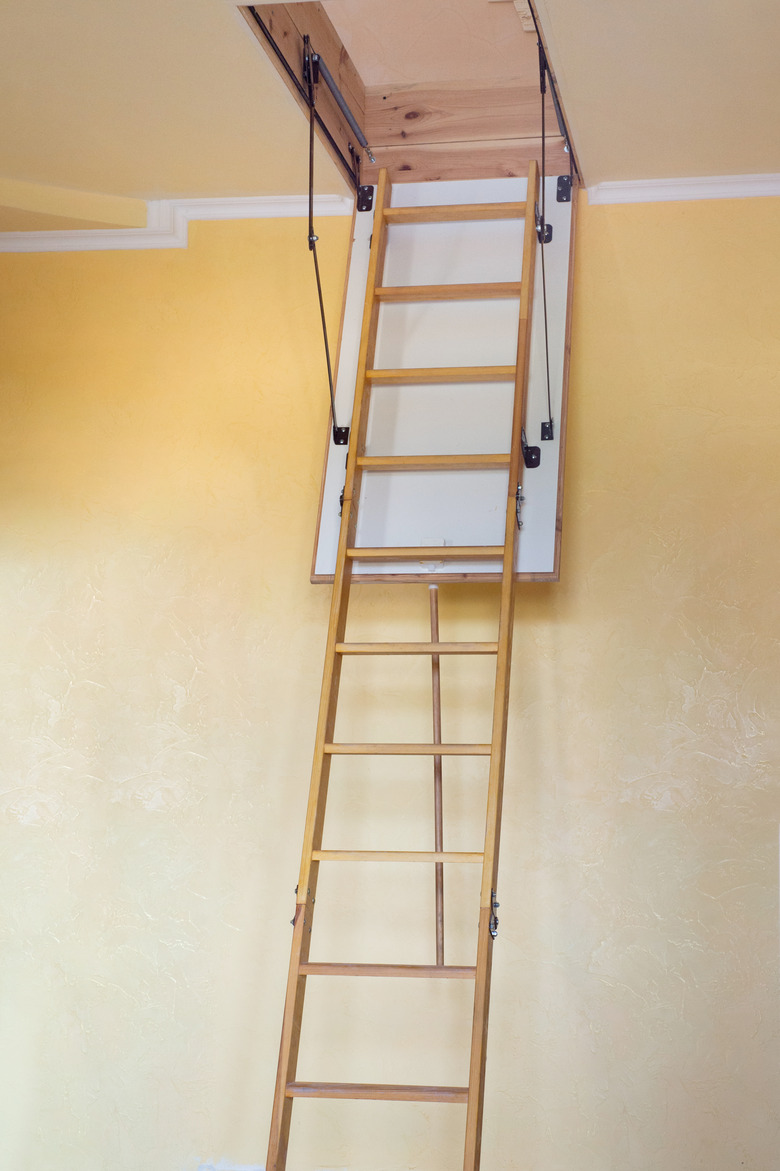
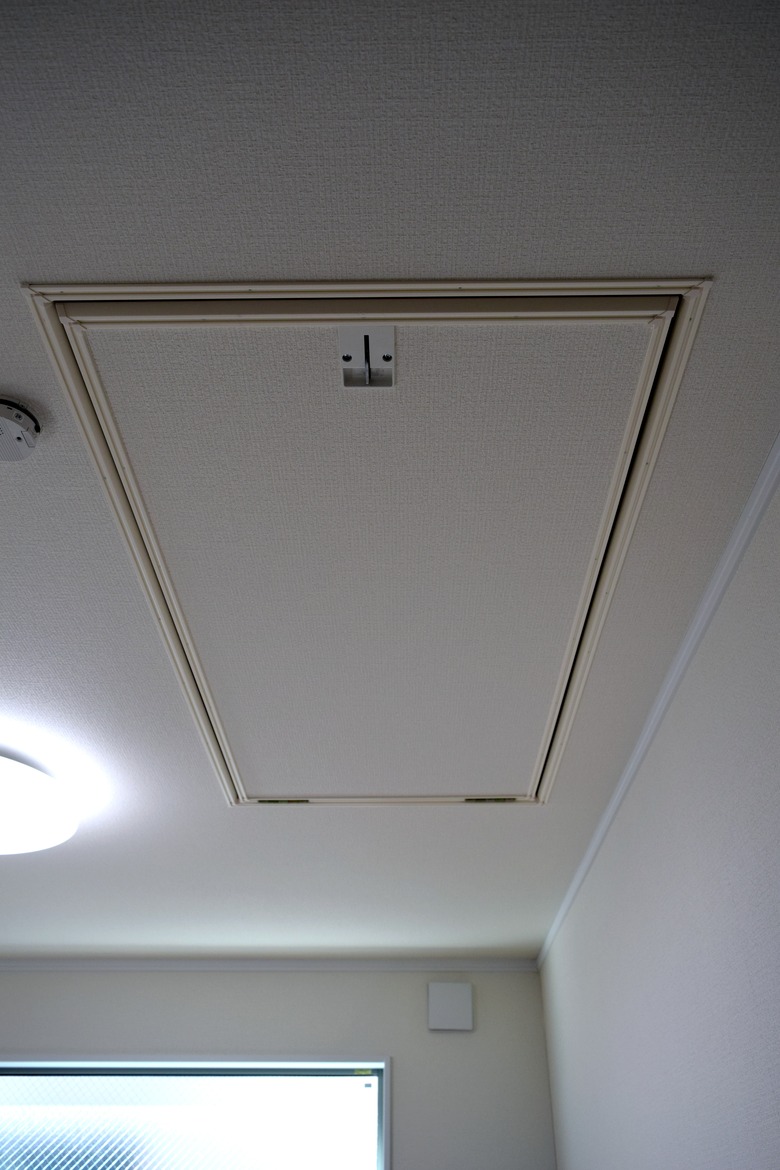
Will an Attic Ladder Fit in Your Ceiling?
Will an Attic Ladder Fit in Your Ceiling?
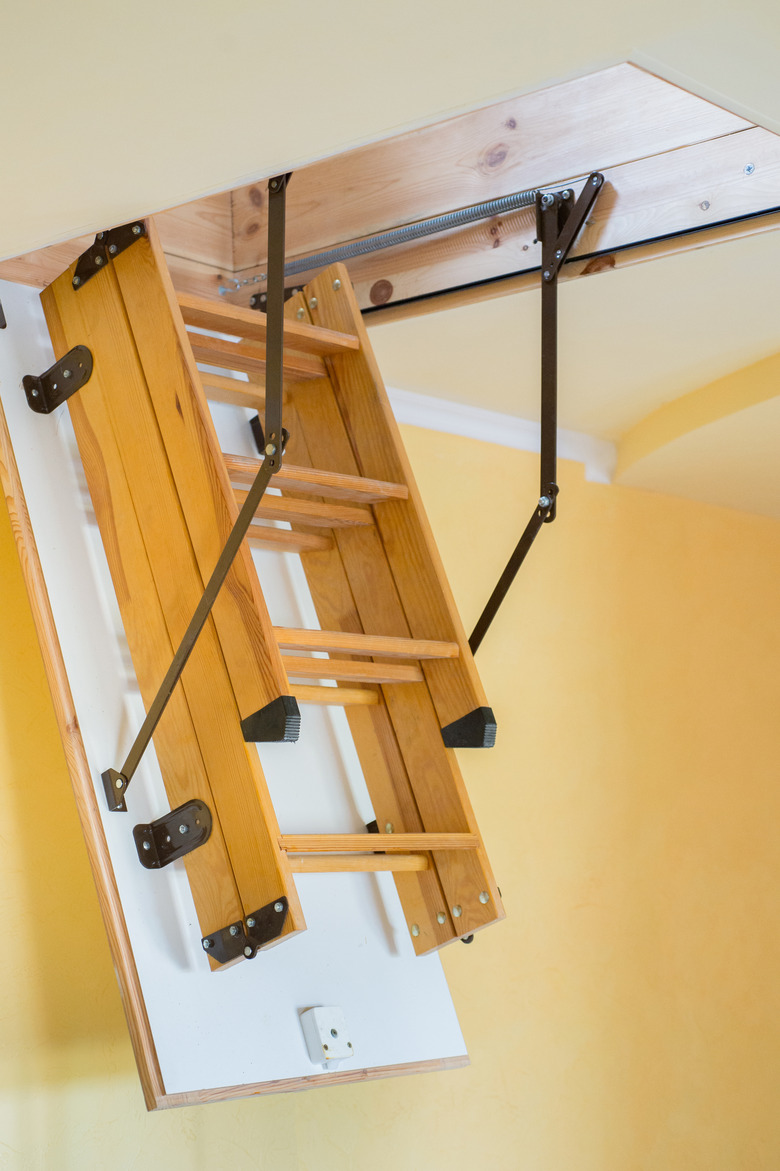
Most attic ladders come preinstalled in a rectangular wood frame. The frame is designed to fit the standard space between ceiling joists or trusses, which is about 22 1/2 inches wide. Attic access openings often are close to this width and run parallel to the joists, just like the ladder unit will. However, the length of ladder units, at about 50 inches long, is typically longer than most existing access openings. To lengthen an existing opening, you need to cut out the ceiling drywall (or plaster) and install a 2 x 4 or 2 x 6 header board that spans between the joists. This header completes the lumber frame around the opening, and the frame is what the ladder unit anchors to.
Altering the opening becomes a much bigger job if the joist spacing isn't wide enough for the ladder. Widening the opening requires fairly significant restructuring of the ceiling/attic floor frame. It's not a huge job for a carpenter, but it's not something for beginners to attempt. It involves supporting the weight of the ceiling/attic floor, cutting out a section of one of the joists, and installing a structural header at each end of the opening to carry the load of the cut joist.
 sasapanchenko/iStock/GettyImages
How to Install an Attic Ladder
1. Measure and Mark the Opening
Measure the width and length of the attic access opening, and compare the dimensions to the manufacturer's specifications for the opening size. If the opening needs to be lengthened, mark cutting lines on the drywall to represent the specified opening size. It's easiest to extend an opening on one end only, but it's possible to extend it on both ends, if desired.
2. Cut out the Opening
Make sure there are no wires, pipes or ducts above the ceiling near the marked cutting lines. Clear the area of insulation and debris. Cut out the ceiling drywall along the lines, using a drywall saw or reciprocating saw. Remove the cutout piece of drywall.
3. Install the Header
Cut a piece of 2 x 4 or 2 x 6 lumber to fit snugly between the joists directly above the newly cut edge of the opening. Position the header between the joists so it rests on the backside of the drywall and its exposed face is flush with the edge of the opening. Fasten the header to the joist at each end with screws.
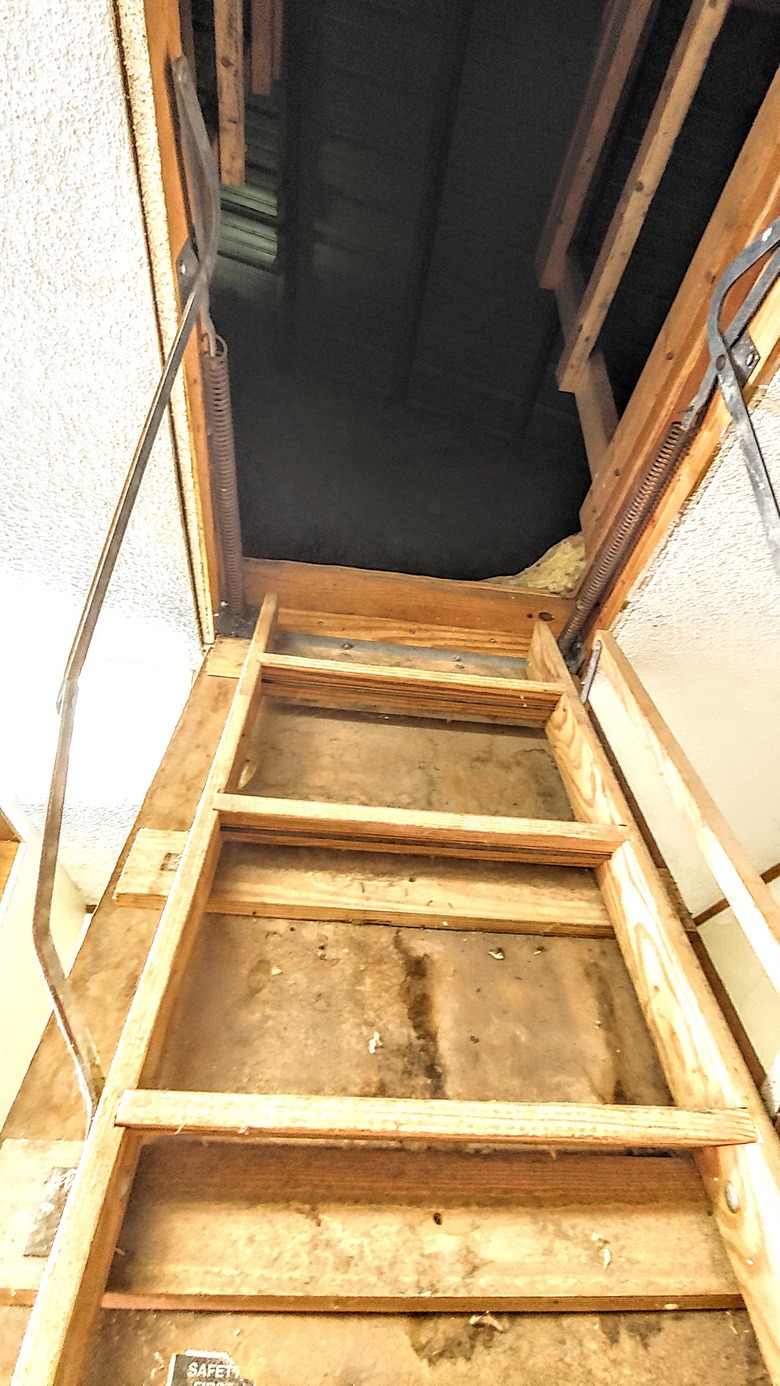
4. Install Temporary Cleats
Cut two pieces of 1 x 4 or 2 x 4 lumber long enough to span across the bottom of the opening, plus a few inches. Position each cleat over one end of the opening, overlapping the opening by about 1/4 to 1/2 inch to create a lip for setting the ladder frame onto. Screw the cleats to the frame joists from the room-side of the opening.
 Werner/Home Depot
5. Set the Ladder Unit
Lift the ladder unit into the attic, tipping it at an angle through the opening; it helps to have an assistant for this step, so that one person is on a ladder below and the other is in the attic. Carefully set the ladder unit onto the temporary cleats.
6. Tack the Ladder in Place
Center the ladder unit in the framed opening (from the attic side), and confirm that there's sufficient space along all edges for the ladder door to open freely (from below). Insert shims into the gaps between the ladder unit frame and the ceiling framing. Tack the ladder unit in place with a few nails or screws driven through the sides of the unit frame and into the framing, driving the fasteners at the shim locations. If you use nails, do not drive them in fully; leave the head exposed so it's easy to pull the nails later.
Warning
Do not use the ladder until it is fully anchored with permanent fasteners.
 Allison Cherry/iStock/GettyImages
7. Anchor the Ladder
Open the ladder door and extend the ladder to the floor. Do not climb onto the ladder. Confirm that the ladder is properly positioned in the framed opening. Drill pilot holes and anchor the ladder unit to the framing with lag screws, as specified by the ladder manufacturer. Use shims to maintain all gaps around the opening. Most ladders need at least four or five lag screws along each side and three at each end. Remove the temporary cleats, as well as the screws or nails used to tack the ladder in place.
8. Cut the Ladder Rails
Fold the bottom section of ladder out of the way. Use a straightedge and a tape measure to measure the length needed for the bottom section, measuring at both sides of each ladder rail to find the angle for the bottom ends of the rails. Mark and cut the bottom section of the ladder, cutting the rails at an angle to match the floor. Test the fit of the ladder against the floor, and walk up and down the ladder to make sure everything works properly.
9. Trim the Opening
Install widow/door casing or other type of decorative trim around the opening to cover the drywall edge and the gaps around the ladder unit frame. Set the trim back about 1/8 inch from the inside edges of the ladder frame opening, to prevent the possibility of catching it when going through the opening.
 Mitsuo Tamaki/iStock/GettyImages