How To Install An Attic Fan
Attic fans, or more correctly termed powered attic ventilators, push hot air out of an attic and pull fresh outdoor air into the attic. Their purpose is to ventilate an attic area only. They are not used to cool down a house at night, like a whole-house fan does. Attic fans come in a few basic styles and can be installed on a roof or in a gable wall. Standard fans are connected to a household electrical circuit, while solar fans do not need an electrical connection; they simply run whenever the sun is shining. Depending on the size of the attic and the fan design, a home may need only one fan, or it may need multiple fans in order to provide adequate ventilation.
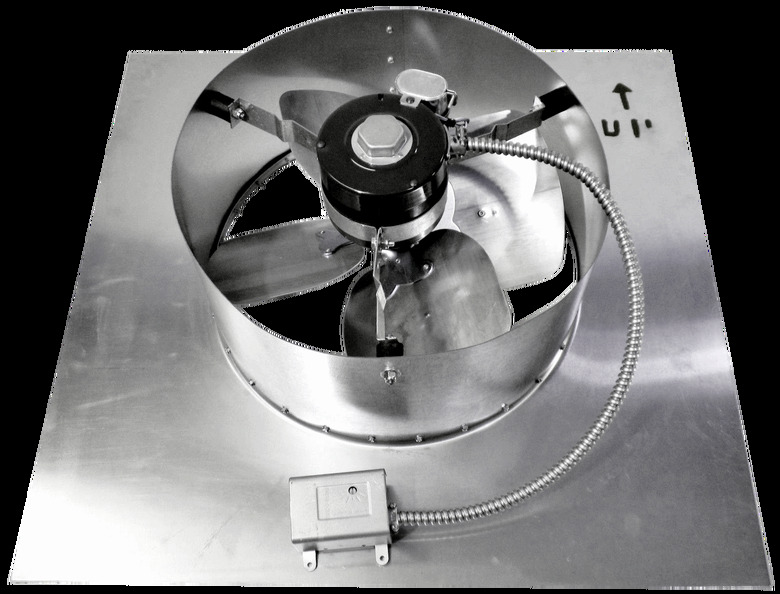
 Jet Fan USA
Why Install an Attic Fan?
Why Install an Attic Fan?
Attic fans do the same thing that properly ventilated attics do on their own; fans just add power to the natural system of ventilation to increase the rate of air exchange. The primary benefit of a fan is that is can help lower the temperature in the attic during hot weather. Secondarily, attic fans also can reduce moisture in an attic and can lower temperatures in the winter to help prevent ice dams.
It's fair to say that manufacturers of attic fans often exaggerate their benefits, so you should take this into consideration. It's also important to note that an attic fan does its job effectively only when the ceiling below the attic is well sealed. Air leaks in the ceiling between the living space and the attic allow conditioned (heated or cooled) indoor air to escape in the attic when the fan is running, resulting in higher heating or cooling bills.
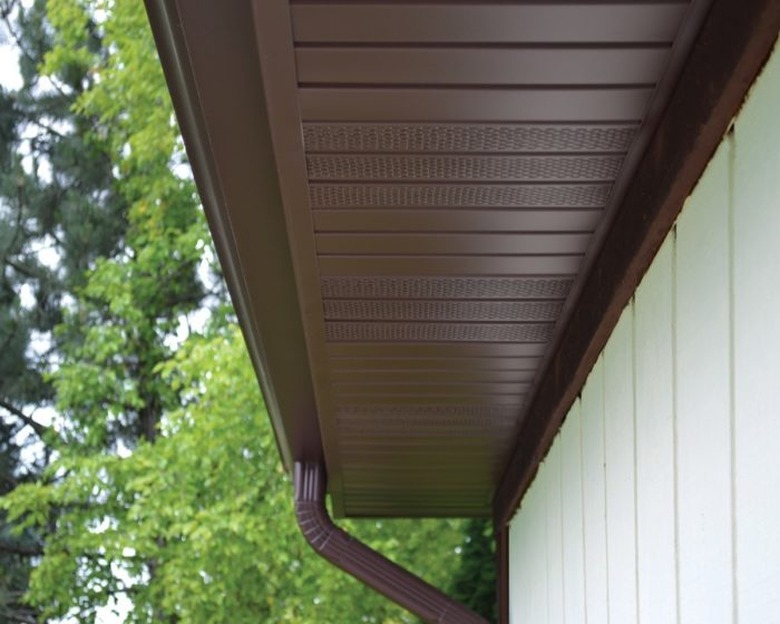
Just as important is the need for adequate intake ventilation in the attic itself. Attic fans exhaust hot air near the peak of the roof, while they pull in outdoor air through vents in the eaves of the roof. The number of vents—or more specifically, their total "free ventilation area"—must meet the minimum requirement of the fan for maximum efficiency.
 Rollex
Attic Fan Wiring
Attic Fan Wiring
Standard (non-solar) attic fans typically connect to a 120-volt household circuit, which can be rated for either 15 or 20 amps. The fan can tap into an existing circuit in the attic as long as there is enough capacity on the circuit so it won't be overloaded by adding the fan. If there is no suitable existing circuit for the fan, you must have a new circuit installed from the home's service panel (breaker box). A new circuit can also be used to power new lights or other electrical devices in the attic.
Most fans have an internal thermostat that turns the fan on and off automatically based on the attic temperature. Because of this, you can connect the fan directly to an electrical circuit without a switch, although it is better to install a standard single-pole (on/off) switch so you can turn the fan off manually, if desired. Fan circuits can also include an optional humidistat (which works like a thermostat for humidity levels instead of temperature); in this case, the circuit includes a separate humidistat unit and an additional switch that can override the humidistat.
 Mid America Components
Warning
Unless you are experienced at working with electrical circuits, running the cables and making circuit breaker connections for an attic fan may be best left to a professional electrician. Carefully evaluate your own skill level before tackling this kind of electrical work.
Things Needed
-
Attic fan kit
-
Drill and bits
-
Utility knife
-
Jigsaw or reciprocating saw
-
Pry bar
-
Roof sealant and caulk gun
-
Electrical box, NM cable, and new circuit breaker (if needed)
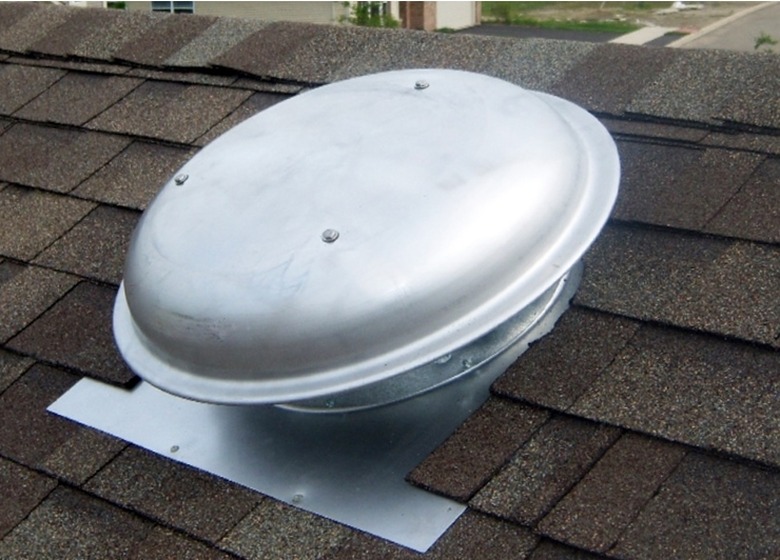
Installing a Roof-Mounted Attic Fan
Installing a Roof-Mounted Attic Fan
A roof-mounted fan is installed over a hole in the roof decking and has a large, flat base of flashing that slips under the roof shingles. The shingles and flashing are then sealed for a weather-tight installation:
- Start in the attic, and select a fan location that is close
to the roof peak and the middle of the attic space. If the fan is on the rear
side of the roof, it won't be visible from the street. - Make a mark on the underside of the roof sheathing, centered
between two roof rafters (or trusses), to mark the center of the fan. - Drill a hole at the mark, up through the sheathing and all
the way through the roof shingles. - Move to the top of the roof and draw a cutting line for the
hole, using the template provided with the fan, centering the template on the
drilled hole. - Cut away the shingles along the outline with a utility
knife. - Mark an inner hole on the roof decking, using the template,
then cut out the decking with a jigsaw. - Remove all nails from the shingles in the square area around
the hole where the fan's flashing will slide in. - Slide the fan flashing under the shingles on the upper portion
of the hole, and secure it with roofing nails. The lower half (or so) of the
flashing rests on top of the lower shingles. Seal the shingles and flashing with roofing sealant. - Install an electrical box in a convenient location in the
attic or in the living space below. Run circuit cable to the box and install an approved switch
for manual fan control. - Run more circuit cable to the fan and make the final wiring
connections, following the manufacturer's diagram. - Set the temperature setting on the fan's thermostat, and
test the fan and switch for proper operation.
 Broan/Home Depot
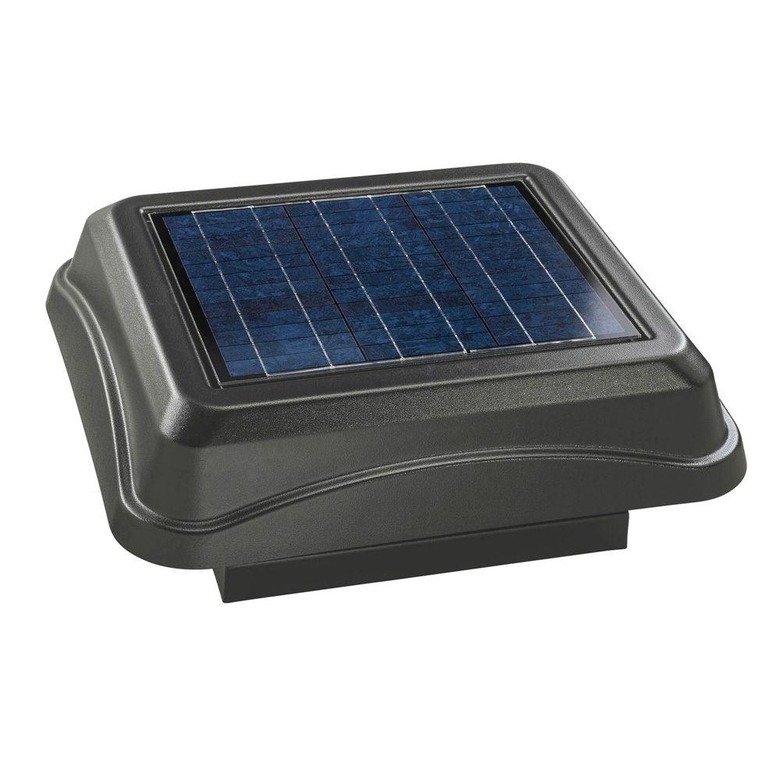
Installing a Solar Attic Fan
Installing a Solar Attic Fan
Solar attic fans are installed just like standard roof-mounted attic fans (see above) but without all of the wiring steps. Also, when determining a location for a solar fan, choose a spot that receives full sun during the afternoon in the hottest time of the year (for example, at 4 p.m. in July). This is when the fan will be operating most frequently. Be sure to cover the solar panel on the fan with cardboard during the installation to prevent the fan from running before it is completely installed.
 Jet Fan USA
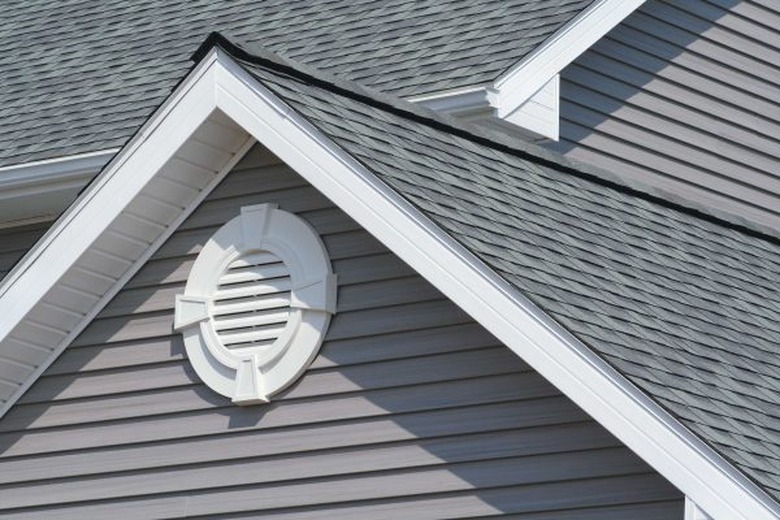
Installing a Gable-Mounted Attic Fan
Installing a Gable-Mounted Attic Fan
Gable fans are designed to mount directly behind louvered attic vents in gable walls. If you don't have an existing gable vent that is suitable, you can install a new gable vent, but it might be better to install a roof-mounted fan instead. Roof fans are more effective than gable fans.
Gable fans work best when mounted to a piece of plywood with a hole that matches the fan housing; the remainder of the plywood covers any exposed portions of the gable vent for maximum efficiency (some fans have an integrated plate or panel that does the same thing as plywood):
- Cut and install a 2 x 4 cross brace at the top and bottom of the vent opening to create a square or rectangular frame around the opening. Most vents are installed between two vertical wall studs, and the cross braces can simply be screwed into the studs.
- Cut a piece of plywood to match the outer dimensions of the frame around the opening. Place the fan housing facedown over the center of the plywood and trace around the housing. Cut out along the outline.
- Mount the fan to the plywood, using the provided mounting brackets and screws.
- Mount the plywood (with fan attached) to the frame around the gable vent, using wood screws. The fan should face out toward the vent.
- Install an electrical box in a convenient location in the attic or in the living space below. Run circuit cable to the box and install an approved switch for manual fan control.
- Run more circuit cable to the fan and make the final wiring connections, following the manufacturer's diagram.
- Set the temperature setting on the fan's thermostat, and test the fan and switch for proper operation.