Halloween Moon-Shaped Ornaments That Are Cute And Easy To Make
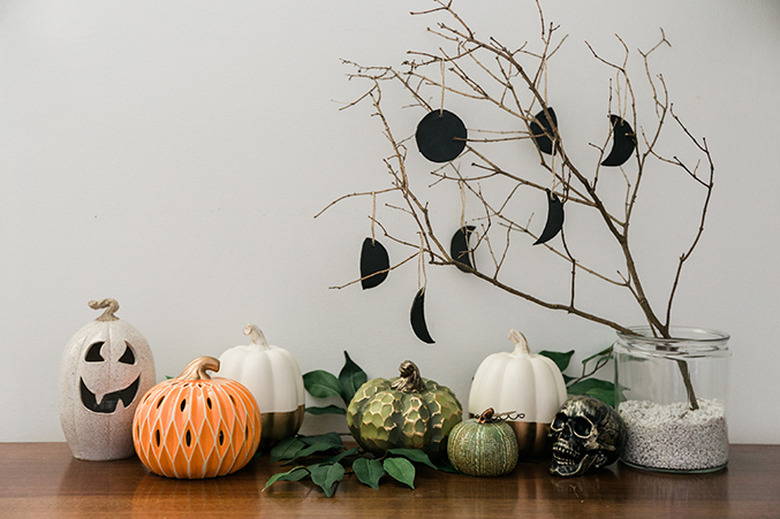
Follow the phases of the moon all throughout October with this adorable set of air-dry clay Halloween ornaments. It's the perfect centerpiece for your holiday buffet or dinner table this season. Oh, and did we mention there's a printable template involved? This tutorial really is as easy as can be.
 Carrie Waller
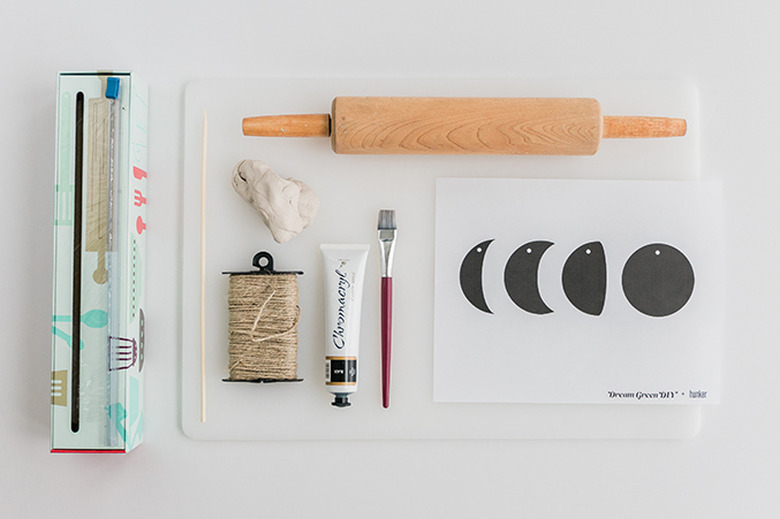
Things Needed
 Carrie Waller
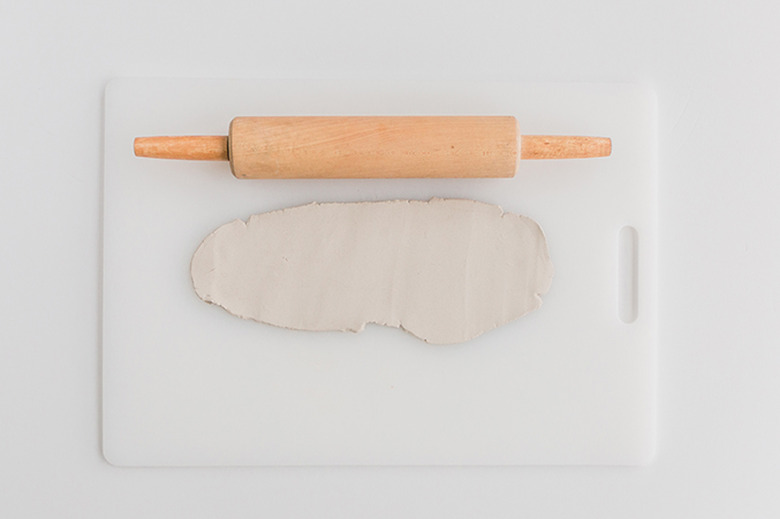
Step 1
Roll out the clay to roughly 1/4-inch thickness using a rolling pin.
 Carrie Waller
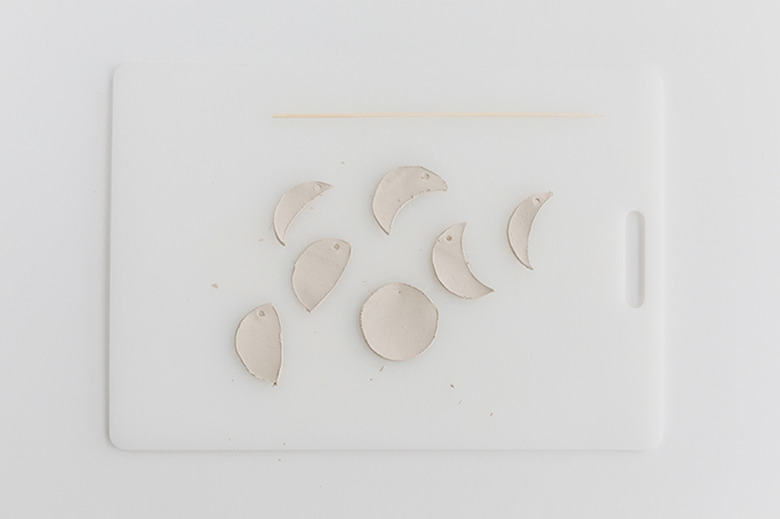
Step 2
Download and print the moon phases template. Cut out the individual shapes, and then lay them on the rolled-out clay. Lightly trace the shapes onto the clay using a skewer or toothpick, and punch a small prick through the white circle printed onto the paper — this will later help you create a hole for hanging. To complete the full phases cycle, make sure to reuse the three sliced moon shapes (everything but the full circle) a second time. You should be left with seven traced moon shapes.
 Carrie Waller
Step 3
Fully cut out the shapes from the clay using your skewer or toothpick, and open the hanging hole wider so you can later fit a piece of twine through it. You may discard the leftover clay or wrap it up in plastic to use in a future project. If needed, wet your finger with a bit of water and rub gently along the edges of the ornaments to smooth them out.
 Carrie Waller
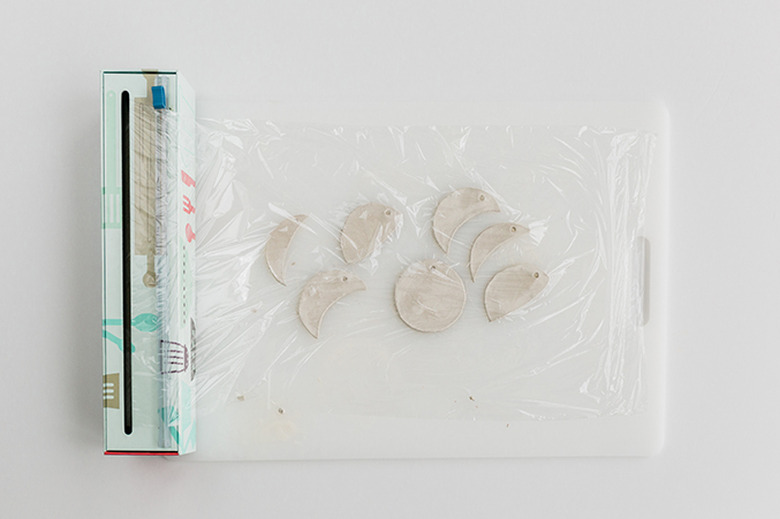
Step 4
Lightly cover the finished clay ornaments with plastic wrap, and let them sit overnight. Come back the next day and remove the plastic wrap, then let them sit uncovered for another 24 to 48 hours until the clay is completely hard and dry.
 Carrie Waller
Step 5
Paint both sides of the clay ornaments using black acrylic paint. Allow them to dry completely for several hours.
 Carrie Waller
Step 6
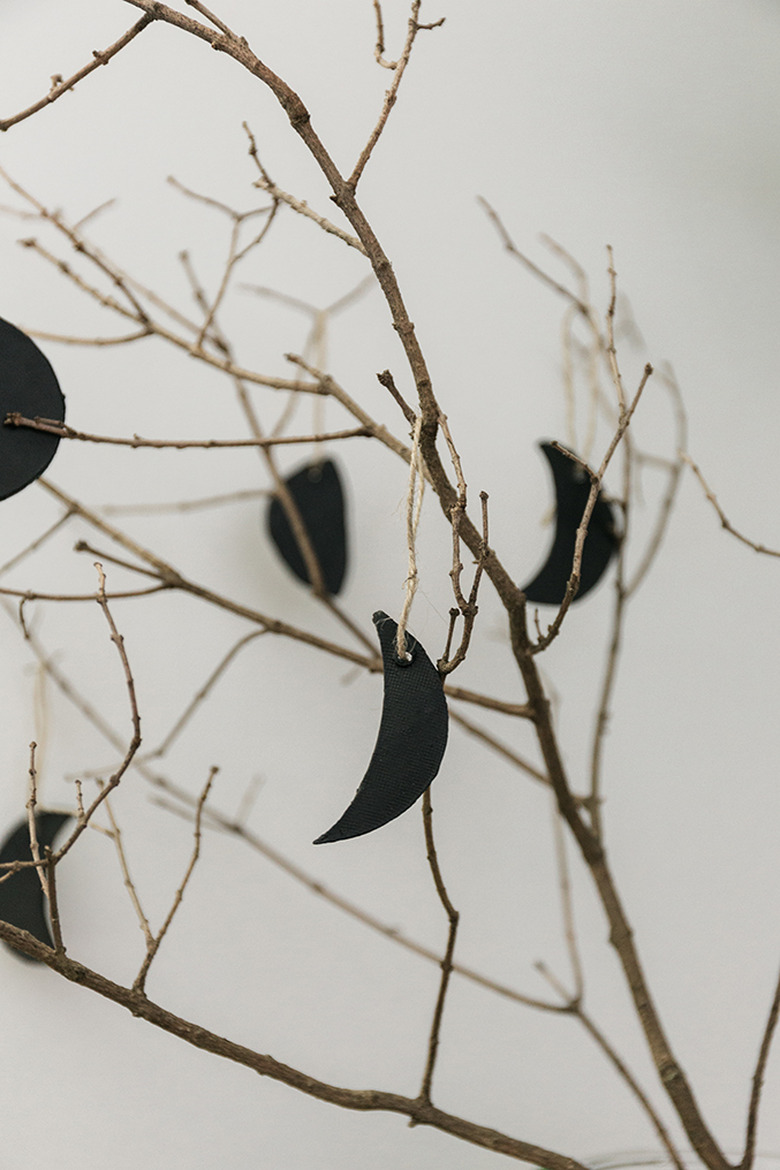
Cut the twine into individual strands, roughly 9 inches in length. Knot the twine hangers through the holes you made in the ornaments, pulling the knots down behind the moon shapes afterward to hide them from view.
 Carrie Waller
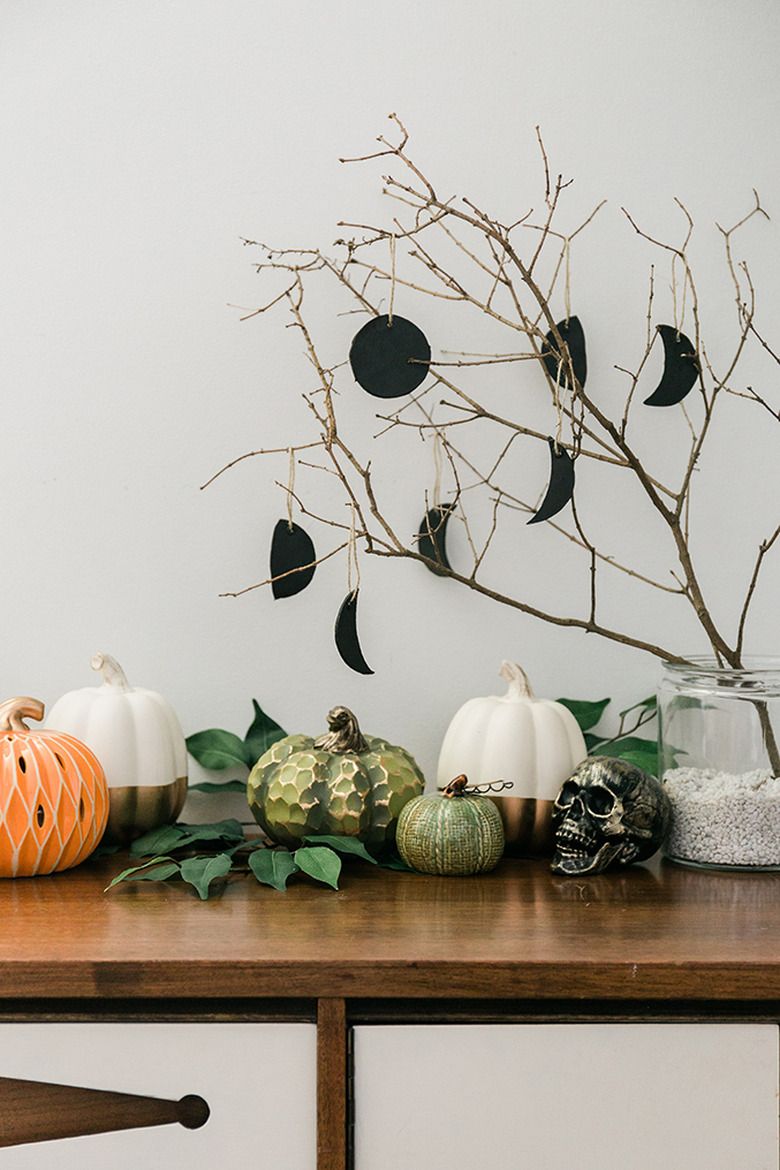
Step 7
Place a found tree branch in a jar filled with rocks to create the base for your Halloween centerpiece. Loop the finished moon phases ornaments over the branches, then style the scene with faux fall greenery and ceramic pumpkins to complete the look.
 Carrie Waller
 Carrie Waller