How To Remove A Farmhouse Sink
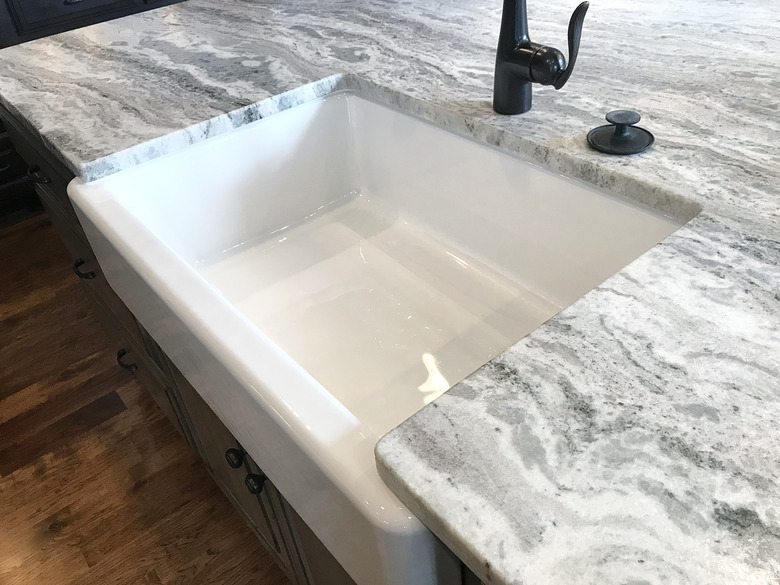
In some ways, removing a farmhouse sink is easier than removing a conventional one. Unlike a drop-in or undermount sink, a farmhouse sink doesn't rely exclusively on the countertop for support, so it's often easier to break the connection. When you do that, you should be able to lift or slide the sink out of the cabinet, after first disconnecting the plumbing. But, depending on what you want to do next, you might have some big decisions to make after the sink is gone.
The way forward is fairly straightforward if you want to replace the sink with another one of the exact same size and style, or if you simply want to eliminate the cabinet as well as the sink. However, if your plans involve replacing the sink with a drop-in, undermount or different farmhouse model, you might need to make fairly major changes to the countertop and cabinet or replace them altogether. In many cases, removal of a farmhouse sink is done at the same time the entire countertop is being removed or replaced.
Sink Removal Procedure
Sink Removal Procedure
Most farmhouse sinks, especially heavy ones, rest on a support structure built into the cabinet. Before you start removing the sink, study this structure to make sure it isn't permanently connected to the sink. Most aren't, but if yours is welded or glued, you'll want to make sure you can break the contact before you do anything else. The sink may not be designed to be removed. This is rare, but it's something you need to know before you start.
Things Needed
-
Channel-lock pliers
-
Screwdriver
-
Utility knife
1. Disconnect the Drain
Disassemble the P-trap and turn the trap over into a bucket or take it outside to empty it. The amount of disassembly required depends on the sink configuration, but all you need for the procedure is a pair of channel-lock pliers to loosen the compression nuts holding the various parts of the drain together.
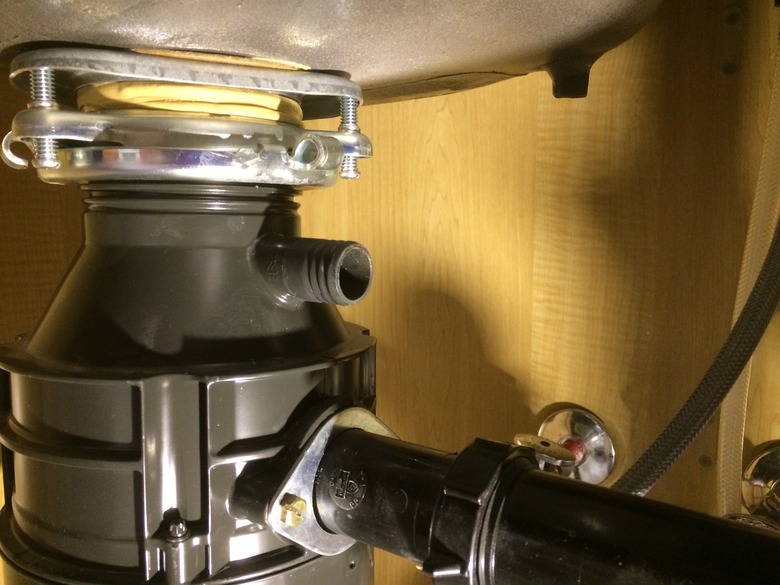
2. Remove the Garbage Disposal
Unplug the disposal or disconnect the wires after first turning off the breaker. If the dishwasher drain hose is attached, remove it by loosening the clamp and pulling it off. Disengage the disposal from its mount by giving it a quarter turn counterclockwise and giving it a slight downward pull. Be careful. It may be heavy.
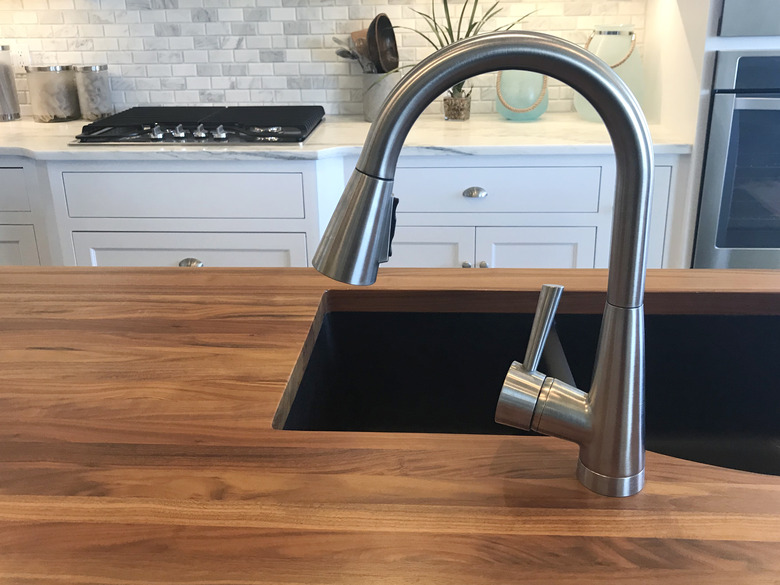
3. Disconnect the Faucet
Turn off the shut-off valves under the sink and open the faucet to relieve water pressure. Loosen the nuts holding the faucet supply tubes to the shut-off valves, using channel-lock pliers, then disconnect the supply tubes by hand.
4. Remove the Sink Clips
Loosen any clips you find holding the sink to the countertop, using a screwdriver. You may not find any clips. If not, move on to the next step.
5. Cut the Caulk
Slice through the caulk sealing the rim of the sink to the countertop, using a sharp utility knife. This might take several passes with the knife, each time cutting a bit deeper. You'll know you've cut through completely when you're able to wiggle the sink.
6. Remove the Sink
Lift or slide the sink out of it alcove and set it upright on a pair of sawhorses with the drain assembly hanging between them. Remove the drain and faucet by loosening the nuts holding them, using channel-lock pliers or a wrench.
Tip
If the sink is made of porcelain, fireclay or cast iron, you'll probably need someone to help you lift it.
After the Sink is Out....What Next?
After the Sink is Out....What Next?
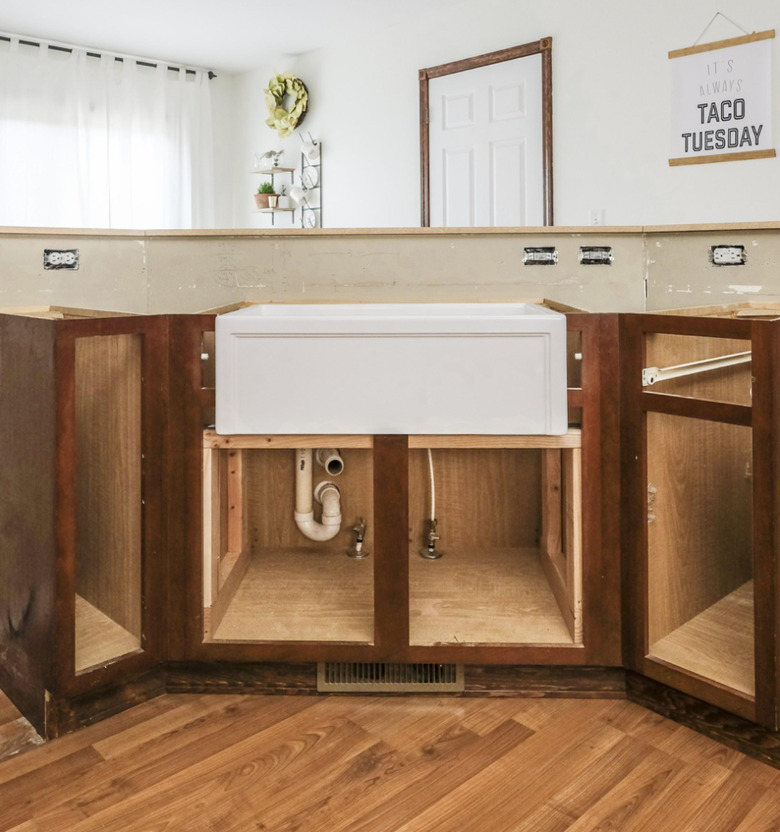
Once the sink is gone, you'll be left with an open alcove in the top and front of the cabinet. If you want to install a larger farmhouse sink, and the cabinet has enough room for one, you can widen the holes in the countertop and in the front of the cabinet to accommodate it. If, on the other hand, you want to install a smaller farmhouse sink or a drop-in or undermount sink, you have two options:
- Replace the countertop: This is the best option if the countertop is made from inexpensive materials, such as laminate or synthetic stone. You can buy a new countertop with a pre-cut hole, or you can cut the hole yourself.
- Install a plug: Fashion a plug that exactly fits the hole in the countertop out of butcher block, laminate, or a similar solid but workable material. Install supports under the countertop to hold it and secure it with screws or adhesive. Because the seams between the plug and countertop will be visible, it's best to use a material dissimilar to that of the countertop and plan on making the plug a design feature. You can cut a hole in the plug for a new sink, either before you install it or after, although it's probably easier to do it before.
Filling the Space Occupied by the Apron
Filling the Space Occupied by the Apron
If you opt for a drop-in or undermount replacement sink, you'll also have a gaping hole to fill in the front of the cabinet formerly occupied by the apron of the farmhouse sink. The easiest way to cover this is to install a false drawer front. If you need storage space for cleaning supplies, you can attach a triangular trough to the back of the false drawer and hinge it on the bottom so it swings open.
It may also possible to reface the front of the cabinet, which may be the preferred option if you're remodeling the kitchen. To do this:
- Remove the doors.
- Pry the front fascia off, using a pry bar. The fascia are usually attached with finish nails.
- Build new fascia yourself or have them made at a cabinet shop.
- Install the fascia by nailing it on with finish nails. Countersink the nails, fill the holes, then sand and finish the wood.
- Re-hang the doors.