Drop-In Sink Not Sitting Flat
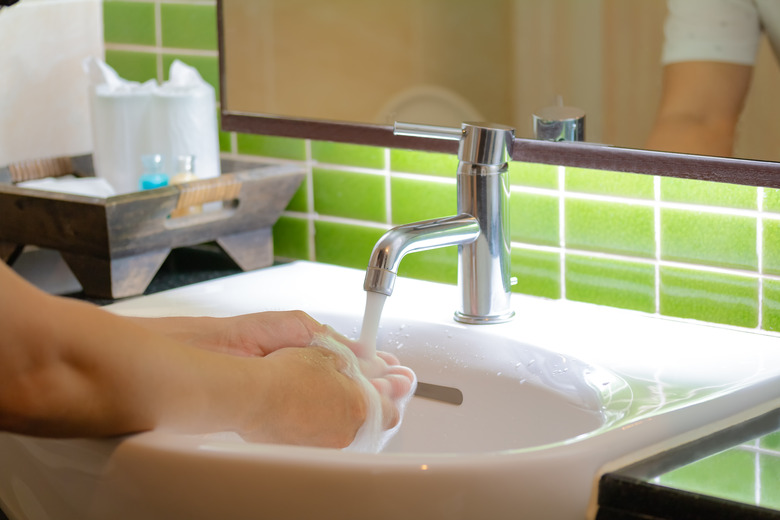
A drop-in sink, also known as an over-mount or self-rimming sink, has a rim that rests on the top of the counter, and when you install it, it's important that this rim be in contact with the countertop on all sides. If it isn't, water can seep under the rim and end up damaging the countertop. A gap around the rim signifies another problem that could be even worse. This sink might not be level, which could mean that water won't drain completely, leaving stale water sitting in the bottom of the sink.
If you're installing a new sink and having trouble getting it to sit flat, consider the following possible causes:
- The sink is binding against the edge of the countertop, which means the cutout opening is too small or the sink is warped.
- The sink is resting on the one of the clips designed to hold it down.
- You failed to completely remove all the old caulk from the countertop after removing an old sink, and the rim of the new sink is resting on the old caulk.
- The countertop is warped.
Countertop warpage may cause a gap to appear under the rim of a sink that was sitting flat when it was installed but which wasn't properly caulked. Water seepage is usually responsible for this. This problem isn't likely to occur if you have a stone or synthetic stone countertop, but it can sometimes happen with a laminate or wood countertop.
There are several solutions you can try to remedy this problem.
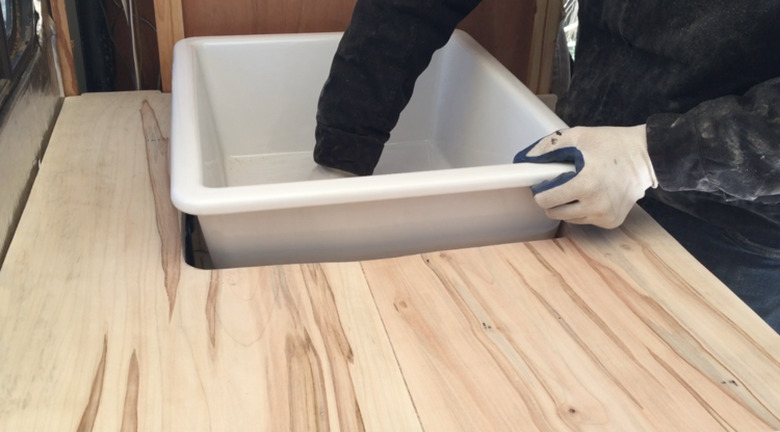
Make the Hole Bigger
Make the Hole Bigger
Many countertops come with precut holes, and these are pretty much guaranteed to fit the sink for which they are designed. If you have cut the opening yourself, however, problems are more likely to occur. When you have to cut the hole yourself, it's prudent to avoid making the hole too big, but perfection is elusive, so it's easy to err in the opposite direction.
 Slow Car Fast Home
The first indication that the hole is too small is that the sink doesn't drop in easily, and you have to force it down into the cutout opening. This could be a miscalculation on your part, but sometimes the sink itself is at fault. Irregularities occur in the manufacture of porcelain and clay sinks that cause small bulges. A simple procedure can help pinpoint the locations of such bulges:
- Straighten out a paper clip, then make a 90-degree bend on one end.
- Insert the bent end under the rim of the sink and slide it around the perimeter.
- Make a mark on the countertop any place where the paper clip gets stuck and you can't advance it.
Once you've done this, remove the sink and widen the cutout opening at any place where you made a mark. Use an angle grinder on stone or a belt sander for solid-surface material, wood and laminate countertops. You usually don't have to remove much material—typically 1/16 inch or less. A jigsaw isn't the best tool for this kind of detail work.
Tip
If you're installing a square or rectangular sink, note that the corners of the sink are rounded. If you fail to round the corners of the cut-out, the sink may bind as you lower it into the cutout opening. For wood, laminate and plastic countertops, you can do this rounding with a jigsaw. For stone, use a grinder.
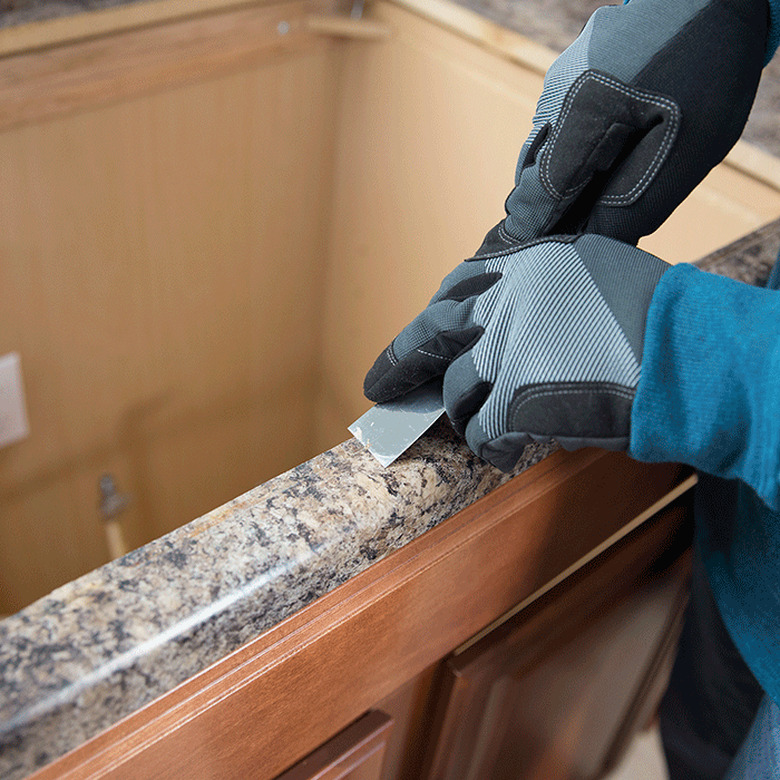
Clean Off the Old Caulk
Clean Off the Old Caulk
Cured silicone caulk can be difficult to remove, but if you don't get it all off the countertop after removing the old sink, the new sink won't sit flat. Unfortunately, there's no magic solvent that does this job completely, although some solvents can soften the caulk and make it easier to scrape. You shouldn't need a solvent, though.
 Lowes
Lowes
Because the countertop is flat, all you really need to get it off is a scraping tool with a sharp edge. The best tools for the job are a five in-one tool or a chisel. Keep the tool at a 30- to 45-degree angle to avoid damaging the countertop. If you do slip, don't worry too much about it. Any scrapes or cuts you make, as long as they are close to the edge, will be covered by the rim of the new sink.
Fix a Warped Countertop
Fix a Warped Countertop
If you have a wood or laminate countertop and notice that a gap has appeared under the rim of a sink that has been in place for a few years, water seepage is probably responsible. The seepage undoubtedly occurred because the rim of the sink wan't properly caulked. If the countertop feels spongey around the gap, or if you can see signs of water damage on the underside, the most complete repair strategy is to remove the sink and replace the countertop. At the very least, you should remove the sink and let the countertop dry out before assessing the damage and deciding if the countertop can be salvaged.
Things seldom get to this point, though. In most cases, there is only a slight bow, and if the countertop doesn't feel wet, you can simply re-caulk the rim to cover the gap. Don't forget to first remove any old caulk still clinging to the rim.
On a butcherblock countertop where slats have warped, it can be tempting to fill gaps around the sink by applying additional caulk, but a better solution is to grind down the countertop with a belt sander to flatten it.
Level a Countertop or Base Cabinet
Level a Countertop or Base Cabinet
When water pools in the sink instead of going down the drain, your first assumption might be that the sink has been installed incorrectly. But if you look for gaps between the rim of the sink and the countertop and don't find any, the problem is probably that the countertop itself, or the entire cabinet, is out of level.
 Tomsmith585/iStock/GettyImages
The easiest way to correct this is often to shim up the entire cabinet. Remove the screws holding it to the wall and place a level on the countertop. The bubble will move to the side that's higher. Lift the other side until the bubble is centered, then place a wooden or plastic shim under the bottom of the cabinet on that side. Anchor the cabinet to the wall with new screws driven at different locations in the nailing strip.
Sometimes it isn't feasible to move the cabinet, but you may be able to re-level the sink:
- Cut the bead of caulk holding the sink to the countertop, using a sharp utility knife.
- Loosen and remove the screws holding the clips securing the sink to the countertop.
- Set a level across the outer rim of the sink and lift the lower side. You may have to wedge a pry bar under the rim to do this.
- Place a shim under the rim to support the sink. It's best if the shim is made of plastic.
- Replace the screws in the clips and tighten down the clips to hold the sink. Check the level again.
- Apply a bead of caulk around the perimeter of the sink to hide the gap and the shim.
If you're unable to raise the sink, or if the resulting gap is too wide to camouflage with caulk, you may be able to adjust the level of the countertop by loosening the screws holding it to the cabinet frame, adding shims where necessary, and re-tightening the screws.