Rain Gutter Gardens Are What You Want, And We've Got The DIY To Prove It
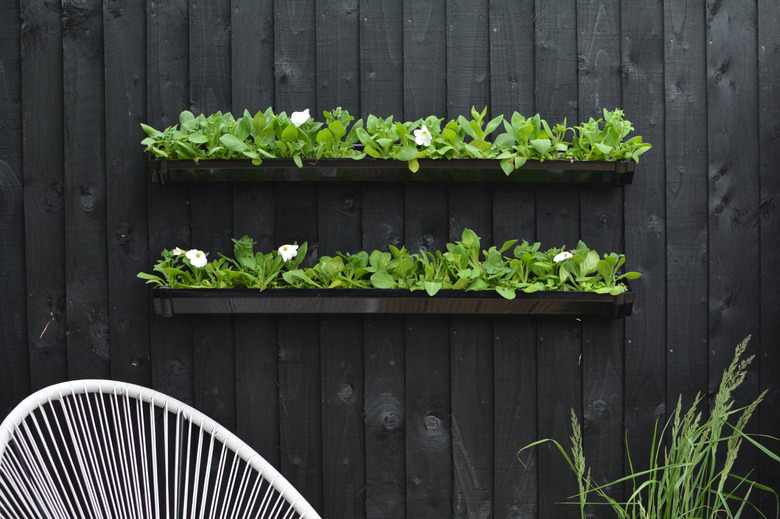
If you're short on space but want to add a splash of color to your outdoor living area, this fun DIY transforms dull drain pipes into an adorable rain gutter garden. Their narrow size makes these cute planters a perfect fit for patios and balconies where elbowroom can be limited. Plus, it's ideal for container gardening — especially for beginners. It's an easy DIY to make and maintain.
 Caroline Burke
Things Needed
-
Gutter end caps (2 caps per planter)
-
Tape measure
-
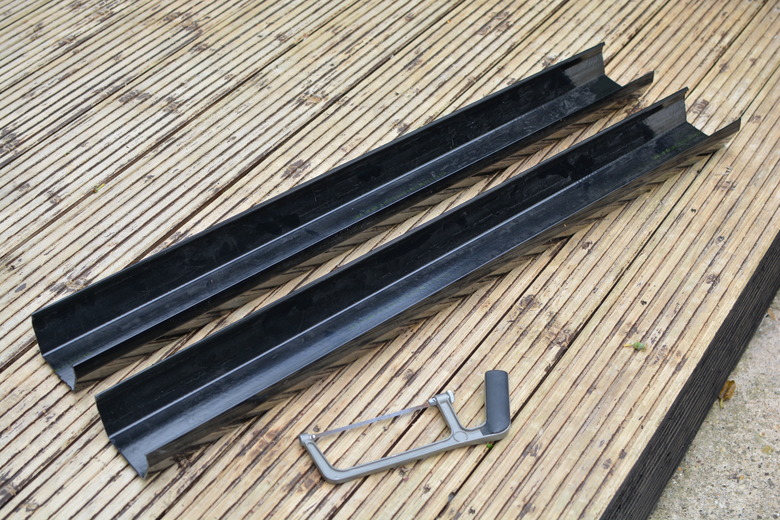
Hacksaw
-
Power drill
-
Wood screws
-
Spirit level
-
Compost and flowers or seeds/plants
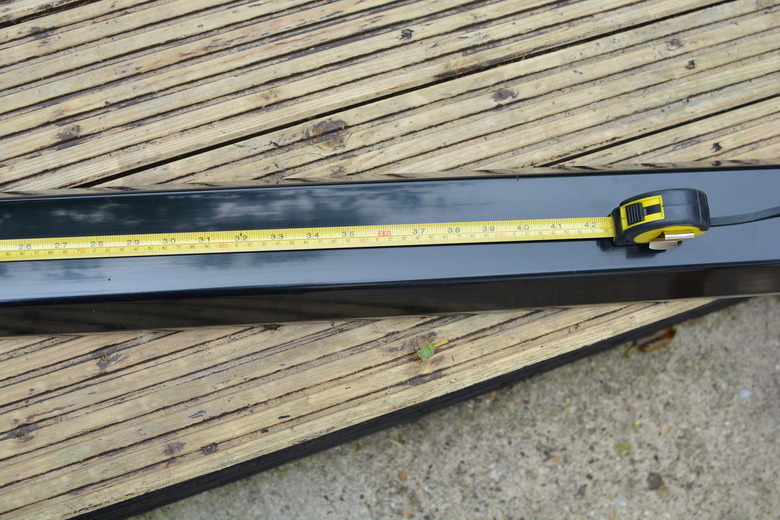
Step 1
Decide what length your planters will be. We decided to make two 5-foot planters from our 10-foot piece of gutter pipe.
 Caroline Burke
Step 2
Measure where you want to cut the pipe and mark that point. (We used some tape to indicate the cut line.)
 Caroline Burke
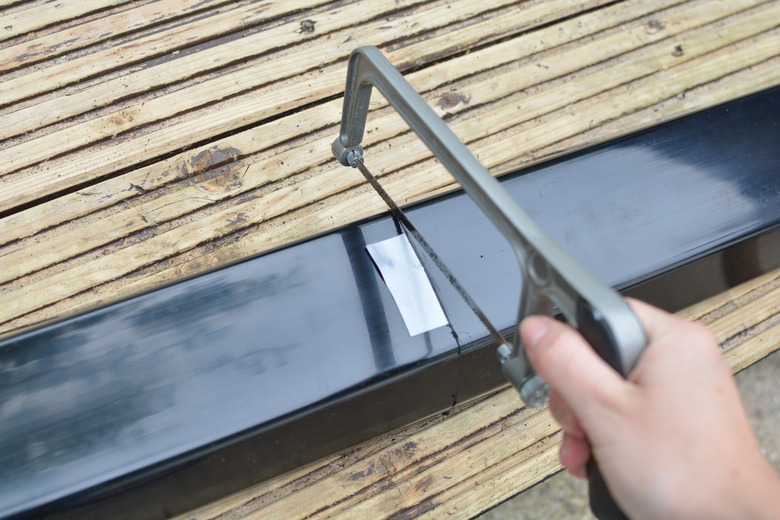
Cut the gutter to size with a hacksaw.
 Caroline Burke
Step 3
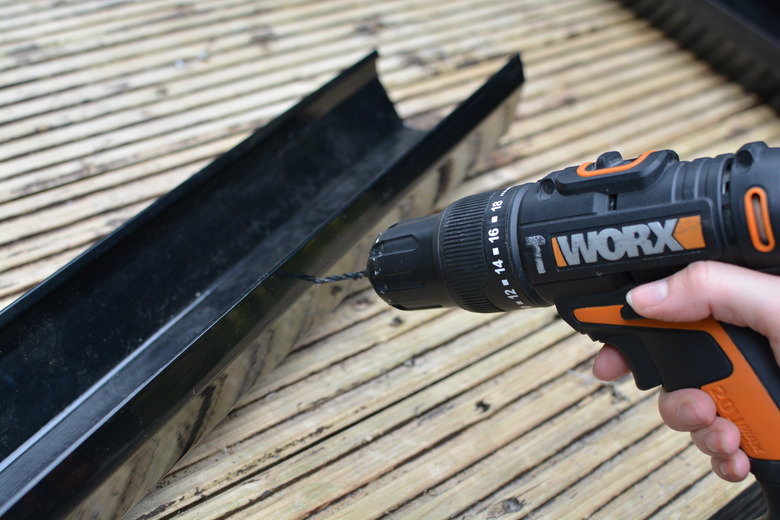
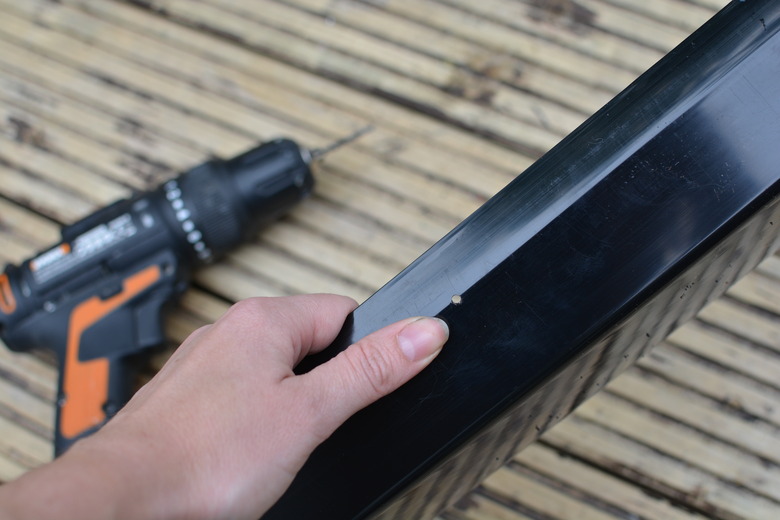
Drill small pilot holes at regular intervals along one side of the gutter — be sure to keep them close to the top edge.
 Caroline Burke
We drilled four pilot holes per planter on ours. (You can also drill some drainage holes along the bottom of the planters at this stage.)
 Caroline Burke
Step 4
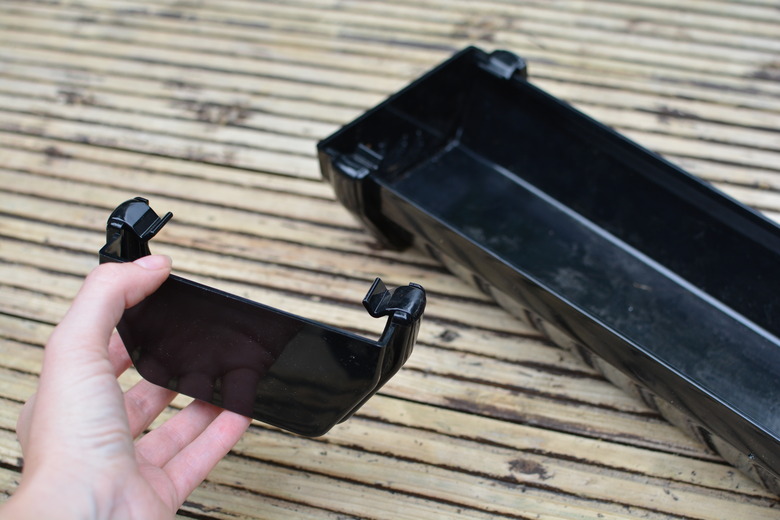
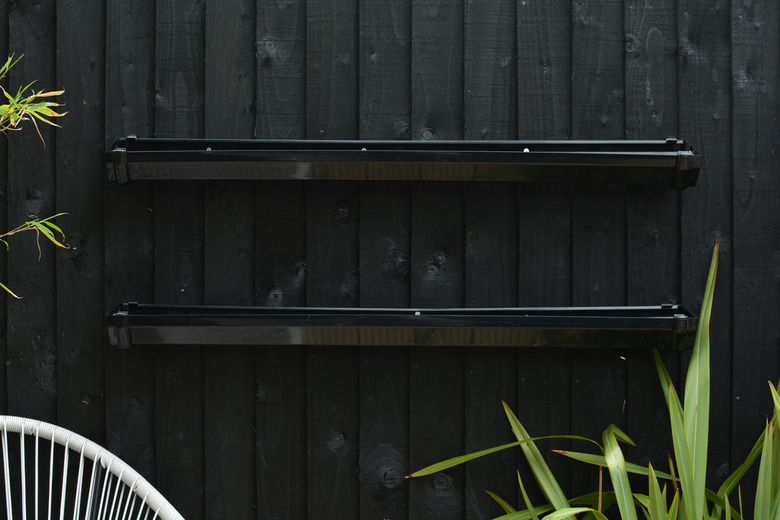
Fix the end caps onto each end of the gutter planters.
 Caroline Burke
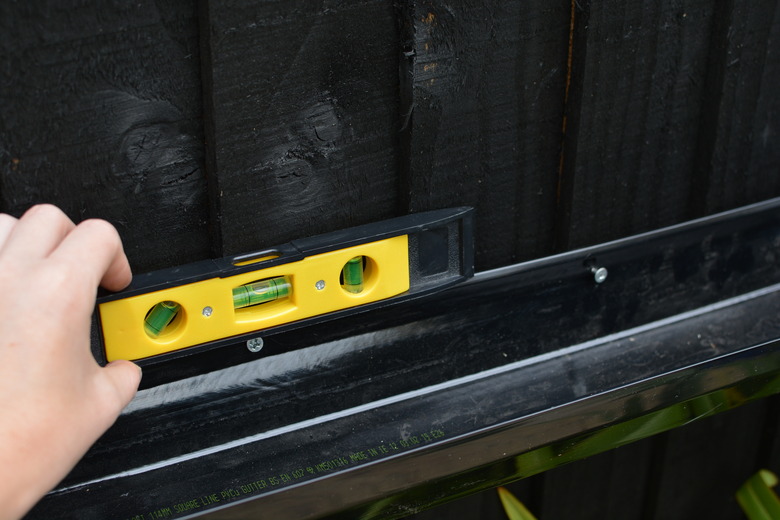
Step 5
Screw one end of the gutter to your fence (or external wall) then use a spirit level to check the planters are level.
 Caroline Burke
Drill in the remaining screws. (We used 1-inch wood screws to fix the planters to our wooden fence panels.) If you're fixing to brick walls you'll need to pre-drill your wall holes using a masonry drill bit.
 Caroline Burke
Step 6
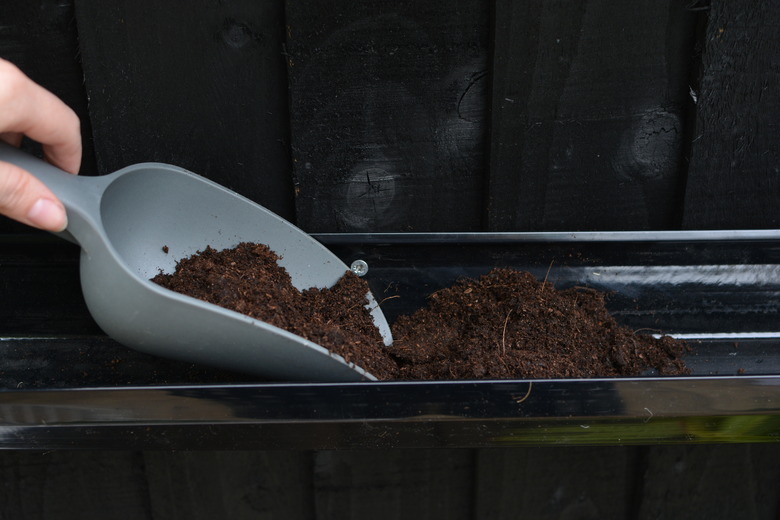
Once the planters are secure you can start to add some compost.
 Caroline Burke
Half fill the gutter pipe with compost, ready for your greenery.
 Caroline Burke
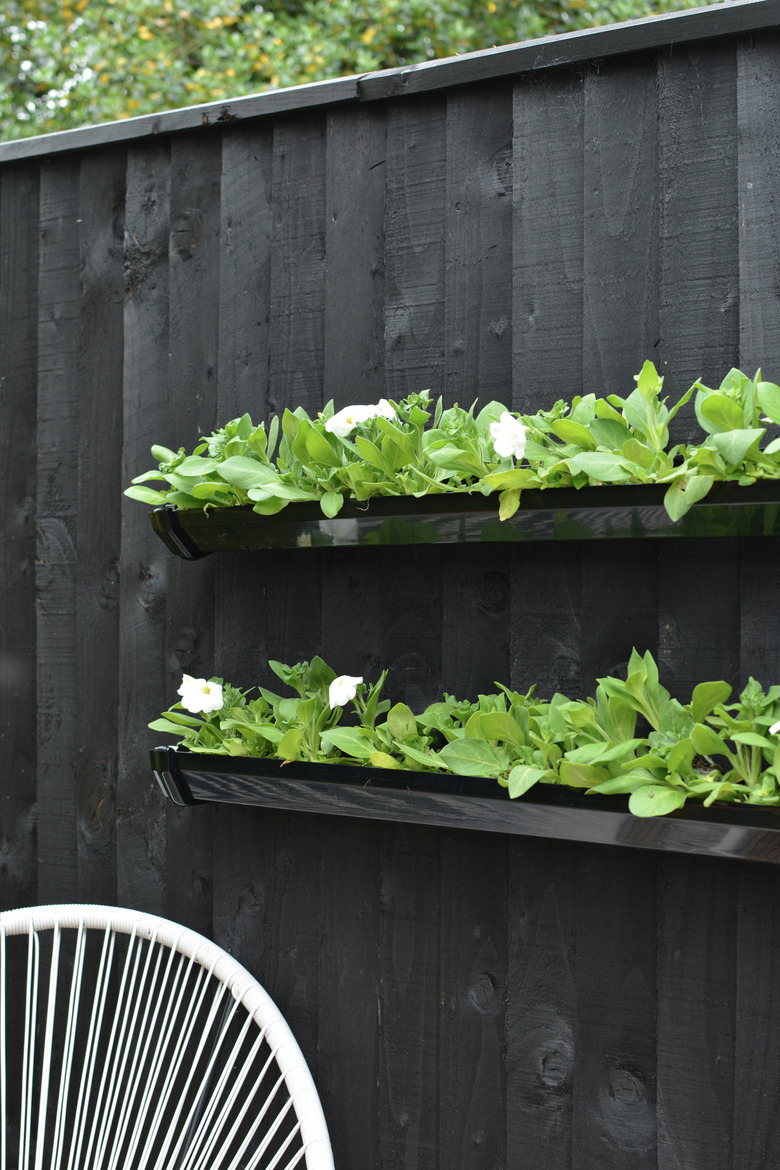
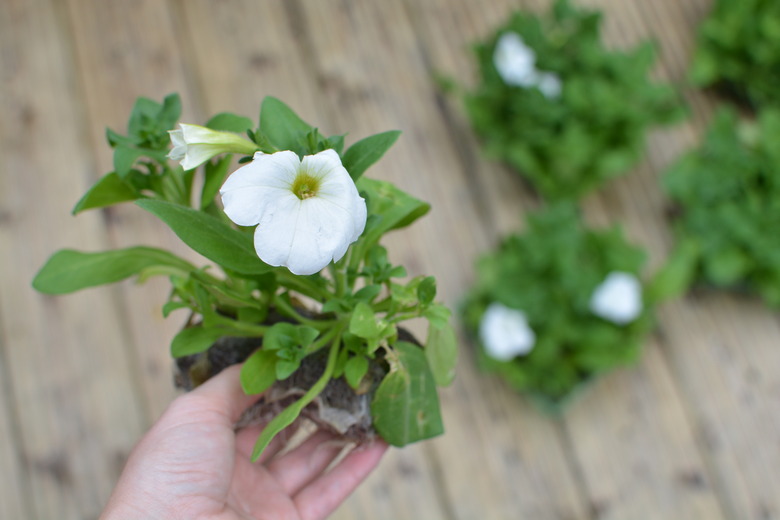
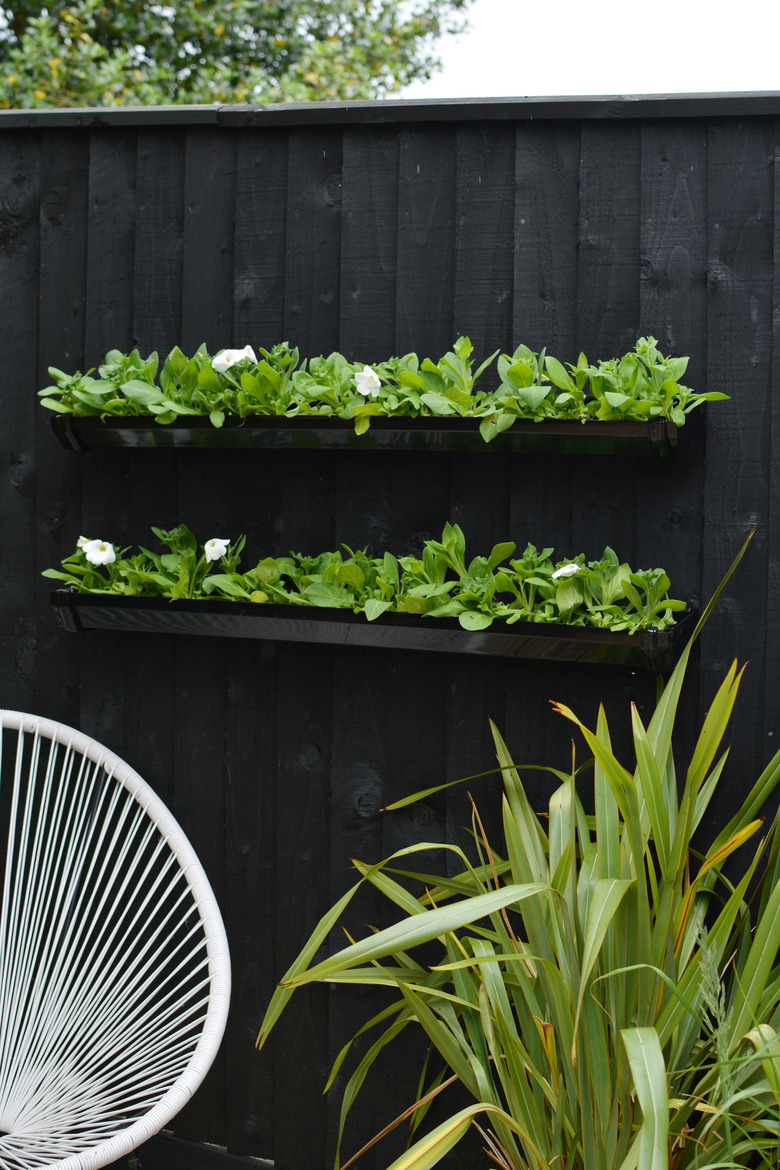
Then plant your flowers, herbs, or vegetables to finish!
 Caroline Burke
 Caroline Burke