Easy Modern Paper Tray Organizer DIY To Keep Your Desk Tidy
We may receive a commission on purchases made from links.
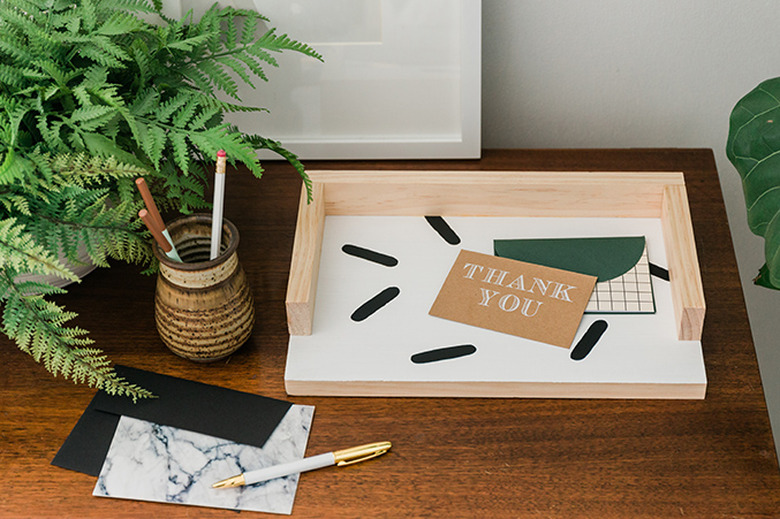
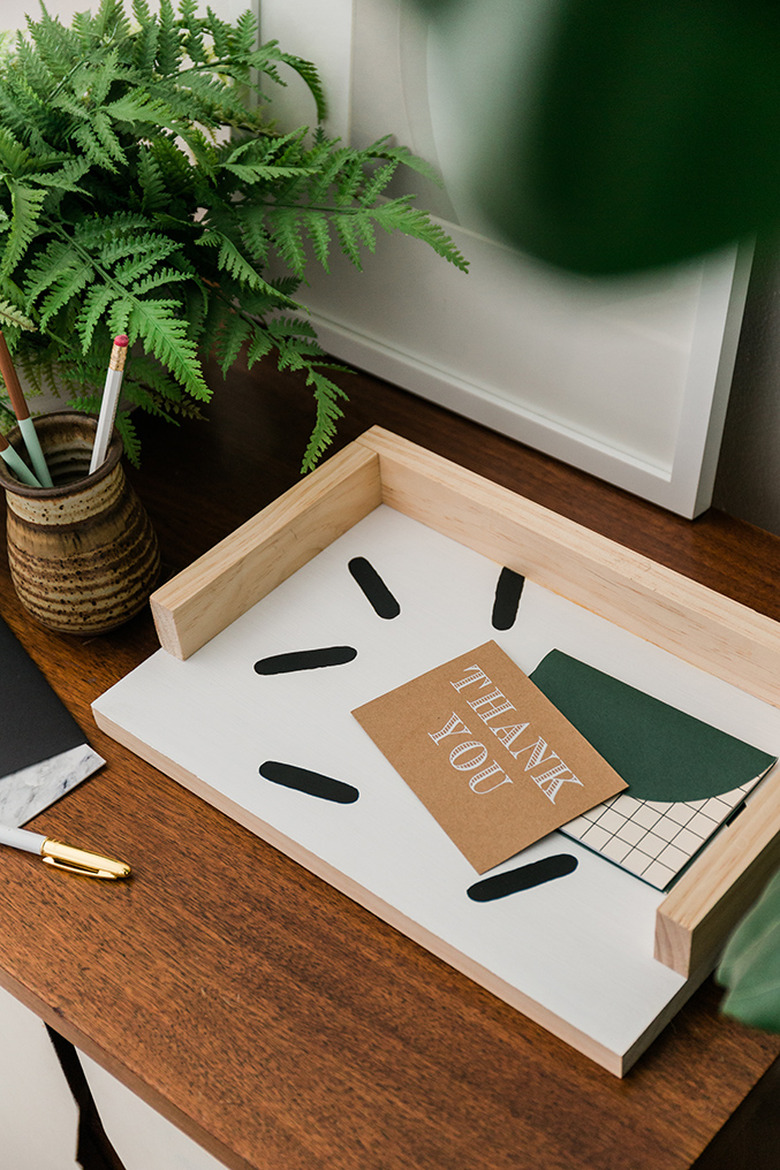
OK, it's really time to quit piling loose mail and papers on your kitchen table. Motivate yourself to stop the bad habit once and for all with your very own handmade paper tray. We'll show you how to get the look using standard wood from the hardware store, and bonus — we're also including a printable template so you can replicate the look right down to the last painted dash.
 Carrie Waller
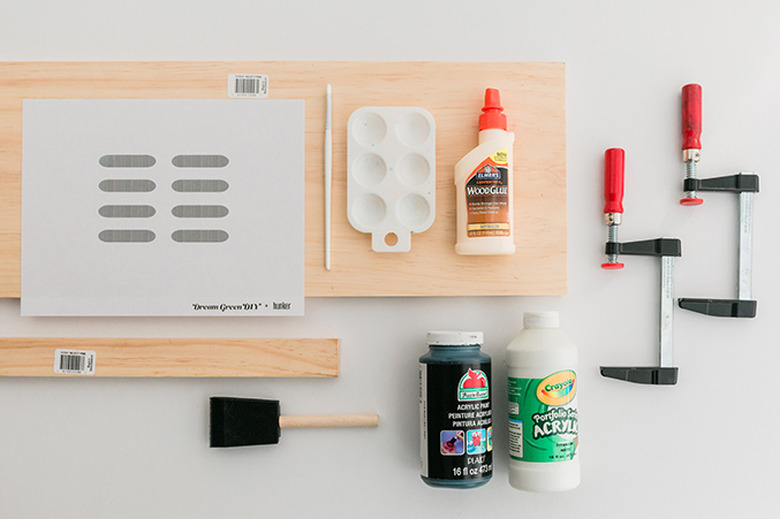
Things Needed
-
1-inch-by-10-inch-by-4-foot select pine board
-
1-inch-by-2-inch-by-4-foot select pine board
-
Power saw, optional
-
Pencil
 Carrie Waller
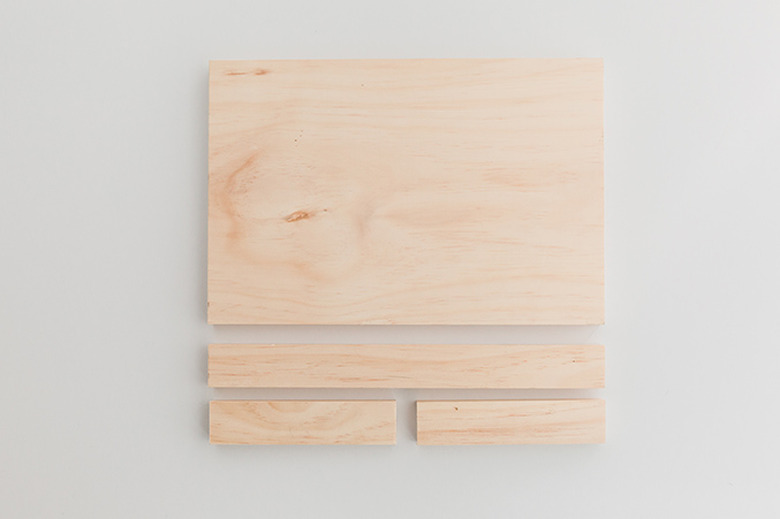
Step 1
Cut the wood pieces to size either with your own table and miter saw, or ask an associate at your local hardware store to cut the wood to size for you. (That's what we did. So easy.)
For this project, you'll need to cut the 1-inch-by-10-inch-by-4-foot board down to 13 3/4 inches in length, and the 1-inch-by-2-inch-by-4-foot board needs to be cut into one 1-inch-by-2-inch-by-13-3/4-inch piece of wood and two 6-1/2-inch pieces.
Set any excess wood aside for a future project if you'd like, then use 180-grit sandpaper to gently smooth any exposed sides of the cut wood boards.
 Carrie Waller
Step 2
Paint the top of the largest piece of wood white using a foam brush and acrylic paint. Allow the first coat to dry for 20 minutes, then paint on a second coat. Allow the paint to fully dry for two hours.
 Carrie Waller
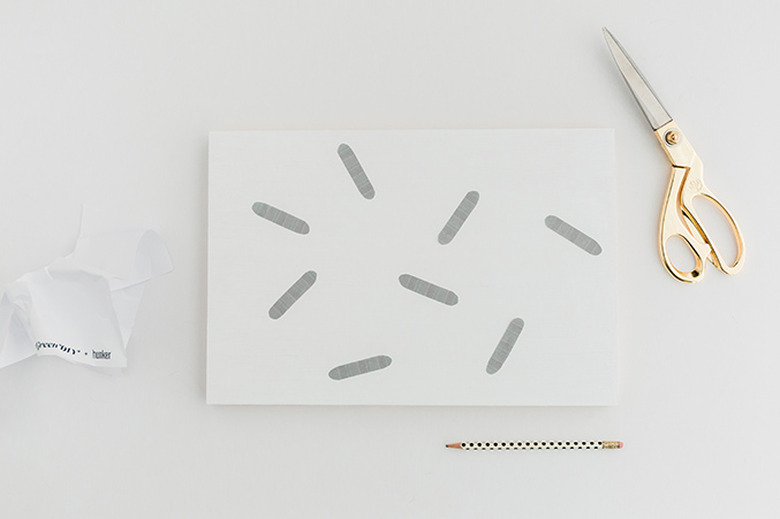
Step 3
Download and print the dashes template onto cardstock, and cut out the shapes using scissors or an X-Acto knife. Lay the cut dashes onto the painted white board, and move them around until you're happy with the design. Trace the dashes onto the painted wood surface with a pencil, and then set the cut templates aside.
 Carrie Waller
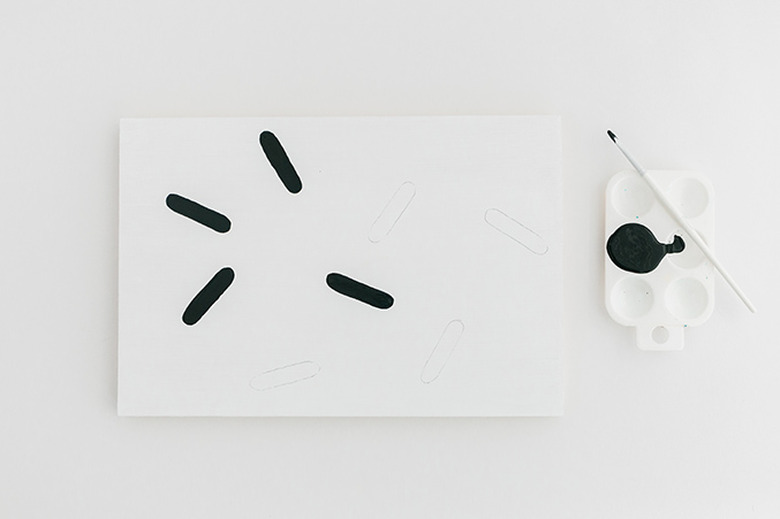
Step 4
Use a thin detail paintbrush to fill inside the traced lines with black acrylic paint. Wait 20 minutes and paint on a second coat of black paint, if needed, to cover the white underside completely. Allow the paint to fully dry for two hours.
 Carrie Waller
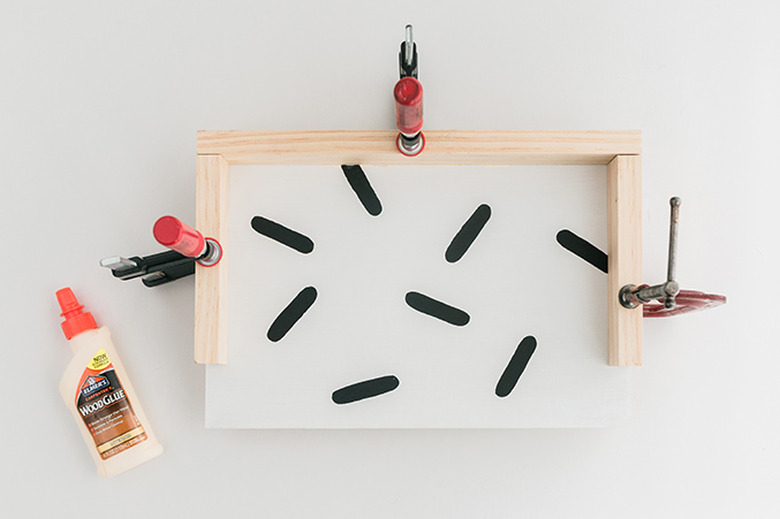
Step 5
Lay a thin line of wood glue on the underside of the 1-inch-by-2-inch-by-13-3/4-inch piece of wood you cut down in Step 1, and smooth out the adhesive with your fingertip. Gently press it in place along the back portion of your white-painted wood bottom. Repeat these steps on the two 6-1/2-inch sidepieces, pressing them onto each short side of the wood bottom, just as you see pictured below. Clamp all three pieces of glued wood down, and allow them to cure for two hours.
 Carrie Waller
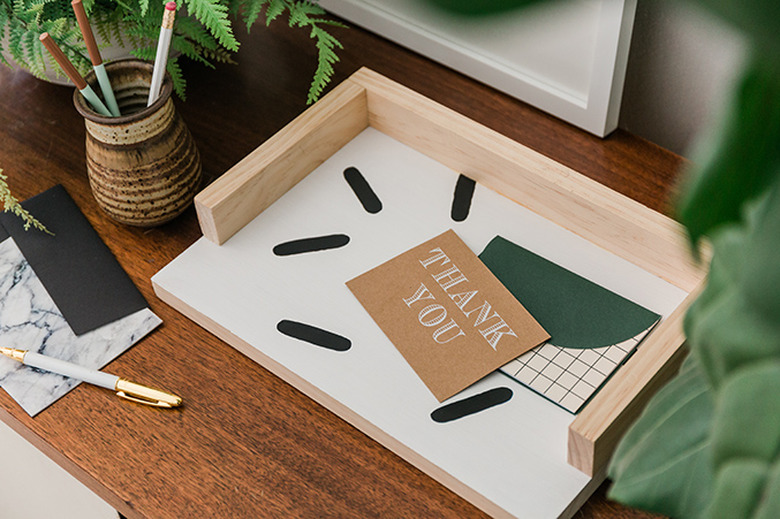
Step 6
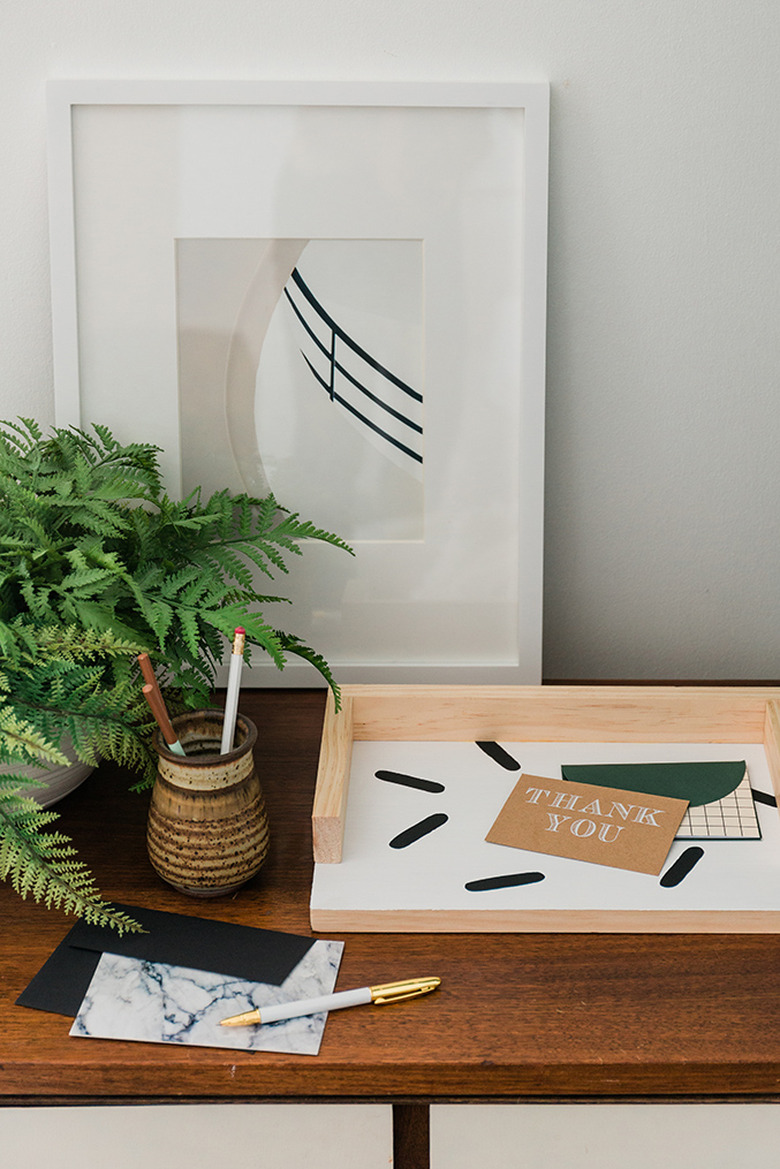
Remove the clamps after the glue is fully dry, then set the finished DIY paper tray up anywhere in your home. We love the idea of using it in an entryway to keep bills and other mail within easy reach, or in the office for daily paperwork and lists.
 Carrie Waller
 Carrie Waller