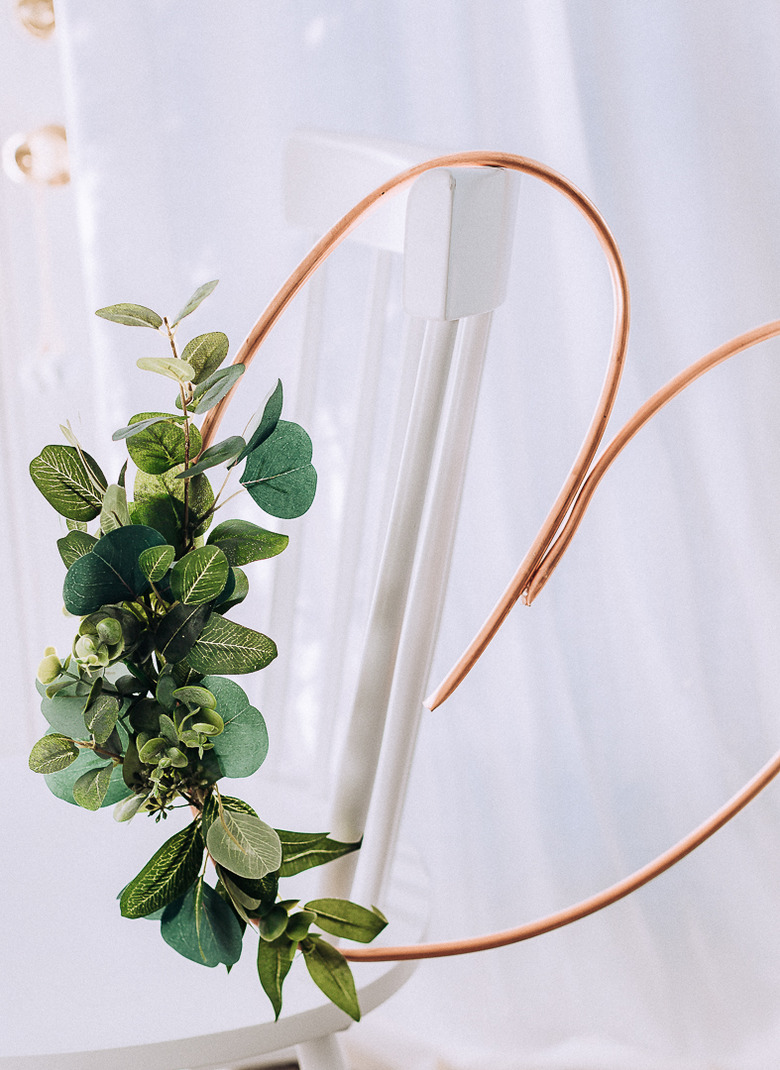
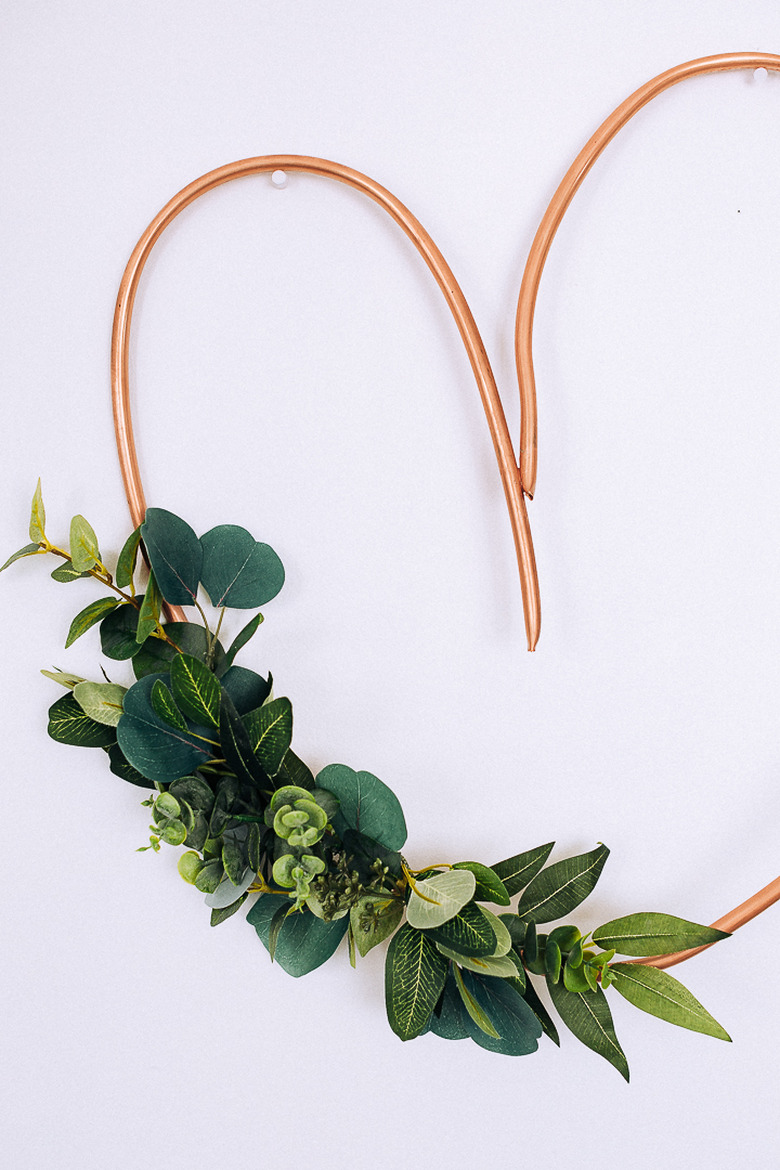
DIY Copper Piping Heart Wreath With Eucalyptus
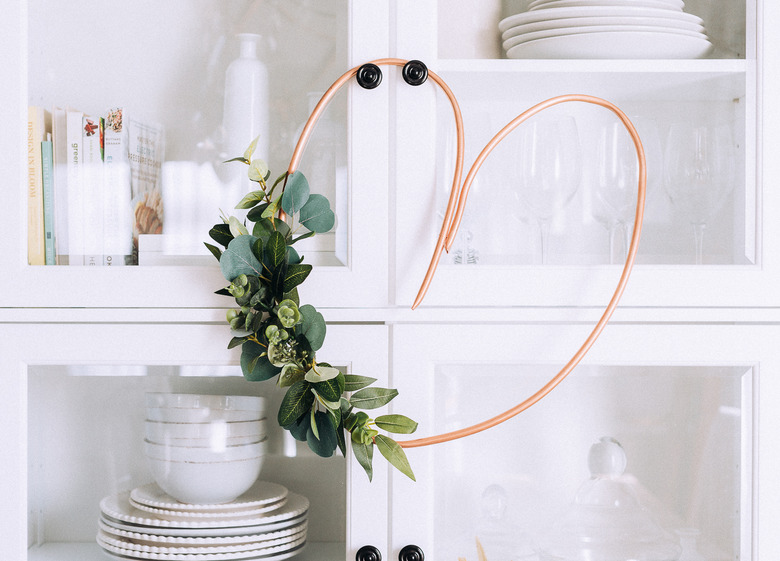
This adorable copper piping heart wreath is simple and sweet decor that's perfect for Valentine's Day — or really, any day of the year. It's easy to make and will add a touch of whimsy to an empty wall, mantel, or your front door.
 Lucy Akins
You can decorate it with minimal amount of greens, flowers, or leave as is.
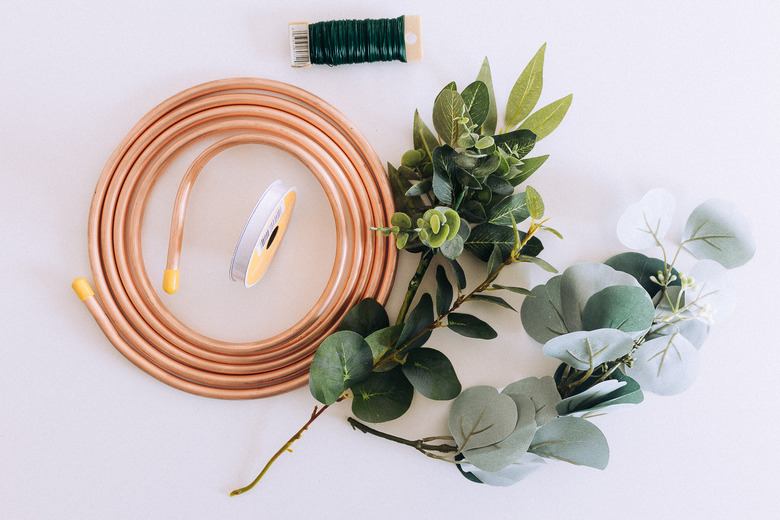
Things Needed
-
3/8-inch soft copper piping
-
Circular vessel or container
-
Floral wire
-
Hot glue gun
-
Faux greenery, flowers (optional)
-
Ribbon (optional)
-
Pipe cutters (optional)
-
Pliers
 Lucy Akins
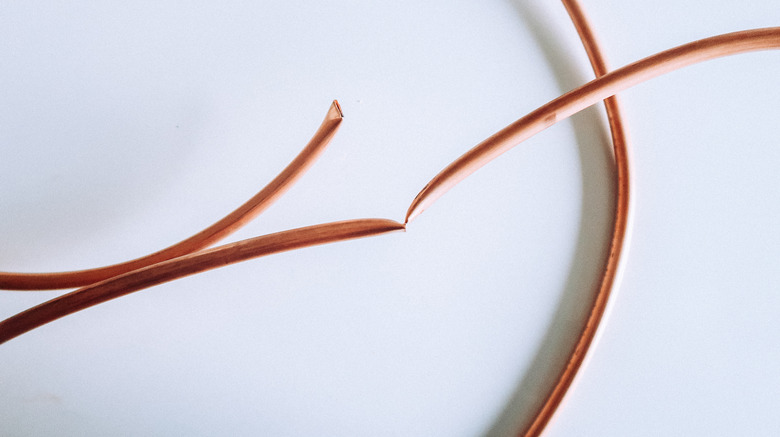
Step 1
Decide how big you want the heart to be and either use pipe cutters to cut, or simply bend the piping back and forth to "cut" it. The piping is very soft and will break easily.
 Lucy Akins
Step 2
Wrap the left side of the piping around a circular vessel or container in order to form a smooth curvature. Copper piping bends easily and does not require much pressure.
 Lucy Akins
Step 3
Repeat step two on the other side to form the two loops of the heart shape. Gently bend the bottom of the heart to give it a slight point.
 Lucy Akins
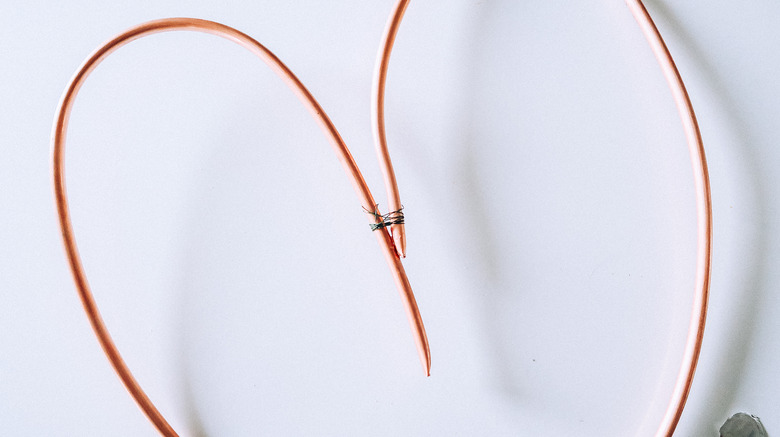
Step 4
If you used a pipe cutter, use pliers to pinch the edge of the piping and make it flat. You can skip this part of the step if you did not use a pipe cutter since the area will already be flat.
Apply industrial glue to the end of the piping and attach to the other side.
 lucy akins
Step 5
Use floral wire or clamps to hold it together while the glue dries (approximately 12 to 24 hours).
 Lucy Akins
Step 6
Use hot glue to attach the greenery or flowers. As you can see in the images, we covered a small part of the wreath for visual interest, and not the entire design.
Tip: Use floral wire to make it extra secure.
 Lucy Akins
Step 7
Continue to glue on the greens as desired.
 Lucy Akins
 Lucy Akins
Step 8
Use ribbon or small pins to hang.
Lucy Akins
 Lucy Akins
This wreath can easily be updated throughout each season and displayed all year round.