This Scandi-Style Hanging Lamp Costs Less Than 20 Dollars To DIY
We may receive a commission on purchases made from links.
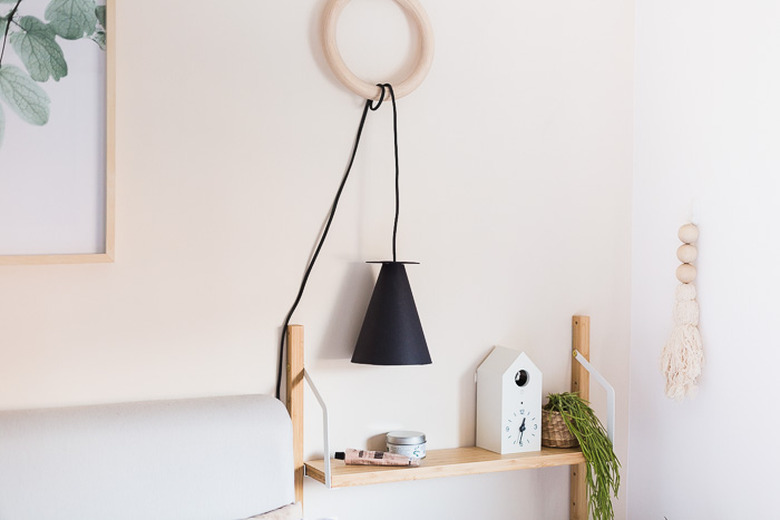
If you're trying to find more ways to light a room (the recommendation is seven light sources!), then hanging pendant lamps are a great choice. They're easy to install, look great, and can be taken down just as quickly as they're put up if you're a renter. There are also hundreds of ways to customize pendant lamps to your interior style. (Like this rattan beauty made from a plant stand!)
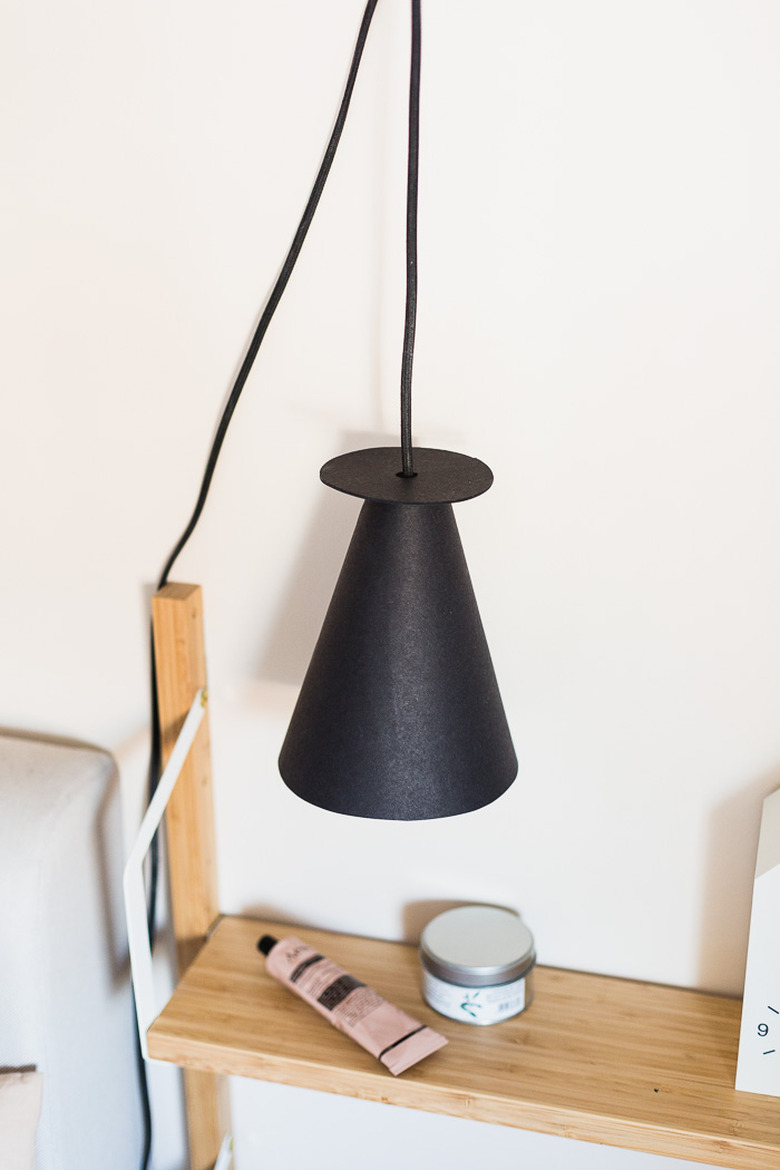
Of course, you can buy shades for your pendant lighting, but did you know you can make them, too? It doesn't have to be complicated. This pendant is made from black cardstock. No special tools required!
 Francesca Stone
Things Needed
-
Strong adhesive or hot glue gun and adhesive
-
Craft knife
-
Glue stick
 Francesca Stone
Make the Cone
Step 1
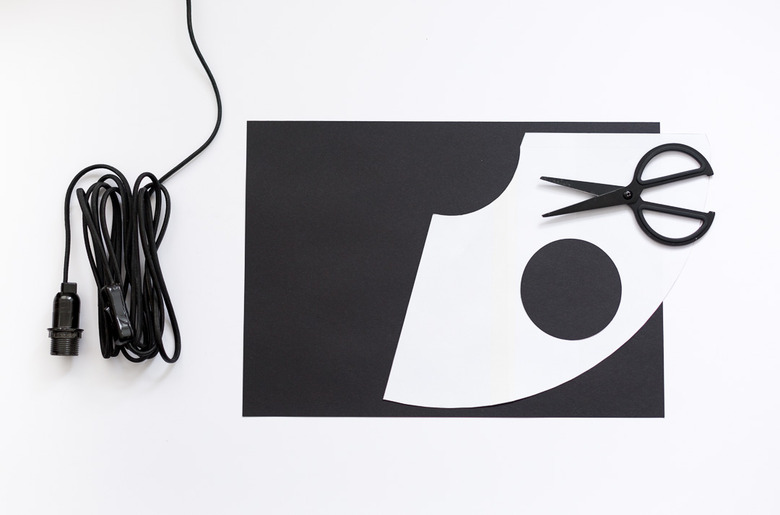
Use the template provided the make the cone. The size will fit an A3 piece of paper. If your printer is A4 (letter) size, then print the two halves and tape them together. You can set this in the "print" options box when you are ready to start printing. Just move the image to the left and right to get each half. Don't worry about getting them exactly half way. Print out as much of each section as you can, as this will help when it comes to taping the pieces together.
Step 2
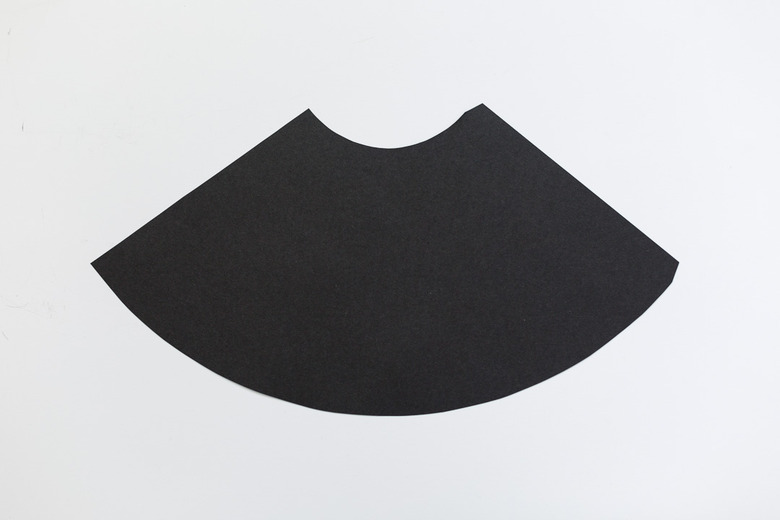
Once you have your template cut and ready, trace it onto the black paper. Cut this out with scissors or a craft knife. Cover one side of the card with heat resistant tape. This will be the inside of the cone and will protect the card from the heat of the bulb. (Not pictured — but very important to do!)
 Francesca Stone
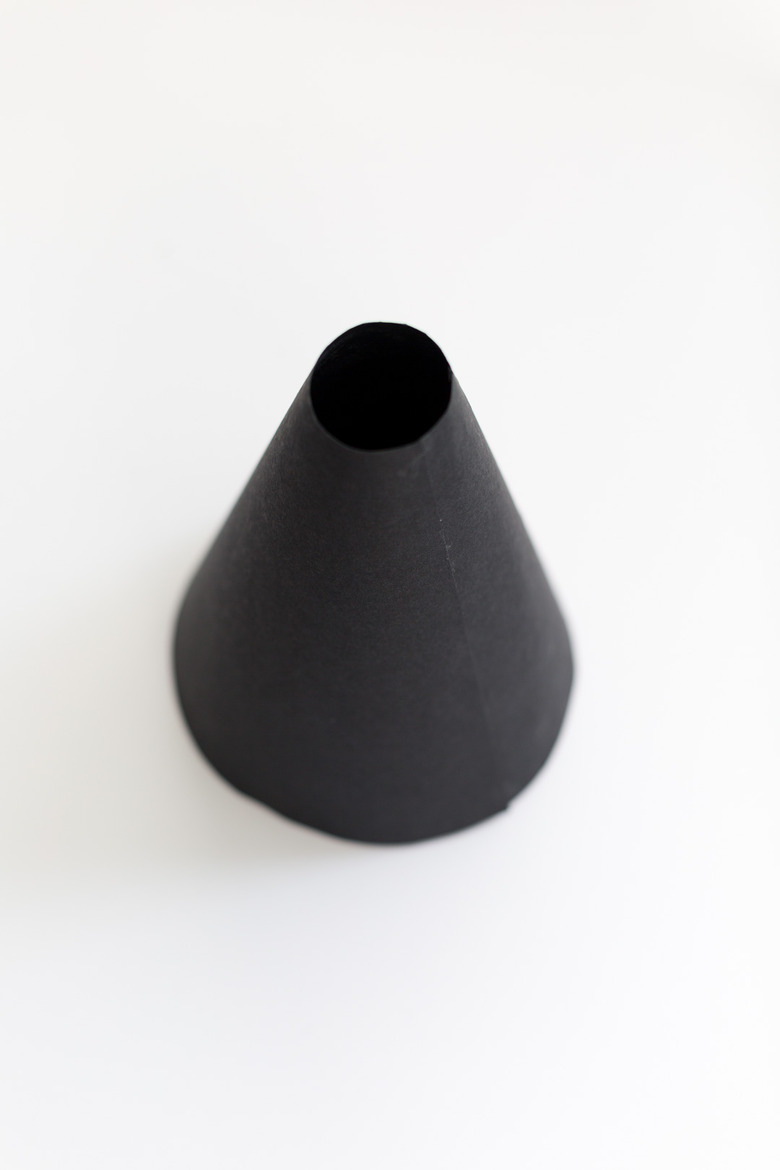
Step 3
Bend the black paper cutout into a cone shape with the heat resistant tape side facing inward. Use the glue stick along the tab section at one end. Place the opposite straight edge over and hold in place until the adhesive has set.
 Francesca Stone
Make the Top of the Cone
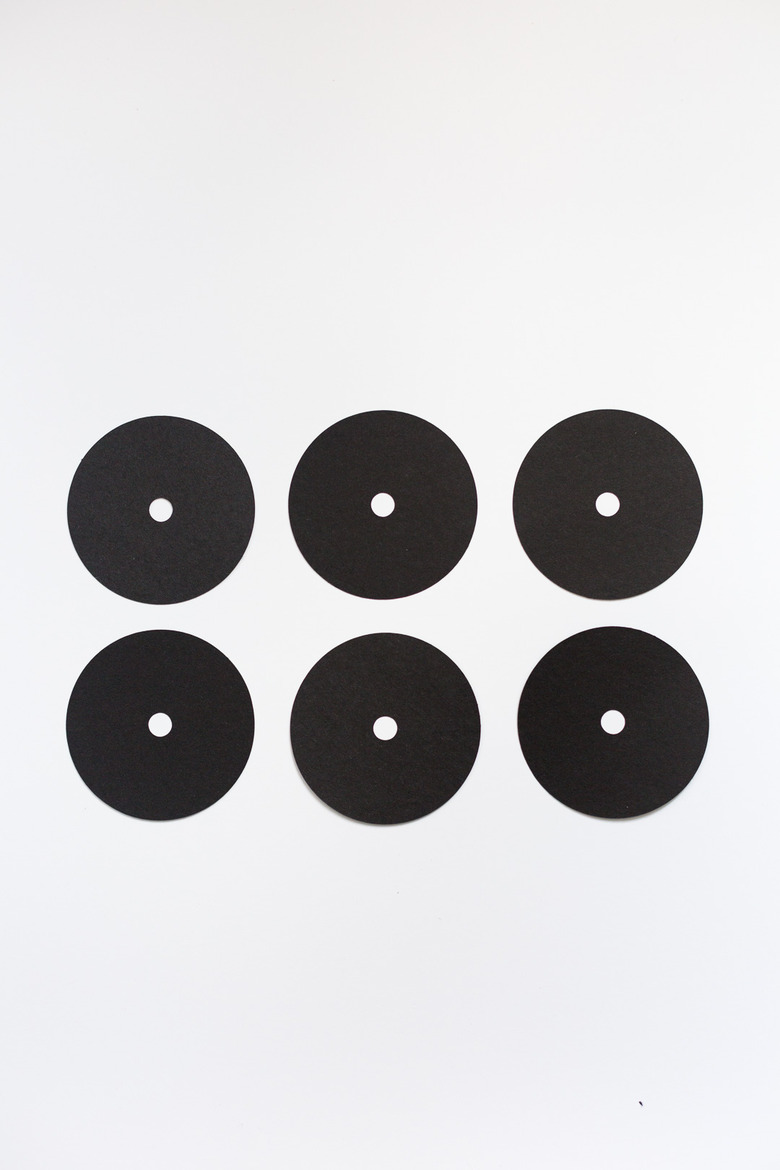
Step 1
Cut out six circles from the cardstock that are 8 centimeters in diameter. You might want to create a template to make sure these are even. Cut a 1-centimeter hole in the middle of each circle. You can do this with a craft knife or a hole puncher if you have one.
 Francesca Stone
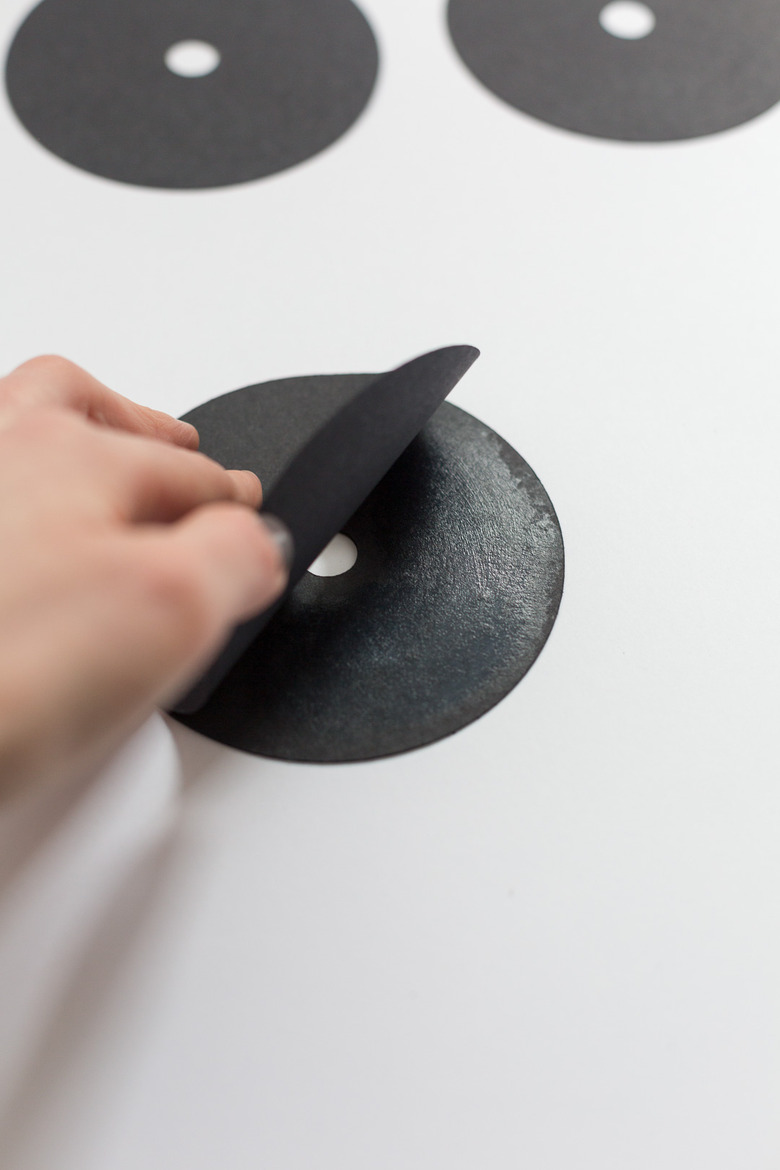
Step 2
Carefully glue each of the circles together on top of one another. Once these are all set, trim any areas that are uneven.
 Francesca Stone
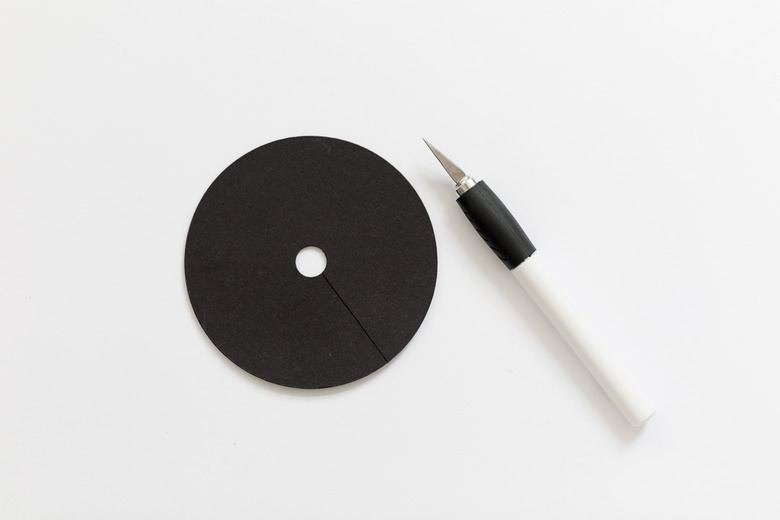
Step 3
Cut a straight line through all the pieces from the center circle to the outer edge.
 Francesca Stone
Put It All Together
Put It All Together
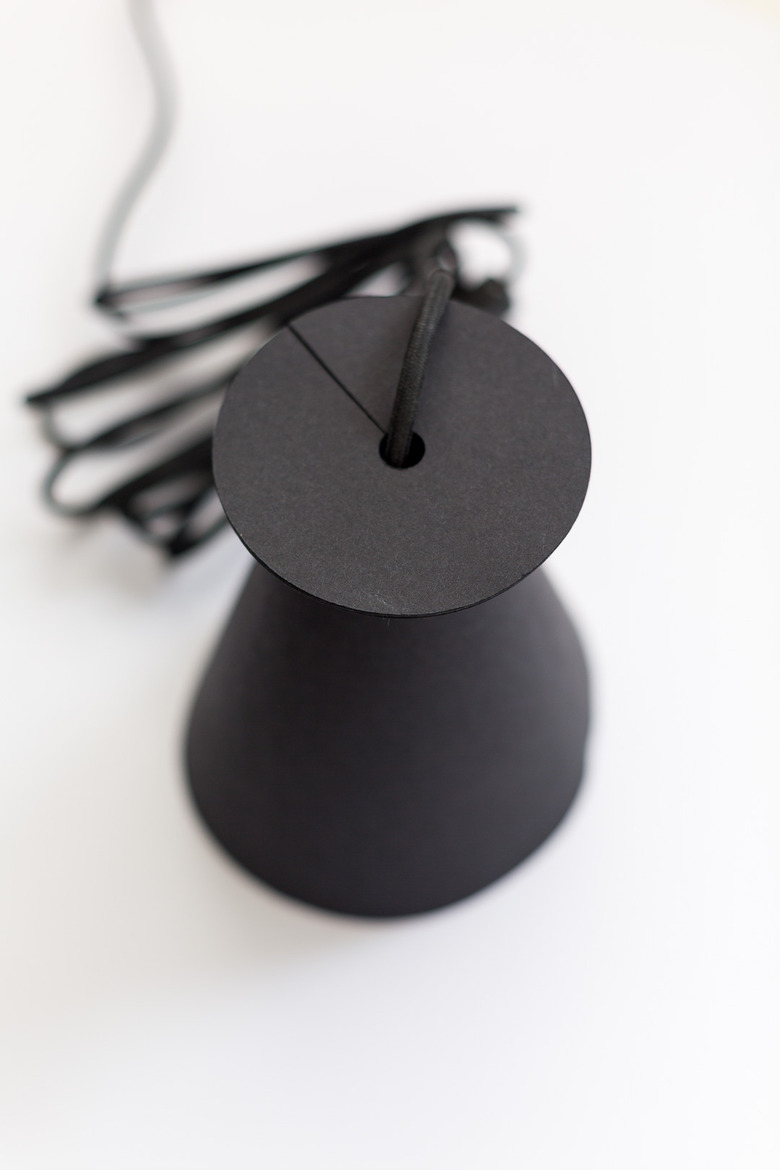
Place the bulb end of the light fitting through the smaller end of the cone. Slide the circle piece onto the wire. Then, using a glue gun (or a very strong adhesive) secure the top of the cone to the circle. Make sure the circle piece is centered on the cone.
 Francesca Stone
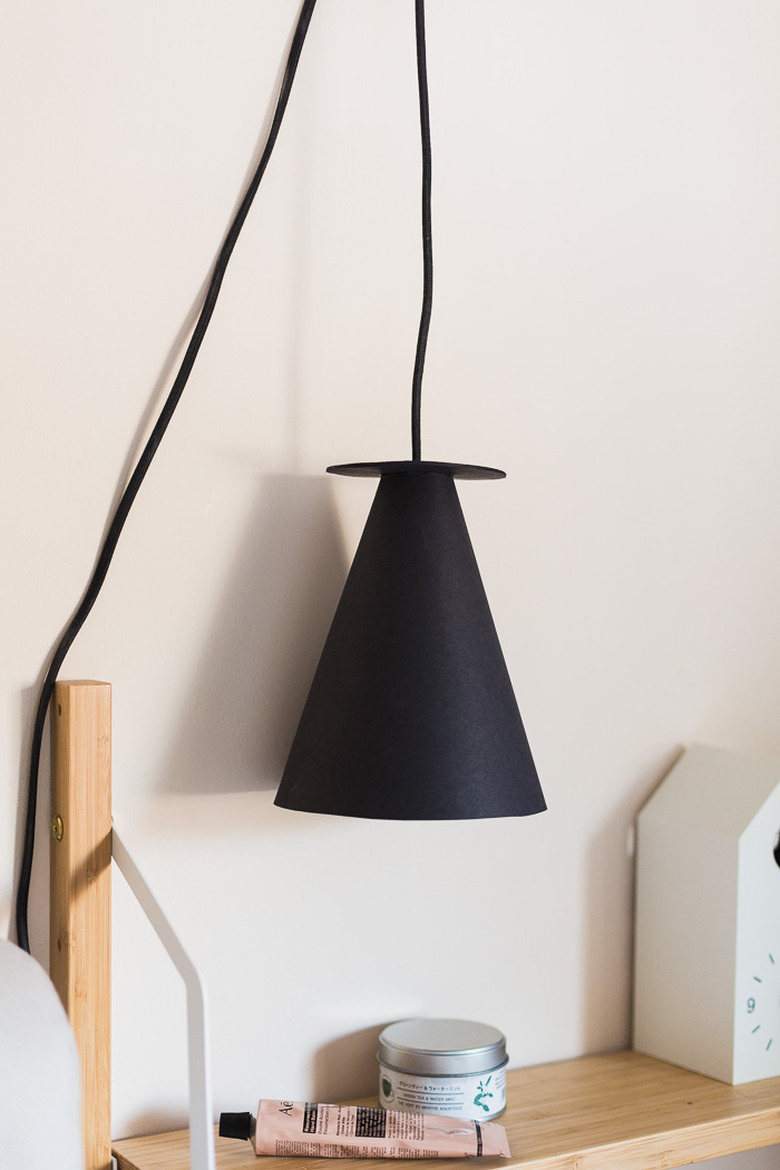
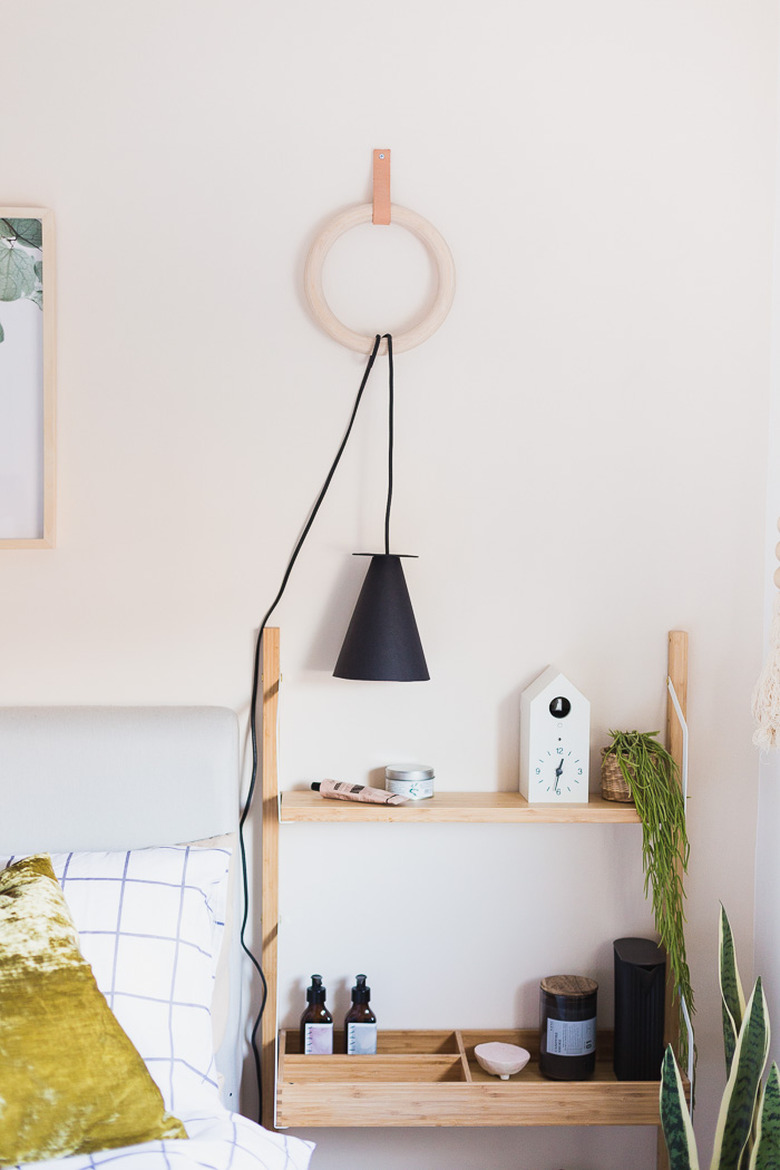
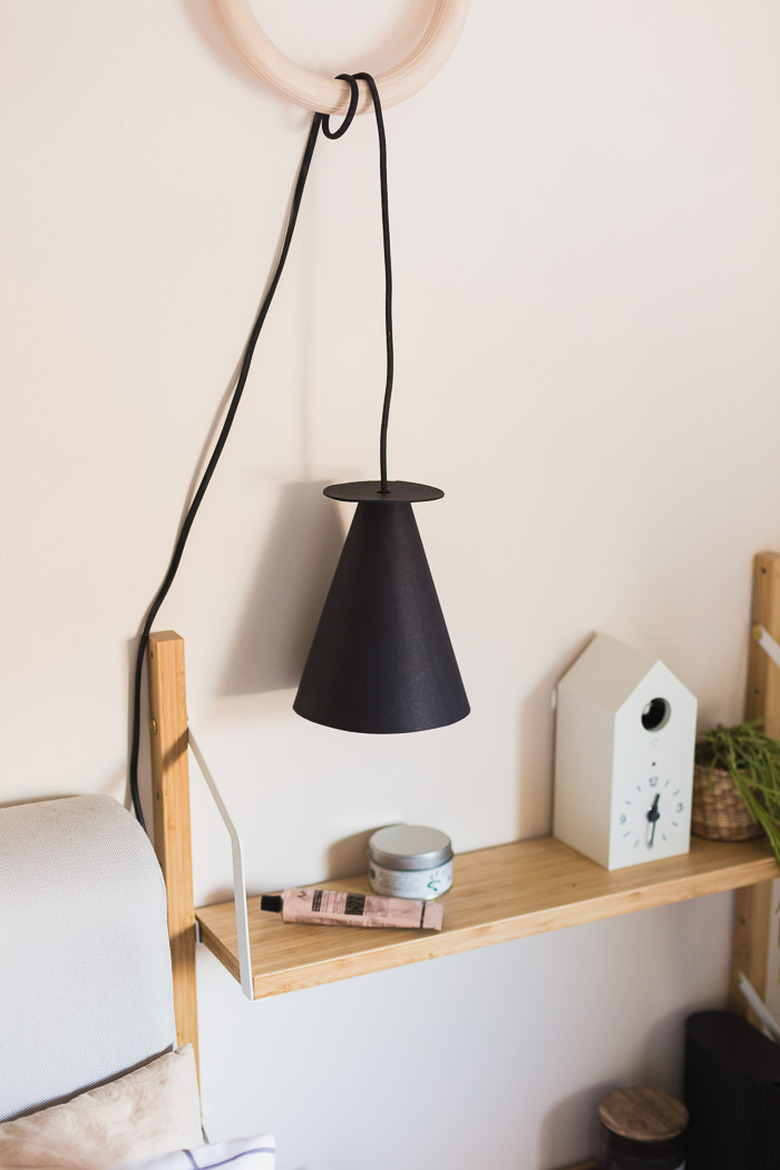
Now the light is ready to hang! I've used a gym ring, but you could also use a hook or shelf bracket. Once it is in place, make sure the bulb is not touching the paper at all and that the cone is hanging straight.
 Francesca Stone
 Francesca Stone
 Francesca Stone
 Francesca Stone