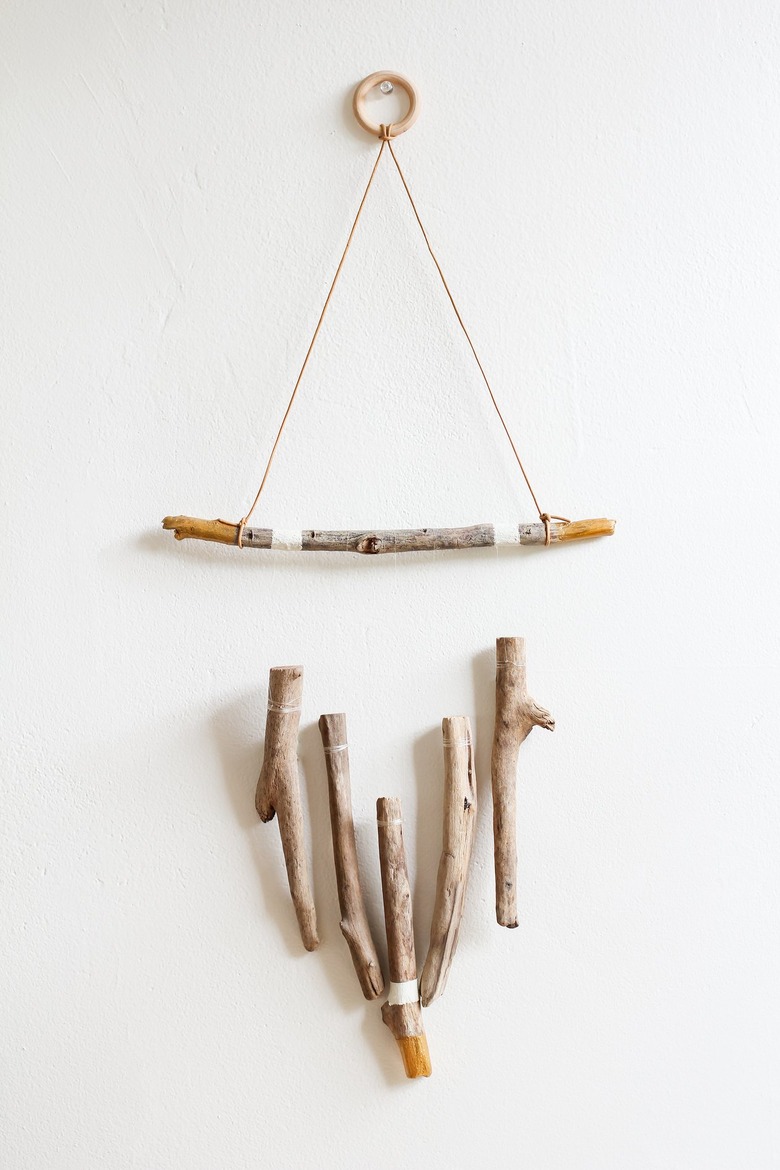
DIY Rustic, Earthy Wall Art Using Driftwood

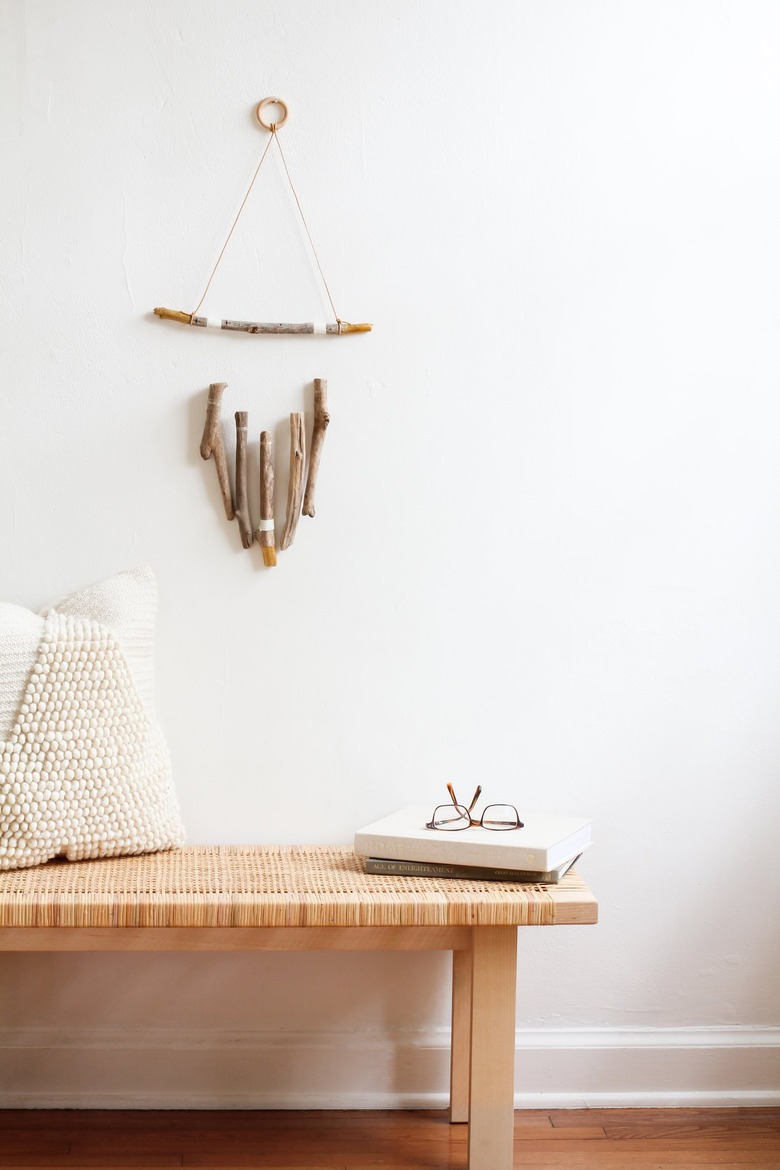
Bring the tones and texture of nature into your space with a beautiful wall hanging made from driftwood. You can easily make one yourself using weathered pieces collected from the beach or branches foraged from your own yard (although store-bought driftwood works just as well). Striking just the right balance between rustic and refined, this DIY wall hanging adds a lovely earthiness to your space, while its gilded touches and minimalist lines will make a unique statement wherever you hang it.
Things Needed
-
5 small branches + 1 large branch (either foraged or store-bought)
-
Plastic bucket + wire brush for cleaning
-
Sandpaper (optional)
-
Pliers
-
Painter's tape
-
Small paintbrush
-
Fishing line or white thread
-
Scissors
Tip: I foraged the larger branch from my yard, and then purchased the smaller branches online. For reference, the larger branch I used was 12 1/2 inches long (I cut it to this length with pliers), and the shorter branches were between 7 1/2 and 8 inches long.
 Trisha Sprouse for Hunker
Step 1
You can use actual driftwood (foraged or store-bought), or regular tree branches from your yard. If you forage for branches outside, you'll first want to clean them before bringing them indoors. This will ensure you don't bring any unwanted pests into your home.
To clean, fill a plastic bucket with hot water and submerge the branches. If your branches have a lot of rough bark on them, let them soak for a few hours to soften. Otherwise, you can scrub them immediately with a wire brush to remove as much dirt and loose bark as possible. Lay the branches out flat to dry completely.
Pro tip: Once dry, you can lightly sand them with sandpaper for a smoother finish, and to achieve more of a softer driftwood look.
 Trisha Sprouse for Hunker
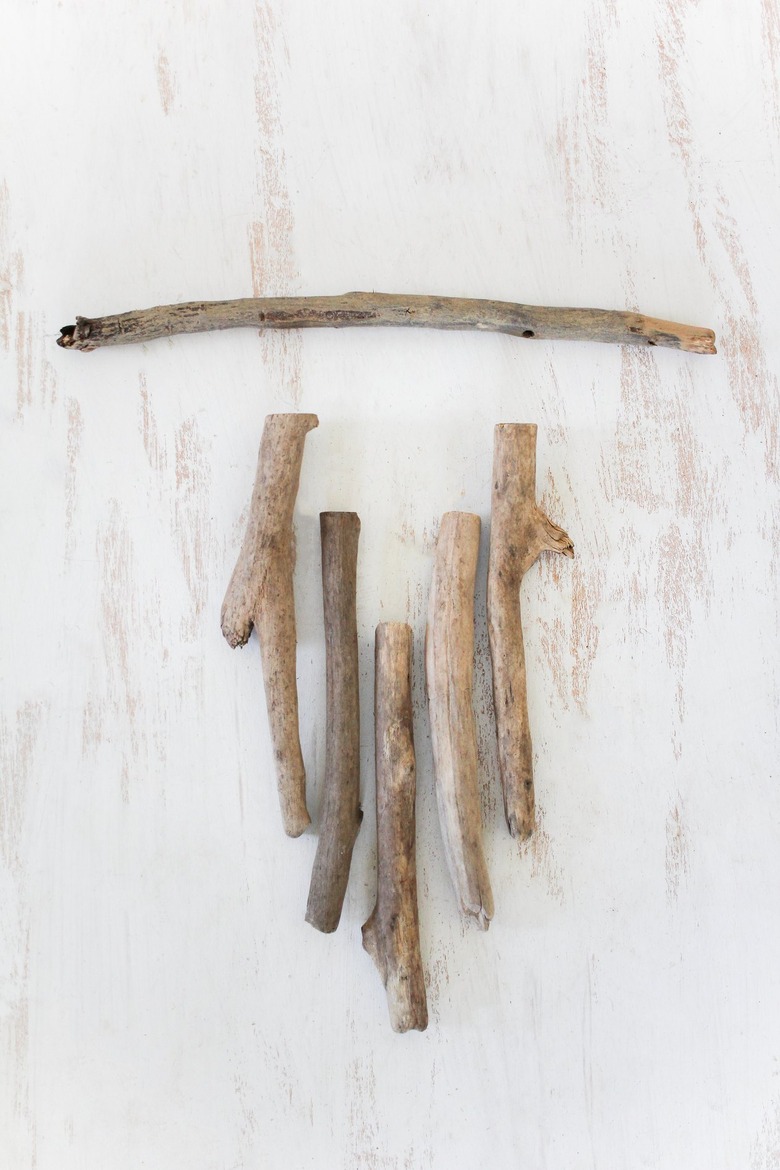
Step 2
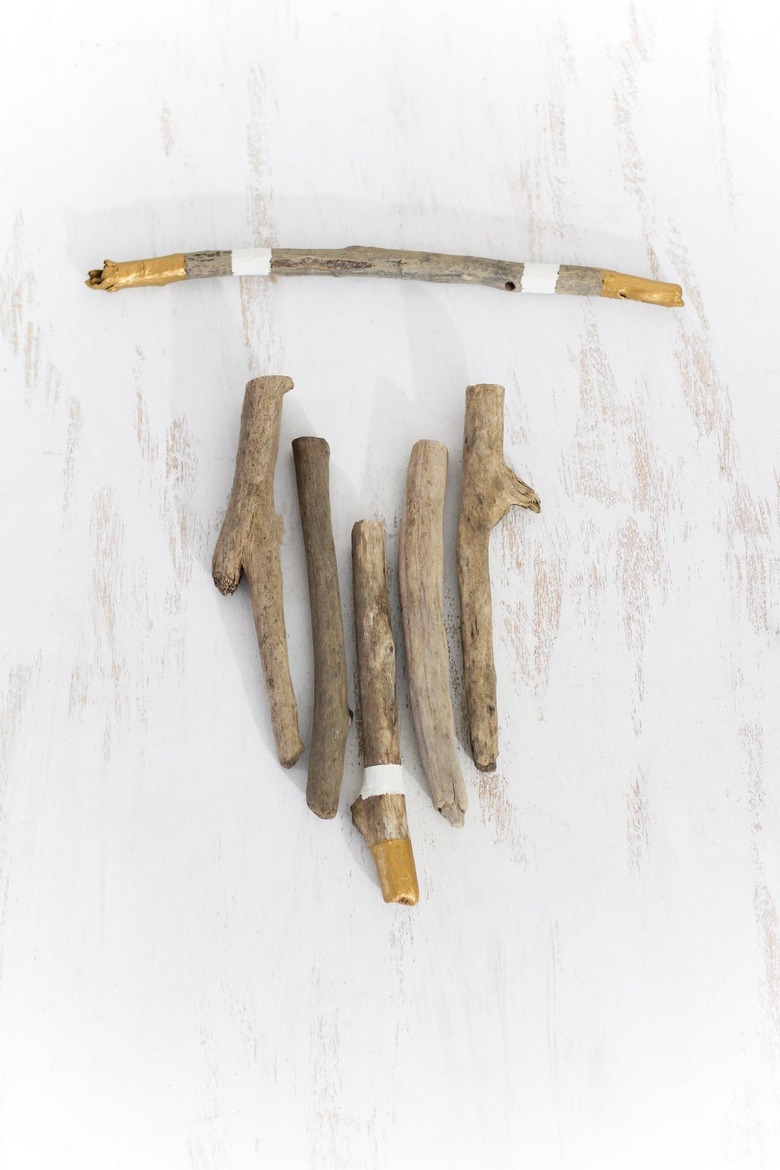
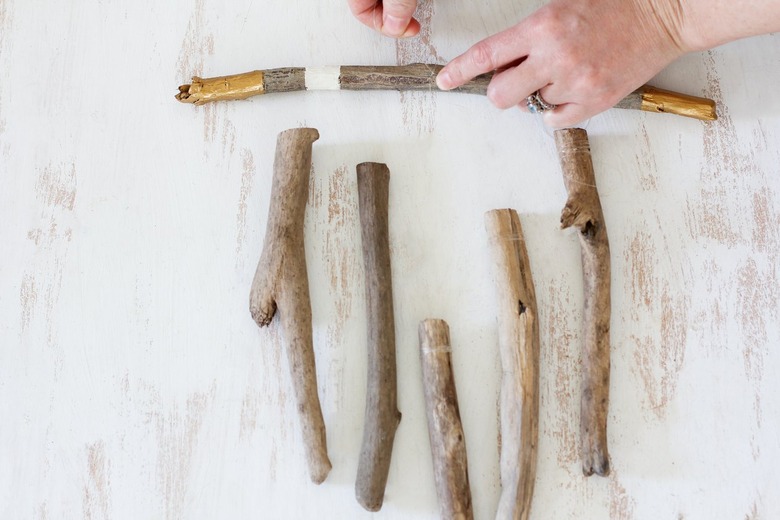
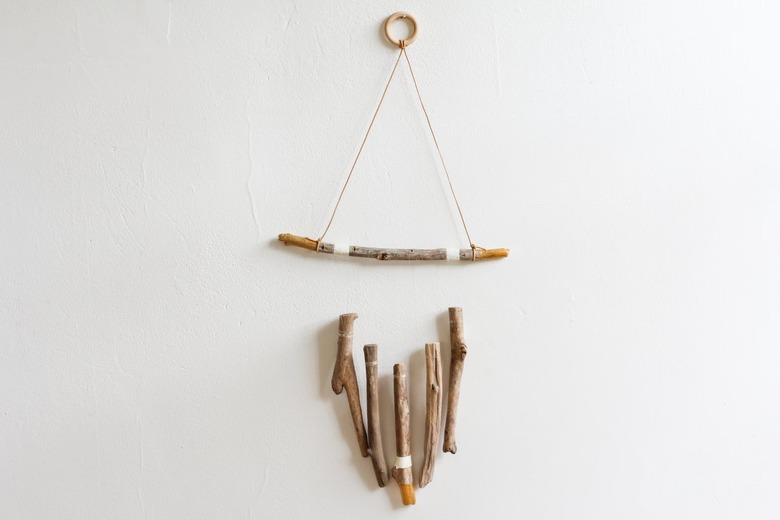
Lay the larger branch horizontally, and then place the five shorter branches vertically below it. Arrange the shorter branches so they roughly form a V-shape (the bottom of the middle branch should be the lowest point). If needed, use pliers to break off extra length from the branches until they are the right size.
 Trisha Sprouse for Hunker
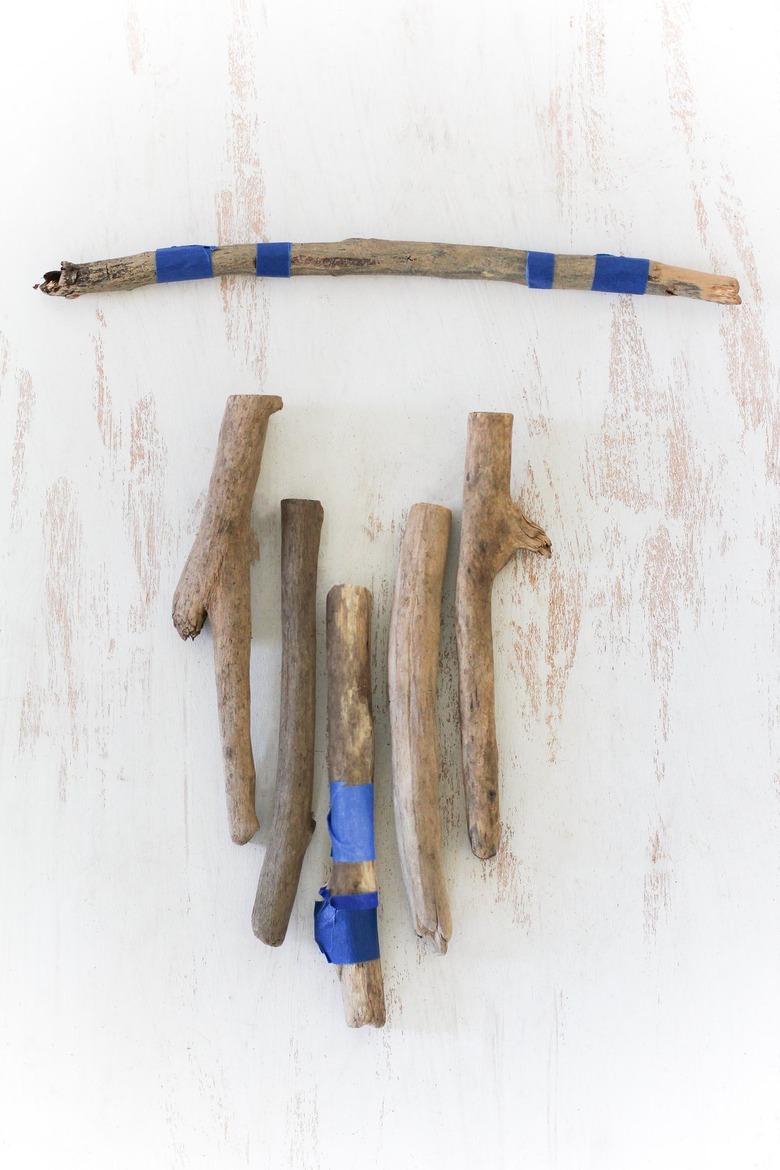
Step 3
On the long horizontal branch, wrap painter's tape 1 1/2 inches in from each end. Then wrap painter's tape one inch in from each of those tape pieces. On the middle vertical branch, wrap a piece of tape 1 1/2 inches up from the bottom, and then wrap tape one inch up from that.
 Trisha Sprouse for Hunker
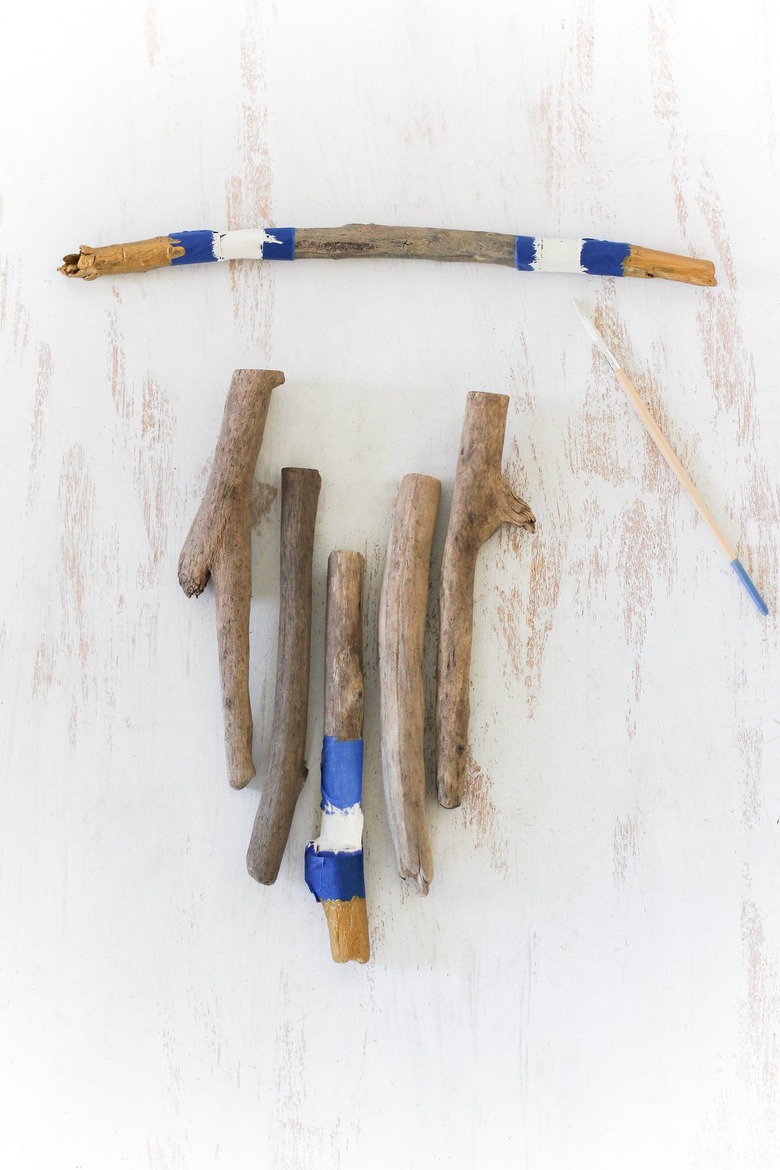
Step 4
Paint each end of the horizontal branch gold up until the first line of tape, and then paint each of the smaller taped sections ivory. Also, paint the tip of the middle vertical branch gold, and the smaller one-inch section ivory.
 Trisha Sprouse for Hunker
Allow the paint to dry completely, and then remove the tape.
 Trisha Sprouse for Hunker
Step 5
Use fishing line or white thread to tie each of the vertical branches to the horizontal branch. Start by tying a double knot around the first vertical branch, leaving a long tail on the knot. Wrap the string around the knot about seven or eight times, and then use the long tail to tie a double knot again.
 Trisha Sprouse for Hunker
Run a taut line up to the horizontal branch. While holding the line taut with one finger, wrap the string around the horizontal branch and then tie a tight double knot. Cut off the excess string, and continue the same method on the remaining vertical branches. Adjust the spacing of the branches as needed to re-form a more prominent V-shape.
 Trisha Sprouse for Hunker
Step 6
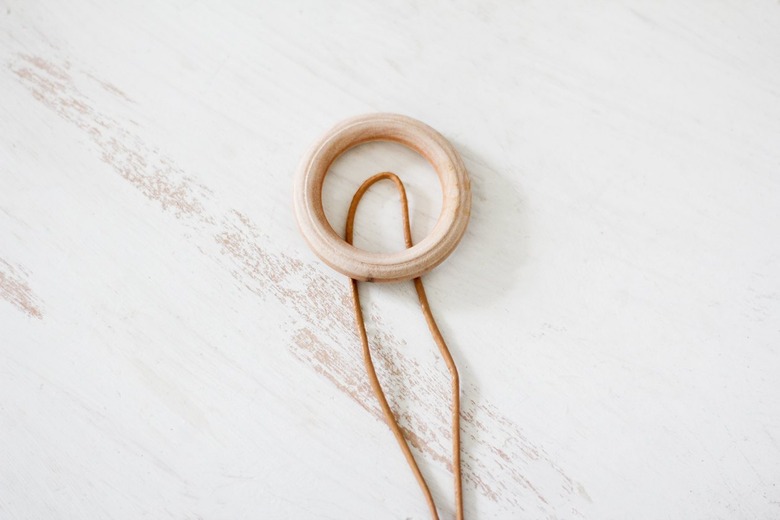
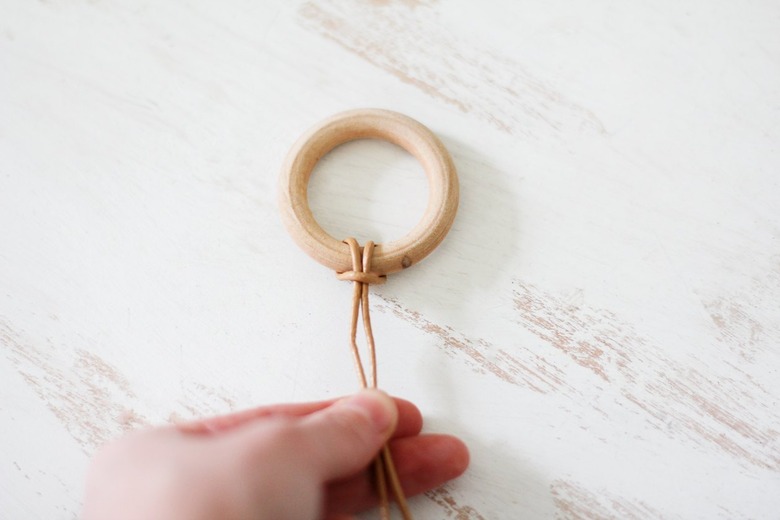
Fold a long piece of leather cord in half so that the middle of the cord forms a loop. Place a wood ring on top of the leather loop.
 Trisha Sprouse for Hunker
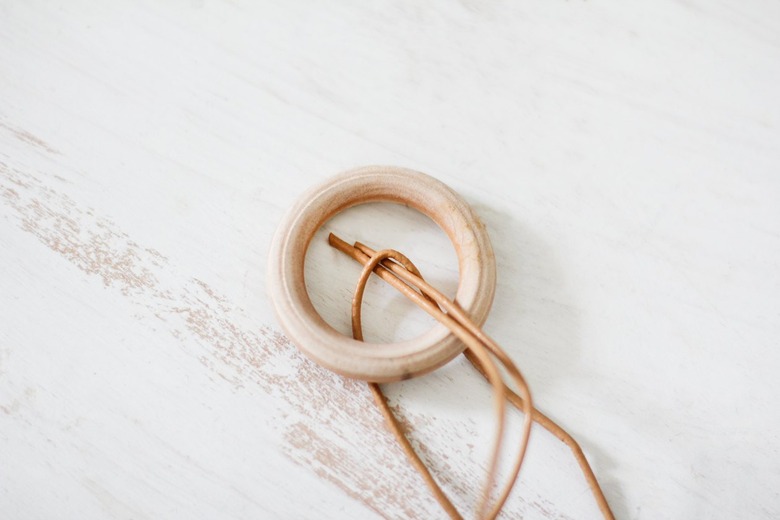
Pull the tails of the leather cord over the wood ring and through the loop.
 Trisha Sprouse for Hunker
Pull the tails of the leather cord tight to form a lark's head knot on the wood ring.
 Trisha Sprouse for Hunker
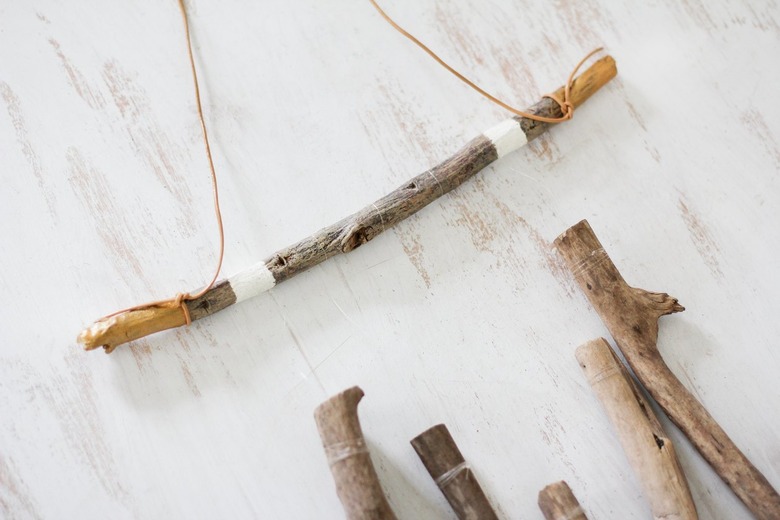
Step 7
Tie each of the leather cord tails onto each end of the horizontal branch. Trim off any excess.
 Trisha Sprouse for Hunker
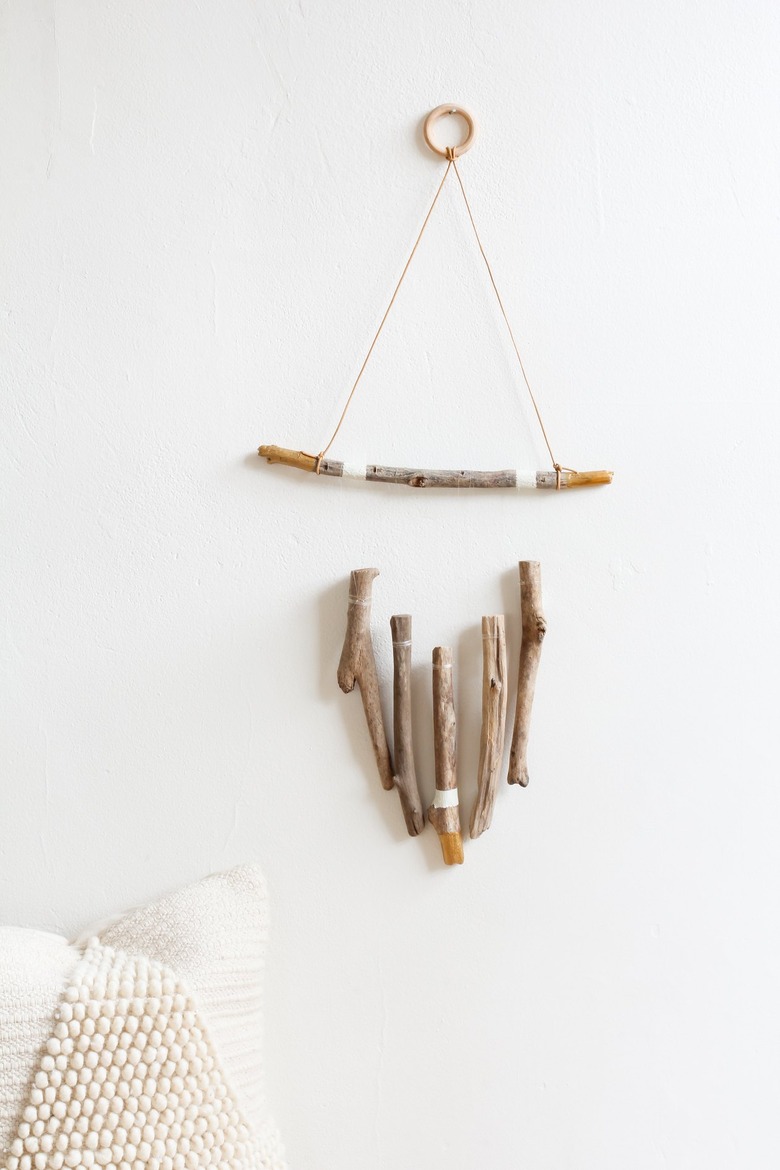
Hang the wood ring on the wall with a tack or nail, and enjoy the serene beauty and earthy texture of nature in your own home.
 Trisha Sprouse for Hunker
 Trisha Sprouse for Hunker
 Trisha Sprouse for Hunker