How To Find A Stud Without A Stud Finder
If you don't have a handy stud finder tool to locate wall studs, you'll just have to do it the old-fashioned way., using one of several time-tested methods. Once you get close to one, there's a simple and reliable way to find and mark both side edges of the stud so you can drill or anchor into its center. After you've positively located one stud, you can simply measure over to the next one, but it's best to find and mark the side edges every time, because stud spacing often is inconsistent.
 photovs/iStock/GettyImages
The Tapping Method
The Tapping Method
This is an old technique that builders still use today. All it takes is a hammer (or even your knuckle) and some concentration. In fact, the hammer is the original stud finder. If you tap lightly on a wall with a hammer (or rap it with your knuckle), moving across the wall in small increments, you'll notice that the tone of the tapping changes. When you're between studs, the tapping has a hollow sound with slight reverberation. As you approach a stud, the sound begins to tighten or shorten, with less reverberation, and the pitch goes up slightly. The most pronounced change occurs when you're right on top of the stud. As you keep moving, the sound gradually becomes hollow again, telling you that you've just crossed a stud.
Do this a few times and you'll get the feel (and sound) of the technique. When you think you've found a stud, go back and forth over the same area to home in on the stud, then make a mark where you think the stud's center is. Check your work by locating the stud's edges (below).
The Outlet Method
The Outlet Method
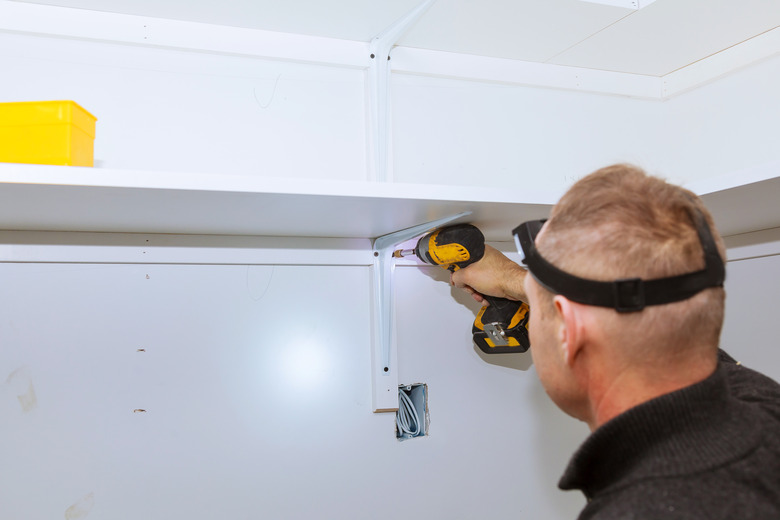
Electrical outlets (receptacles) are installed in rectangular or square electrical boxes that are typically mounted to the sides of wall studs. This means that, for the most part, if you find an outlet, you've found a stud. However, you don't know which side of the stud the outlet is on. To find out, remove the outlet's cover plate, then shine a flashlight between the electrical box and the drywall (hopefully there's a gap). If you can see a sliver of wood color back there, you're in business.
If there's no gap or you can't see a stud on either side, take a thin nail or a straightened paper clip and poke between the box and the drywall. Be careful not to touch anything inside the box or poke too deeply and potentially touch some wiring. Interior drywall is only 1/2 inch thick, so you don't have to go deep. Alternatively, tap a small finish nail about 3/4 inch to either side of the box; if the nail meets resistance after it has penetrated about 1/2 inch, you've hit the stud.
The Baseboard Method
The Baseboard Method
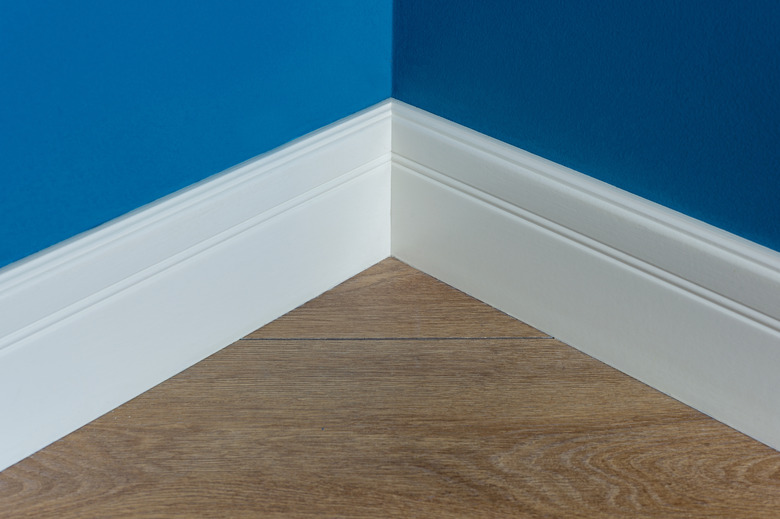
Baseboard moldings typically are nailed in two places. A lower set of nails goes into the wood bottom plate running horizontally along the floor. A higher set of nails goes into the wall studs, with one nail at every stud or every other stud. Therefore, if you look for nails closer to the top edge of the baseboard, you'll detect a pattern showing the stud locations. If the baseboard is painted, most of the nails will be covered by putty and paint, but a close inspection should reveal slight depressions or humps or even smooth spots where the putty is slightly different from the surrounding wood surface. Or, sometimes the nails have backed out a little, revealing the heads.
 Valeriy_G/iStock/GettyImages
Locating the Stud’s Edges
Locating the Stud's Edges
Studs measure about 1 1/2 inches thick; this is the side-to-side dimension of the edge that contacts the back of the drywall—the edge that you will anchor into. For full strength, it's important that you drive your fastener or anchor near the center of the stud. If you're too close to a side edge, the stud's wood may split and only partially hold the fastener. And it's not hard to miss a stud entirely if you haven't marked the side edges.
To find and mark the side edges of a stud, start at your mark (or best estimate) of the stud location, and drive a 1 1/2- or 2-inch finish nail through the drywall and into the stud. Stop hammering once you feel the stud's resistance. Pull out the nail, move it over 1/4 inch, and hammer again. Repeat this process until you reach a location where the nail pops right in without resistance, indicating you're beyond the edge of the stud. Mark the last nail hole that hit the stud, then measure back from that mark 1 1/2 inches and make a second mark. Halfway (3/4 inch) between the two marks is the stud center.
 photovs/iStock/GettyImages
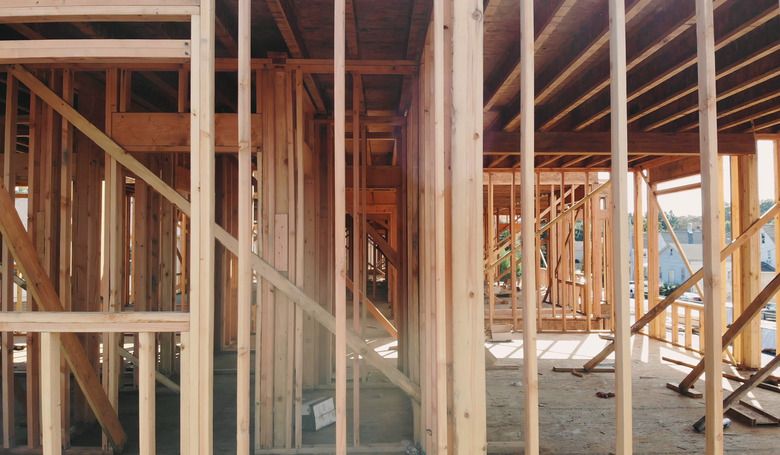
Once you find the center of one stud, you can measure horizontally to find more studs. In most homes, studs are spaced 16 inches apart, measured at their centers. Older homes, and some interior walls in newer homes, have studs with 24-inch spacing, and very old homes may have relatively random spacing. But in most houses today, you can measure over 16 inches from one stud and find the next stud in the row. To confirm each location, use the finish-nail technique to find the stud's center.
Window and Door Studs
Window and Door Studs
If you need to anchor something near a door or window, you can count on two paired-up studs at either side of the door or window opening, although it can be hard to know how far outside the actual opening. As a rough estimate, the inner door-frame stud (closest to the door) starts about 1 to 1 1/4 inches from the inside face of the door jamb. Windows are much harder to estimate, but you can bet the trim around the window frame is nailed into those paired studs; check the nail patterns for clues.
 photovs/iStock/GettyImages
Note that the studs making up a window or door frame often don't fall in line with the spacing layout of the rest of the wall. Therefore, measuring from a door or window stud may not get you to another stud.
If You Have Plaster Walls
If You Have Plaster Walls
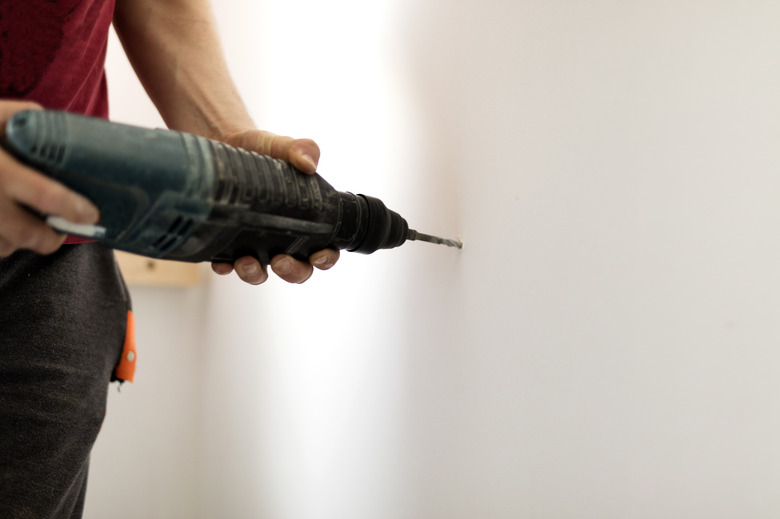
If you live in an older house with plaster walls, you can use the same techniques to find studs—it's just a little more difficult. The tapping technique is nearly impossible with plaster, unless you have a highly trained ear. So it's best to locate studs by examining the outlets or baseboards. Checking for the edges of studs is also complicated by plaster, as the plaster is very hard and can chip when you nail into it. In addition, the plaster is backed by thin wood strips called lath, which provide resistant like a stud would. Don't be fooled by the lath and assume you've hit solid lumber. Often it's best to drill small holes into the wall surface instead of driving nails. The back of the lath is about 1 inch from the surface; after that depth, you'll feel like you're drilling into hollow space if you're not hitting a stud.
 gece33/iStock/GettyImages