How To Cut Cast-Iron Pipe
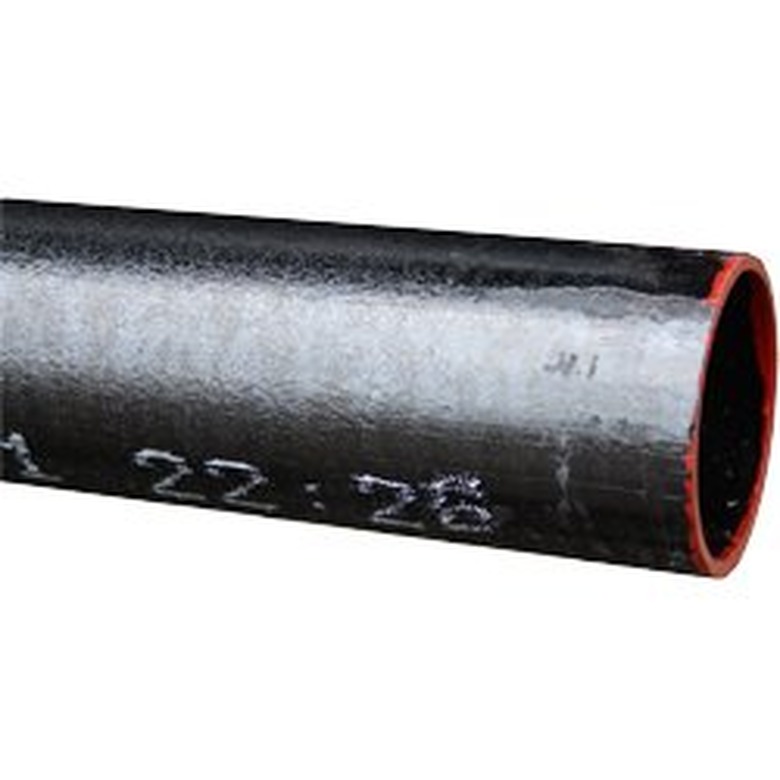
Cast-iron pipe is found in many older homes, where it was used primarily for large drain pipes, such as 3-inch main drains, sewer pipes and vents. Today, cast iron is pretty much a dinosaur (at least in residential construction) that gets replaced with plastic whenever it fails or needs work. Cast-iron pipe is extremely heavy, and it's prone to rusting through (after all, it's just iron), especially on horizontal drains that may hold standing water. The good news is that once you cut out a section of cast-iron pipe and lug it out of the house, you can easily splice in a matching section of lightweight, very low-cost ABS or PVC plastic pipe and leave the rest of the cast iron in place.
 Charlotte/Amazon
Options for Cutting Cast-Iron Pipe
Options for Cutting Cast-Iron Pipe
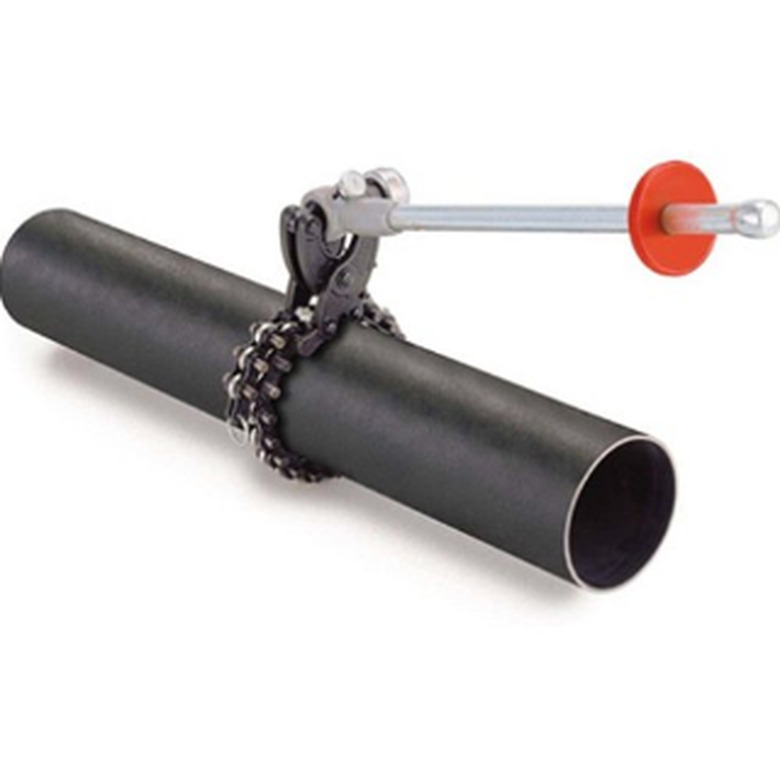
There are several tools you can use on cast iron. The plumber's choice is a snap cutter, especially when there are many cuts to make. A snap cutter is a ratcheting-chain cutting tool that you can rent from tool rental centers. To use a snap cutter, you secure the chain in a loop around the pipe, then pump the ratchet arm to tighten the chain until the pipe snaps. The chain has cutting discs that bite into the pipe with even pressure around the circumference of the pipe. However, sometimes a snap cutter can bend or crush a pipe instead of cutting it. Snap cutters are heavy and a bit cumbersome, but they're usually the best option for making lots of cuts, such as when you're removing a long run of cast iron and need to haul it out in manageable sections.
 Taylor Rental
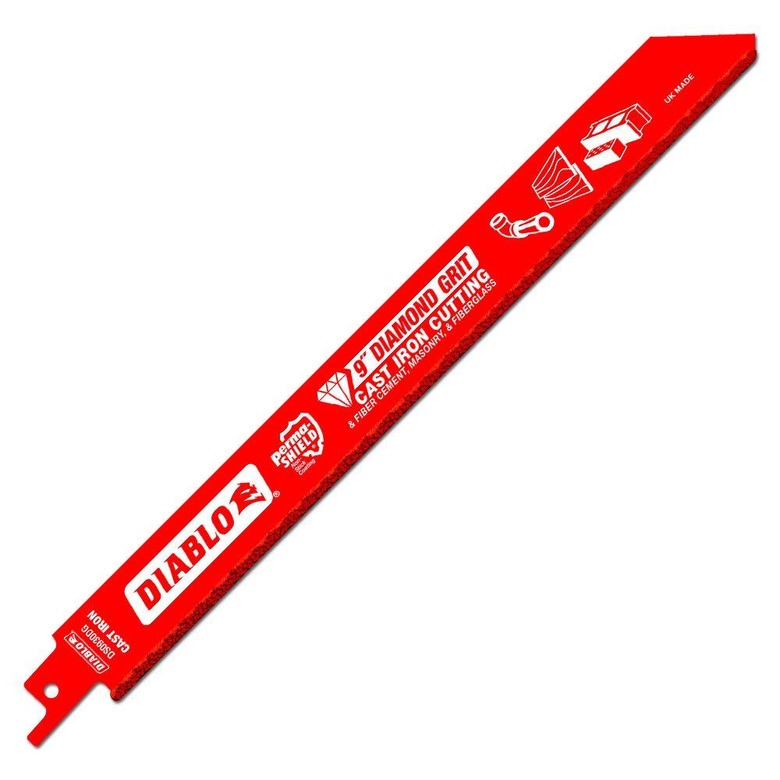
For DIYers who need to make just a couple of cuts for a splice, a reciprocating saw or a grinder is a better option than a snap cutter. Both tools will cut cast iron with relative ease, if not as quickly as a snap cutter, and they work in tight spaces. The key to either tool is the right blade or cutting wheel. For a recip saw, it's best to use a diamond blade, which is often labeled as "cast iron cutting." These can cost $15 to $20 each, but a single blade can make multiple cuts, whereas a standard metal-cutting blade often won't make it through one cut.
For a grinder, a 4-inch diamond wheel designed for metal is the best cutter. The important thing here is to wear eye and ear protection and to be prepared for sparks. It's safest to wear a full face shield because grinder wheels can break during a cut, especially standard cutoff wheels, which also work for cast iron, though not as well as diamond wheels.
 Diablo/Home Depot
You can also cut cast iron with a standard hacksaw, but this is slow, agonizing work. On the other hand, if you own a hacksaw and not any of the other tools, it's the cheapest route and it'll get the job done—eventually. Use a carbide blade designed for metal, and plan to go through more than one blade.
Splicing Cast-Iron Pipe
Splicing Cast-Iron Pipe
The main reason to cut out a section of cast iron and splice in a plastic pipe is to replace a section of rusted pipe or to tap into an old drain pipe with a new connection. Traditionally, Joints in cast-iron pipe are made with hubbed fittings, in which the straight end of one pipe fits into the flared end, or "hub," of a mating pipe. The joint is filled packing material called oakum and then sealed with lead. Taking apart one of these old joints is next to impossible, so it's always better to cut out the pipe even if there are conveniently placed joints.
 PlumbingSupply.com
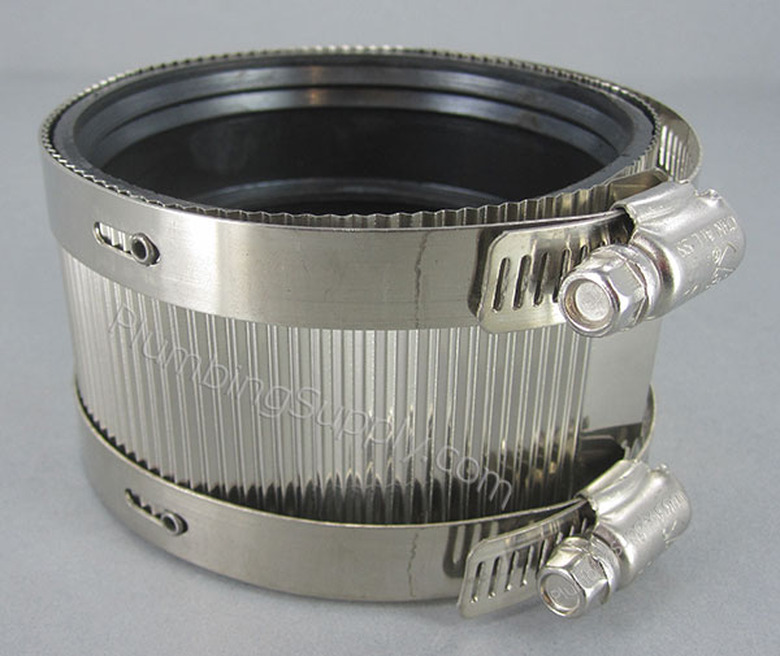
Splicing in a section of new pipe requires two banded, or "no-hub," couplings. These have a rubber sleeve that fits over the cast-iron and plastic pipe and is secured with a metal band tightened with two band clamps. Once you fit half of the sleeve over the end of the cast-iron pipe, you roll the other half back on itself to make room for the spliced section. Then, you fit in the plastic pipe, roll the sleeve down over the end and secure the joint with the band and clamps. No glue, solder or lead are required.
Things Needed
-
Chalk or crayon
-
Printer paper (as needed)
-
Pipe hangers or riser clamps (as needed)
-
Drill-driver or wrench (as needed)
-
Safety glasses (or shield) and ear protection
-
Reciprocating saw, grinder or snap cutter
How to Cut Cast-Iron Pipe
1. Mark the Pipe
Draw horizontal cutting lines onto the pipe where you want to make the cuts, using a light-colored piece of chalk or a crayon. To mark a straight cutting line all the way around the pipe (recommended for saw or grinder cuts), wrap a sheet of printer or notebook paper around the pipe (you may need two pieces taped together), and align the overlapping edges, then trace along the edge of the paper.
2. Install Pipe Supports (as Needed)
Exposed horizontal runs of cast-iron pipe should be supported with a pipe hanger at least every 5 feet. Vertical runs of pipe need a riser clamp at every floor level. If the cuts you make will leave a long section of pipe unsupported, install pipe hangers or riser clamps on both sides of the section you will cut out.
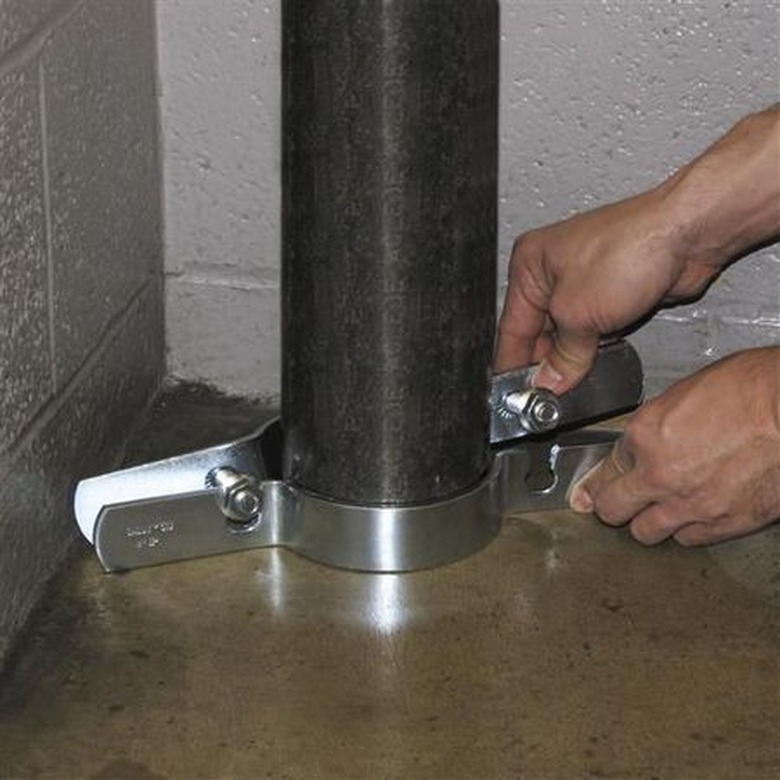
Pipe hangers are metal straps (some include hanging rods) that anchor to wood framing with screws. Riser clamps are two-piece, shackle-like devices that clamp around the pipe with bolts and bear onto the floor structure or wood blocks anchored onto wall studs inside stud cavities.
 NVent Caddy/Zoro
Warning
Do not cut an unsupported section of cast-iron pipe. A 3-inch pipe weighs about 9 pounds per linear foot. An unsupported pipe that is severed can suddenly fall or slip down through the floor, potentially causing significant damage and creating a serious safety hazard.
3. Cut the Pipe
Don safety glasses (or a face shield) and hearing protection, and cut the pipe at the marked lines:
Snap Cutter:
- Wrap the cutting chain around the pipe and latch the chain to the ratcheting head.
- Position the cutting wheels of the chain on the marked line, then snug up the chain around the pipe with the tension adjustment.
- Pump the ratchet arm, tightening the chain with each cranking motion, until the pipe snaps (it will make a loud popping sound).
Reciprocating Saw:
- Align the saw blade with the marked line, and begin cutting the pipe, maintaining a moderately slow saw speed to prevent overheating.
- Add a small amount of water to the blade, as needed, to help keep the blade cool.
- Complete the cut by cutting from one side to the other, if possible. This usually makes a cleaner cut than cutting toward the center from multiple directions.
Grinder:
- Protect the surrounding materials from sparks, if necessary.
- Keep a firm grip on the grinder, and carefully cut along the marked line, moving all the way around the pipe. If you don't have a diamond blade, you might need than one cutoff wheel to complete the cut.