How To Build Cornhole Game Boards
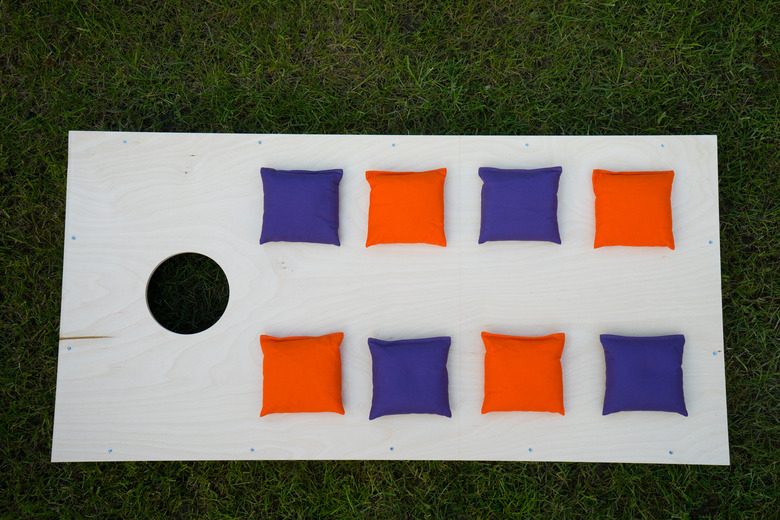
Cornhole, sometimes simply called "beanbag toss," is a game played with two matching boards that measure about 2 x 4 feet laid onto a edge frame and suspended on legs that lift the boards above the ground. You can build the boards with regular plywood and lumber, and the assembly takes just a few hours (not including painting or finishing), even for beginner woodworkers. And just because you make them yourself doesn't mean they aren't legit. The project described here follows the basic size and height specifications for officially approved boards set by the American Cornhole Association (ACO). The only key difference is that these DIY boards are lighter in weight. ACO official boards must weigh at least 25 pounds each, but that's unnecessarily hefty for most backyard play.
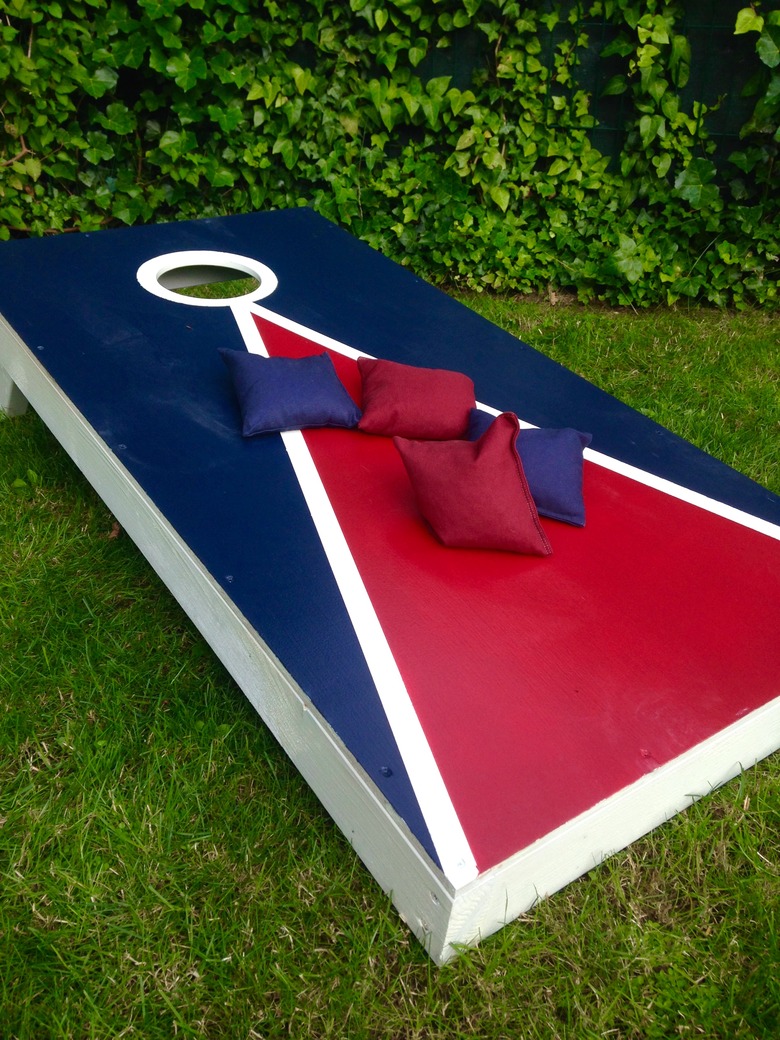 valbunny/iStock/GettyImages
Things Needed
-
Tape measure
-
Pencil
-
Straightedge
-
Jigsaw
-
Circular saw
-
Drill-driver
-
1/4-inch and 3/8-inch drill bits
-
Piloting-countersink bit
-
Screwdriver bit
-
Clamps
-
Pencil compass
-
Cardboard strips (1/16- or 1/8-inch-thick)
-
Hammer
-
150-grit sandpaper
-
Putty knife
-
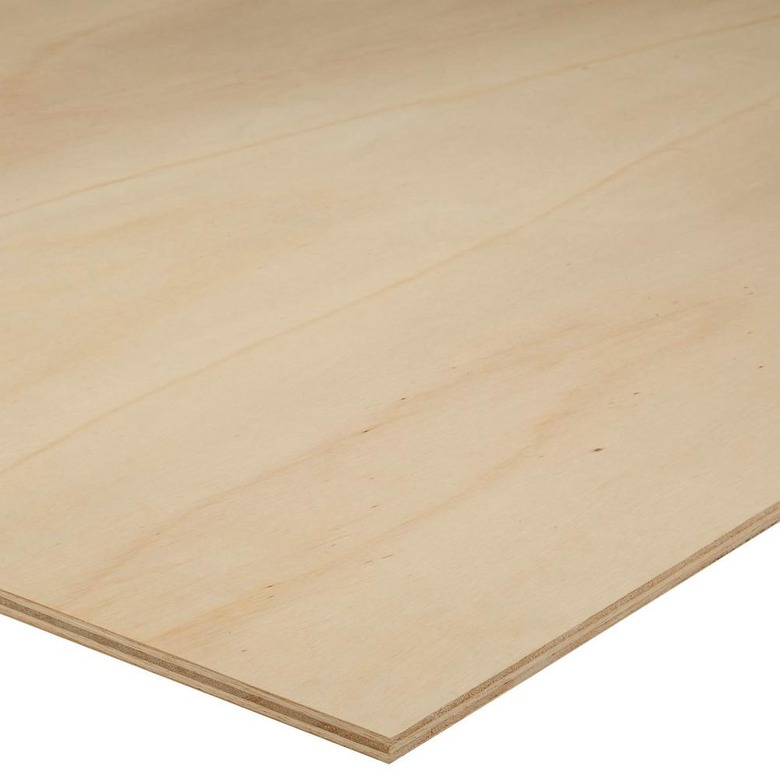
4 x 4-foot sheet of 1/2-inch AC sanded plywood (smooth on one side)
-
1 x 4 boards, 8 feet long (4)
-
1 1/4-inch deck screws (28)
-
2-inch deck screws (24)
-
1/4 x 2 1/2-inch carriage bolts (4)
-
1/4-inch flat washers (8)
-
1/4-inch wing nuts (4)
-
Wood glue
-
Wood filler
-
Finishing supplies (as needed)
How to Build Your Own Cornhole Game Boards
1. Build the Frames
Each cornhole board gets a frame made with 1 x 4 lumber.
- Cut four frame sides to length at 47 7/8 inches, using a jigsaw or circular saw.
- Cut four frame ends and two frame centers to length at 22 1/2 inches.
- Dry-assemble (no glue) each frame so the sides fit over the ends to form a rectangle, then add a center piece centered between the two ends.
- Clamp each assembly, and drill a pair of countersunk pilot holes through each side piece and into the ends of the end pieces and center pieces, using a piloting-countersink bit.
- Unclamp the assemblies, then reassemble them with wood glue and 2-inch deck screws.
 Staedtler/Quickship
2. Cut the Plywood Tops
For a finished look, it's best to measure the assembled frames and cut the plywood tops to fit. Then, cut the hole in each top.
- Measure the length and width of each plywood frame, and a cut a 1/2-inch plywood top to those dimensions, using a circular saw.
- Place each plywood top facedown (smooth side down) on your work surface.
- Measure 9 inches from one end of each plywood top, and draw a short line that is parallel to the edge you measured from.
- Measure across the top of the plywood at the line, and mark the exact center of the width of the top; you're making a little cross mark to locate the center of the hole.
- Open a pencil compass to 3 inches, then draw a 6-inch-diameter circle, pivoting on the cross mark.
- Drill a 3/8-inch hole through the plywood, just inside the marked circle.
- Insert the blade of the jigsaw into the hole and cut out the hole along the outline.
 Home Depot
3. Attach the Tops
The plywood tops are fastened to the 1 x 4 frames with glue and screws. You will fill over the screw heads later to create a smooth playing surface.
- Apply glue to the top edges of all of the frame pieces on each frame.
- Place a plywood top onto each frame so the smooth side of the plywood faces up. Make sure the top is flush with the frame on all sides.
- Drill countersunk pilot holes, and fasten the plywood to the frame with 1 1/4-inch deck screws spaced about 6 inches apart. Also, drive three screws into the center piece of the frame. Note: The screw heads should be recessed about 1/8 inch below the plywood surface, to allow space for filling over the heads with wood filler.
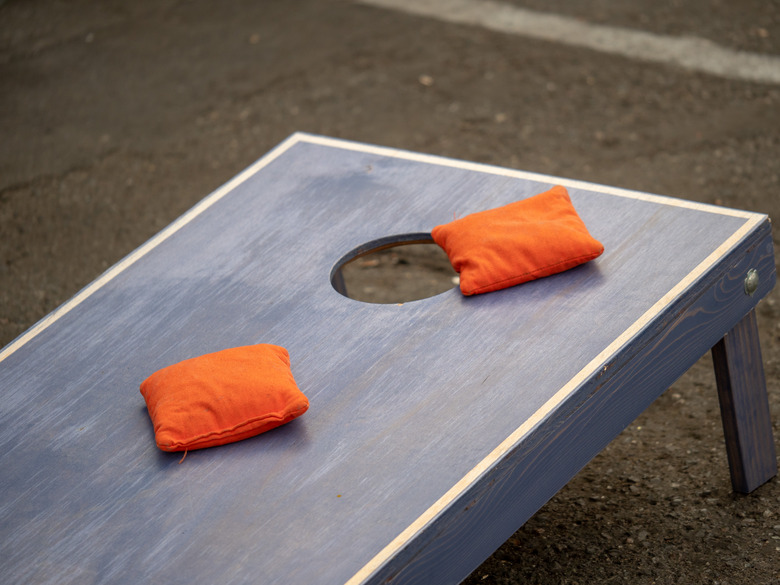
4. Cut the Legs
The legs are cut from 1 x 4 lumber and are rounded at the top end and cut at an 11-degree angle at the bottom end.
- Cut four legs to length at 11 1/2 inches, cutting both ends square (90 degrees).
- Mark a cross mark (as with the plywood holes) at the top end of each leg, 1 3/4 inches from the top end and centered side to side.
- Open the compass to 1 3/4 inches, and draw a semicircle at the top end of each leg, pivoting the compass on the cross mark. Cut along the semicircular lines with a jigsaw.
- Mark the angled cut at the bottom end of each leg by measuring up from one of the corners and making a mark along the side edge at 11/16 inch from the corner. Then, draw a straight line from this mark to the other corner to create the angled cutting line. Cut along the angled lines with a jigsaw.
- Drill a 1/4-inch hole through each leg, centered on the cross mark.
 David Tran/iStock/GettyImages
5. Install the Legs
For each board, a pair of legs is mounted to the inside of the frame at the top of the board, using a carriage bolt, washers and a wing nut.
- Lay the two game boards facedown so the frame sides are facing up.
- Position each leg at a top corner of the frame, so the rounded end touches the frame end and the point of the angled end of the leg is facing up (opposite the plywood). The outside face of the leg should be flush against the inside face of the frame side piece.
- Slip a strip of cardboard between the leg and the plywood and between the rounded end of the leg and the frame end to create a 1/16- to 1/8-inch gap. Clamp the leg to the frame side in this position.
- Drill a 1/4-inch through each frame side by drilling through the hole in the leg.
- Remove the clamps, cardboard strips and legs.
- Install each leg by inserting a carriage bolt through the outside of the frame side. Tap the bolt head with a hammer to set the bolt flush against the wood. Fit a washer over the end of the carriage bolt, then slip on the leg, followed by another washer and a wing nut. Tighten the wing nut so it is just snug.
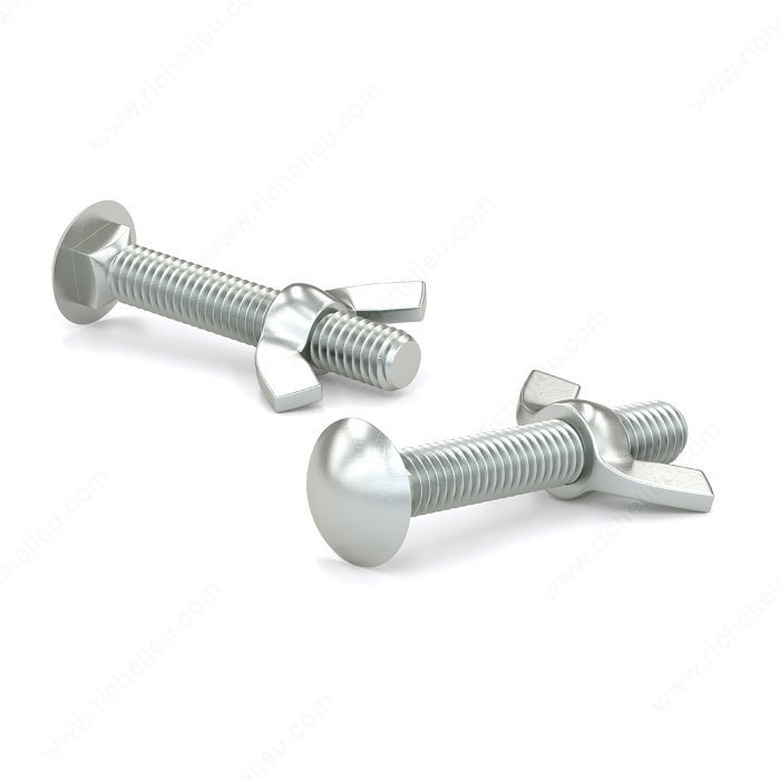 Reliable Fasteners
6. Finish the Game Boards
The final step is to paint or otherwise finish the top and sides of the game boards. Use primer and high-gloss enamel paint if painting. Alternatively, you can finish the boards with an exterior polyurethane, such as spar urethane, with or without applying a wood stain first (just for color). The paint or poly should be smooth and slick enough for the cornhole bags to slide when thrown, but they should not slide down the slope on their own.
- Fill over the exposed screw heads with wood filler, using a putty knife. Let the filler dry as directed. It's best if the filler is slightly higher than the wood surface, so you can sand it flush after it has dried.
- Sand the top and outside surfaces of the game boards with 150-grit sandpaper so all surfaces and edges are smooth and free of splinters. Make sure all wood filler is flush to the surrounding surfaces.
- Finish the game boards as desired.
Tip
To set up your boards for play, flip out the legs and place the boards aligned with each other, 27 feet apart. The ACO recommends using cornhole bags that measure approximately 6 x 6 inches and weigh 15 to 16 ounces each.
 valbunny/iStock/GettyImages