A Guide To Power Sanders And How To Use Them
We may receive a commission on purchases made from links.
If you work with wood, you're going to need a sander. Power sanders excel at smoothing wood and getting it ready for finishing, but they have other uses as well. You can use a sander to shape wood edges or to remove the tiny amount of material that is preventing a door or drawer from working properly. You can also use a sander to rough up materials other than wood, such as metal and epoxy, to shape them and get them ready for painting.
Gone are the days of the 10-pound belt sander and the heavy corded orbital sander that needed two hands for operation. Today's sanders are lightweight and efficient, and cordless models abound. The basic idea behind the linear action of a belt sander or the circular motion of an orbital hasn't changed. It's all about wearing down wood with abrasive paper, using electricity so you don't have to do it by hand. However, modern sanders are easier to use and they are useful for more applications than their predecessors. Some are more expensive than others, but none will break the bank.
Orbital vs. Belt Sanders

Orbital vs. Belt Sanders
Belt and orbital sanders are both sanders, but they serve completely different purposes. The main purpose of a belt sander is to remove material in bulk, not to make the wood look good —that's the purpose of an orbital sander. When you need to remove a surface coating or remove 1/8 inch or more of wood, reach for a belt sander. When you need to remove the scratches left by the belt sander, reach for an orbital.
The tasks for which a belt sander excels include:
- Rough flattening: Whether it's a floor, a stair tread, a deck board or the top of an old picnic table, a belt sander cuts down the hills and valleys caused by warping.
- Rounding edges: A belt sander works faster than anything else for rounding the edges of table tops, shelves and railings. Always sand with the grain of the wood to avoid cross-grain scratches.
- Stripping paint: A good way to avoid messy paint strippers is to remove the paint with a belt sander and a coarse belt.
- Fixing sticky doors: Use a belt sander to take 1/8 inch off the edge of a door that won't close all the way.
You could do some of the above tasks with an orbital sander, but it could take at least three times as long. Because it moves the sandpaper in little circles instead of lengthwise between a pair of drums, the orbital sander is easier to control. Use it for these jobs:
- Smoothing wood: No woodworker would think of applying a coat of finish to any piece without sanding it first with an orbital sander.
- Fine-tuning edges: Run an orbital sander along the curved edges of flat wood work to gently shape them and give them a smooth, finished appearance.
- Preparing old paint: If you're about to apply fresh paint over existing paint, it's often a good idea to sand the old paint first to etch and smooth it. The orbital sander is the tool for the job.
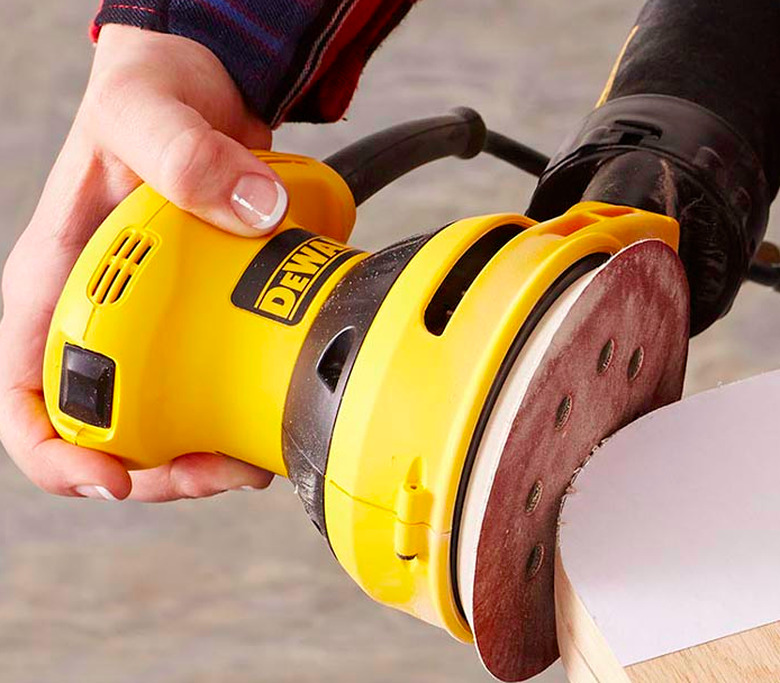
Types of Orbital Sanders

Types of Orbital Sanders
There are orbital sanders, and then there are random orbital sanders. An orbital sander typically has a square, rectangular or triangular base, and the base moves in a circular pattern that leaves characteristic scratches on the wood. A random orbital sander, on the other hand, has a round base that also moves in a circular pattern, but with this sander, the base also spins. This adds an extra element of randomness that all but eliminates the swirl marks left by orbital sanders. This makes the tool a littler harder to control , but it adds to its effectiveness. This makes the random orbital sander the one sander you should own—if you're going to own just one.
The superior sanding ability of random orbital sanders notwithstanding, many woodworkers prefer the ease of use of orbital sanders.
- The smallest, known as pad sanders, fit the palm of your hand and require a quarter sheet of standard sandpaper.
- The two-hand orbital is still alive and well, although it's lighter and more maneuverable than those of earlier times. It takes a half sheet of sandpaper.
- Detail sanders are fairly new on the market. They are pad sanders with a triangular base that can fit into tight corners and are perfect for furniture refinishers and professional woodworkers. The sandpaper connects to the base via a Velcro-like adhesive, a fact that is also true for some random orbital sanders.
Sanders have joined the club of tools that run on batteries. The batteries last surprisingly long, and the absence of a power cord makes the tools easier to manipulate and allows them to be used far from a power outlet. A sander wouldn't be doing its job if it didn't raise sanding dust, and many orbital and belt sanders come with a dust collection bag. Even so, it's best to wear a dust mask while sanding.
Using a Power Sander

Using a Power Sander
As a woodworking procedure, sanding doesn't always get the love it deserves. It's easy to let your attention lapse while sanding, and if you do that, the results can be problematic, especially when sanding softwoods like pine and cedar. However, if you take a breath, stay focused and adhere to a few best practices, almost any sander will give you great results.
- Always sand with the grain of the wood. This is especially important when using a belt sander, but it also guarantees good results when sanding with an orbital. Scratches left by any sander moving across the grain are almost always visible.
- Let the sander do the work. You don't need to bear down on your sander. Doing so only makes it work harder, and it's the main reason why sanders sometimes leave ridges and valleys. Exert enough pressure to stabilize the sander and save the rest of your energy for other activities.
- Change the paper frequently. You may be wondering why your sanding job is taking so long. It's probably because the paper has worn or gotten gummed up. Change the paper frequently to get the most from your power sander.
- Use a light touch on curves. Sanders—especially belt sanders—can alter the shape of a curve if you allow their full weigh to rest on the area you're sanding. Keep full control of the sander, and even lift it slightly, to avoid making ridges and depressions.