This Seasonal Rose Gold Wreath Can Be Made Using Recycled Aluminum Cans
We may receive a commission on purchases made from links.
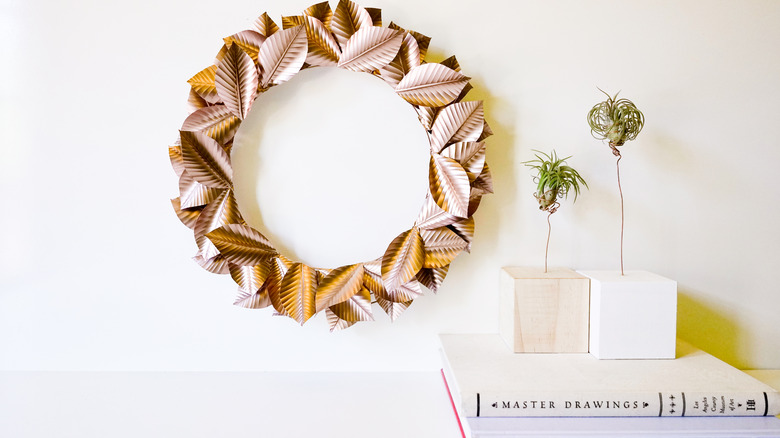
A seasonal classic gets an on-trend update in this hand-embossed metal wreath with a stunning rose gold finish. Better still, it's made entirely of used aluminum cans, so it's both chic and earth-friendly. Hang it indoors or on your front door as a super stylish way to herald those festive fall and winter months. Never embossed before? Never fear. This DIY project is a fun and easy introduction to the craft.
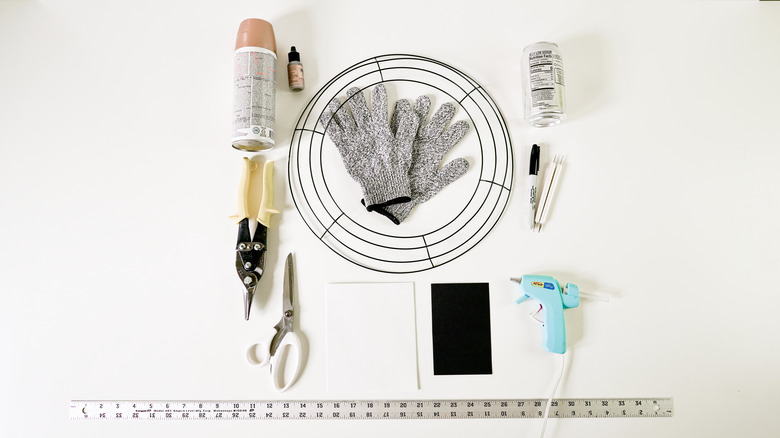
Things Needed
-
Wire wreath form (14.25-inch recommended)
-
About 15 standard-size, empty aluminum soda cans
-
Scissors
-
Marker
-
Cardstock paper
-
Embossing pad (a scratch foam sheet or an old mousepad will also work)
-
Straight-edge tool
-
Dual-tip embossing styluses (recommended: 1mm and 2mm)
-
Glue gun
-
High-temperature, metal-bonding glue sticks (we recommend these)
-
Rose gold alcohol ink (optional)
-
Cardboard box (preferred) or drop cloth
 Maya Marin
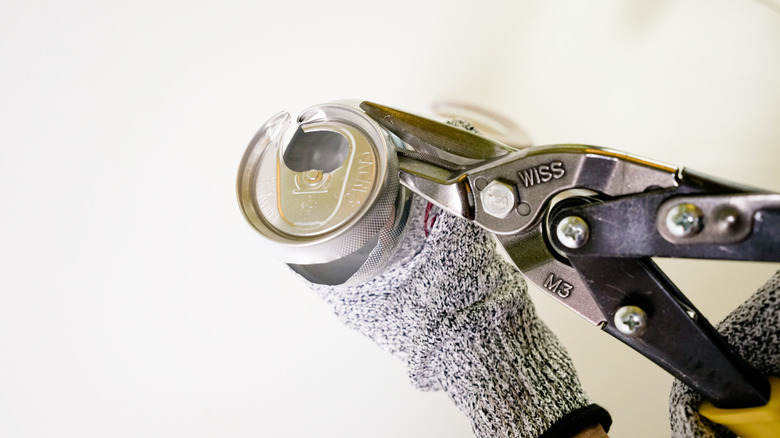
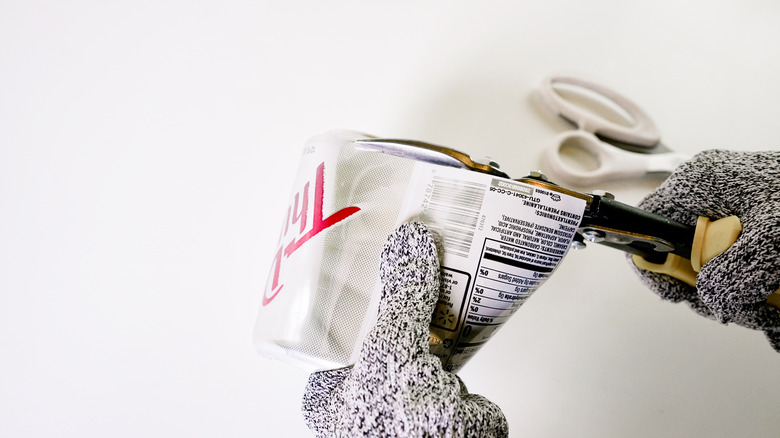
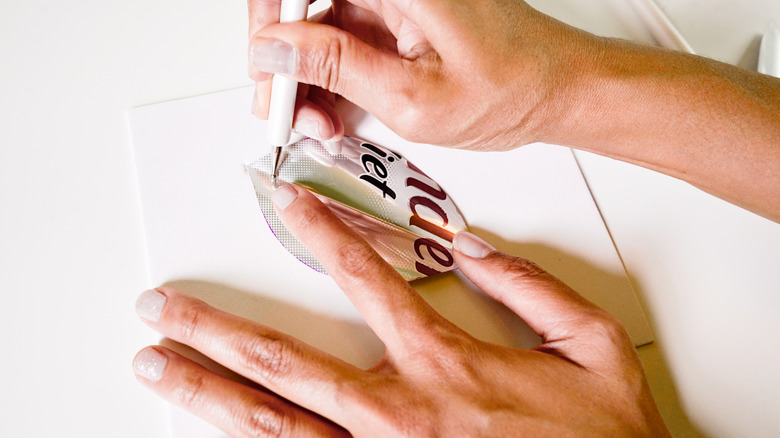
1. Cut cans into aluminum sheets.
The first step is to turn your cans into flat, embossable metal sheets. Wearing cut-resistant gloves, remove the tops of the can by inserting the metal snips into the top hole and cutting all the way around as shown.
 Maya Marin
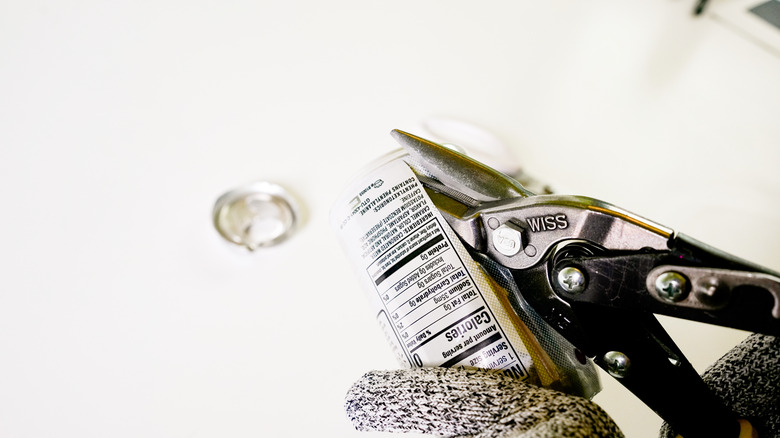
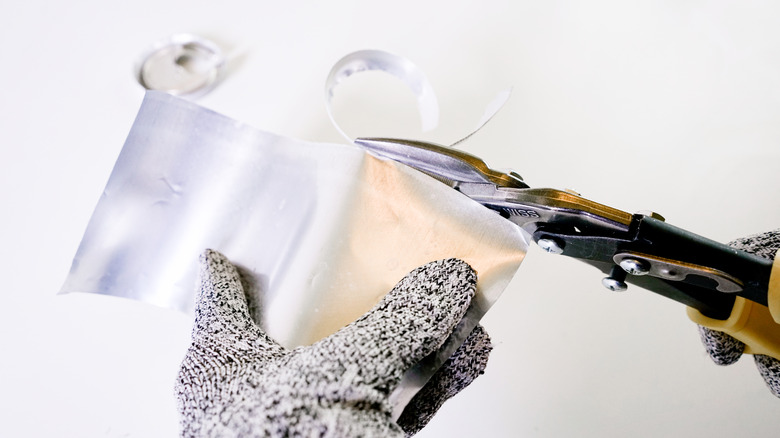
Once the top is removed, cut straight down the side of the can until you're about a half an inch from the bottom, and then cut all the around to remove the bottom portion.
 Maya Marin
 Maya Marin
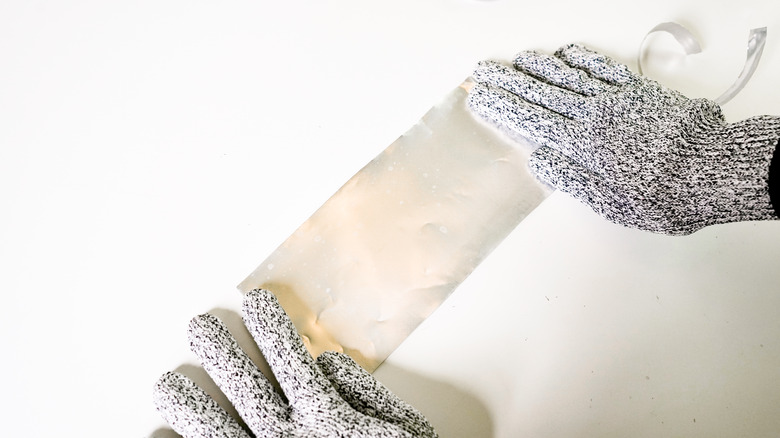
Cut off any remaining curved portions from either the top or bottom edges of your aluminum sheet, so that it can be laid down completely flat, as shown.
 Maya Marin
 Maya Marin
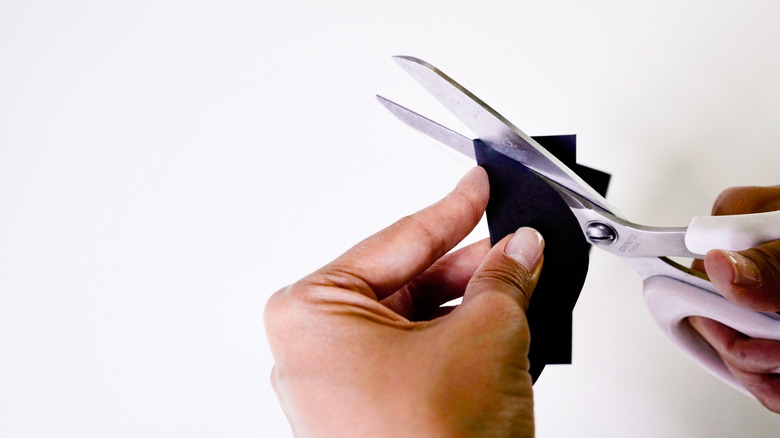
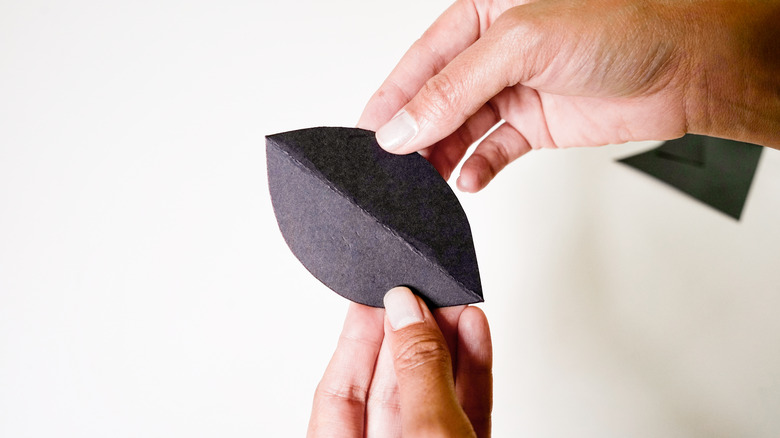
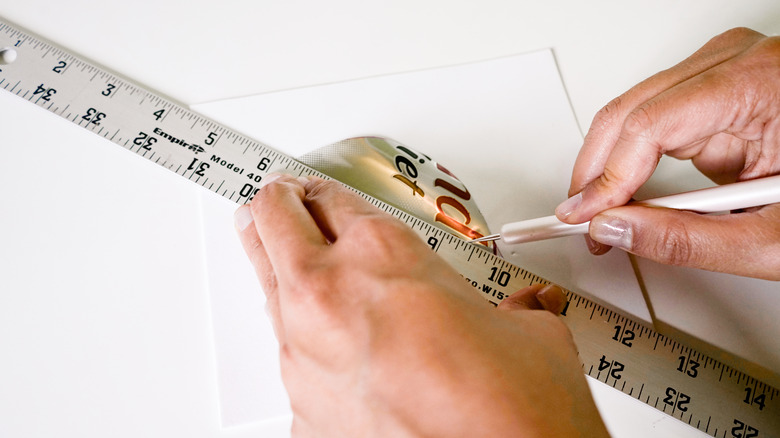
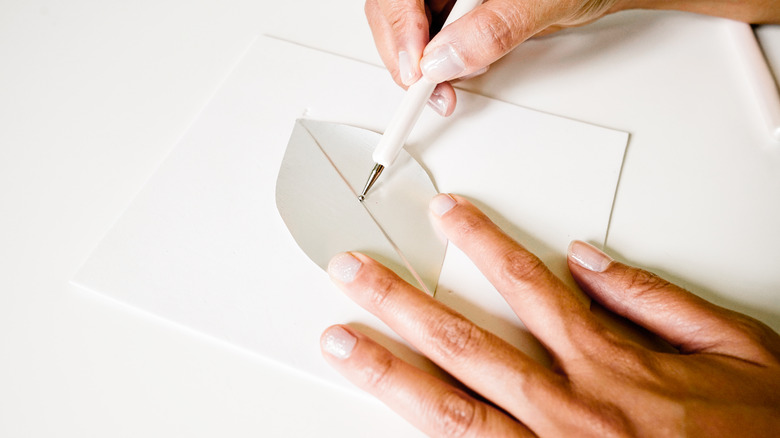
2. Make the leaf template.
Fold a piece of cardstock paper in half and cut out an arch shape (folded edge at the bottom), 3 inches in length and 1.5 inches at its highest point.
 Maya Marin
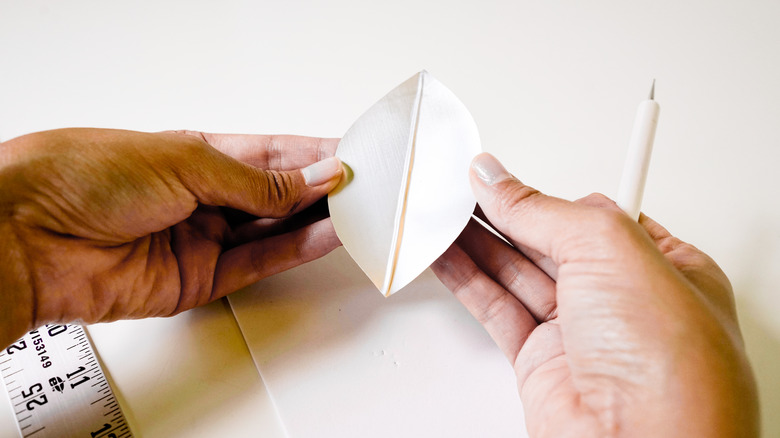
When unfolded, you should have a symmetrical leaf template, 3 inches long and 2.5 inches as its center width, as shown.
 Maya Marin
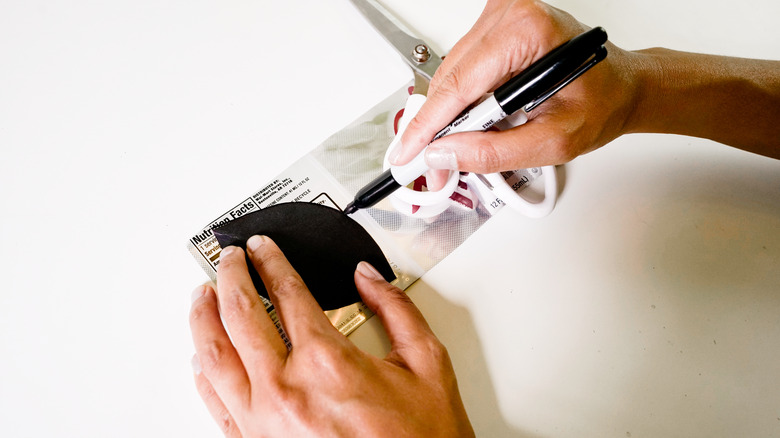
3. Cut out the leaves.
Using your marker, trace a total of three leaves onto an aluminum sheet, as shown below. If you are not using standard-sized soda cans, the number of leaves you can cut from one sheet may vary.
 Maya Marin
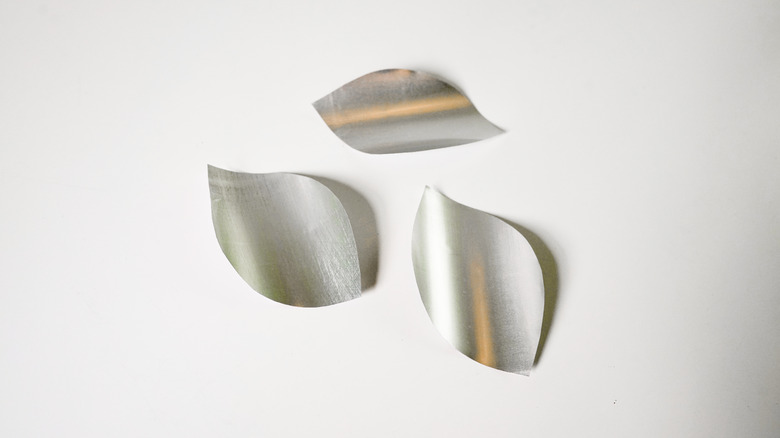
Cut out each leaf using scissors. You can also use your metal snips to do this, but scissors will give you more precise control.
 Maya Marin
Repeat this step for all aluminum sheets.
 Maya Marin
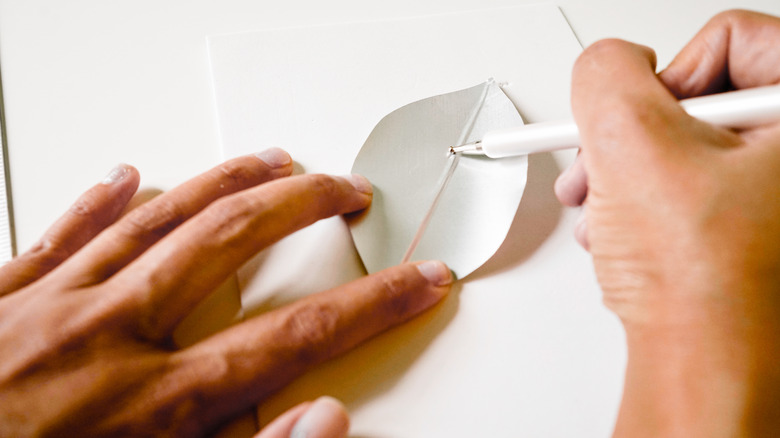
4. Emboss the "midrib" of the leaf.
Time to emboss! The first thing you'll do is emboss the "midrib" of the leaf — on a real leaf, this is the strong central line that extends directly from the stem, down to the tip.
Place your aluminum sheet onto your embossing pad (or foam board/mousepad), either side down. Then, using a straight-edge and the pointed end of the 1mm embossing stylus, emboss a straight line on the leaf from tip to tip using gentle pressure. Make sure not to press down too hard when using the pointed end, as you may puncture the aluminum.
 Maya Marin
Then, using the ball end of the larger 2mm stylus, press down on the embossed midrib line in order to deepen it. You may use more pressure this time, as the ball end won't puncture through.
 Maya Marin
Now, to make the midrib more pronounced on the opposite side of the leaf (i.e., the front), flip it over and, using the same 2mm ball-end as before, emboss a parallel groove directly next to (either to the right or left of) the midrib line you embossed on the other side, as shown.
 Maya Marin
Then, repeat this on the other side of the midrib.
 Maya Marin
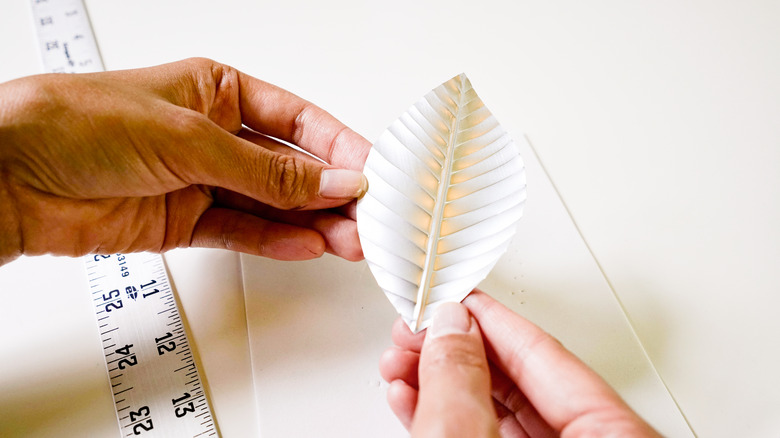
Your midrib should now be very pronounced, as shown below.
 Maya Marin
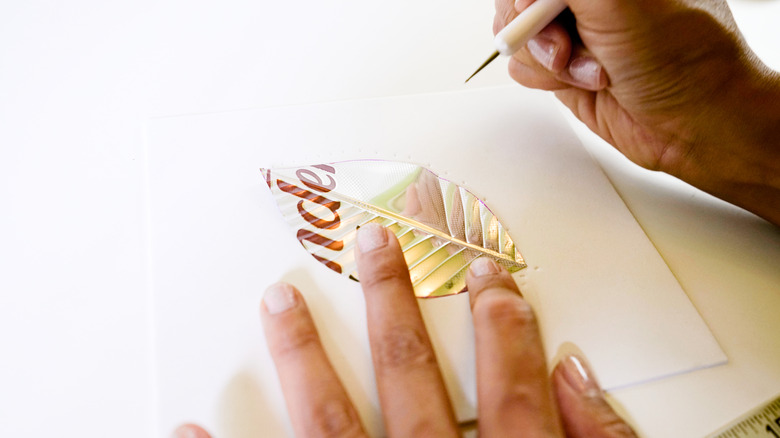
5. Emboss the lateral veins.
Next comes the lateral veins of your leaf — the parallel lines that extend diagonally upward and outward from the midrib. Use the pointed end of the 1mm stylus to emboss diagonal, parallel lines along one side of the midrib only, approximately .25-inch apart. You can use your straight edge, or freehand it, as we've done. (Freehanding will give it a more organic look.)
 Maya Marin
Once you're done embossing the lateral veins on one side of the midrib, flip the leaf over so that the underside is facing you. Now, emboss the lateral veins on the other side of the midrib, mirroring the ones you embossed on the topside of the leaf (see tip box below).
 Maya Marin
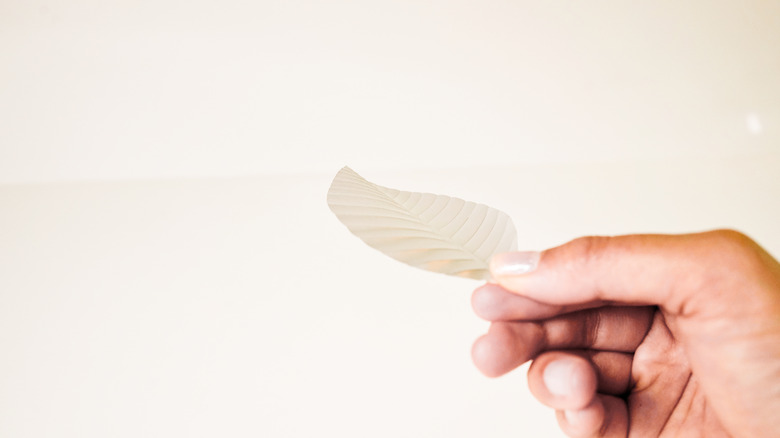
TIP: We found that by embossing one side of the lateral veins on the back and the other side on the front will yield a leaf that's convex on one side and concave on the other side (see images below). This will give your leaves and your wreath some added dimension!
 Maya Marin
 Maya Marin
Repeat steps four and five for all leaves.
 Maya Marin
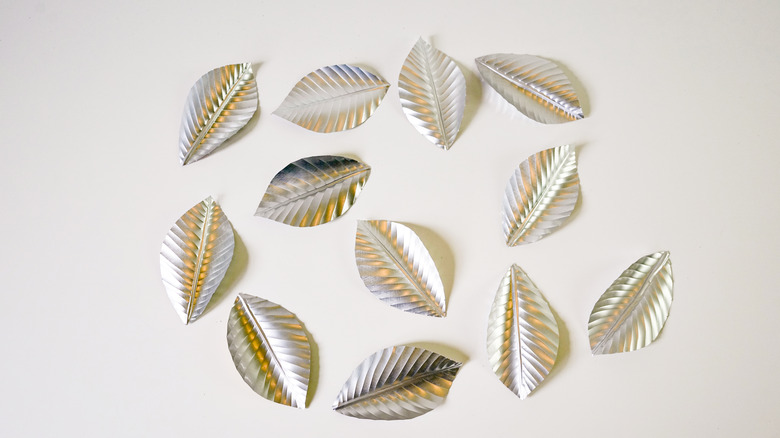
6. Paint the leaves and the wire wreath form.
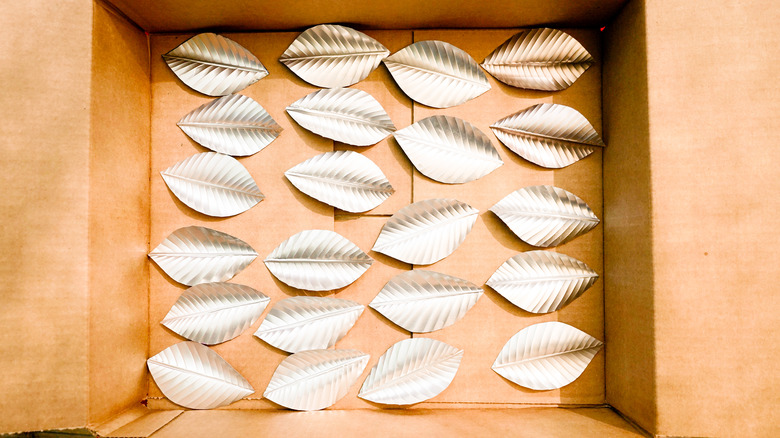
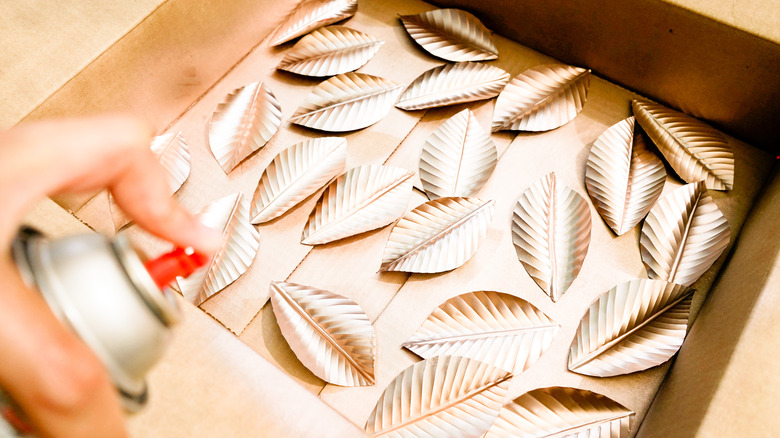
In a well-ventilated area (preferably outdoors) place the leaves in a single layer inside a cardboard box or on a drop cloth and spray evenly with rose gold paint according to manufacturer directions. We recommend using a box, as the leaves are lightweight and will be blown by the paint. The box will help keep them contained.
 Maya Marin
 Maya Marin
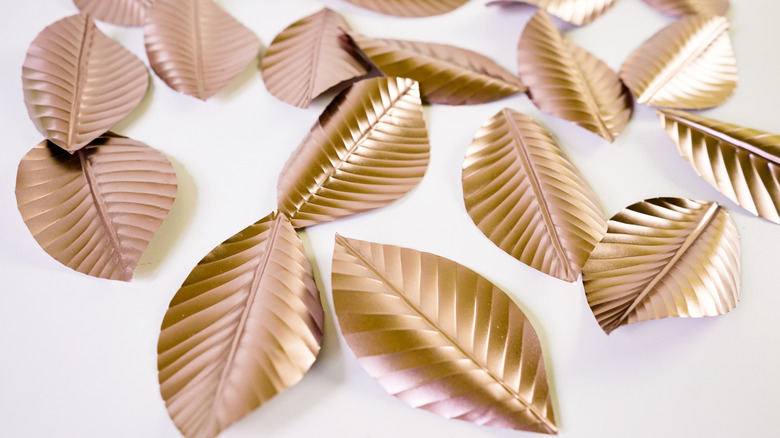
Use a long object like a chopstick or pencil to gently move any overlapping leaves into a single layer. Wait for the leaves to dry, then apply a second layer. After the second layer has completely dried, turn the leaves over and apply two layers of paint (as before) to the other side. Once the other side has been painted and dried, your leaves are complete!
 Maya Marin
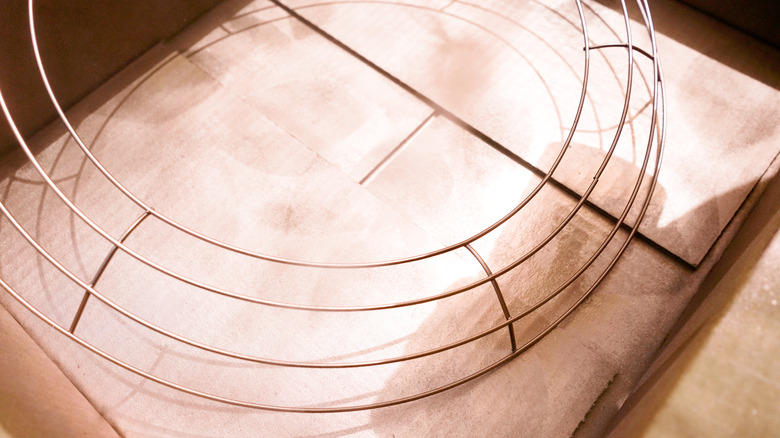
Now, spray paint the wreath form and let dry. A single coat should be enough.
 Maya Marin
TIP: Instead of spray paint, some crafters have used rose gold alcohol ink to dye the leaves according to the manufacturer directions. However, we found that alcohol ink provides less coverage. For this reason, we prefer the use of spray paint as it not only provides more coverage in less time, but it also quickly and completely covers up any product graphics on the aluminum cans.
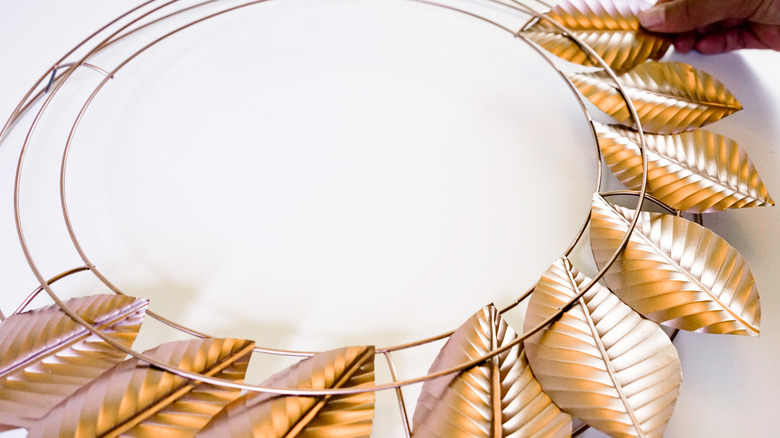
7. Assemble the wreath — layer one.
Before you begin this step, notice that the wreath form is comprised of four concentric wire circles, attached by six spokes which divide the wreath form into six sections all around. Your wreath will consist of three layers of leaves. The first two layers will consist of a bottom row of 18 (three leaves per section), an upper row of 18 (three leaves per section) for a total of 36 leaves . Also, you'll need a top layer of filler leaves with each leaf placed wherever needed to fill empty areas. They need not be placed equidistant from each other, just add enough to cover any gaps or to create your desired fullness. For this reason, the amount of filler leaves used will vary.
Begin assembling the wreath by inserting leaves into the form for layer one. They'll be inserted between the second and third innermost rings of the wreath form and then over the innermost ring as shown in the image below.
 Maya Marin
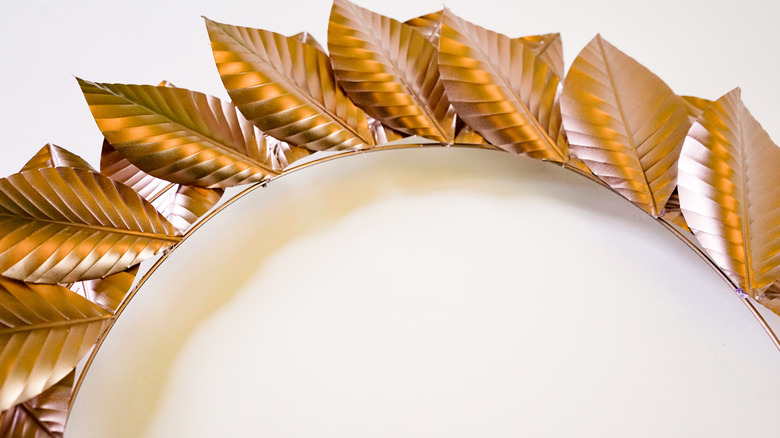
Continue inserting leaves all around, with three leaves per section as shown. Each leaf will slightly overlap the leaf placed before it.
 Maya Marin
Once layer one has been placed, move to Step eight.
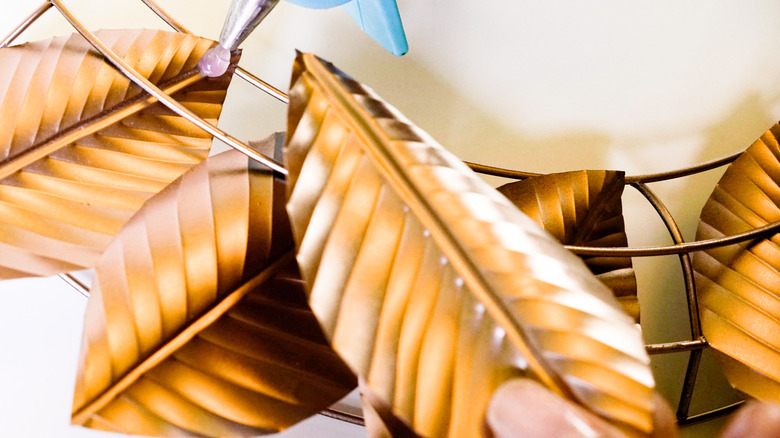
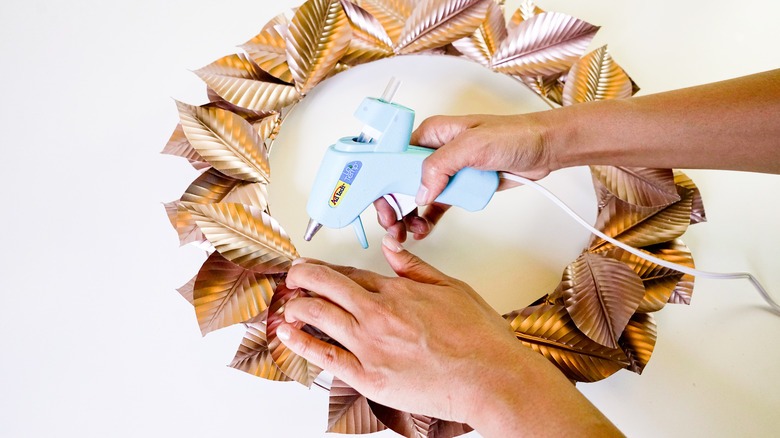
8. Glue leaf layer two to layer one.
The second layer will be glued down to the first layer of leaves. To do so, use the gun to place a dab of glue on the inner tip of a leaf in layer one as shown below.
 Maya Marin
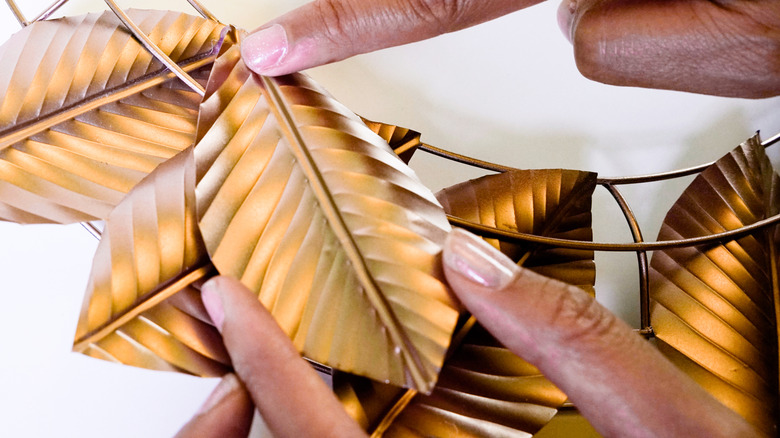
Press the inner tip of another leaf onto the dab of glue and hold until the glue has set.
 Maya Marin
Continue all the way around.
Maya Marin
 Maya Marin
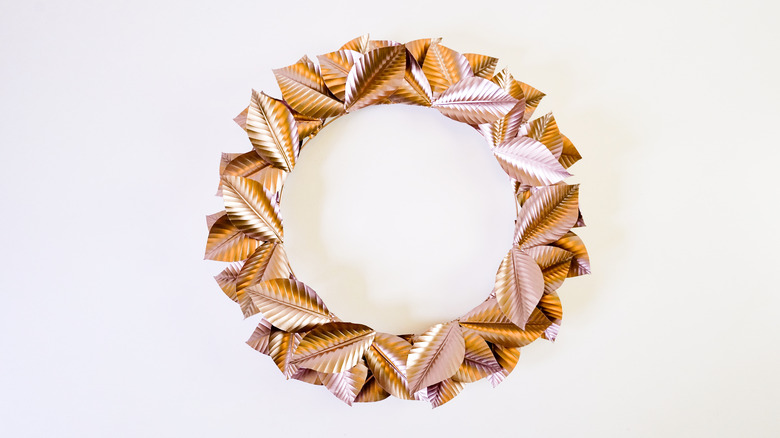
9. Glue the filler leaves.
Now it's time to fill in gaps (if any) in order to hide any exposed wire. The number will vary depending on the particular size of your wreath form as well as the size of your leaves. Simply glue on filler leaves on top of Layer 2 (tip to tip as before). Repeat as needed
 Maya Marin
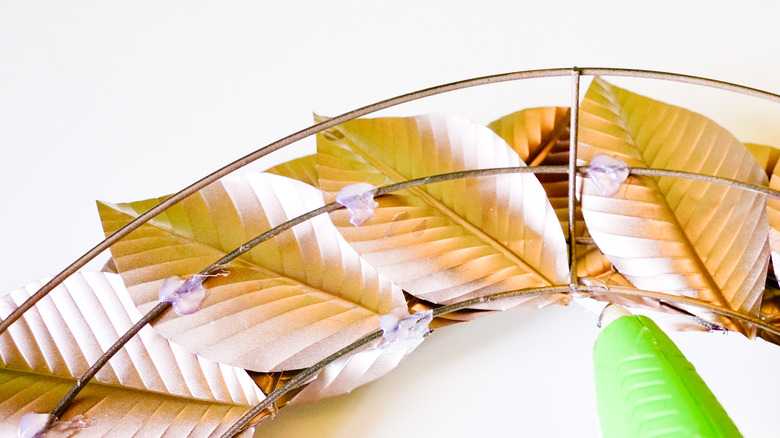
10. Apply the glue to the backside to secure the leaves onto the form.
Once the glue has completely set, turn over your wreath and secure the backsides of the leaves to the form by placing dabs of glue where the backs of the leaves meet the wire as shown. Wait until dry.
 Maya Marin
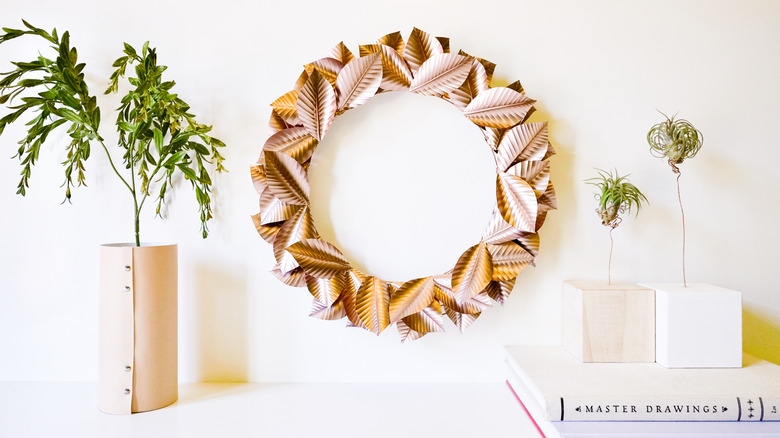
Your gorgeous hand-embossed wreath is now ready to hang!
 Maya Marin
Holiday decor that's merry, modern, and made by you — what's not to love?
 Maya Marin