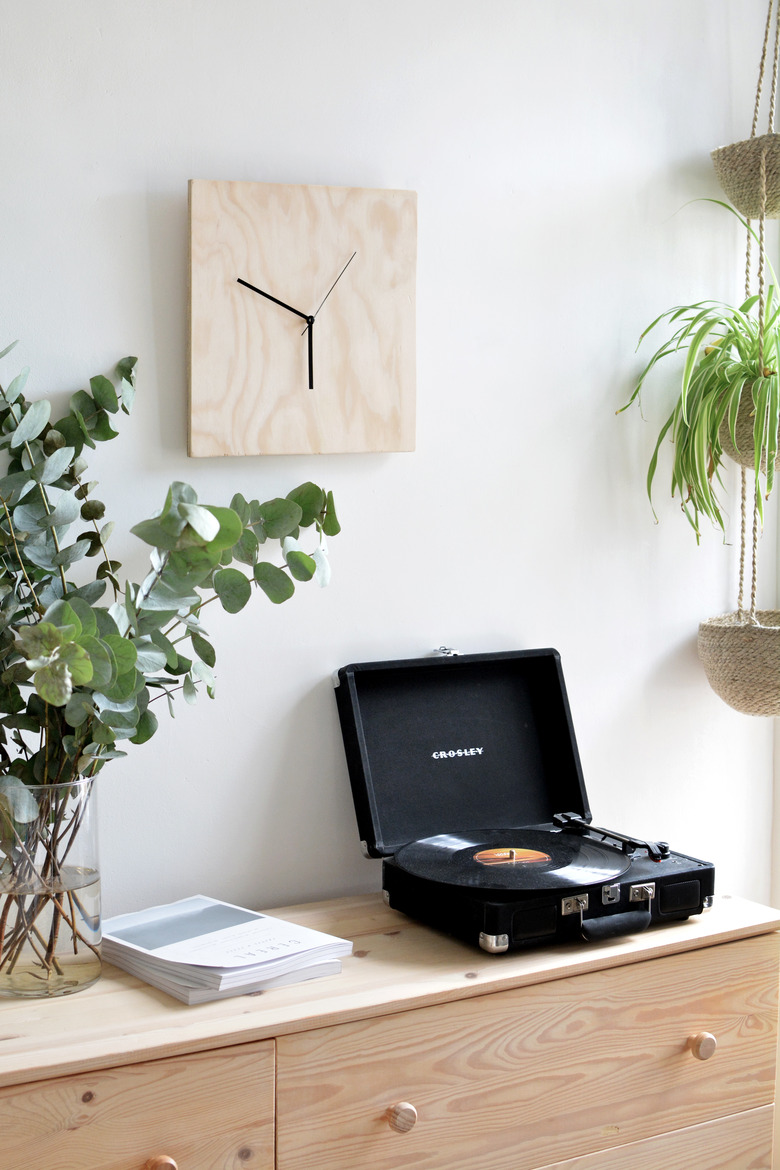
To Make This Modern Chic Plywood Clock, Follow Our Easy DIY

With the help of an inexpensive clock kit, you can make your own plywood wall clock in just a matter of minutes. We love this Scandinavian-inspired DIY that combines form and function. Check out how little time it actually takes to create your own version of a classic design.
 Caroline Burke
Things Needed
-
Plywood clock face, measuring 14 by 14 inches (1)
-
Plywood battens, measuring 3/4 inch by 3 inches (4)
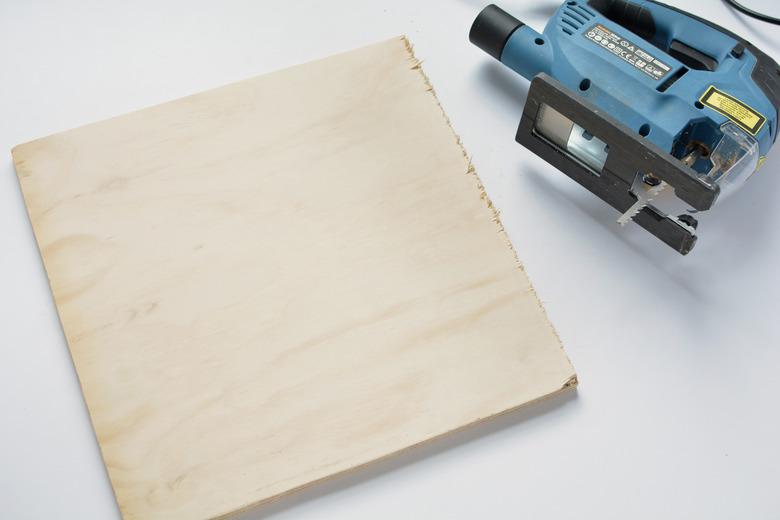
Step 1
We measured and cut out a square piece of plywood with a jigsaw to form our clock face, but this DIY would also work well on a circular piece of plywood. Lightly sand any rough edges with sandpaper.
TIP: To make this even easier, you can always have your local home improvement store cut it for you.
 Caroline Burke
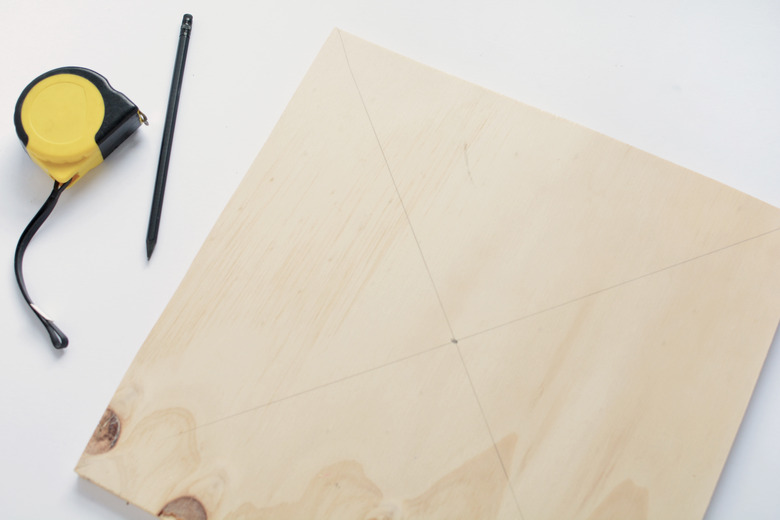
Step 2
Find the center of your clock face by marking a line diagonally between each corner. Mark where the lines cross.
 Caroline Burke
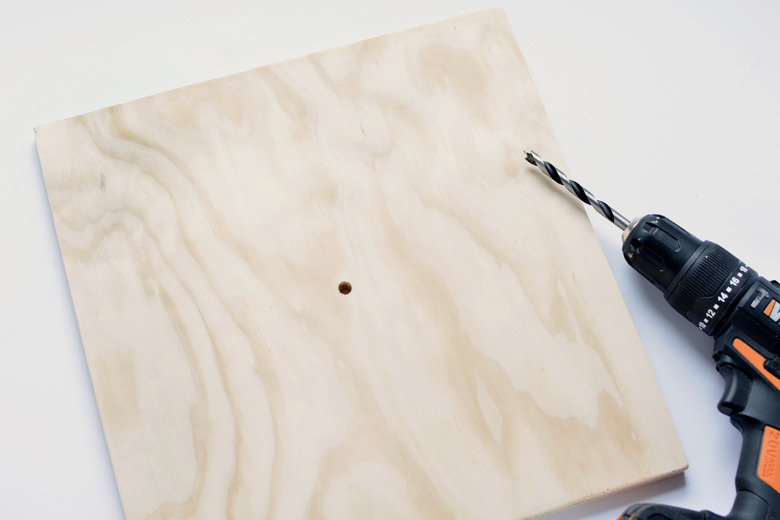
Step 3
Place your clock face onto some scrap wood and drill through the center you've marked. (Use a drill bit slightly larger than the arm of your clock mechanism for a snug fit.)
 Caroline Burke
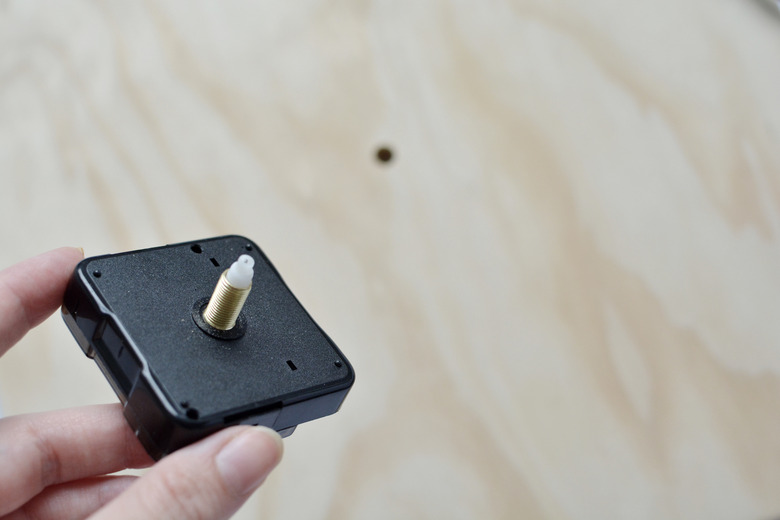
Step 4
Push the arm of the mechanism through the hole to secure it. Check the kit instructions to ensure you place any washers in the correct place.
 Caroline Burke
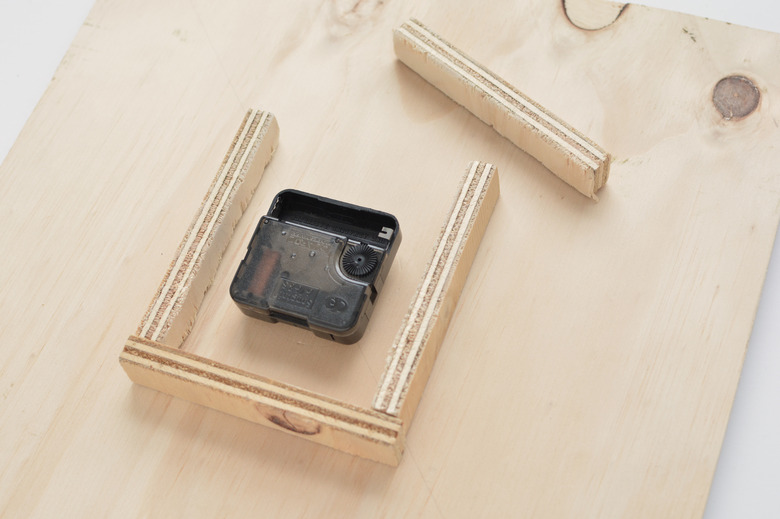
Step 5
Now that the mechanism is in place, it's time to glue your plywood battens around it with strong wood glue.
The depth the mechanism protrudes at the back of the clock should match the depth of the battens. This is so the clock will sit flush on the wall. (Our mechanism was two centimeters deep, so we cut our battens to match.)
 Caroline Burke
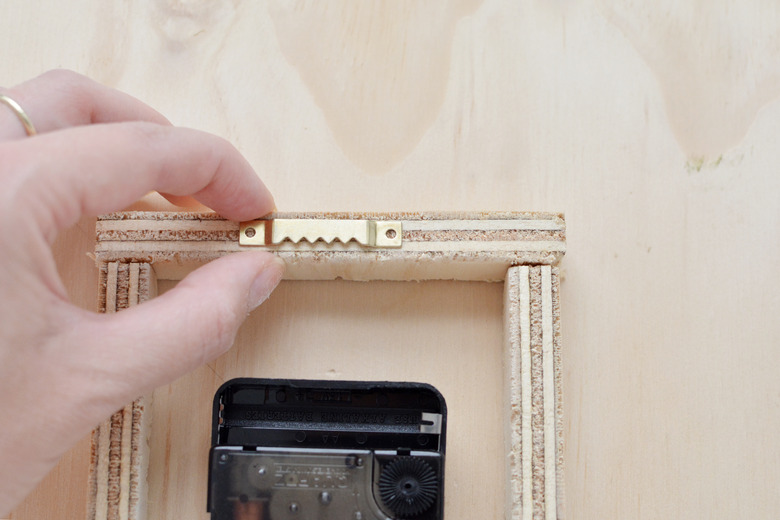
Step 6
Attach a wall hook so you can hang the clock.
 Caroline Burke
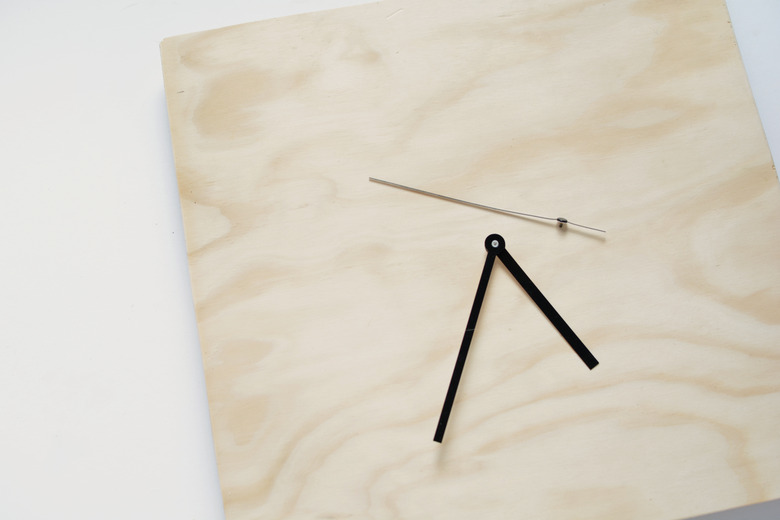
Step 7
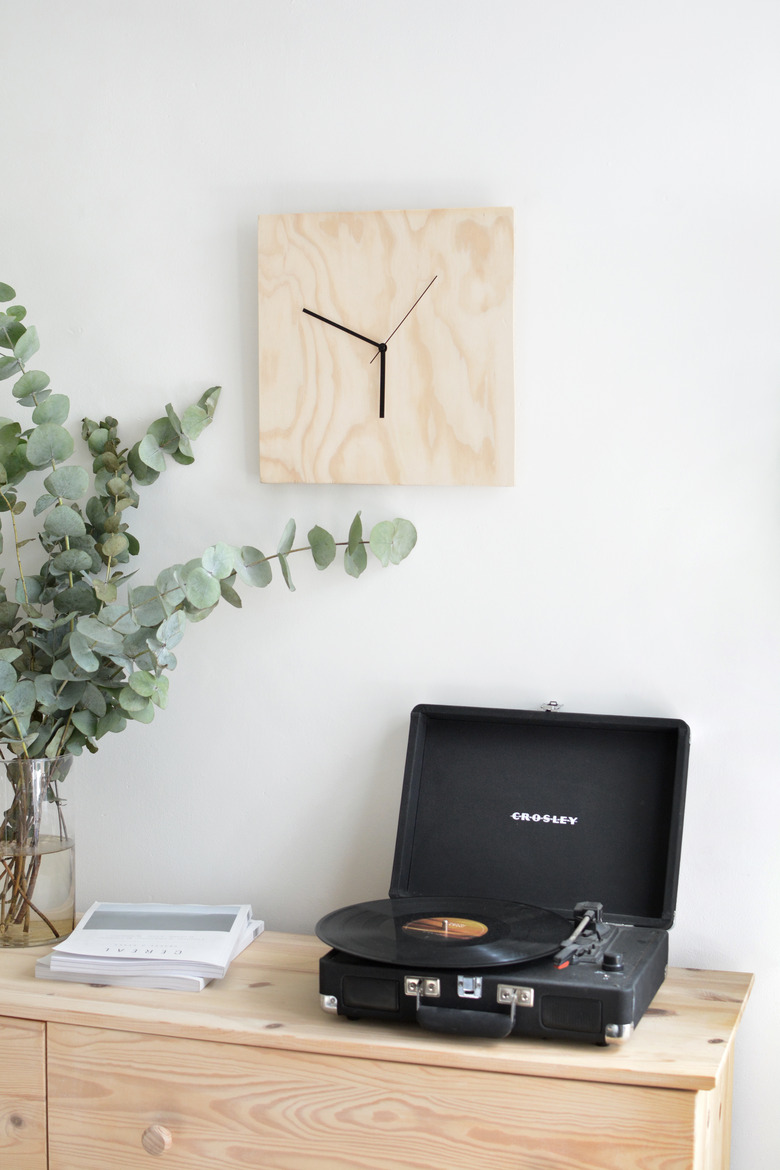
Assemble the arms and pop in a battery to finish!
 Caroline Burke
 Caroline Burke