Ceramic Tile Repair: How To Replace A Broken Ceramic Tile
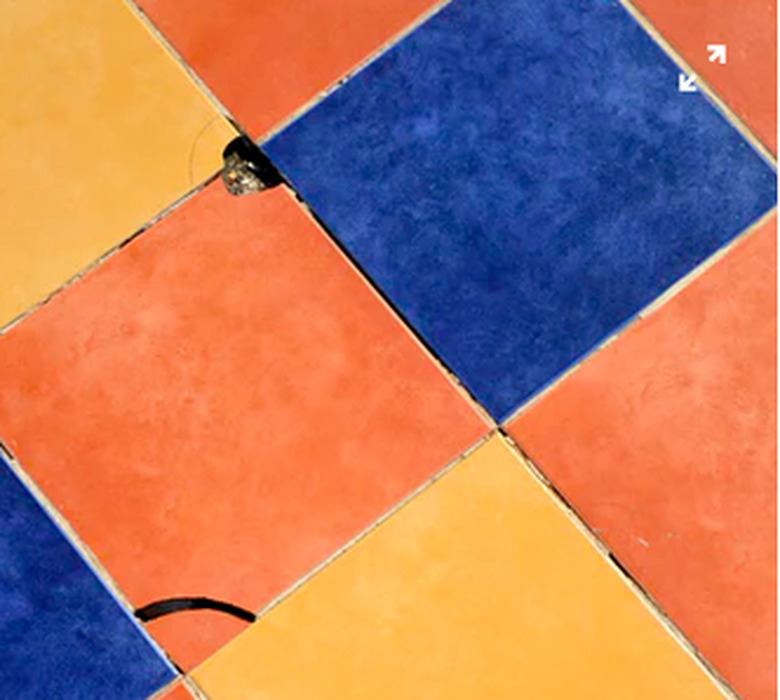
You can often mask hairline cracks in ceramic tiles, but when a crack is spreading, or material has chipped out, there's no alternative to replacement. The procedure generally calls for breaking the damaged tile, chipping out the pieces, gluing in a new tile and re-grouting.
It's a straightforward enough procedure, but it's important to keep a few things in mind before you start. First, if you can't find a tile that matches the rest, you might want to replace a whole section of tiles instead of just one. This will avoid having a non-matching tile stand out.
The second thing to remember is that fresh grout is bound to look different than old, weathered grout, even if you use the exact same product. If you're replacing a prominent tile, you may need to do some color matching. Let a sample of the grout you plan to use dry overnight to see if it matches the existing grout. If not, you might want to try a different color of grout. Or, you can plan to regrout the entire installation at the time you are replacing the tile.
The third consideration is that the cracking may have been caused by problems with the tile backing. If that's true, you'll want to look into making appropriate repairs before you do the tile replacement.
Useful Tools and Equipment
Useful Tools and Equipment
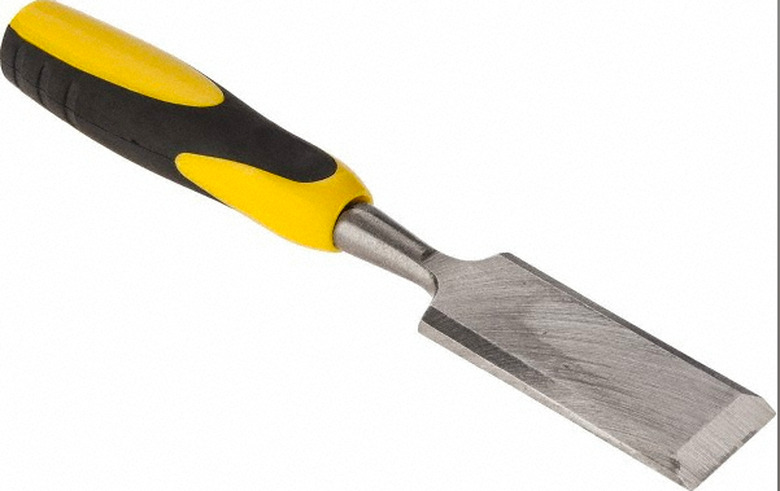
You need a hammer and chisel to break up the damaged tile and chip out the pieces. You wouldn't want to use your best wood chisel for this, but a cold chisel isn't a great choice, either. It's too dull to get under the tile and break it free of the adhesive holding it to the backing. A large flat-head screwdriver might work, but it's better to bite the bullet and sacrifice one of your old 3/4- or 1-inch wood chisels. It has the sharp edge you need for this task, and its width will help you pry out the old tile quickly. You'll probably ruin the edge, but don't worry. You'll find plenty of other uses for a utility chisel.
 Image Source/Photodisc/GettyImages
Goggles are a must for this procedure, because small shards of ceramic material will be flying around, and getting one of these in your eye could be a serious matter. You'll also find a rotary tool with a grinding attachment useful for cleaning up the edges of the tiles surrounding the one you remove prior to gluing in the replacement and re-grouting.
Removing and Replacing a Tile
Removing and Replacing a Tile
Before you start, it's a great idea to lay 2-inch masking tape on the surrounding tiles. Align the tape with the edges of the ceramic, leaving the grout exposed so you can remove it when you remove the tile. Press down firmly on the tape to make a good seal and you're ready to go.
Things Needed
-
2-inch masking tape
-
Hammer
-
Chisel
-
Eye goggles
-
Work gloves
-
Rotary tool (optional)
-
Shop vacuum
-
Thinset adhesive
-
1/4-inch notched trowel
-
Grout
-
Grout float
-
Polyurethane tile sealant (optional)
1. Break Up the Damaged Tile
Give the tile a good whack with the hammer to break it, but be careful not to damage surrounding tiles or strike so hard that you damage the underlying wall surface. Repeat as needed until you can work your chisel under one of the pieces and pry it up. Once you've created a space for the chisel, it should be easy to chisel out and remove the rest of the tile. Sometimes, if you're lucky, the impact from the hammer loosens the tile enough for you to simply lift it out.
2. Chip out the Old Grout
Use light hammer blows on the chisel to break up the grout that is still clinging to the surrounding tiles. Grout breaks up easily, so you don't need to use much force, and the less you use, the better. You don't want to damage the surrounding tiles. You may be able to do the job even without the hammer—just by scraping with the chisel.
 MSC
MSC
3. Clean Up the Old Adhesive
Hold the chisel at a 30-degree or shallower angle with the respect to the backing and tap lightly with the hammer to chip and remove the old adhesive. Again, the less force you use for this, the better. The goal is to get off the adhesive without damaging the backing. This is the part of the job for which you'll most appreciate the sharp edge of a wood chisel. When you're done, clean the edges of the surrounding tiles with a rotary tool, if you have one, then vacuum up dust and debris.
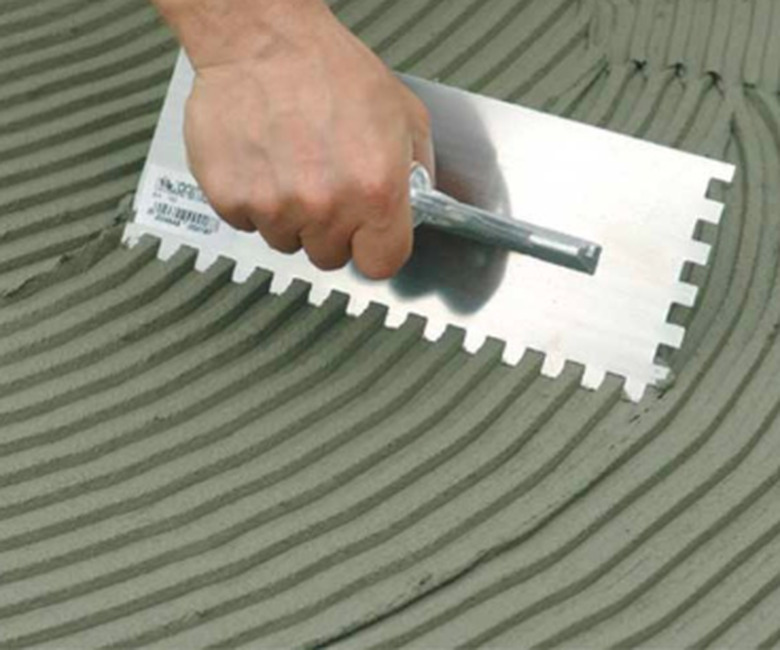
4. Spread Fresh Adhesive
Lay a bed of tile mastic or thinset adhesive on the tile substrate, using a 1/4-inch notched trowel. Go ahead and spread the adhesive as close as you can to the undamaged tiles; the tape will protect them. Spread some of the adhesive on the back of the tile for good measure.
5. Set the Tile and Grout It
Center the tile in the opening, set it down and push on it to seat it in the adhesive. Adjust it so that the gout lines match the surrounding tiles. Let the adhesive harden for 2 hours, then mix a small batch of grout and spread it into the gaps around the tile with a rubber float. Let the grout and tile adhesive set for 24 hours.
Tip
About a week after the grout has set, when you're sure it's completely dry, it's a good idea to seal it with a polyurethane sealant. Sealant keeps mold and mildew out of the grout and prevents discoloration. This would be a perfect time to clean the grout on the rest of the floor and give it a refresher coat of sealant as well.