Container Vegetable Gardening: How To Start A Vegetable Garden
Growing your own vegetables can be fun, educational, cost-effective, and delicious! The whole process can be fun: planning which vegetables to raise, shopping for containers, planting and caring for the plants, and enjoying the luscious flavor of sun-ripened produce. Growing food can always be a learning experience for both the beginner and experienced gardener because each growing season has different weather conditions that affect plant growth. Also, you can choose to grow different vegetables from season to season. And if flavor and fun aren't enough to entice you to try container gardening, raising even a few herbs can reduce your grocery expenses.
 Zuraisham/Moment/GettyImages
1. Planning a Container Garden
Whether your container will sit on a deck or patio or hang from a railing, the real key to location is sunlight. Plants require six to eight hours of full direct sunlight each day; otherwise, they become spindly and the produce might not ripen before the end of the growing season. So take note when sunlight falls on the location in the morning and when it becomes shaded as the sun moves throughout the day.
Once you've determined that your location provides adequate light, it's time to choose what to plant, and that's as simple as planting a few things you like to eat. Three popular container garden themes are herb gardens, salad gardens, and salsa gardens. However, don't feel limited by these suggestions.
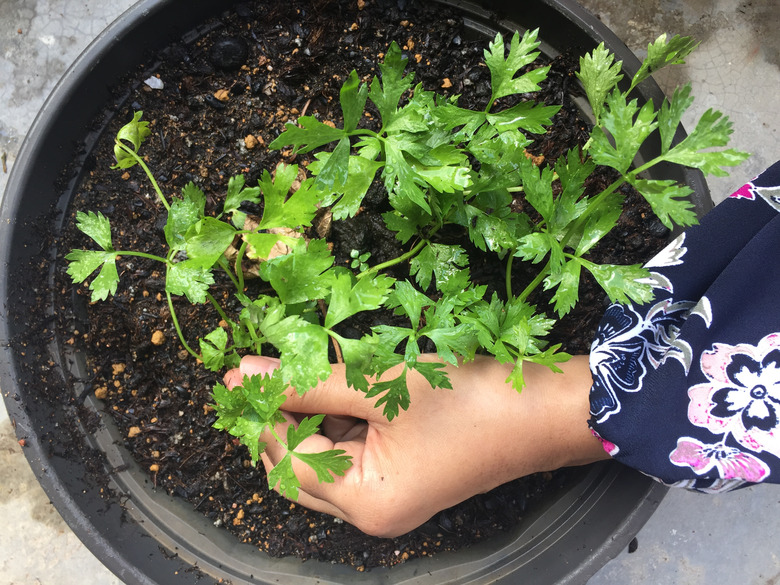
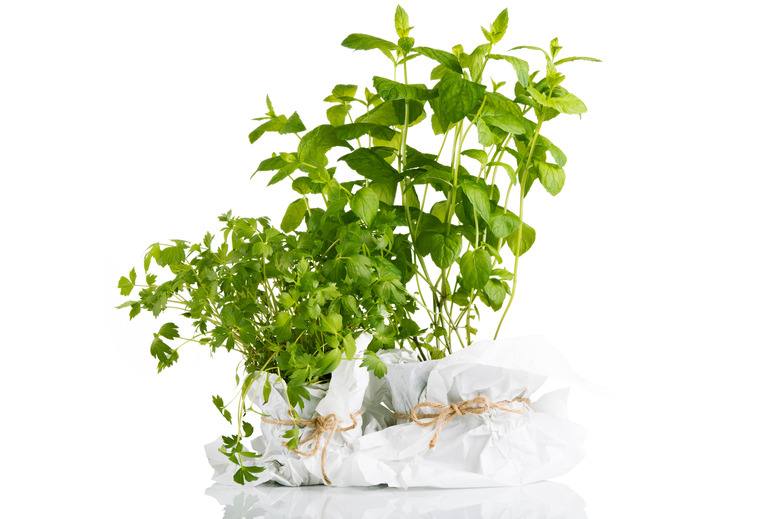
- Herb garden: basil, chives, cilantro, dill, lavender, marjoram, mint, oregano, parsley, rosemary, sage, tarragon, thyme
- Salad garden: lettuce, chard, collard greens, kale, tomatoes
- Salsa garden: tomatoes, peppers, cilantro
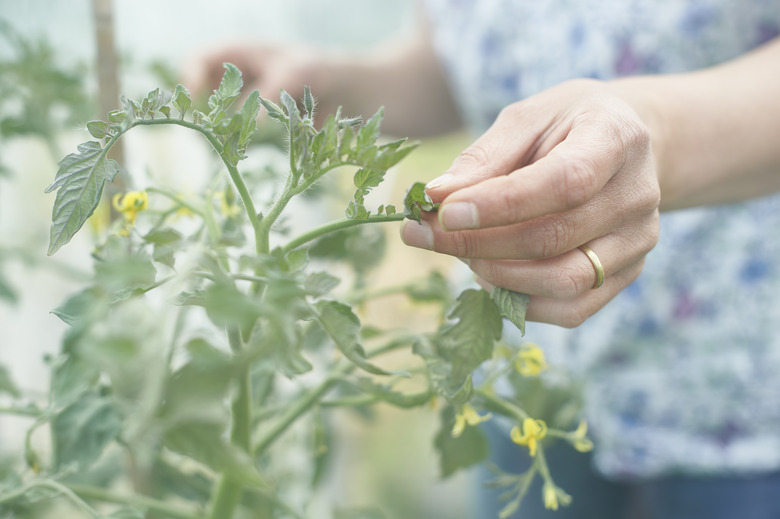
Choose one or a few plants to grow, keeping in mind your space limitations. A tomato plant requires its own large pot, at least 18 to 20 inches in diameter. Other plants typically require a container size at least 12 inches in diameter. Herbs can be planted in separate small pots or several can be planted together in one larger pot. In cold climates, when there is risk of frost you can bring herbs indoors and place them near a sunny window, and the plants will continue to thrive through the winter. If you want to do this, at planting time make sure to choose individual containers that will fit in a windowsill garden.
 Piotr Marcinski / EyeEm/EyeEm/GettyImages
2. Planting a Container Garden
Garden centers sell everything you need: containers, soil, plants and seeds. Glazed clay pots or plastic containers won't dry out as quickly as a terra cotta or unglazed pots. All containers must have ample drainage holes. Purchase a quality potting mix (soil) because it will provide the plants with nutrients, drain better than garden soil, and be free of weed seeds. All-natural and organic mixes are available. A tomato plant also requires a cage to support the plant as it grows. Choose plants that appear healthy and avoid those with wilted, discolored leaves. Most people purchase seedlings rather than seeds because the plants have a head-start on the growing season. Planting by seeds is cheaper, but a seed packet will likely contain more seeds than what will fit into one container; the leftovers can be saved for next year, or you can share a packet of seeds with other people. If you're planting seeds, the packet will provide specific planting instructions.
- Place a paper towel or a piece of window screening inside the bottom of the container to prevent soil from falling out the drainage holes.
- Fill the container with potting mix to within a few inches of the top.
- Transplant seedlings from their plastic container into your container, keeping the top of their root systems at the level of the soil in the new container. This is usually easily done by scooping out holes in the soil with a trowel or your hand, then inserting the seedling. With large seedlings, you can fill the container half full of soil, position the seedling in the container, then fill in around the sides with additional potting soil.
- Pack the soil gently around the plant to remove any air pockets.
- Add water to the soil until it begins to run out the bottom.
 Richard Drury/DigitalVision/GettyImages
Tip
When transplanting tomato seedlings, sink them deeper into the soil than they were initially planted because they will develop extra roots exending from the underground stem.
3. Maintaining a Container Garden
Water the plants appropriately. Check for dryness each day by inserting a finger into the soil about two inches. If the tip of your finger feels dry soil, the plant needs water. Plants might need water multiple times during the day if the weather is hot or windy. Each time you water, add enough so that it begins to run out the bottom. This will ensure that all the roots receive moisture.
Fertilize plants regularly. Either add slow-release fertilizer pellets to the soil or dissolve water-soluble fertilizer in your watering can every week or two. Container gardens require more fertilizer than garden plants, due to the frequent watering, which leaches nutrients out of the soil.
 AleksandarNakic/E+/GettyImages