How To Frame Real Leaves To Create Original Botanical Art
Turn up the hues in your home with gorgeous greenery that'll last all year long. Preserving leaves in glycerin (as opposed to pressing them) captures the colors and freshness of the season, resulting in glossy botanical beauties that can be framed to create stunning artwork. Displaying them in brass float frames (only $12.99 from Target!) lends a contemporary feel to your leafage. Whether your green thumb game may be lacking or you're just in search of the ultimate zero-maintenance plant, this DIY framed botanical art takes very little effort and will instantly liven up your space with some earthy, mood-boosting plant vibes.
Things Needed
-
Freshly picked leaves
-
Glycerin (or find in the first-aid section of your drugstore)
-
Shallow bin, dish or tray
-
Plastic plates
-
Paper towels
-
Wax paper (optional)
-
Large heavy books (optional)
-
Double-sided tape
 Trisha Sprouse
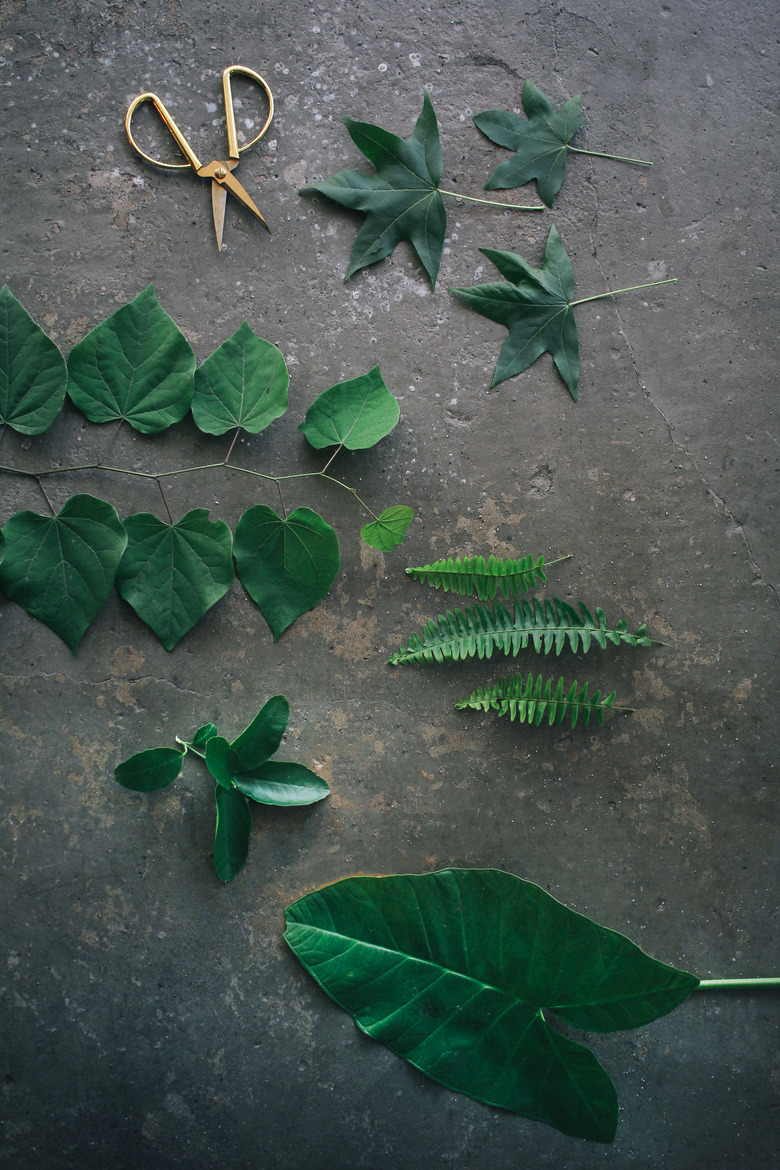
1. Pick Your Leaves
Head outdoors to forage for leaves of assorted shapes, sizes, and hues. Since glycerin will dull/change the color slightly, you'll want to pick leaves directly off of branches or stems as opposed to picking fallen leaves off the ground. This will ensure peak color and freshness. Early morning or evening is the best time of day to gather your greenery, when the harsh afternoon sun isn't out, as leaves will be less wilted.
TIP: Pick the leaves immediately at the time when you plan to preserve them to guarantee maximum color fastness and freshness.
 Trisha Sprouse
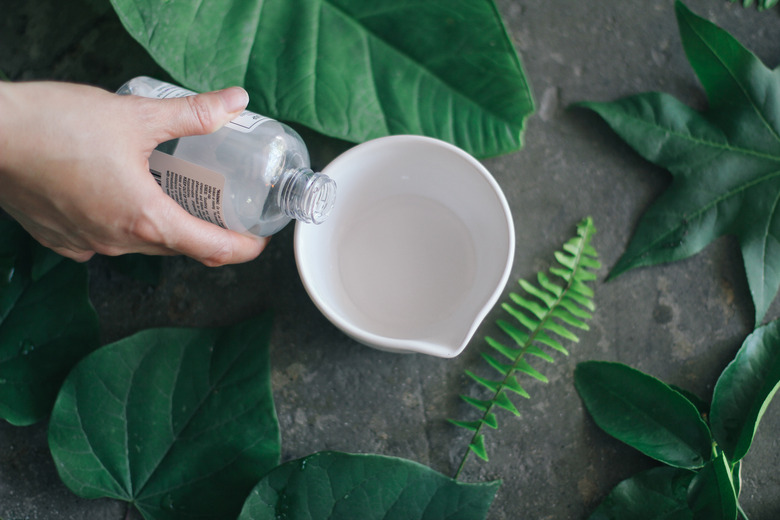
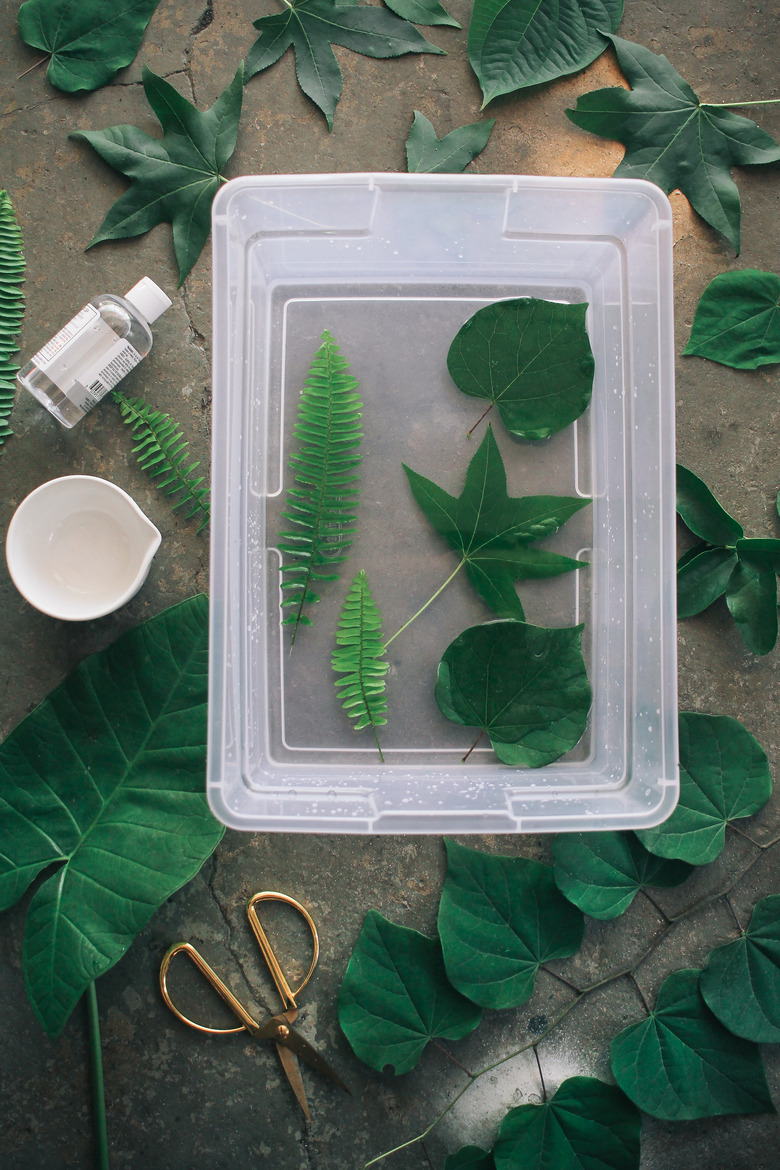
2. Mix Your Solution
Mix one part glycerin to two parts water, and add to your shallow bin or tray. The amount will depend on how many leaves you plan to preserve (you'll need enough liquid to cover them completely). We used two cups of glycerin and four cups of water to preserve approximately 15 leaves.
 Trisha Sprouse
3. Add the Leaves
Place your leaves in the glycerin solution, gently layering them on top of each other as needed to fit them all in the bin.
 Trisha Sprouse
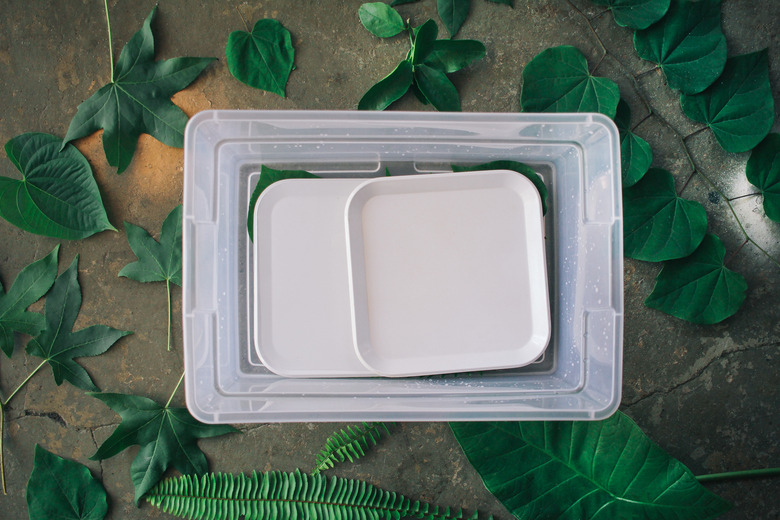
4. Soak the Leaves
To ensure your leaves stay completely submerged in the solution, gently stack plastic plates on top of the leaves (nothing too heavy that could crush them), and let the leaves soak for three to four days in a cool, dark space that doesn't get any direct sun.
 Trisha Sprouse
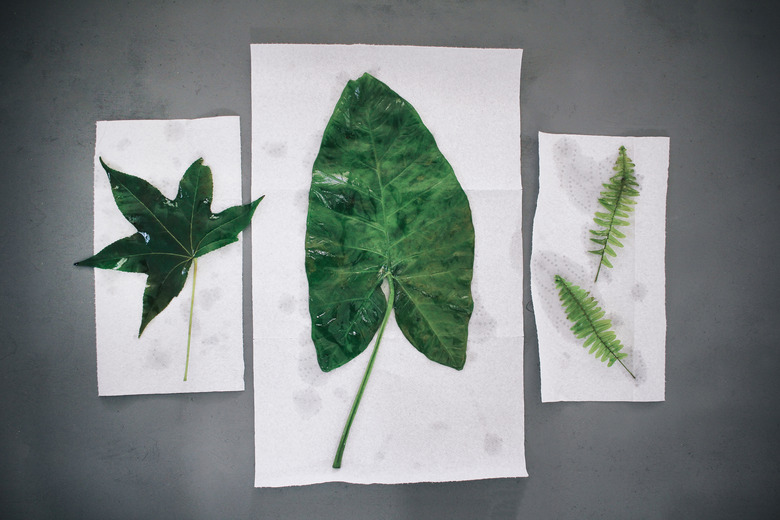
5. Dry the Leaves
Gently remove the leaves from the glycerin solution and lay them flat on paper towels. Carefully wipe the excess glycerin off of the leaves and let them air dry for an hour. Depending on the hardiness and original color of your leaf species, you'll notice the glycerin will have changed their color to a certain degree, some more than others.
 Trisha Sprouse
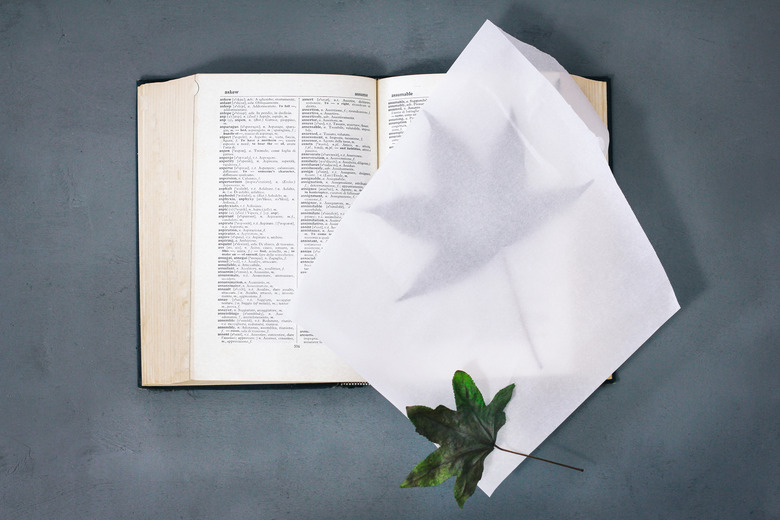
6. Pres the Leaves
This step is optional, but if you'd like your leaves to be extra flat, place each preserved leaf between two sheets of wax paper and set it inside the middle of a heavy book (make sure it's not a valuable book, as the moisture could damage it). Close the book and place another book or heavy object on top to weigh it down. Let it "press" for at least two to three days.
Love the look of pressed flowers, too? Check out our Flower Pressing DIY.
 Trisha Sprouse
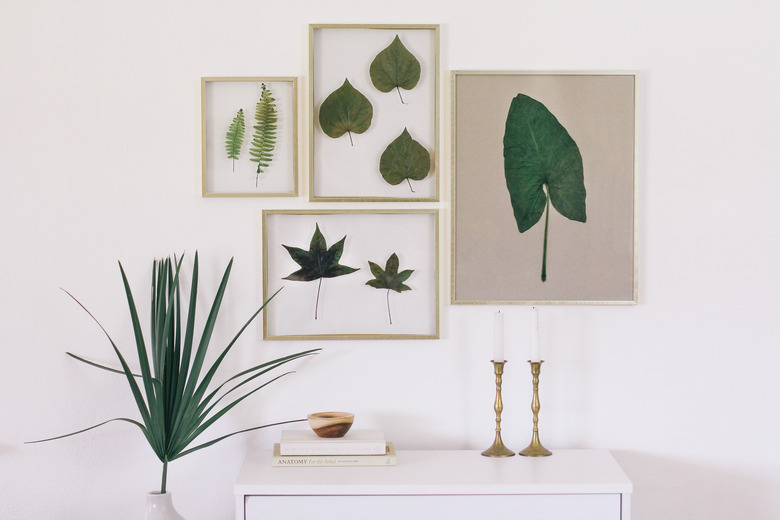
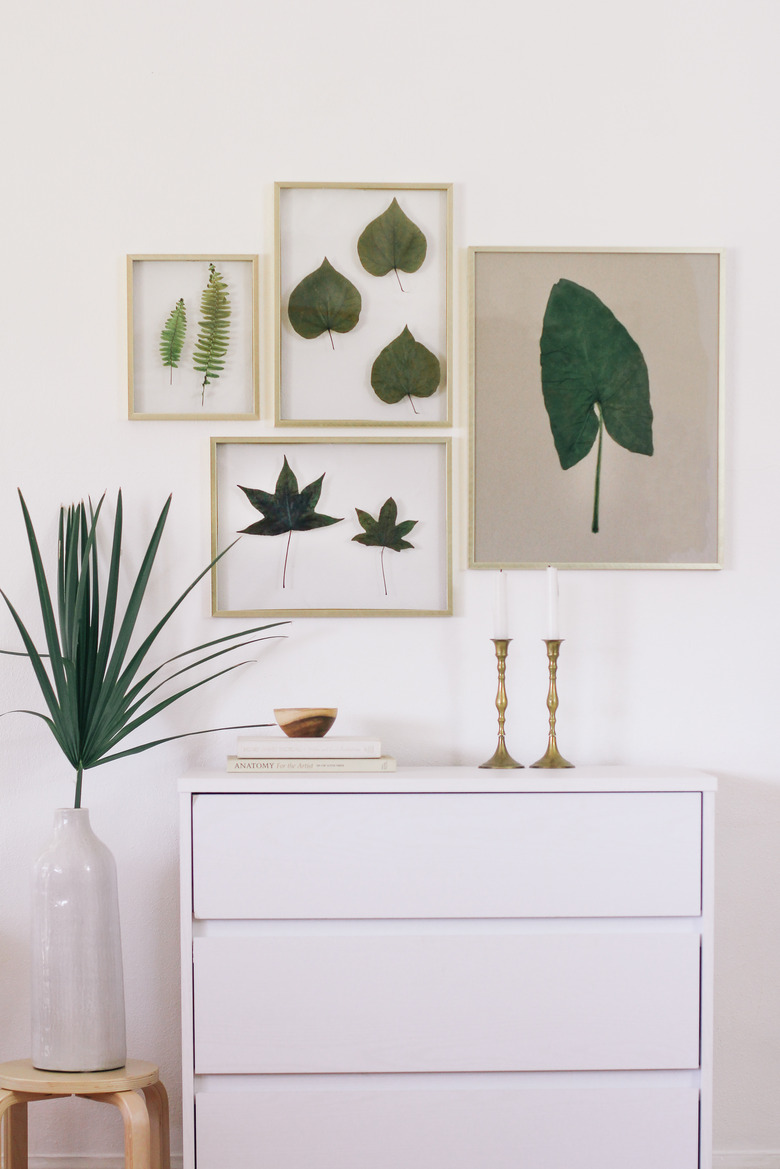
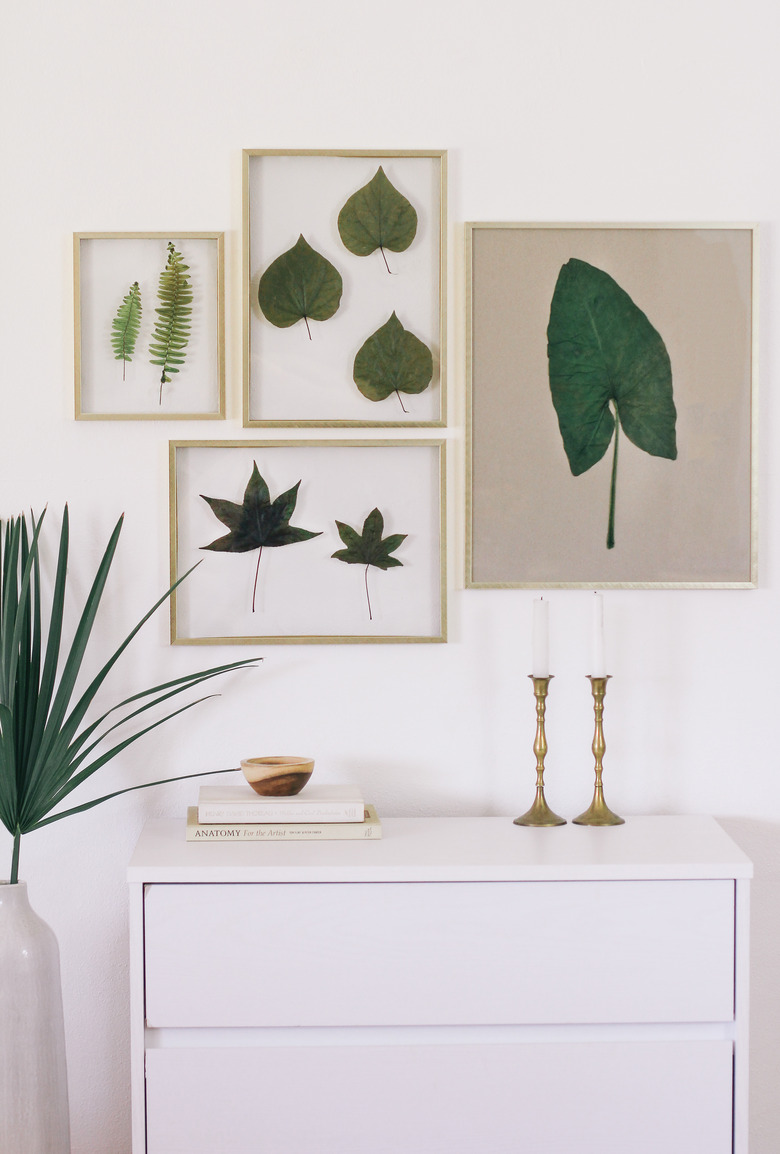
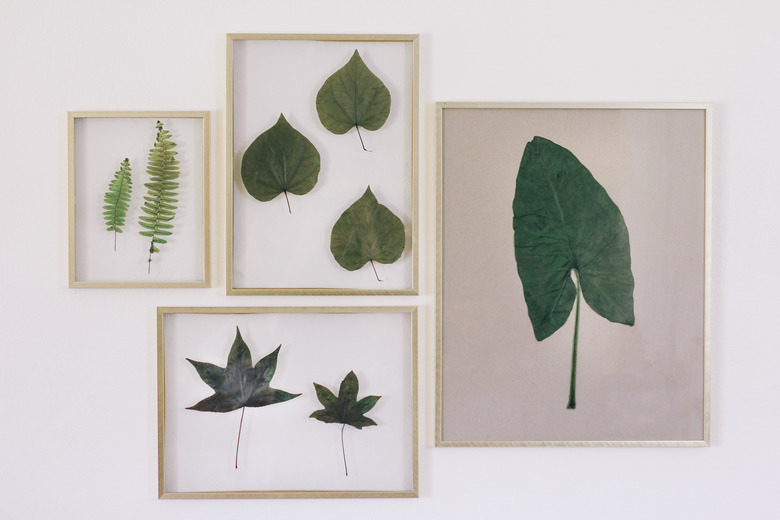
7. Frame and Hang
Remove the backing from each of your float frames and lay them out flat. Experiment with arranging your preserved leaves on top of the backings until you have the look you want. Carefully secure the leaves in place onto the backings with a few pieces of double-sided tape strategically placed on the backs of the leaves. Place the backings back into the frames so that the "right side" of the plants are visible from the front and lock them in place. Your beautiful botanical art is ready for display.
 Trisha Sprouse
When grouped together to form a cohesive vignette, the frames add a gorgeous greenhouse feel to any corner of your abode. Simple and stunning — now, that's our kind of DIY!
 Trisha Sprouse
 Trisha Sprouse