This DIY Fringe Pillow Looks Like It's Straight Outta Anthropologie

We may receive a commission on purchases made from links.
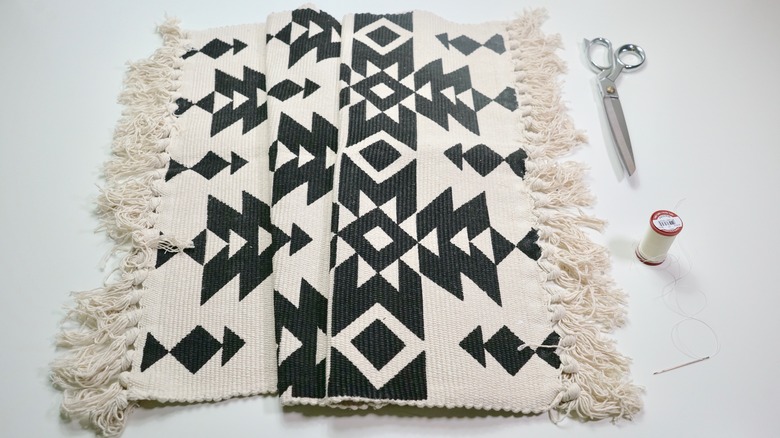
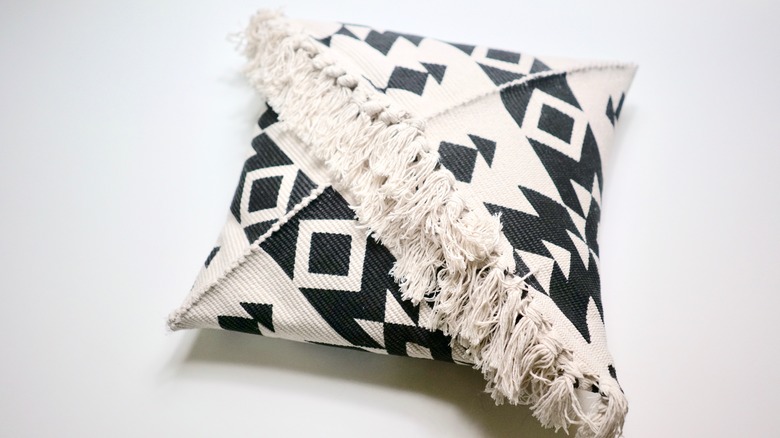
If dropping a few hundred on a handmade artisan pillow isn't in your budget, here's a tutorial that'll show you how to turn a mass-produced (read: affordable AF) rug into a one-of-a-kind statement cushion. The pillow's unique diagonal fringe criss-crossed with its raised pinched seams are details that scream "painstakingly" handcrafted — yet we promise you that this is project is unbelievably simple. Like, we-actually-got-it-right-the-_first-_time simple. The hardest part, by far, will be picking the the right rug!
 Maya Marin
Things Needed
-
Fringed woven area rug, 2-feet-by-3-feet, preferably machine washable (see tip below)
-
Pencil or water soluble fabric marker
-
Sewing machine (optional, but makes for quicker work)
-
Heavy duty shears
-
Upholstery needle and strong upholstery thread (you can also use a standard sewing needle and thread, but make sure you use very strong thread)
-
Yard stick
-
Machine-washable pillow form or poly-filler, 15 inches by 15 inches
Tip: You should be able to easily find an affordable rug with these dimensions or very close to them, but if not, any small rectangular or square rug (around 2-feet-by-2-feet in size) will do.
Step 1: Mark Rug for Removing Excess Length
Step 1: Mark Rug for Removing Excess Length
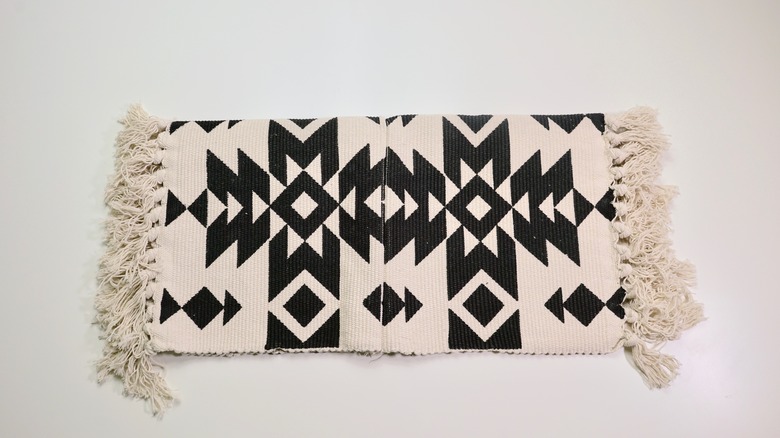
If you're actually lucky enough to find a small square rug (we had no such luck!) then you'll need to turn your rectangular rug into a square by cutting out a piece from the center. We found a lot of woven rugs that were 2-feet-by-3-feet (or very close), and many of them were at or under $20 — as ours was. If you've got a square rug, scroll down to Step 3. If not:
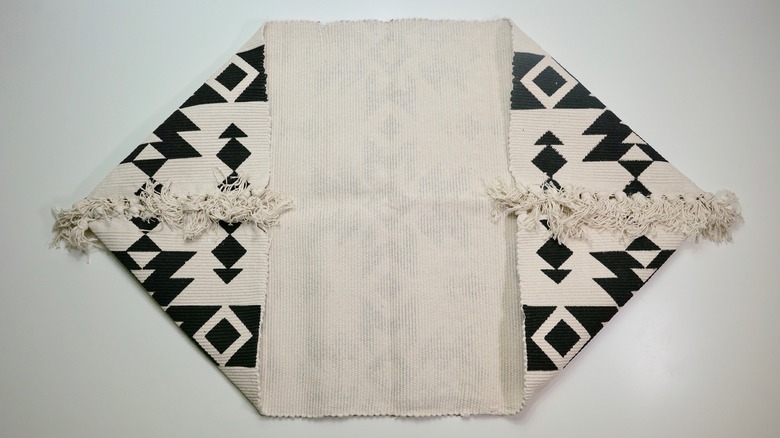
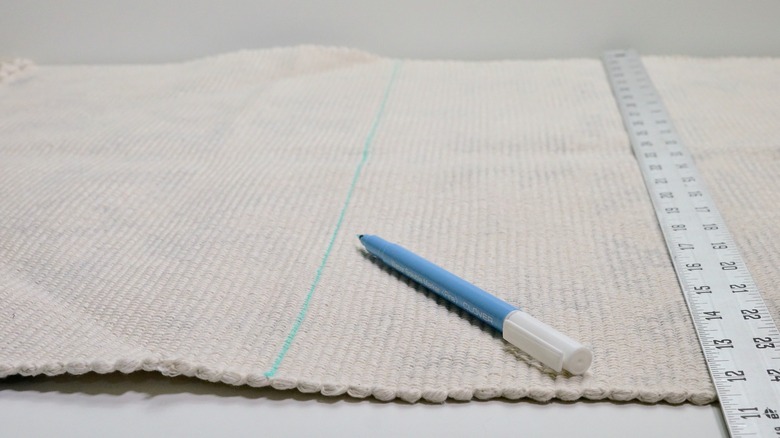
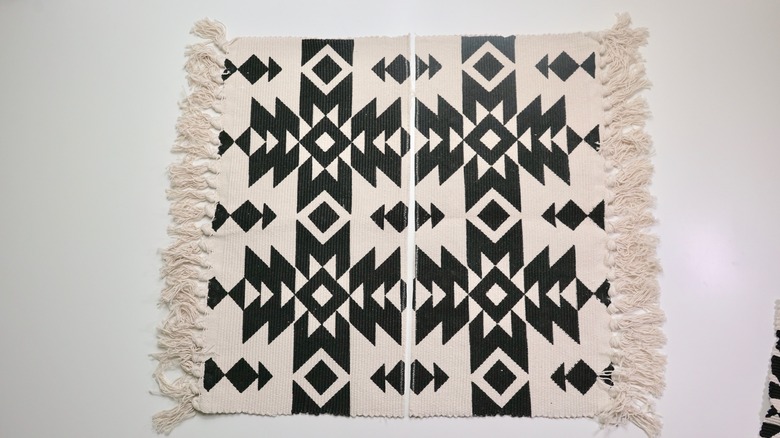
Turn the rug upside down and fold in the corners until the fringed ends meet, as shown below.
 Maya Marin
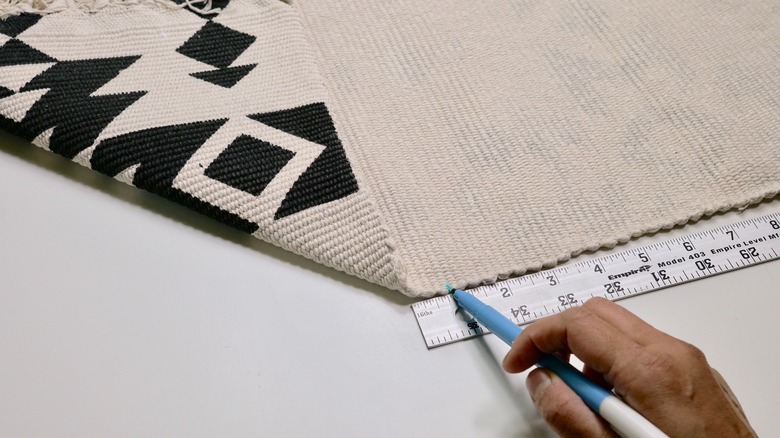
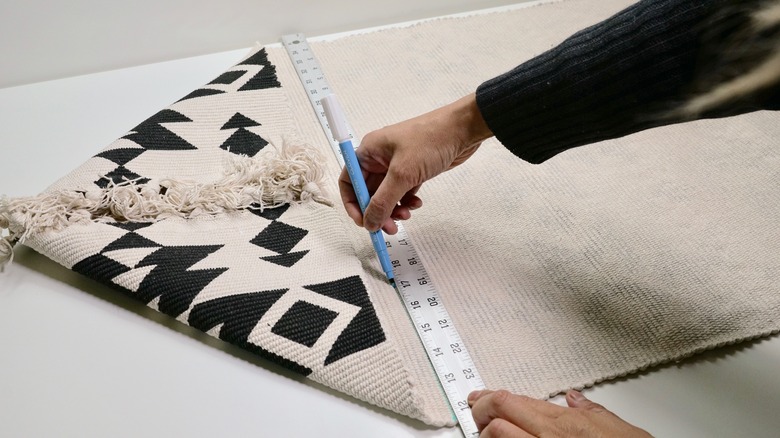
Then, using a pencil or water soluble marker, lightly mark a straight line across the entire width of the rug, 3/4 of an inch from the folded-in edges, as shown below.
 Maya Marin
 Maya Marin
 Maya Marin
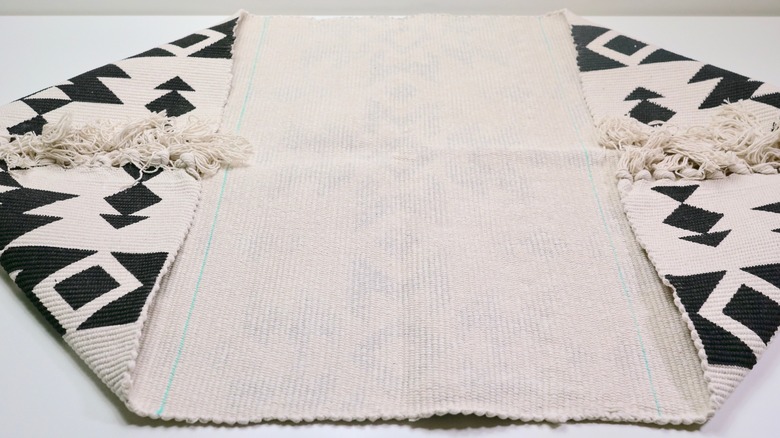
Repeat on the other side. The fabric in the middle, between the lines, is the fabric you'll remove.
 Maya Marin
Step 2: Cut Excess Fabric From Rug
Step 2: Cut Excess Fabric From Rug
To prepare for cutting, use a sewing machine to sew a zig-zag stitch over the marked lines. This will secure the cut edges to ensure that your rug won't unravel on you. (If you don't have a sewing machine, you can do this by hand.)
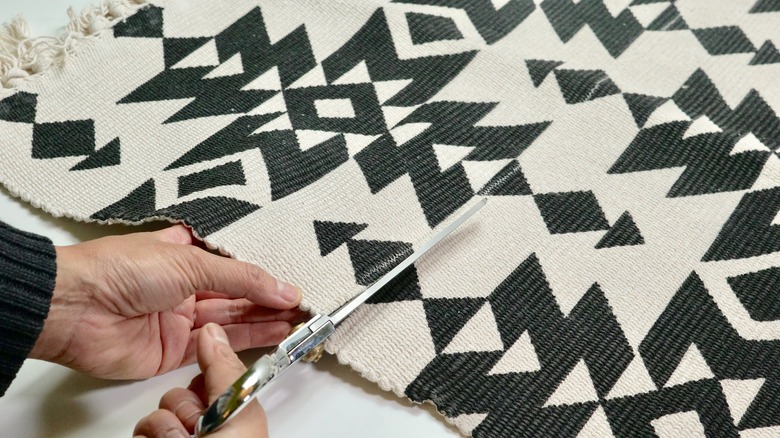
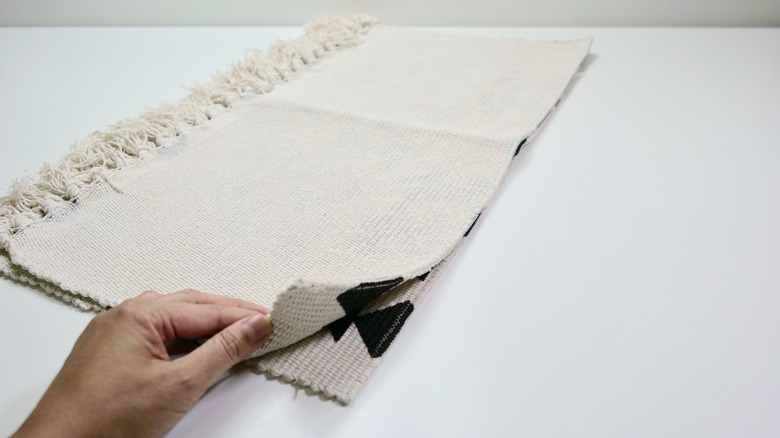
Cut out the center piece, as close to the zig-zag stitch as you can get, taking care not to cut into the securing zig-zag stitches (see photo below). Note that the zig-zag stitches should NOT run along on the edges of the pieces you discard, but on the pieces with the fringe.
 Maya Marin
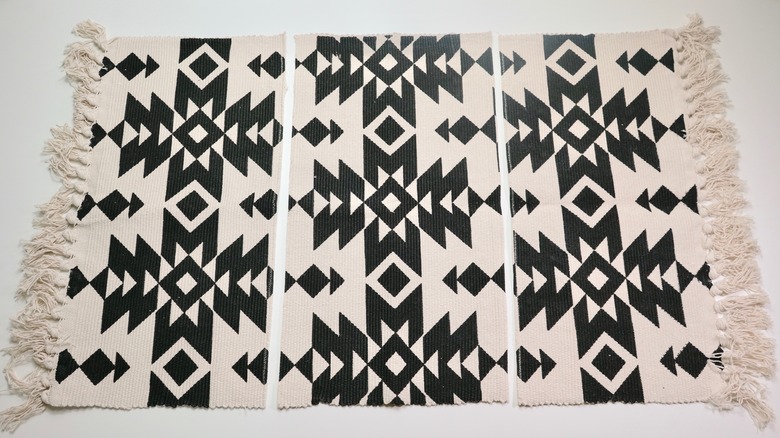
Your rug should now be in three pieces, as shown.
 Maya Marin
Remove the center piece and you'll now have two identical fringed pieces.
 Maya Marin
Step 3: Sew Cut Pieces Together
Step 3: Sew Cut Pieces Together
Place one piece over the other with the right sides facing each other and the fringed edges aligned, as shown below.
 Maya Marin
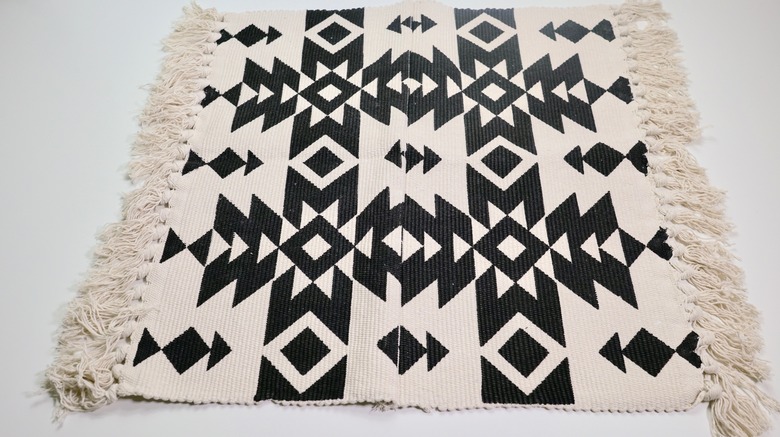
Then, stitch the cut edges together with 3/8-inch seam allowance. After sewing, you should now have a square rug:
 Maya Marin
Tip: To make a removable pillow case, you can opt to sew a zipper at this seam instead of simply stitching the two pieces together.
Step 4: Stitch Diagonal Fringe Seams
Step 4: Stitch Diagonal Fringe Seams
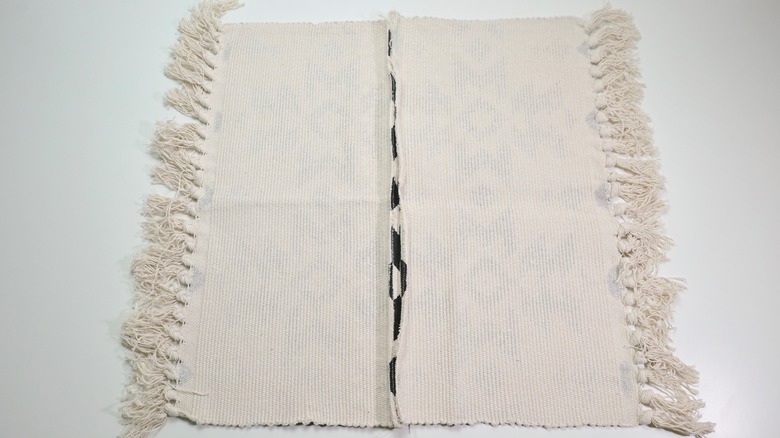
Turn your piece wrong side up.
 Maya Marin
Fold the rug in half, wrong sides facing, with the seam in the center and the fringe at opposite ends, as shown below.
 Maya Marin
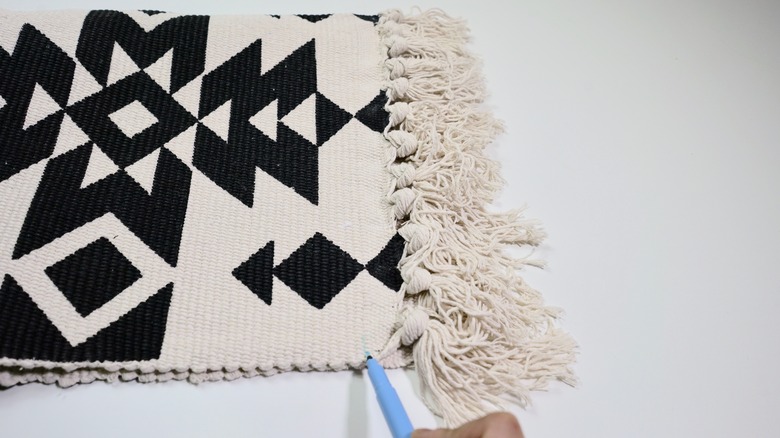
Stitch together the fringed edges on both sides of the folded rug, with about a 3/8-inch seam allowance, as pointed out in the photo below.
 Maya Marin
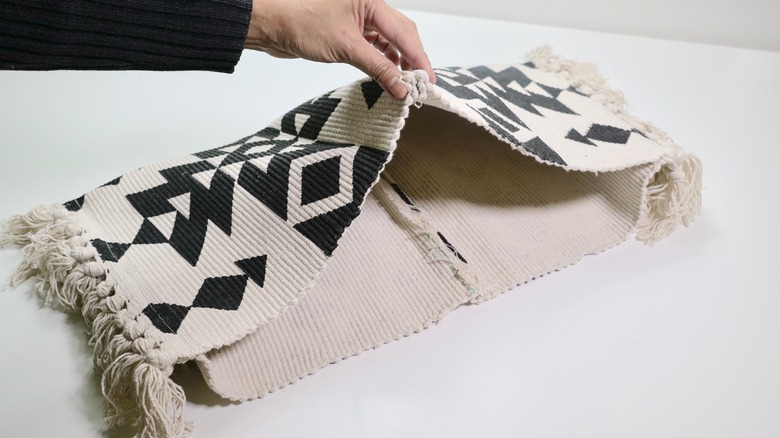
The stitched rug should now be a "pouch." Take one side of the "pouch" at the center seam (as shown below), then likewise, take hold of the seam on the opposite side with your other hand.
 Maya Marin
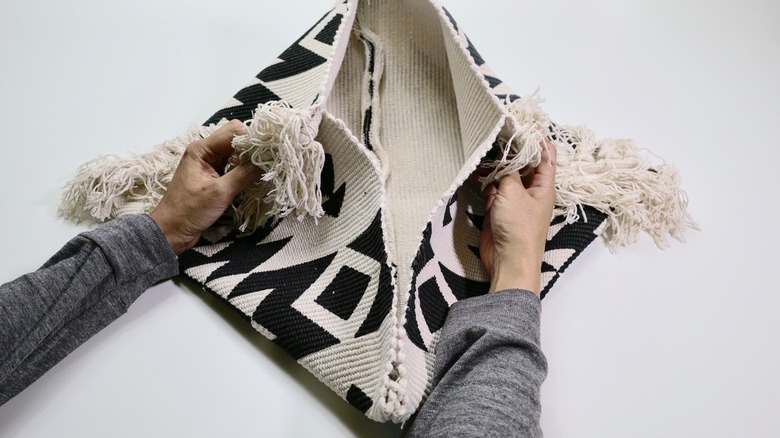
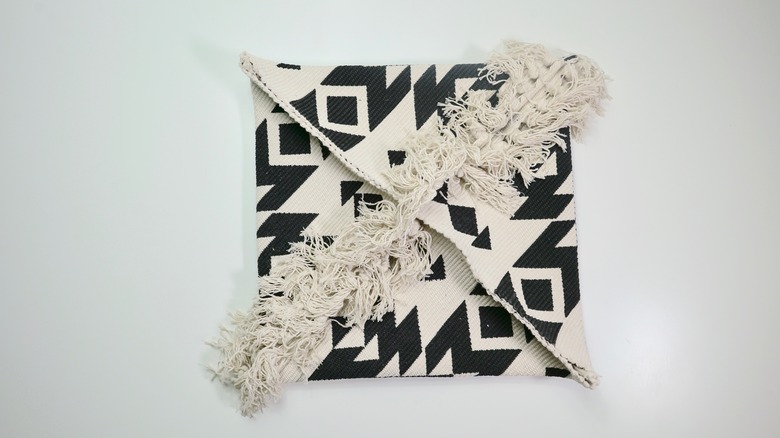
Now, pull open and flatten it out so that the seams now run diagonally, as shown below.
 Maya Marin
You now have something that looks more like a pillow case!
 Maya Marin
Step 5: Insert Pillow Form
Step 5: Insert Pillow Form
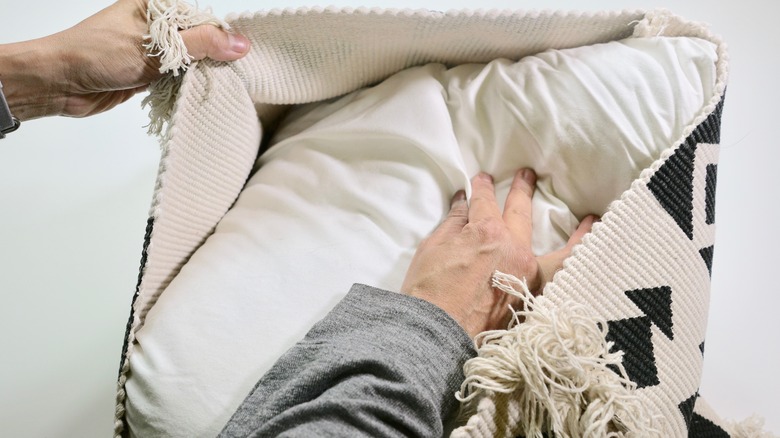
Insert a 15-inch-by-15-inch form inside. If the rug you used has different dimensions than ours, use an appropriate-sized pillow form, or stuff with poly-filler (see tip below).
 Maya Marin
Tip: If you'd like to use poly-filler instead of a pillow form, proceed to stitch your pillow shut using blanket stitch, as shown in Step 4. Before sewing completely shut, leave a 5-inch or so gap, allowing you to stuff with filler until you've reached your desired firmness and loft. Finish sewing it shut.
Step 6: Stitch Shut
Step 6: Stitch Shut
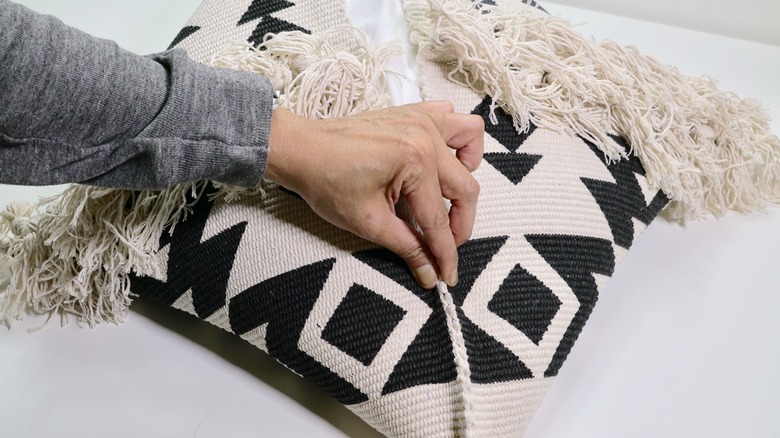
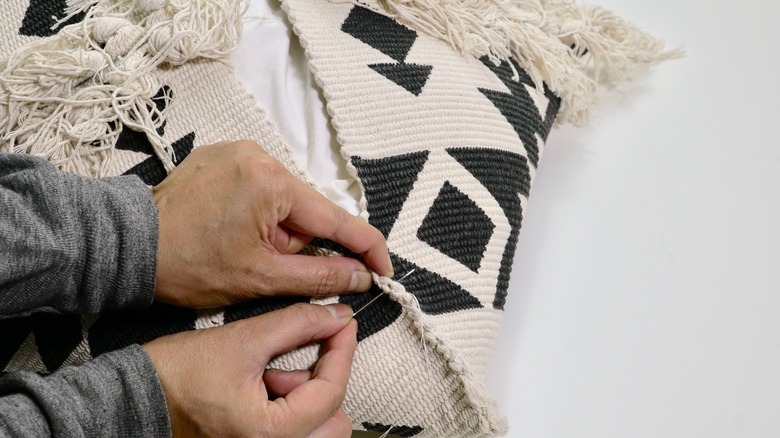
Now all that's left is for you to stitch your pillow shut! Simply pinch together the final seams and use a simple blanket stitch to close it up.
 Maya Marin
 Maya Marin
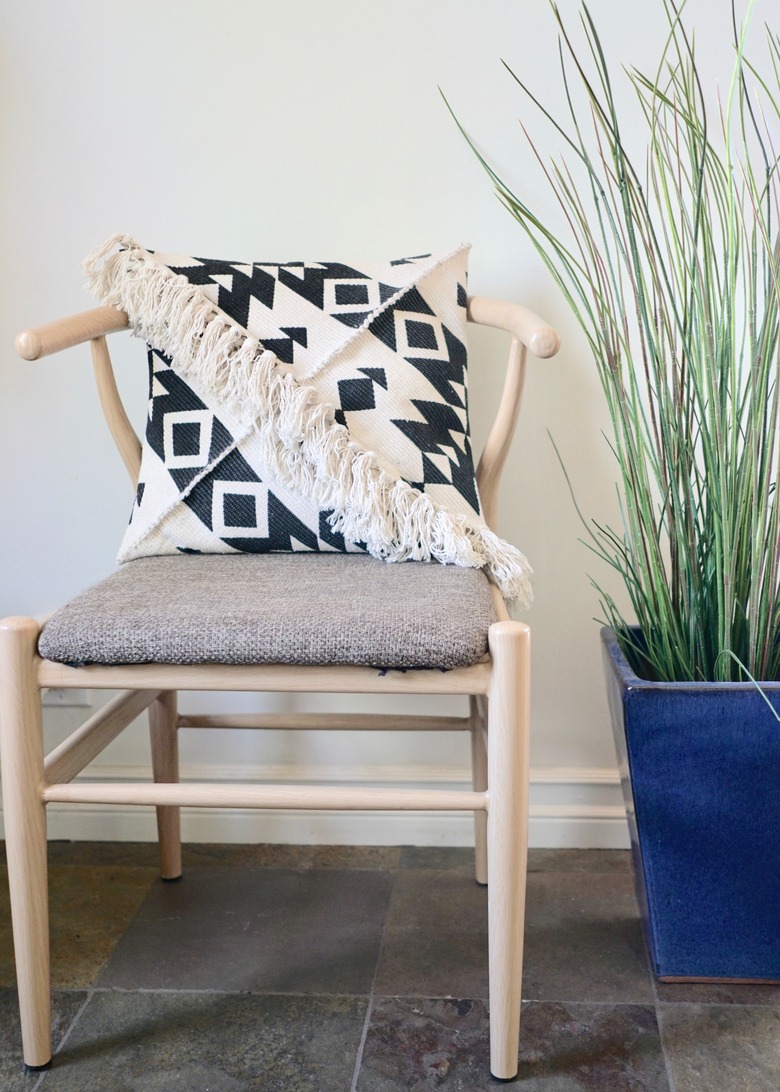
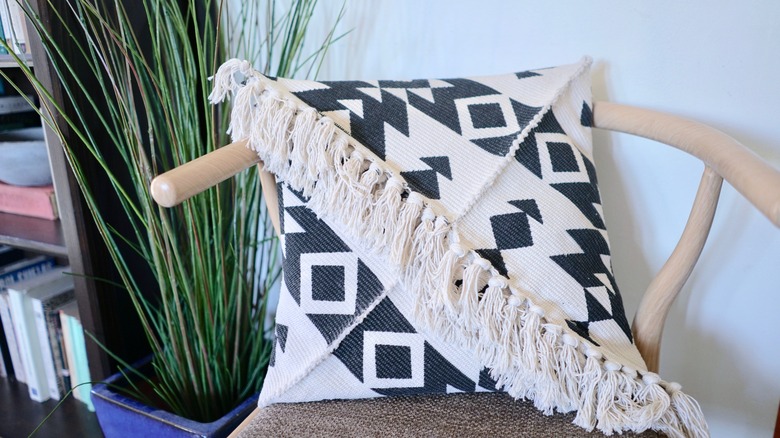
All done and ready to decorate your couch, chair, or bed.
 Maya Marin
 Maya Marin
 Maya Marin