How To Remove A Nest Thermostat
Removing a Nest learning thermostat—as in, uninstalling it from the wall—is a simple job that takes just a few minutes. Once the Nest unit and base plate are out of the way, you can install another thermostat using the existing low-voltage wires.
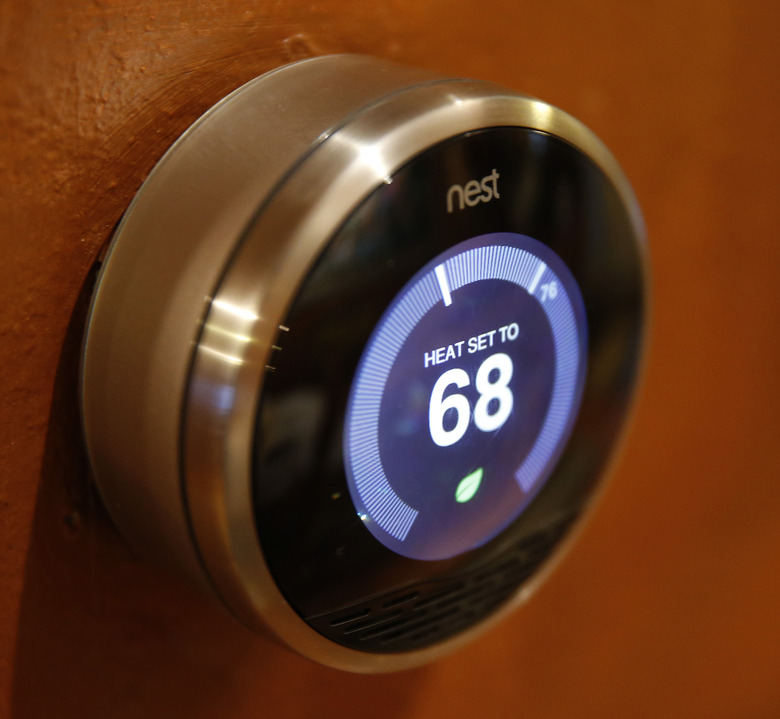 George Frey/Getty Images News/GettyImages
Removing or moving a Nest usually involves resetting the Nest before taking it off the wall. If you're moving the Nest to another location in the same house, you can reset only the Home Away settings, so the thermostat can learn your habits in the new part of the house. If you're moving the Nest to another residence or won't be using the thermostat for a while, you should clear all of the thermostat's settings and remove the thermostat from your Nest account. You can reinstall it later and set it up as though it were new.
Things Needed
-
Non-contact voltage tester
-
Masking tape
-
Pen or marker
-
Screwdrivers
How to Remove a Nest Thermostat
1. Reset the Thermostat
If you're moving with the thermostat or plan to store it or no longer use it, be sure to remove the thermostat from your Nest account, using the mobile app. Once that's done, reset the thermostat using the All Settings function. If you're just moving the Nest to another room, do not remove it from your account, and reset it using the Away function.
- Press the Nest ring to open the Quick View menu.
- Turn the ring to select Settings, then click the ring.
- Select Reset, and click again.
- Select the appropriate reset function: All Settings or Away.
- Click the ring to activate the reset function. With the All Settings function, you may have to turn the Nest ring and click again to initiate the reset.
2. Shut Off the Power
Nests and most other thermostats connect to low-voltage wiring, which is powered by a transformer that connects to a standard 120-volt household circuit. This may be the same circuit that feeds a gas furnace (electric furnaces use 240-volt power), or the transformer may be on a different circuit.
Shut off the appropriate circuit breaker on the circuit(s) for the thermostat and the furnace or air conditioner (or other heating/cooling equipment). The circuit breakers should be located in your home's main service panel (breaker box). If you have an outdoor central air-conditioner unit, also shut off the power to the unit at the exterior disconnect switch located in a weatherproof box near the unit.
Warning
Always shut off the power to the furnace or other heating/cooling equipment controlled by the thermostat before doing any work on the thermostat or thermostat wiring. Leave the power off until a new thermostat is completely installed.
3. Remove the Nest Unit
Even with the power shut off, the Nest unit will still have power from its internal battery (for power outages). Therefore, you must test for power in the low-voltage wiring with a voltage tester.
- Remove the Nest unit by pulling it straight back from its base plate, and set the unit aside.
- Test the thermostat wires for voltage, using a non-contact voltage tester. Touch the tester probe to the end of each wire.
- If the tester indicates voltage in any of the wires, return to the service panel and turn off the appropriate breaker for the thermostat wiring. This may take some trial and error. Re-test the wires to confirm the power is off.
 Nest
Nest
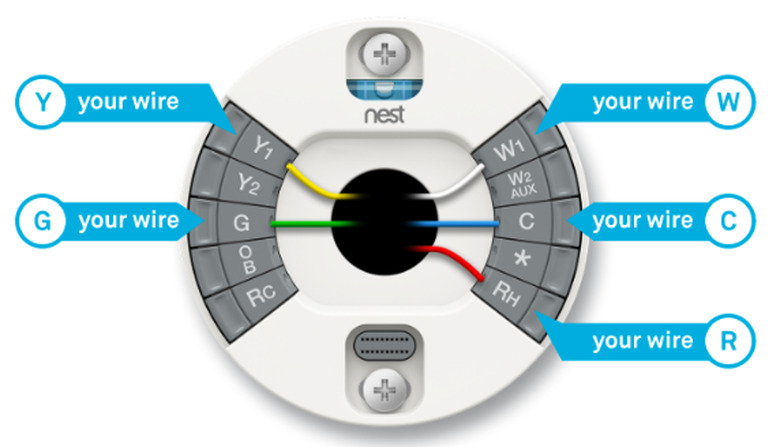
4. Label the Thermostat Wires
Your thermostat wires may have existing Nest labels indicating the symbol where each wire connects to the thermostat (Y1, Y2, G, Rc, W1, etc.). If there are no labels, create your own with masking tape. These will help guide the installation of the next thermostat.
Label each wire connected to a terminal on the Nest thermostat. Write the symbol from the corresponding terminal onto the label. Some of the wires are color-coded (for example, the yellow wire usually connects to the Y terminal), but this can vary. Follow the terminal symbol rather than the wire color.
 Nest
Nest
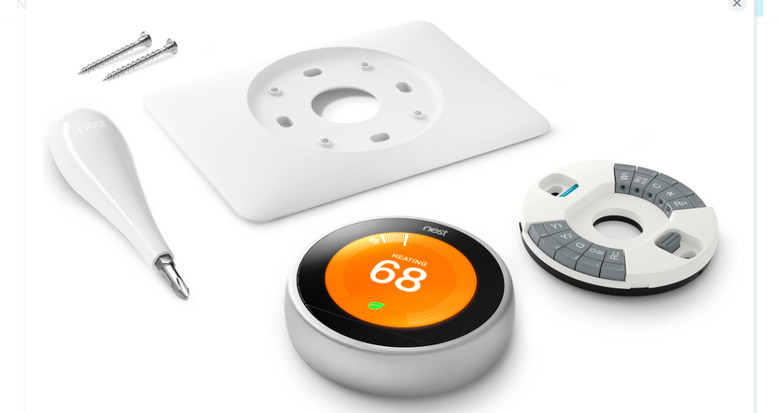
5. Remove the Base Plate
If your thermostat has a rectangular trim plate in addition to the small, round base plate, you will remove the base plate, then the trim plate.
- Disconnect each of the labeled wires from the thermostat by pushing in the terminal tab and pulling out the wire. The wires are bundled inside a small cable. Do not let the wires slip into the wall cavity.
- Gently pull the thermostat wire cable out from the wall a few inches, if possible, to prevent the cable from slipping into the wall cavity. If you can't pull out the cable, hold the wires with one hand.
- Remove the screws securing the Nest base plate to the wall, using a screwdriver, and remove the base plate.
- Remove the screws securing the trim plate, if you have one, and remove the trim plate from the wall.
- Tape the thermostat wires to the wall with masking tape to keep them in place until you're ready to install another thermostat.