Replacing A Lamp Socket
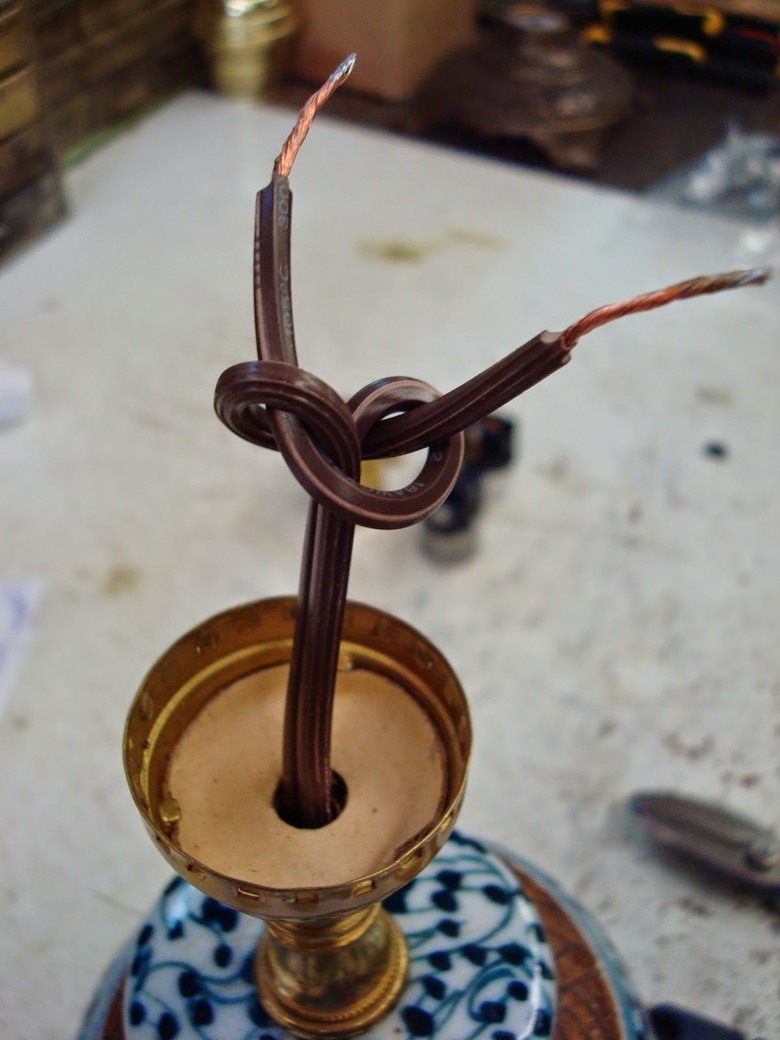
Replacing a bad lamp socket is a classic home repair that will make you feel like the master of your domain (and you don't have to tell anyone how easy it is). For starters, lamps are remarkably similar once you look past all the decorative elements. A cord goes into the base of the lamp, threads up through the body and is wired to the socket at two screw terminals. Once you've removed the old socket, take it with you to the store to find a suitable replacement. From there, it's a simple matter of reassembling the lamp.
Finding the Right Replacement Part
Finding the Right Replacement Part
Your local hardware store or home center is likely to have dozens of varieties of lamp sockets. Narrow down the options by focusing on the proper light bulb base size. This is where the light bulb screws into the socket. Standard-size light bulbs have an E26 base (E is for Edison, that guy who invented light bulbs). If your socket has a different base size, you might want to bring one of the lamp's bulbs to the store for a test-fit.
Next, look for sockets of the same size (especially the height) and with the same type of switch (pull chain, twist knob, push button, etc.) as the old socket. Also check the socket's mounting system—how it attaches to the lamp.
Lamp Wiring Basics
Lamp Wiring Basics
Standard lamp cords have only two wires: a "hot" wire that brings the electricity to the socket, and a "neutral" wire that bring the electricity back to the household circuit. If you mix these up, the lamp will still work, but you'll energize the light bulb base of the socket, which is potentially dangerous.
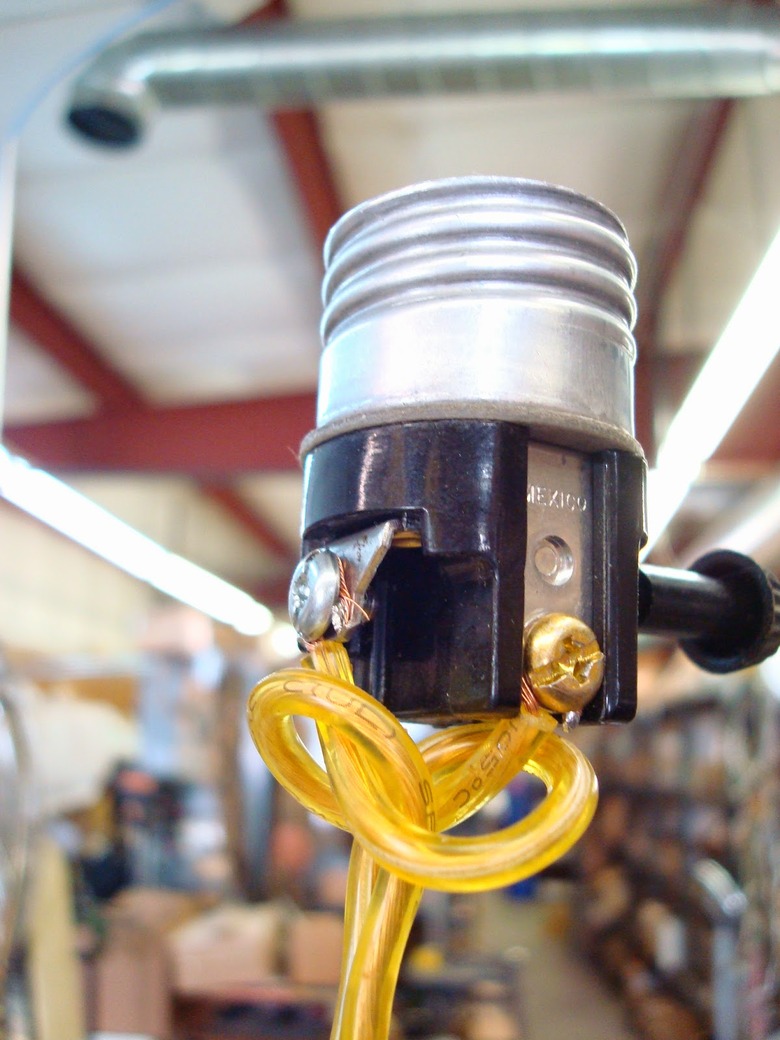
Getting it right is easy. If you look closely at the cord's insulation, you'll notice that one half is smooth and the other half has tiny ridges. The smooth half is the HOT wire; this connects to the brass-colored terminal on the socket. The ridged half is the NEUTRAL and connects to the silver-colored terminal. If your socket's screws are identical, look closely to identify which screw has an electrical connection (usually via a metal band or clip) to the threaded metal base (where the light bulb screws in); this is the neutral terminal. The hot terminal has a connection to the little metal tab inside the bottom of the base.
Things Needed
-
Screwdrivers
-
Needlenose pliers
-
Replacement socket
-
Wire strippers (as needed)
How To Replace a Lamp Socket
1. Disassemble the Lamp
Unplug the lamp from the electrical outlet so it is getting no power. Remove the lamp shade or globe, as applicable. Unscrew the light bulb from the socket. If there are multiple bulbs on the lamp, remove them all. If the lamp has a harp—a metal frame that holds the lamp shade or globe—remove it from the socket's mounting base. Harps usually are tension-fit into a bracket; squeeze the two bottom ends of the harp together and slip them out of the bracket.
2. Remove the Socket
- Examine the cylindrical metal cover around the socket; it
may have the word "Press" stamped near the bottom edge, indicating where to
grasp the cover to remove it. - Pinch the cover between your thumb and forefinger
and pull it up and away from the mounting base of the socket. If the cover has
no stamp, press anywhere just above the mounting base. - Slide the cardboard insulating sleeve straight up to remove
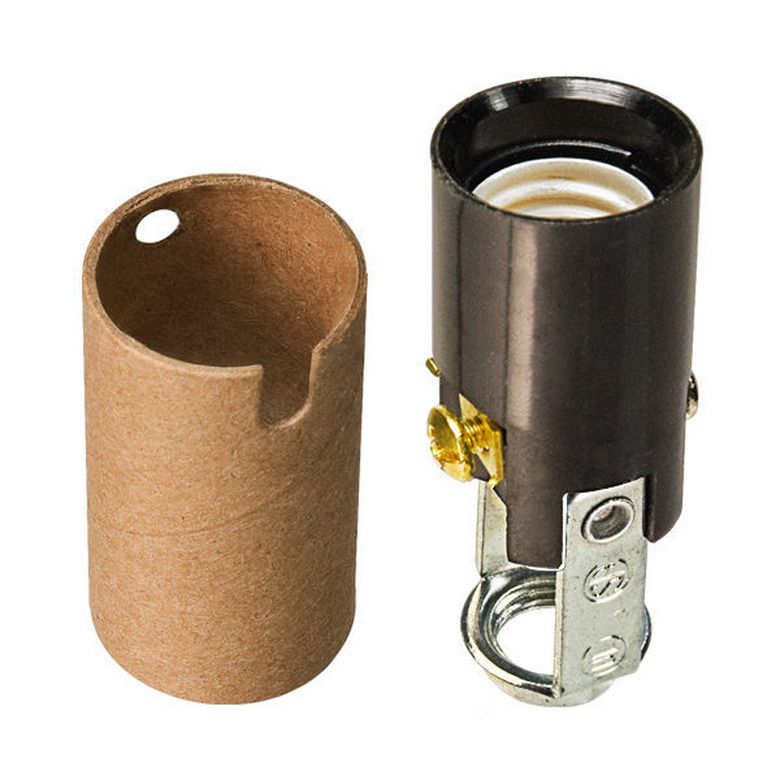
it from the socket (it may help to grab the sleeve with needlenose pliers). - Pull
up the socket so you can access the screw terminals. - Loosen each terminal with
a screwdriver, and remove the wire from the terminal. - Remove the mounting base
of the socket from the lamp by loosening its setscrew and unscrewing the base
from the threaded rod that the cord runs through. - Take all of the socket parts (and a bulb, if desired) to the
store to find a matching replacement socket.
3. Connect the New Socket
- Loosen the setscrew on the mounting base of the new socket, thread the base onto the lamp rod, then tighten the setscrew.
- Straighten the bare wire end of each cord wire. Twist
the stranded wires clockwise so they are wrapped tightly together. - Starting
with the neutral wire (ridged insulation), wrap the bare-wire end around the
silver (neutral) screw terminal in a clockwise direction, so the insulation is
on the left side of the screw. Tighten the screw firmly with a screwdriver.
Only the bare metal end (not the insulation) should be under the screw. - Connect
the hot wire (smooth insulation) to the brass (hot) screw terminal, using the
same techniques.
Tip
If the bare wire ends are scorched or have some broken or missing strands, trim off the metal part of the wire, then strip about 1/2 inch of insulation from the wire, using wire strippers, to expose fresh metal ends.
4. Reassemble the Lamp
- Fit the socket into the mounting base, then slip the
cardboard insulating sleeve down over the socket. - Fit the outer metal cover
over the cardboard sleeve, and snap the metal sleeve into the mounting base. - Reinstall the harp and shade or globe, as applicable.
- Install a light bulb into the socket, plug in the lamp, and
test the socket.


