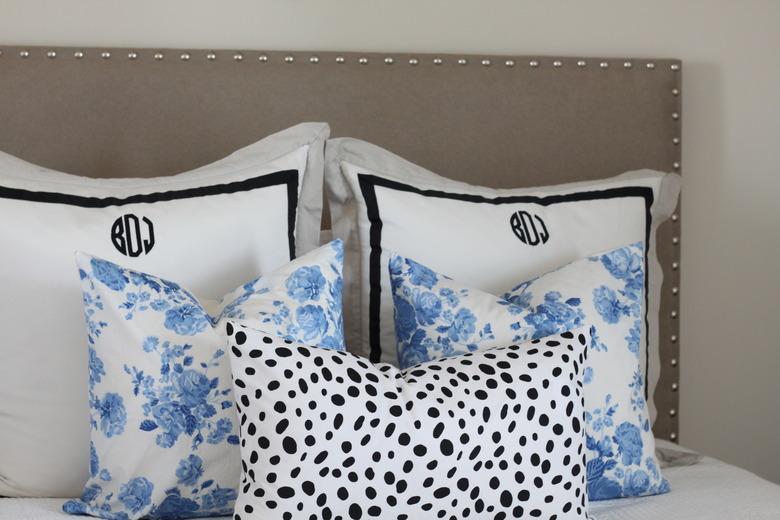
How To Make A Padded Headboard For A Bed
Creating a custom padded headboard is a great way to add personality and character to a room. It's a relatively simple process and can be easily customized to your needs.
 Bethany DeVore
Things You'll Need
Things You'll Need
- 1/2-inch foam, 39 inches by- 63 inches
- Measuring tape
- Black marker
- Yard stick or other straight edge
- Scissors
- Plywood, 40 inches by 65 inches
- Hot glue or spray adhesive
- Batting (slightly larger than your board)
- Fabric (also slightly larger than your board)
- Staple gun
- 1-inch-by-4-inch-by-58-inch wood boards, ( 2 )
- 1-inch-by-4-inch-by-20-inchwood boards, ( 2 )
- Wood screws, ( 22 )
- Phillips head screw driver
- 3/4-inch decorative nailhead trim
- Drill with 1/16-inch bit
- Rubber mallet
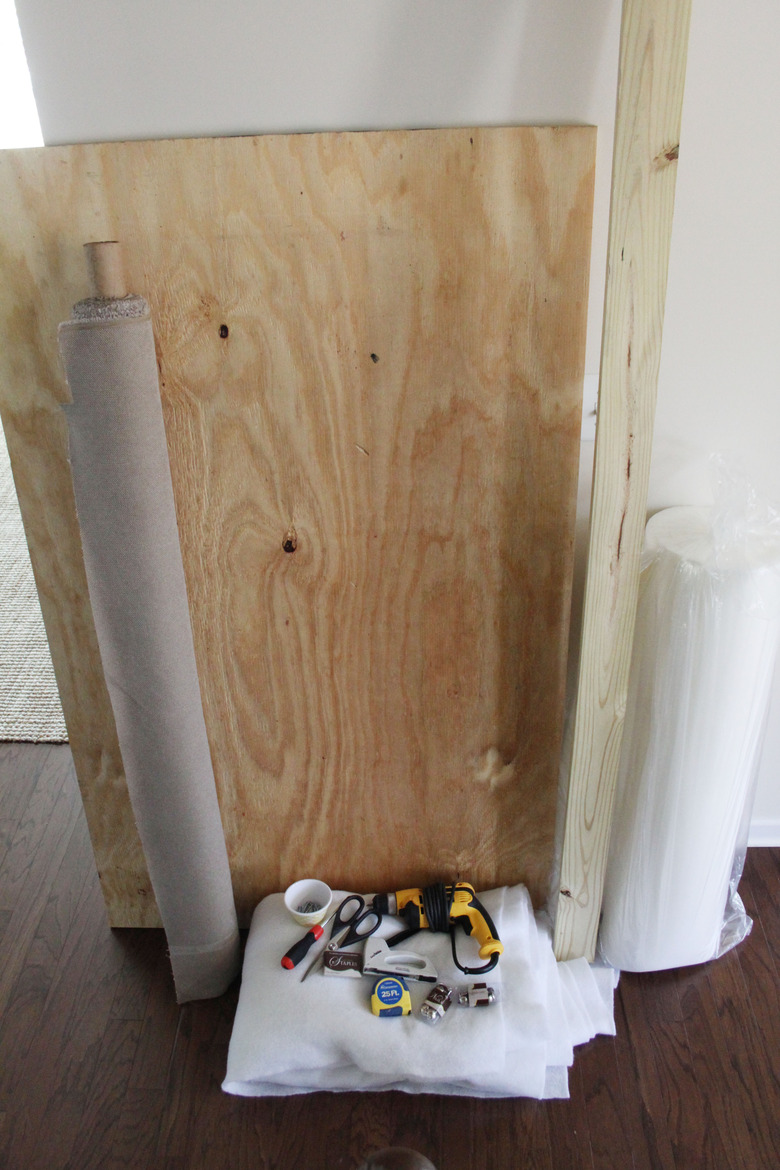
Step 1
Start by gathering your supplies.
 Bethany DeVore
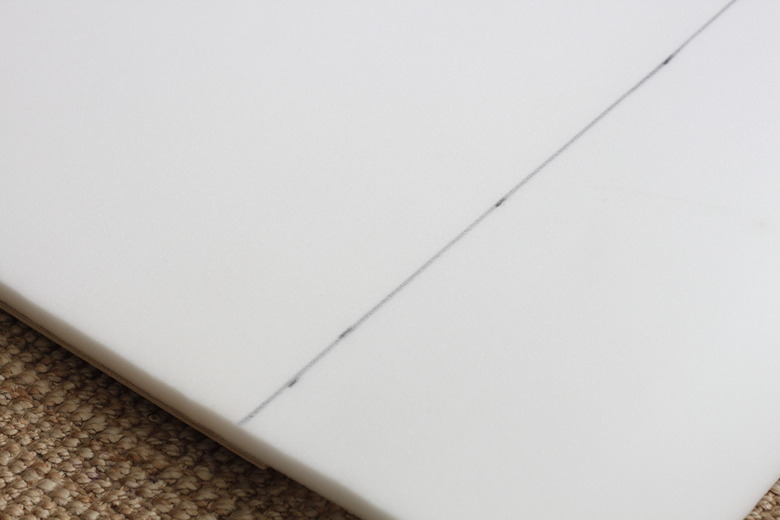
Step 2
Lay out your foam and mark where you want to cut it. You will want to cut the foam slightly smaller than the plywood to allow room for your nailhead trim — a one inch border on the sides and top is all you'll need. The foam for this headboard was cut down to 39 inches by 63 inches. When marking your foam, it helps to use a straight edge, like a yardstick, to ensure your line is even. Regular scissors will work for cutting half inch foam. However, if you are cutting thicker foam, an electric knife will make the process much easier.
 Bethany DeVore
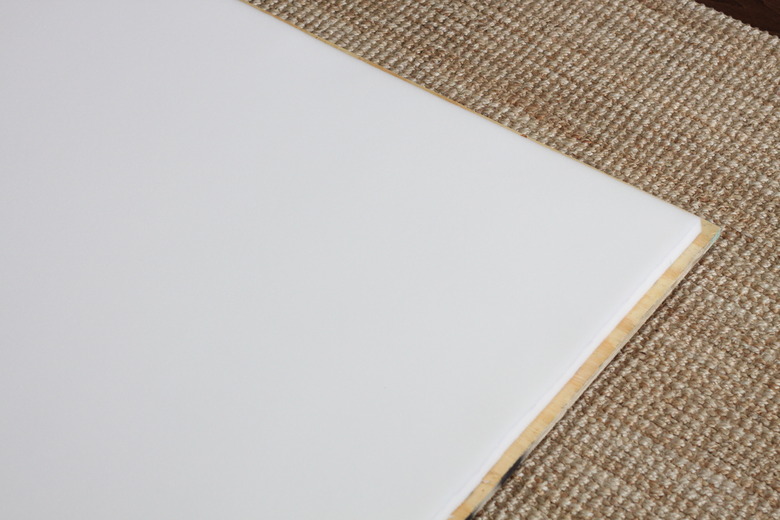
Step 3
Adhere your foam to the plywood, making sure it is centered on the sides and flush against the bottom edge. A little hot glue in the corners should hold it in place. You can also use spray adhesive to adhere it, either will work well.
 Bethany DeVore
Step 4
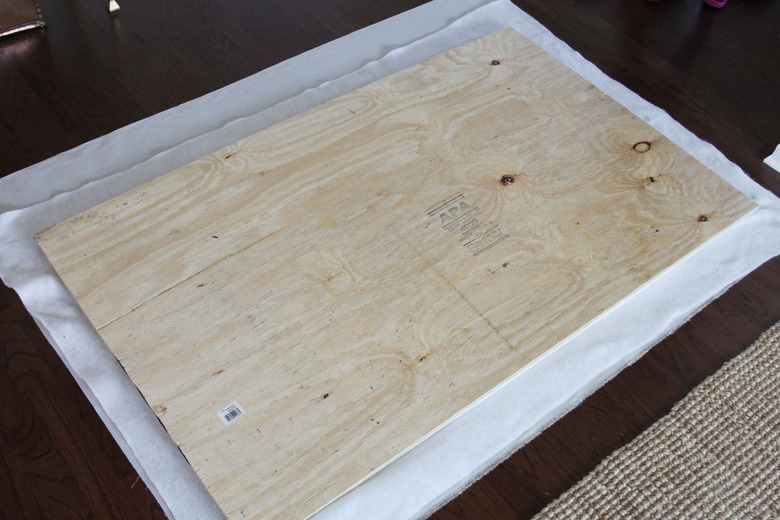
Lay your fabric out on a large, flat surface with the wrong side up. Then, lay your batting on top of the fabric. Finally, lay your plywood piece, foam side down, on top of the other two layers.
 Bethany DeVore
Step 5
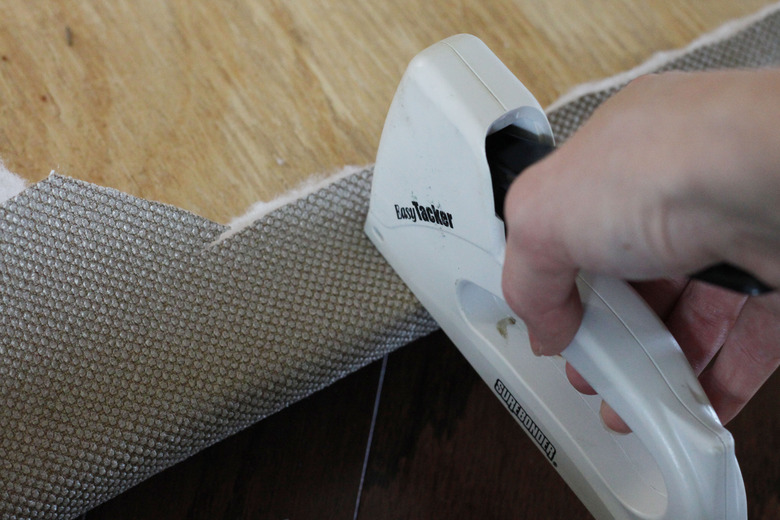
Staple your batting and fabric to the back of the plywood. You can staple both layers together or separately, pulling them taut as you go.
 Bethany DeVore
Step 6
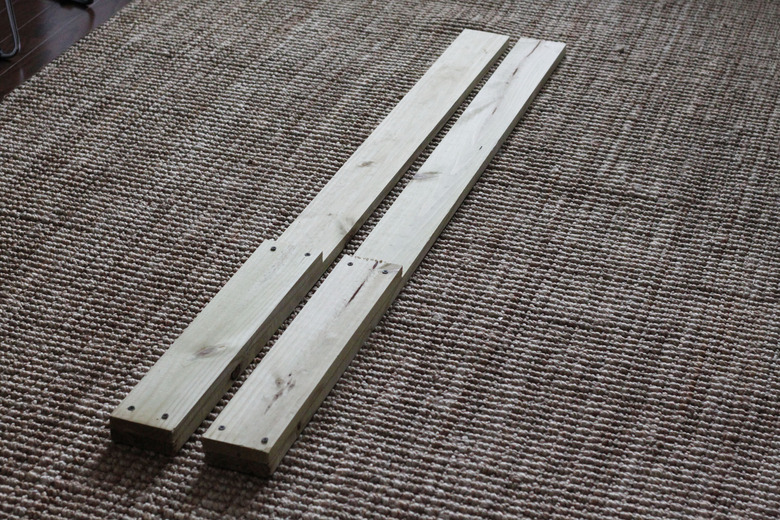
To create the headboard's supporting legs, attach the two 1-inch-by-8-inch-by-20-inch wood boards to the two longer 1-inch-by-8-inch-by-58-inch boards using wood screws. You'll need two screws at the top of the 20-inch piece and two at the bottom. Make sure the boards are flush on the sides and bottom.
 Bethany DeVore
Step 7
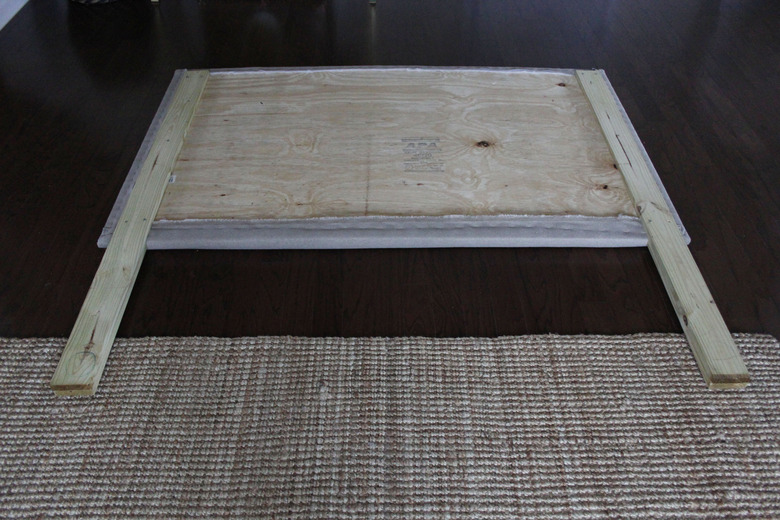
Attach the wood boards to the back of your headboard with the shorter side facing forward. Make sure the shorter board is pushed flush against the front of the headboard. Two screws at the base, two at the top, and one in the middle should secure it in place.
 Bethany DeVore
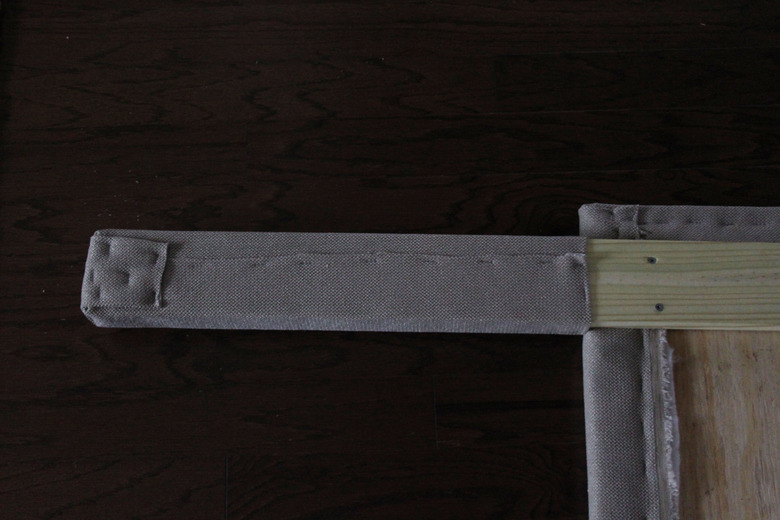
Step 8
To create a finished look, cover the bottom portion of the 1-inch-by-4-inch board with fabric. Wrap the fabric around the board and staple it on the back side. Folding the top edge before stapling will give you finished edge where the headboard meets the wood board.
 Bethany DeVore
Step 9
Measure and mark where you want to attach your nailhead trim. This nailhead trim was spaced two inches apart. Pre-drilling a small hole with a 1/16-inch drill bit will ensure the nailhead trim goes in straight.
 Bethany DeVore
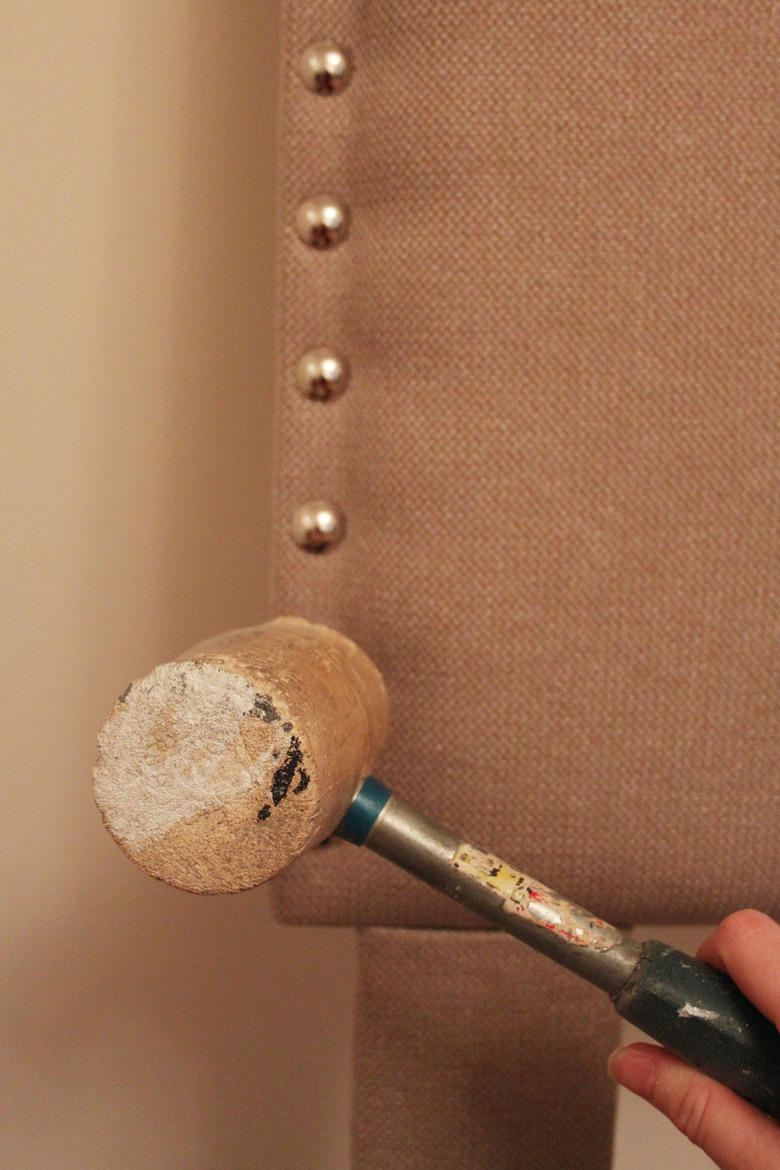
Step 10
After you've pre-drilled your holes, gently tap your nailhead trim into place with a rubber mallet.
 Bethany DeVore
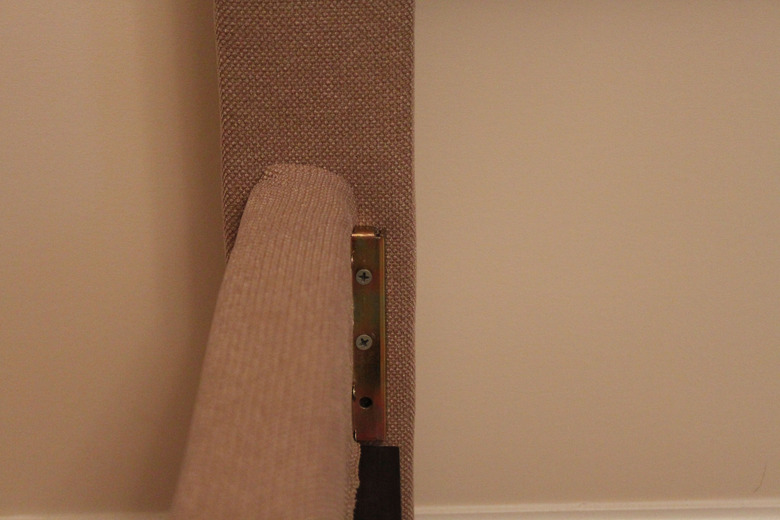
Step 11
Attach your headboard to the frame using wood screws and either a drill or Phillips head screw driver. If you have trouble getting the screws to go in, pre-drill your holes and try again.
 Bethany DeVore
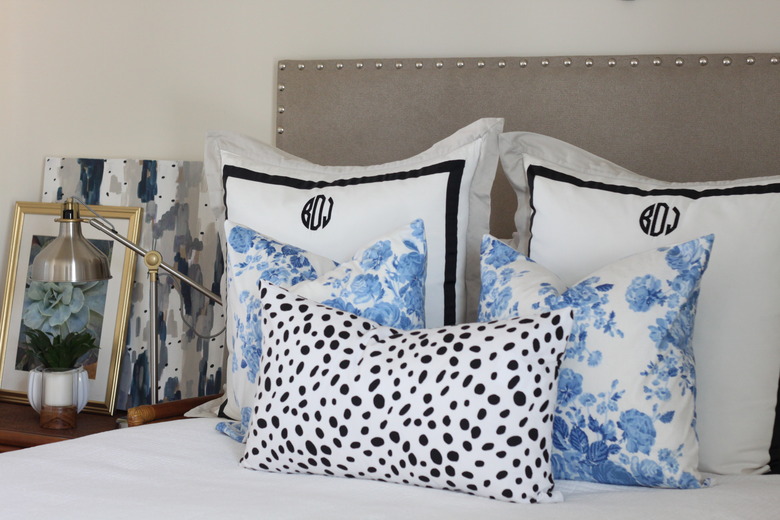
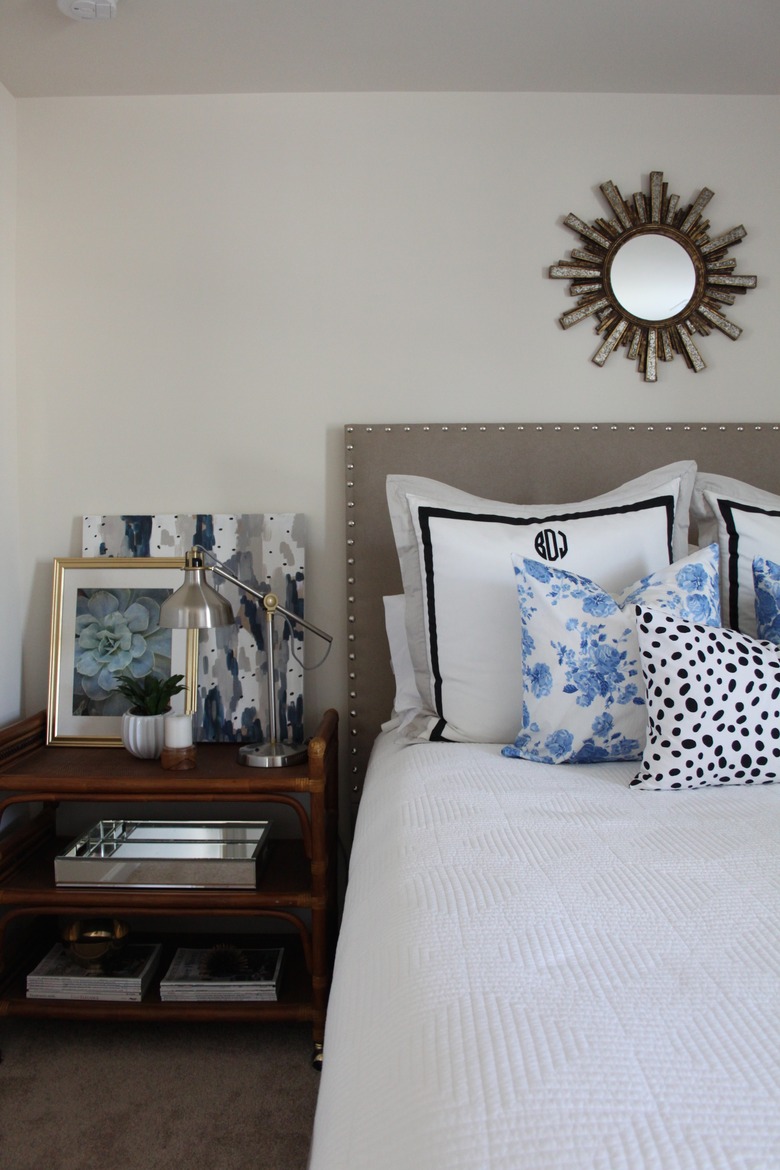
Once your headboard is attached to the frame your project is complete. Sit back, relax, and enjoy the finished product!
 Bethany DeVore
 Bethany DeVore
 Bethany DeVore