How To Grow A Plum Tree From A Cutting
Three main types of plum trees are grown in home gardens: the American plum (Prunus americana, USDA hardiness zones 3-8), European plum (Prunus domestica, zones 5-9) and Japanese plum (Prunus salicina, zones 5-8), which is the type most commonly grown for its fruits. Most plum trees sold in plant nurseries are hybrid cultivars, and the seeds don't produce trees that are identical to their parents. Fortunately, plums are among the easiest stone fruit trees to propagate from cuttings and produce identical trees.
It's important to note, however, that most plum trees are propagated through a process called budding, which joins a bud from one tree to the rootstock of another tree. Rooting a tree from a cutting may not produce the same results for tree vigor and fruiting potential.
Plum Hardiness
Plum Hardiness
The American plum tree is hardy in U.S. Department of Agriculture plant hardiness zones 3 through 8, and European and Japanese plum trees are hardy in USDA zones 5 through 9. Some of their cultivars, though, are hardy in different USDA zones. For example, the Japanese plum hybrids Methley and Santa Rosa are hardy in USDA zones 5 through 9 while the European cultivar Empress does best in USDA zones 5 through 8.
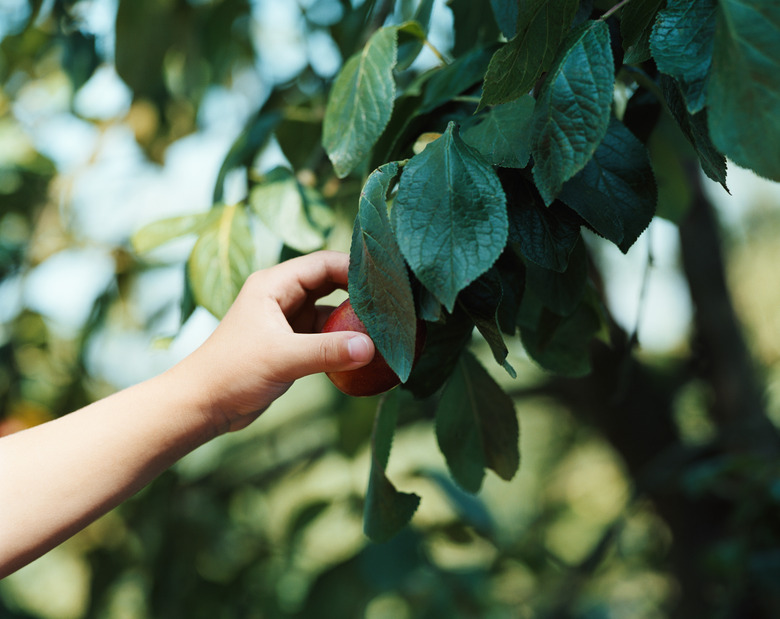
Cutting Selection
Cutting Selection
A plum tree grows best from a hardwood cutting taken in late autumn or winter from two-year-old growth. A 10- to 12-inch-long cutting works best with a diameter of 1/4 inch, about the thickness of a pencil.
When choosing a plum branch for a cutting, look for a stem that grows in full sunlight with evenly spaced, plump leaf nodes or the bumps that produce leaves. Avoid taking a cutting from weak offshoots or suckers sprouting from the tree's roots and cuttings from a hyper-vigorous branch that is much longer than the surrounding growth.
Making the Cut
Making the Cut
Clean tools are essential for the cutting's health as using dirty tools increases the likelihood of infection. Before collecting a cutting, wipe pruners with isopropyl alcohol.
Hold the desired stem and cut through at a 45-degree angle. Make the cut directly below a leaf node that is 10 to 12 inches from the stem's tip. Remove the cutting's two sets of leaves nearest the cut or severed end, exposing the leaf nodes. The exposed nodes will produce roots, which will help the plum cutting survive.
Growing a Plum Tree Cutting
Growing a Plum Tree Cutting
Mix 1 portion of rooting hormone liquid concentrate with 9 parts water in a clean, plastic, 12-ounce soda bottle. When you're ready to plant the cutting, dip the severed end into the rooting solution for five seconds. Don't do this step unless you can plant the cutting immediately after.
Plant the cutting in a gallon planting container with several drainage holes. Fill the container with equal parts of coarse sand and half moistened milled peat. Stick the leafless part of the cutting into the soil, and press snugly against the stem. Place the container outdoors in a shady location, taking care to protect it from the wind and cold. Water the cutting if needed, but avoid overwatering. The soil should be damp, but not saturated.
Check the plum cutting for root growth in four to six weeks. Don't be concerned if it takes two or more months for roots to form. Tug the cutting gently for resistance which indicates rooting. If the cutting hasn't rooted after three months, discard it and start with a new cutting.
Aftercare and Transplant
Aftercare and Transplant
Although plum cuttings root quickly, they can still fail if transplanted too soon. Let your plum cutting grow in its original container for about 1 month after roots form or until it puts out new growth. When roots are established, transplant the cutting to a larger container.
Grow the cutting, or sapling, in bright, sheltered conditions and water it on a regular basis until it is well-established. In cooler climates, transplant the rooted cutting to the ground in the spring; in warmer climates, transplant in the fall. Find a sunny planting bed with fertile, fast-draining soil.