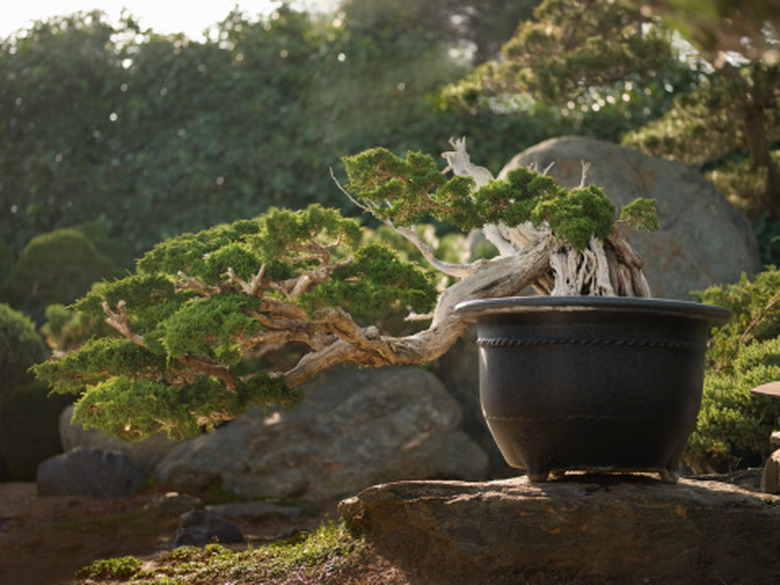
How To Bonsai A Cedar Tree
Things Needed
-
Cedar seedling
-
Bonsai pot
-
Pruning shears
-
Coarse potting soil
-
Sphagnum moss
-
Wire
-
Wire cutters
-
Fertilizer
Warning
Keep your cedar bonsai away from drafty doorways, windows, heaters and air-conditioners.
In their natural habitat, cedar trees (Cedrus) can grow over 50 feet tall. Although they are often large specimens in nature, cedars make suitable varieties for growing and training as bonsai trees. Lebanon cedar (Cedrus libani) and Cyprus cedar are two varieties that work exceptionally well for forming into bonsai specimens.
Step 1
Start with a young cedar tree that is less than 2 years old. Harvest a seedling from the countryside, if you live in a location where cedars grow wild, or purchase one from a nursery. You may need to ask for this young of a specimen, as many nurseries and garden centers don't sell cedar stock until the trees are several years old.
Step 2
Transplant the cedar seedling into a bonsai pot. These specialty pots have wide, shallow forms that help to restrict the roots and encourage the stunted growth common in the art of bonsai. Examine the root-ball while you have it out of the soil. Use pruning shears to snip the tips of any lateral roots that twine around the root-ball. Transfer the cedar to the bonsai pot, planting it in coarse, well-drained soil with a high sand content. Firm the surface of the soil in the pot and spread a 1/2-inch layer of sphagnum moss over the surface.
Step 3
Prune your cedar tree to begin forming the desired shape. Take off the branches that grow on the bottom half of the young tree. Cut the central leader down to the level of the highest side branch. Prune off the branches along the trunk to thin out ones that grow directly opposite other branches, forming a type of stair-step effect along the trunk. Leave about two-thirds of the remaining branches on a single side of the tree, rather than distributing them evenly throughout all sides. This pruning technique is necessary to form the low, sweeping characteristic common in bonsai art.
Step 4
Cut a length of flexible, sturdy wire that measures about twice the height of your cedar tree. Poke one end deep into the soil near the base of the tree. Gently wrap the wire around the trunk of the cedar. Twist the wire into a spiral shape, forming it into a slight angle that pulls the top of the cedar towards the side with the most branches. Leave this wire in place for at least the first year of growth.
Step 5
Place your bonsai in a sunny location within your home. Water it deeply every five to seven days, applying enough water to produce drainage from the holes in the bottom of the pot.
Step 6
Feed your bonsai in the early spring, using a plant food formulated for cedar trees. Follow the label instructions, diluting the fertilizer to accommodate the minuscule size of your tree.
Step 7
Pinch out new branch starts as they appear on the trunk, removing just the branch buds that deter from the maturing shape of your bonsai.
References
- Virginia State University; The Art of Bonsai; Diane Relf; May 1, 2009
- "Botanica's Gardening Encyclopedia", Susan Page 2001
