How To Wrap Arborvitae With Burlap
We may receive a commission on purchases made from links.
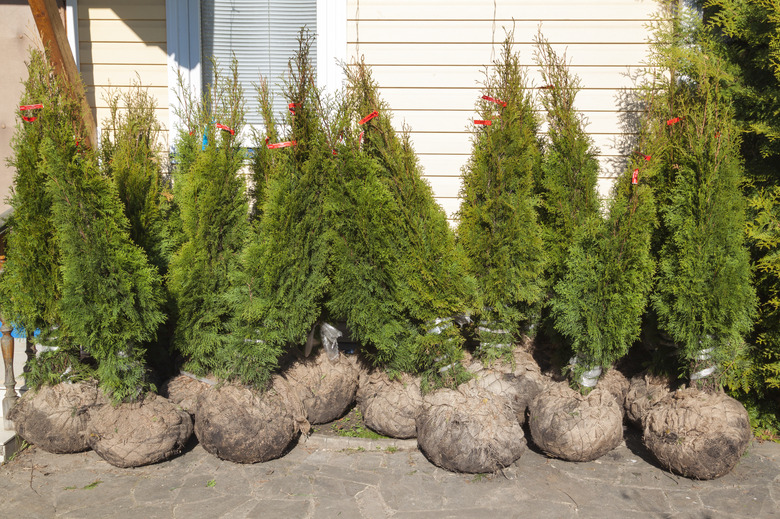
Arborvitae (Thuja spp.) are fast-growing landscape trees popular for their dense, evergreen foliage and ramrod-straight form. But they can become unattractive during winter, collapsing under snow and ice, browning from moisture loss, and snapping from fierce winds. If you live in a harsh winter climate, protect new arborvitae transplants and smaller shrubs that are especially vulnerable to winter winds by wrapping them with burlap.
Protecting Arborvitae in Winter
Protecting Arborvitae in Winter
Covering arborvitae in burlap is especially worthwhile when they are still within the first three growing seasons. Fully grown arborvitae typically do not require winterizing, as they are large enough and strong enough to survive harsh winter months without protection. However, extremely low temperatures can freeze the roots of any size tree, leading to moisture loss and winter burn on sunny days.
Wrapping could be beneficial if you have noticed bleaching and browning, usually on foliage on the southern and windward sides of arborvitae. The burlap prevents winter sun from zapping leaves and protects the branches from heavy snowfall, while still allowing some light, air, and moisture to reach the plant and keep it healthy.
Things Needed
-
Stepladder (optional)
-
Safety pins (optional)
How to Wrap Arborvitae in Burlap
1. Tie Crown Together With Twine
Using a stepladder if needed, begin by tying together the branches at the very top of the arborvitae with a piece of twine to prevent them from collapsing under snow.
2. Wrap the Arborvitae
Loosely wrap the burlap around the arborvitae, beginning at the top of the plant but leaving an opening to allow sunlight and air to reach the plant. Secure the burlap with pins or by tying it with a piece of twine a few inches below the top. Continue wrapping the arborvitae, overlapping and tying each row as you circle the tree, until the burlap hangs under the bottom branches. For smaller shrubs, leave plenty of excess burlap to reach the trunk.
3. Tie Burlap to the Trunk
Gather the end of the burlap around the trunk and tie it with a piece of twine. Tie the twine tight enough to be secure, but not so tight that it will cut into the bark. Cut and remove any unwanted burlap below the twine.
4. Remove Burlap After the Last Frost
Remove the burlap after all danger of a hard frost has passed. Your arborvitae will awake from semi-dormancy, appreciating full sunlight as the ground thaws and the days grow longer in spring.