How To Propagate Citronella Geraniums
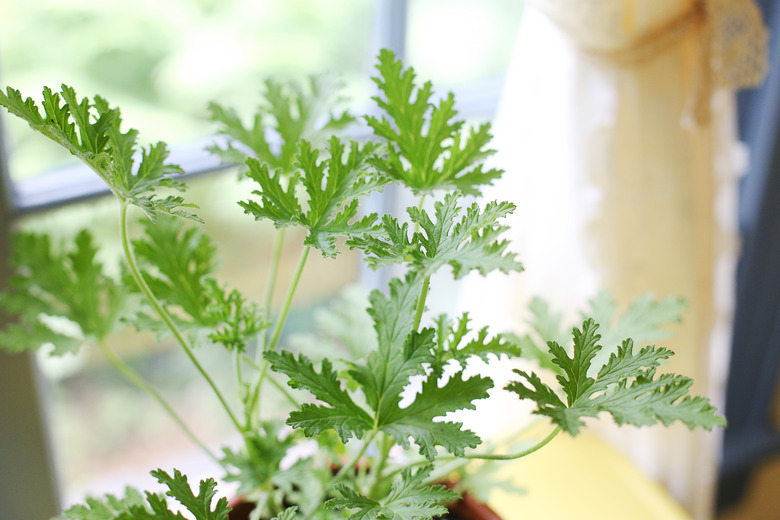
Now that the citrosa geranium's (Pelargonium citronellum, Pelargonium citrosum "Van Leenii") reputation as a mosquito-fighter has been exposed as a marketing gimmick, it can be enjoyed for its pleasant, spicy scent. If you have one of these scented geraniums, they are easy to multiply — use them to line walks so passersby can brush by and release their fresh scents on warm days. You'll need some pots, soilless starter mix and a healthy parent plant.
Overwintering
Overwintering
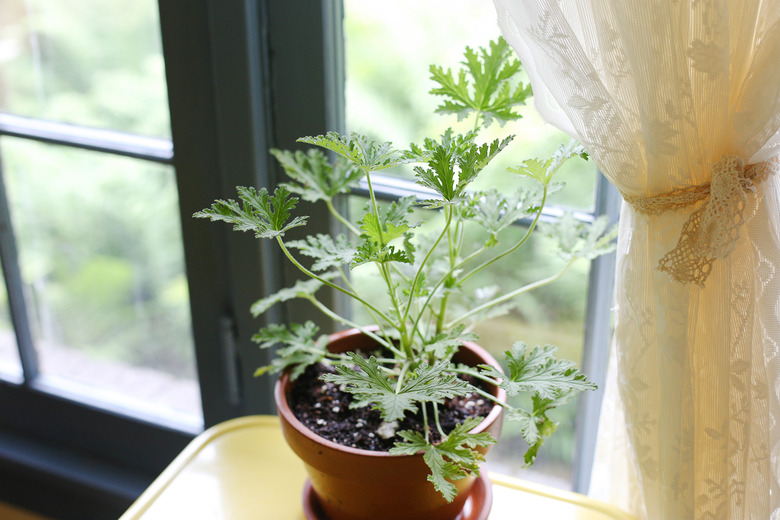
As with other geraniums, citrosa geraniums are perennial only in U.S. Department of Agriculture plant hardiness zones 10 through 11, though they can also be grown as annuals or overwintered indoors. Bring your plants in the house to adjust to indoor conditions at least a week before your furnace starts and dries the air further. Cuttings can be taken from plants beginning in fall, throughout the winter and even into early spring — timing is not as critical as with garden geraniums (Pelargonium x hortorum) that are grown for their flowers. Keep parent plants in a sunny window; water when the soil surface is dry.
Choosing a Method
Choosing a Method
Although geranium fanciers might grow plants from seed, seed-grown seedlings seldom grow true to parents – if you can get your citrosa to flower. Propagation by cutting rather than seed is not only genetically more reliable, but you'll end up with more citrosa. Although it is possible to start citrosa cuttings in water, it can take a month or more to develop the little nubs that are the signal of growing roots at cutting nodes, and the risk of rot increases if water is not changed daily. Dry cuttings, with or without a pat of rooting hormone powder, are the fastest, most reliable way to increase your stock.
Starting Cuttings

Starting Cuttings
A healthy citrosa provides plenty of stout, softwood for cuttings, beginning in late summer. Fill a clean pot with a drainage hole with moist, sterile planting mix at least half of which is peat, vermiculite or sand.
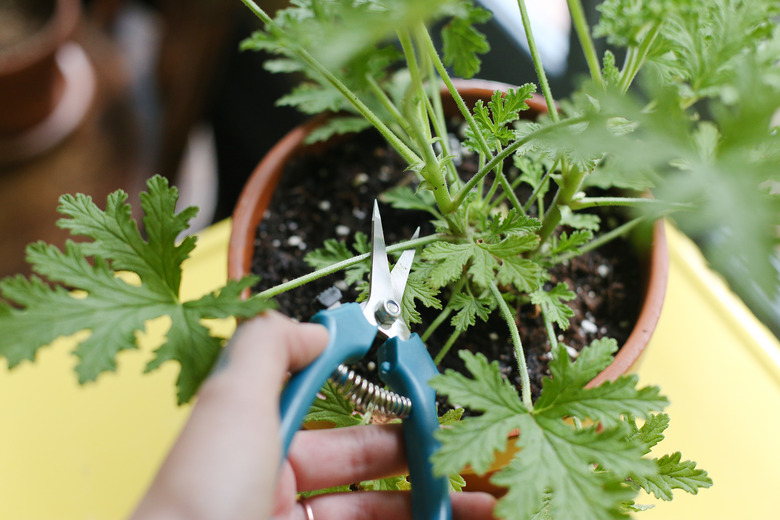
Sanitize small pruning shears with a half and half solution of rubbing alcohol and water or a hand sanitizer often while working.
Cut 3 to 5 inches off the tip of a branch and remove all but the top two or three leaves. Dip the cut surface at the end into a dish of rooting hormone and sink it into the planting mix at least three nodes — the thick parts of the stem where leaves and branches start — deep. Put several cuttings in each pot. Don't let their leaves touch, spacing them at least 2 inches apart so their roots won't become tangled.
Keep your "starts" in a bright, warm area near a window but out of direct sunlight. If you live in an area where winters are cold and central heating drives humidity down, make a tent with a clear plastic bag for each pot.
Harvesting Your Plants
Harvesting Your Plants
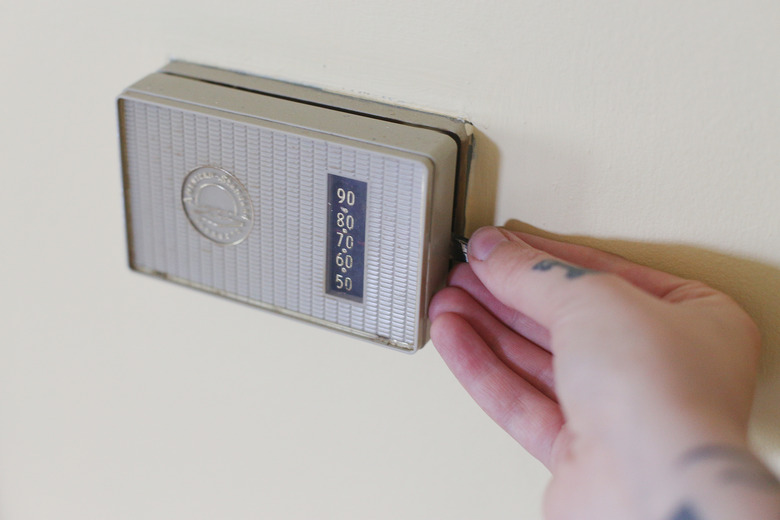
Keep the soil moist and the temperature between 65 and 75 degrees Fahrenheit and you should have several successful plants per pot. When plants resist a gentle tug in three to four weeks, they're ready to pot up in their own individual pots and live in a sunny window with their parents. Continue to keep their soil moist.
Move them outdoors and plant them when soil temperatures rise above 65 degrees F and nighttime temperature stay above 50 degrees F.
References
- Missouri Botanical Garden: Pelargonium (Scented-Leaved Group)
- U.S. National Library of Medicine National Institutes of Health: Failure of the "Mosquito Plant," Pelargonium Citrosum "Van Leenii," to Repel Adult Aedes Albopictus and Culex Quinquefasciatus in Florida
- Herb Society of America: Pelargoniums
- University of Minnesota Extension: Outdoor-Indoor Geranium Culture
- Mother Earth Living: Rooting Cuttings in Water