How To Transplant Crocosmia
Things Needed
-
Shovel
-
Water hose
-
Well-rotted manure
-
Bone meal
Tip
Crocosmia flowers are stunning additions to the indoor bouquet. The tall flowers last two weeks when cut.
Warning
When the clump is dug, there will be so many cormels present that the gardener can't plant them all in the new site. Rather than crowd them, trade some red 'Lucifer' corms for the neighbor's 'Walberton Yellow' corms.
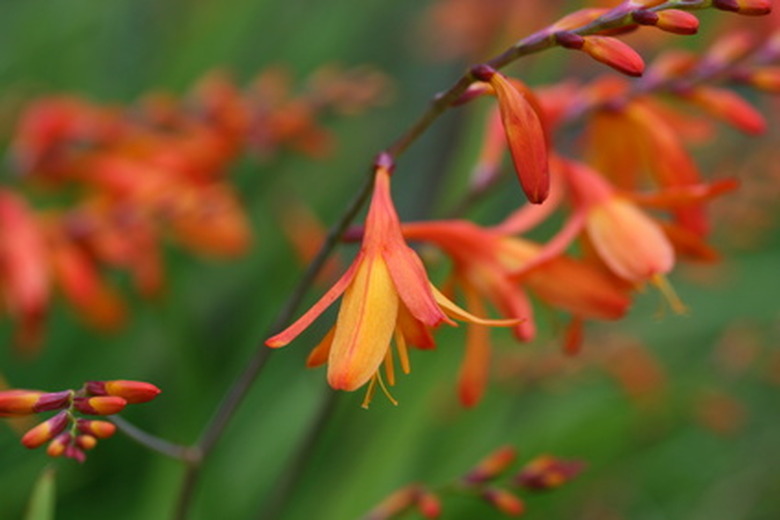
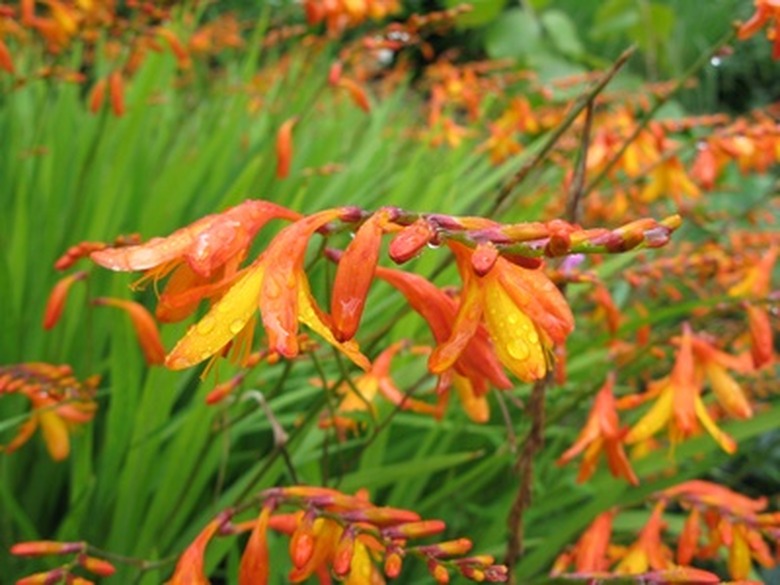
Crocosmia (Iridaceae) delight with masses of small lily-like flowers at the top of arching stems in summer. Available in all shades of yellows, oranges and reds, this hardy plant also features sword-like leaves in basal clumps from 2 to 4 feet tall. Although native to tropical and southern Africa, many varieties are hardy to below freezing temperatures. 'Lucifer' with its rich, red blooms survives to -20 degrees F, while 'Emily McKenzie,' sporting clear orange blooms, can take temperatures down to -10. This hardy plant has a bulbous corm root system, spreads over time, and is easy to transplant.
Step 1
Water the crocosmia thoroughly to reduce shock during the transplanting. Leave it to soak in the moisture while the new site is prepared. Transplant during the dormant season, late fall through early spring. In early spring, wait until the first young green shoots appear in the spring to see where new growth is occurring.
Step 2
Dig the hole at the new planting site to 1 foot deep. Crocosmia need fertile, friable soil with good drainage, so add well-rotted manure and bone meal to the planting site. Water the newly prepared site for the crocosmia so the corms won't be exposed to dry soil.
Step 3
Insert the shovel as far as possible into the soil around all sides of the hydrated clump to be moved. Lift the entire clump and tear it apart, gently separating all the baby cormels. Each cormel will create a new crocosmia. Let the hose help separate them by running water through the clump.
Step 4
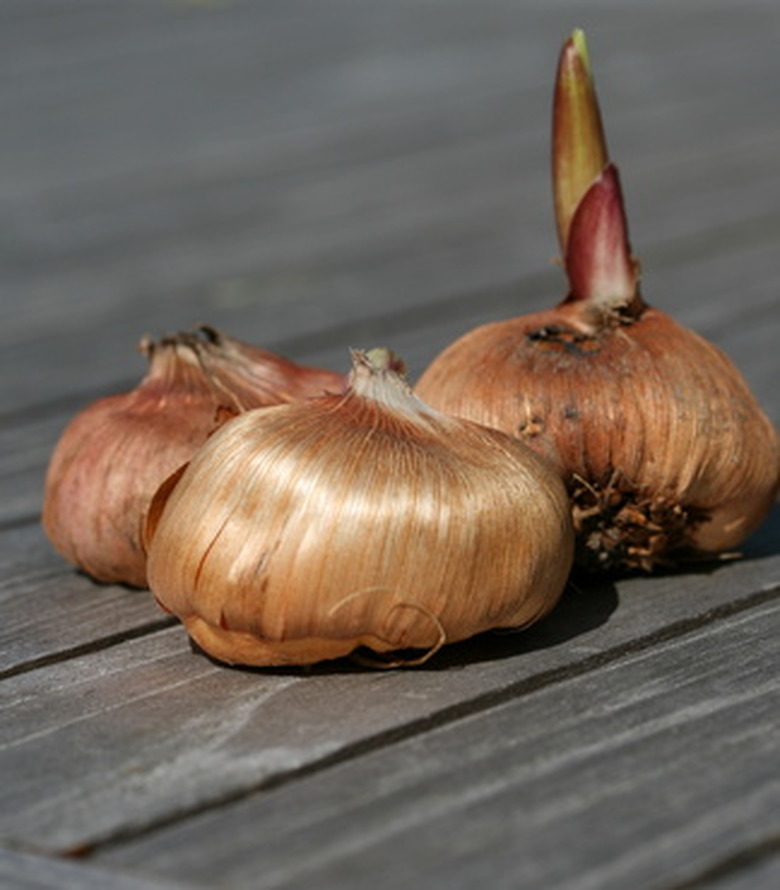
Refill the amended soil at the new site, so the hole remains only 3 inches deep. Place the largest and most firm cormels and the original large mother corm into the soil 3 inches apart, with the pointed side up. The original corm will need to be placed deeper to allow it to continue growing at its previous depth because it is larger than the young cormels. Fill the planting site with soil and lightly tamp down with hands.
Step 5

Water the new planting site. Spread a 1- to 2-inch layer of mulch, made up of a mixture of well-rotted manure and bone meal, over the entire planting area .
References
- "Encyclopedia of Organic Gardening;" J.I. Rodale; 1970
- "Sunset Western Garden Book;" Editors of Sunset Books and Sunset Magazine; 1995