How To Care For Hawaiian Chili Peppers
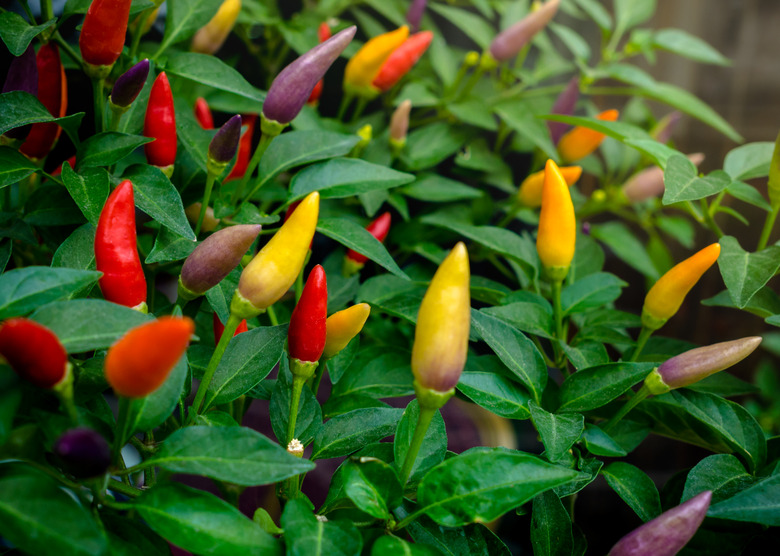
If you like peppers that pack plenty of heat, then consider growing Hawaiian chili peppers (Capsicum frutescens). These pepper plants produce 1- to 2-inch-long green fruit that ripens to bright red and has a flavor similar to a Tabasco pepper. Unless you live in Hawaii, you may have difficulty finding Hawaiian chili pepper plants, but you can grow them from seed ordered from specialty gardening catalogs. Once started, knowing how to care for your pepper plant will help it thrive and spice up your cooking.
Things Needed
-
Compost
-
Ground bark (optional)
-
Lime (optional)
-
Sand (optional)
-
Potting soil (optional)
-
Hawaiian chili pepper seeds or starts
-
Trowel or small shovel
-
Water
-
Low-nitrogen fertilizer
How to Care for Hawaiian Chili Peppers
1. Choose Planting Location
Prepare the area where your Hawaiian chili peppers will be planted. The site needs to receive at least six hours of daily sun.
2. Prepare the Soil
Loosen the soil with the cultivator or garden hoe in the spring, after the soil has warmed. Amend the soil by working in compost as you till the soil to improve fertility. For gardeners with clay soil, work in compost, peat moss, perlite, or vermiculite to improve drainage. Peppers prefer a soil pH between 6.0 and 7.0. If you have acidic soil, raise the pH with lime. Gardeners with alkaline soil can lower the pH by working in elemental sulfur or ground bark.
3. Harden Off Seedlings
Harden off your seedlings by keeping them outdoors when nighttime temperature are 60 degrees or higher. Start by keeping them outside two hours a day. After three days, increase the time to four hours. Keep doubling the time they are outside every three days. When the seedlings are outside for a full 24 hours, you can plant them outside.
4. Plant Hawaiian Chili Pepper Seedlings
Dig a hole in your prepared bed with the trowel or garden shovel. The hole should be an inch deeper and 1 1/2 times wider than the pot your pepper seedling is in. If you're planting more than one Hawaiian chili pepper, space the holes 12 to 18 inches apart to give them ample growing space. Loosen the seedling from its pot and place in the hole. Backfill the hole with soil, keeping the plant as straight as possible.
5. Water Plants Consistently
Water your Hawaiian chili pepper well. Keep the soil moist but not wet for the first two weeks, when the pepper establishes itself. Water the plant with an inch of water every week, including rainwater. Increase watering to 1 1/2 inches during hot, dry spells.
6. Fertilize Hawaiian Chili Peppers
Fertilize your Hawaiian chili pepper with a low-nitrogen fertilizer within the first month after transplanting. Fertilize again when flowers appear and again every two weeks while the plant sets fruit. Stop fertilizing when the plant stops blooming.
7. Protect Plants in Heat
Protect your pepper plant during hot weather. Although they like warm weather, Hawaiian pepper plants can stop blooming and even drop fruit when the outdoor temperatures go above 95 degrees Fahrenheit. To keep the plant as cool as possible, protect it with screening such as a bamboo screen to block out the majority of the sun.
8. Harvest the Peppers
Harvest the small peppers when they're about 1 inch long and 1/4 inch wide. The peppers turn from yellowish-green to orange to bright red. They're ready to harvest when they're red.